As usual I had to remove the side existing fretboard dots, install a set of strings, mark the side dots position, and install my own side dots.
(When you order a fretless neck it comes with side dots already drilled and installed. The problem is that the side dots are in "fretted" position, in the centre of the fret. On unlined fretboards it is recommended to have dots where the fret should be, to have a usable and way more immediate reference point.)
For those ones who have been following along, for my previous build I use bamboo as side dots (toothpicks!). They worked well but I wanted to try something different this time. For this build I am using instead shirt pins, cut short, and nailed in a predrilled hole. I like it!
I intentionally left the head of the pin out 1mm (+/-), to allow for a tactile feel.
To be honest, I never put my left hand thumb that far up above the fretboard, but I still like the fact that I they stick out a fraction. Dots visibility is really good and shiny, an important factor especially on unlined fretless.
The process of installing the side dots with this technique was straight forward and pretty quick.
These are the pins I used, cut short and nailed in
This is showing the side dots installed (not a great photo though)
and a close up. If I change my mind in the future I can always pull these out with pliers
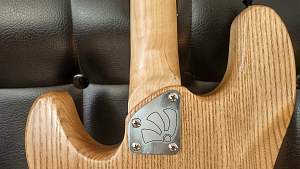
and here a preview of the neck plate decal with personal logo. Side dot visible!




 Reply With Quote
