


And... I'm on my way.
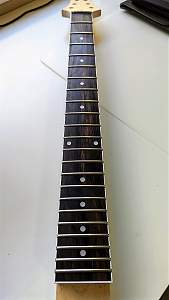
The first job I decided to do was to level, crown and polish the frets. This is a tedious job and I wanted to get it out of the way. I would have to say, having done this 4-5 times now, I think this is defintely my best result. I am sure I can get better, obviously, but I am very happy with the frets.
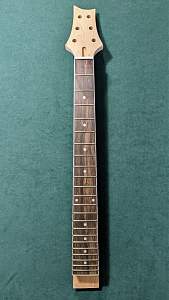
The fretboard itself is quite nice looking with a bit of character in the wood. I am not sure what it is made from (the PSH-1 kit description says it is rosewood) but I quite like the look. After the final polish of the frets I took to it with some lemon oil - and did it soak that up! It now has a much darker, deeper colour and looks a whole lot less thirsty.
The first picture is the neck straight out of the box. The next two pictures are after the fret dressing and fingerboard quenching.
I have turned my attention to the front of the body and checking the veneer more closely. I think I have only one small glue spot, so hopefully I can attend to that. It will be covered by black in my planned burst so it may not be too big an issue.
The more intersting observation looks to be some machine marks, or "cuts" may be the best way I can describe them, in the lower part of the body. I gave it a very light sand with some 400 grit sandpaper but it didn't seem to do much in terms of removal. By finger feel I cannot notice anything, it is very smooth. But they are too straight to be natural.
I've saturated the colours in the photo to make it stand out. It's not overly noticeable by the naked eye but I'm a touch concerned as to how it will show when stain is applied.
Any ideas?


 Reply With Quote