Well, this was going to be yet another Refurb but as I will be building a new body, sanding down the neck and reshaping the headstock, I figured she deserved a new Build Diary.
I have always wanted a Les Paul Jr and although this kit comes close all I really wanted was a single cut slab. Apart from the atheistics of a carved top she was never a comfortable guitar to play and was very neck heavy and always kept sliding, neck first, toward the floor. I had upgraded the P90 pup with a Lollar and that combined with the pup being too close to the bridge meant that she was always aggressively bright and didnt suit my playing style. So out of all my guitars she was the forgotten orphan that sat in the corner while all the others got to go out.
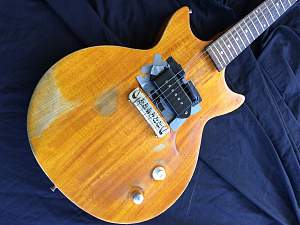
It seemed a waste so I decided to scrap the body and use the parts for another build but before doing so I experimented with pickup location. After lots of trial and error I settled on the pickup placement that suited, and as there was no way of hiding what I had done I decided I would have a go at a relic.
She now sounds awesome, and is used regularly at church. If the new body doesnt turn out I will go back to this:


 Reply With Quote