Wazkelly build diary for DIY closing down sale Flame top Tele

wazkelly

Well-known member
With currently building 2 Explorers you would think I am mad to start another. The sad news about DIY closing down caused me to jump in a buy a couple more kits before I was ready and clearly I am now a GAS addict.
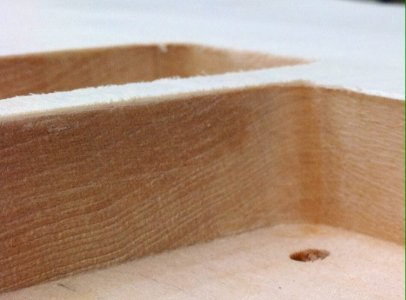
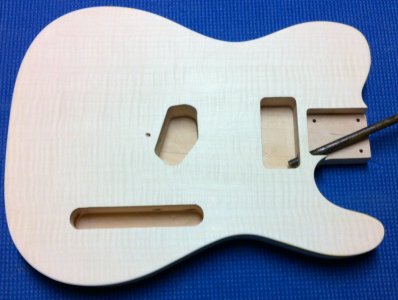
Had a look of the body today looking for all the usual blemishes and surprised to find none at this stage.
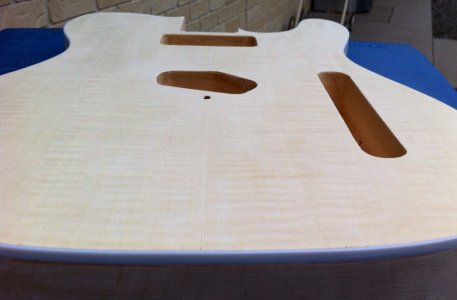
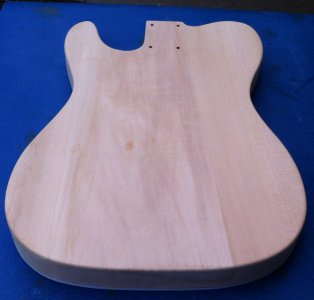
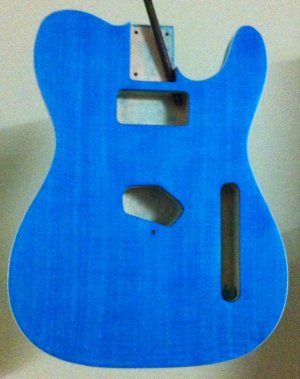
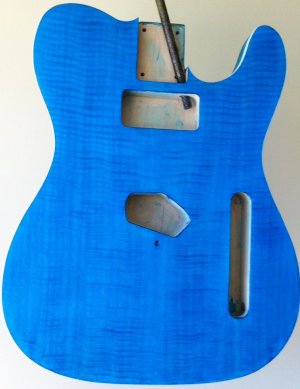
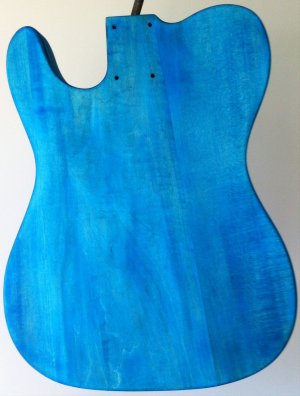
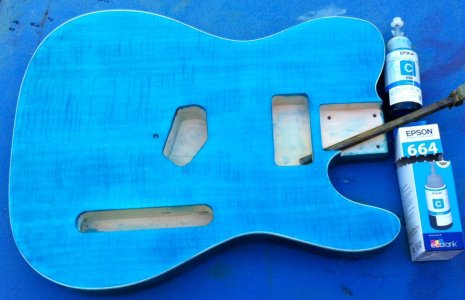
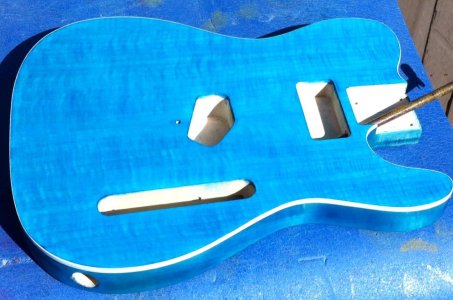
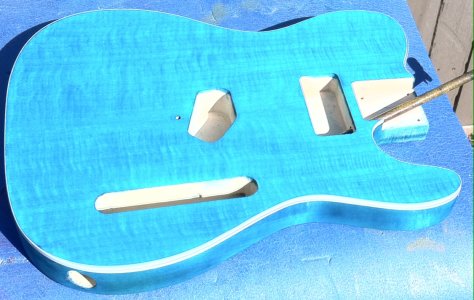
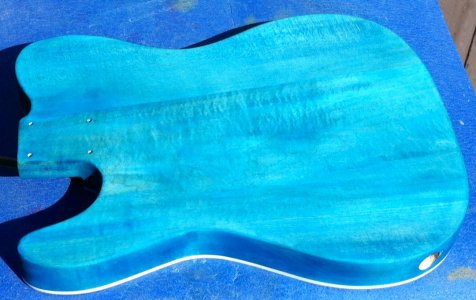
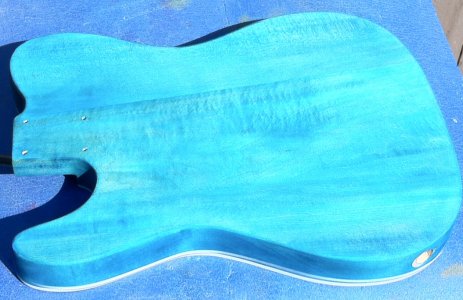
Maple cap is very thin and will be lucky to get a very light 320 grit dusting. Would love to grain fill or use a dark dye to pop the grain but too chicken to risk going through the cap so will play around with varying depths of colour on the top to create light and shade. For this one as it has white binding went with white pickguard and chrome hardware, Rosewood fret board. Thought long and hard about colours and as everyone has been doing blue lately will have a crack a doing Turquoise. Bought Epson 664 Ink Jet Refill Ink in Cyan (Blue) as it already starts out quite aqua blueish. Yet to do a few test runs on a bit of scrap timber to work out water to ink ratio to get desired colour. Here are some shots of the body.
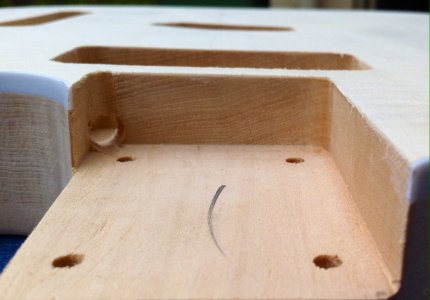
photo 1.JPGphoto 2.JPGphoto 3 (2).jpgphoto 4.JPG
 
wow Waz kit looks pretty good, nice flame cap. Aqua blue should look excellent.
So is this your 3rd kit ? welcome to level 1 of the GAS lounge. I am currently on level 10 haha
 
wow Waz kit looks pretty good, nice flame cap. Aqua blue should look excellent.
So is this your 3rd kit ? welcome to level 1 of the GAS lounge. I am currently on level 10 haha
GAS levels??? Is that similar to levels achieved in space invaders hahaha! Ooops, showing my age there.
Yep build 3 and just posted J Bass body for build 4. Sucker for punishment.
 
geez your a glutton for punishment, i wont show you all the builds i have in progress but i need serious help.
 
May need to pre-book some psychotherapy sessions as I may need them by the time I finish all these builds.
 
Not much progress on any of my builds this week due to work and plenty of rain bringing with it high humidity which can wreak havoc with applying layers of finish.

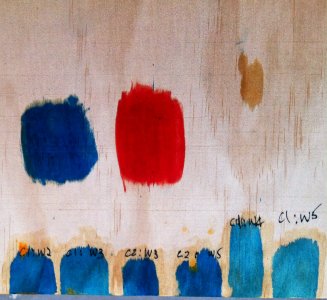
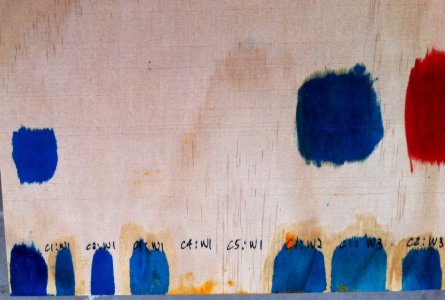
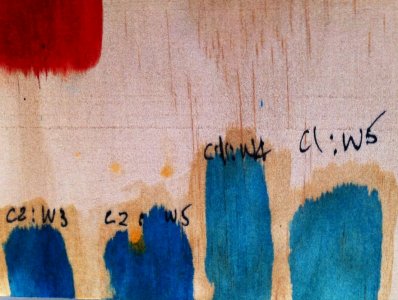
Been playing around mixing colours instead on a scrap bit of pine ply as per following shots. Leaning towards 1:4 ratio of ink to water as any higher strength on the top may suffocate the flame maple. Reading other threads makes me nervous with too much water content as don't want to affect the thin cap. Back and sides might end up darker due to nature of basswood and also as a contrast too.
photo 3 - TO over blues.JPGphoto 4 - TO over blues.JPGphoto 5 - TO over blues.JPG
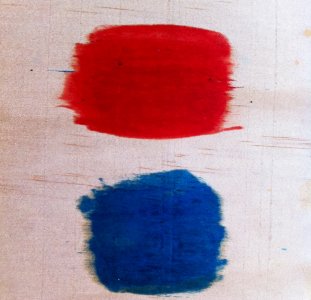
Next shot is both blue ink & red food colouring added to Tru Oil to see how that worked (Red is for the J Bass yet to be started).
photo 2 - Red & Blue in TO.JPG
 
Last edited:
Decided to make a move on both of my DIY non-pitbull F style guitars last weekend and here are shots of the progress over the past week.
photo 5 front of body.JPGphoto 1 Shaped front of headstock.JPGphoto 3 back of headstock after shaping.JPGphoto 2 back of neck after shaping.JPG
 
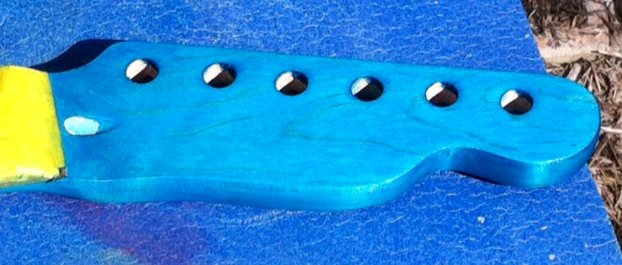
Put on first coat of stain only to find more glue spots. Had used plenty of Goof Off but sadly not enough and even had to use a small wire brush to encourage the crap to leave this planet. Below shot was late at night so lighting was not so good in the garage. Put a coat of TO on it earlier today and will post some shots once dry as the flame and colour has really come up strong. Also stained the back of neck and both sides of the headstock and amazed at how much the Bass Wood has thrown a slight green tinge. Looks cool and you will just have to wait a little bit longer for those shots too.
photo 1.JPG
 
Nice Colour Waz, Not used printer dyes before.
Hi Kimball, my first attempt and was worried at first that it would be too dark. Left it for 24 hours then wiped down with a damp cloth that took a lot of residue and colour off but had to take it back anyways to deal with unidentified glue spots. The Goof Off also stripped some of the colour too. Applied same mix which was 2 parts ink to 1 part water, left it for another 24 hours and then gave a light 0000 steel wool scuff sand all over which really did the trick without removing too much colour. Pics to follow tomorrow.
 
Liking the blue Waz, and that glue needs kickin up the jaxy, some of it still does my head in.
Thanks Tony. Luckily the glue spots came out pretty easy except for a couple that required the wire brush too. Checked it out thoroughly before any sanding and applied plenty of Goof Off all over the top before applying the stain. With caps so thin you cannot afford to sand very much or risk going through it.

Looks like the bridge PUP route is spot on which is a bonus as I have read threads where many others have been out by around 5 mm on average. Very pleased and relieved about that.
 
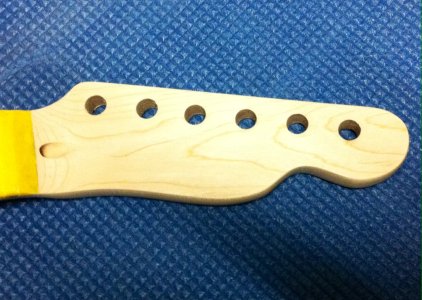
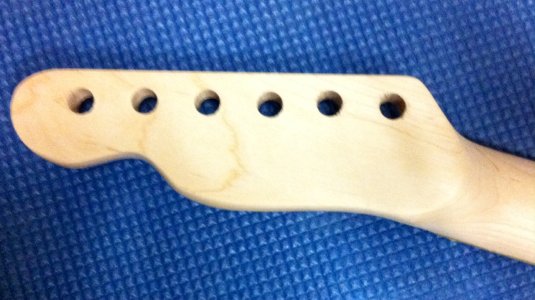
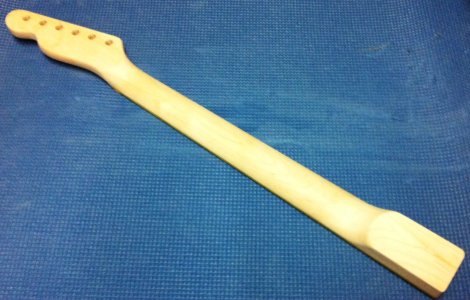
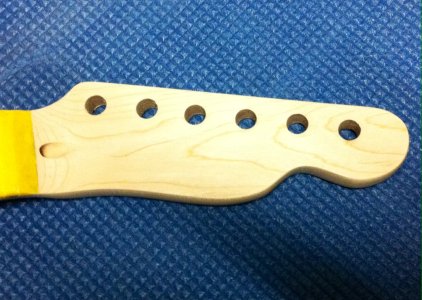
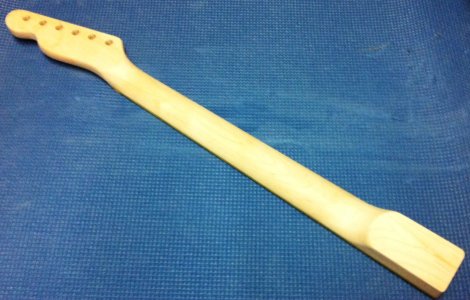
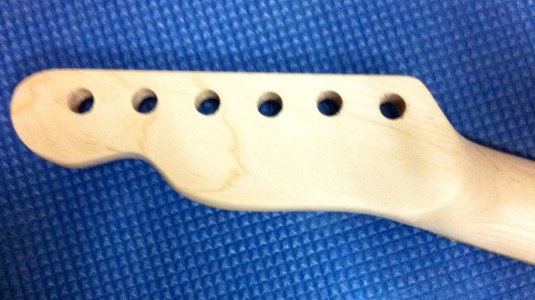
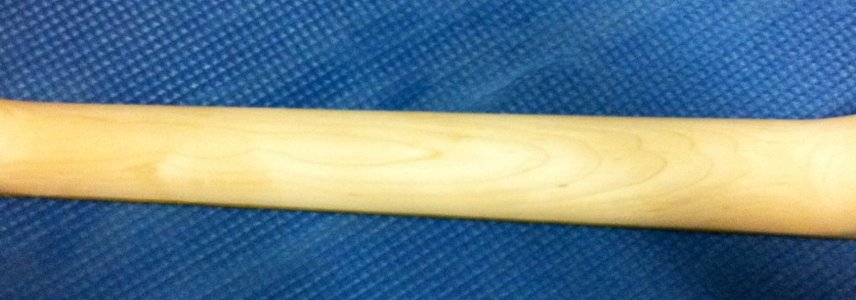
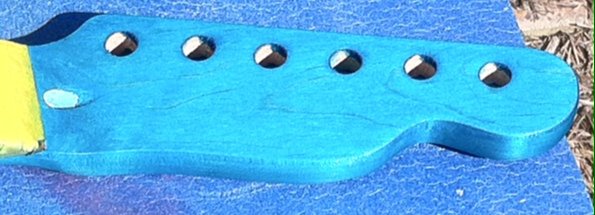
Uploaded lots of photos. Hard to capture the exact colour of this beauty and used several locations, indoors, outdoors with no sunlight, and then full sunlight with a couple of different camera settings. These are the shots of the neck & headstock shaping done after work one night earlier in the week.
photo 1.JPGphoto 2.JPGphoto 3.JPGphoto 4.JPG
 
Back
Top