First crack at this...Who on earth do I think I am?! (JB-4 Bass)

Rufus

New member
Hi everyone, first time posting.

I recently took the plunge and decided I'd give building a guitar a try. I played guitar back in school but in all honesty, it's been a little while since I picked one up, but I wanted to do something that I could enjoy doing (working with some wood & to a plan) and being able to enjoy the finished product at the end. Added bonus if my daughter decides it's interesting enough, she might even play it, too. (She's already keen and excited to see the guitar get painted in the colour we picked out - even to the point of asking me a number of times this weekend "When are we going to paint the guitar, Daddy?")

I figured the best way to get into this was to go with the JB-4 kit and see how we went from there. It arrived last week, and I eagerly opened the box in the garage and took all the bits and pieces out to check that they were all there, and to do a dry fitting of the neck to the body. It's tight, but it fits! (1st win!)
After packing the box back up, I read and re-read the instructions - particularly about fitting the bridge, and I think I have a couple of questions:
1) The instructions mention lining up the centreline of the body with the middle of the bridge. I worked out the middle of the bridge pretty simply, but the centreline got me stumped for a while. Am I right in thinking that with the neck fitted, I can run a straight edge down each side of the neck to the end of the body, measure the half-way mark between these lines at a couple of points along the lines and that's the centreline? Is there a better way to work out where the centreline is? In the end, the method I used to work it out seemed about right, so I went with that.

2) To measure the scale length, do I need to adjust the saddles on the bridge to be at a certain point before securing it where it's meant to go? If you look hard enough at the below photo, you can probably see that I've wound the saddles back in towards the tail(?) of the bridge.

https://imgur.com/HYevhGa
(I've linked the image as opposed to putting it in-line because holy table breakage, Batman! I'm hoping this works. Please let me know if you cannot see it.)

3) The instructions talk about stringing up the Highest and Lowest strings and checking for clearance on the frets. Unless I'm missing something, by the looks of things, I'm going to have to fit the tuners (using the screws for them) now and string them in - does that sound about right?

I'm excited to do this project! At the same time, I'm nervous that even though I have the plans, instructions and resources, I'll manage to muck it up somehow! :D
 
As far at the bridge goes, the centre line is probably best referencing it from the centre of the pickup and neck route. As for placement of the bridge, I'd probably tape a couple of pieces of string to the headstock and run one from the treble side of the nut to the bridge and the other from the bass side of the nut to the bridge and move the bridge from side to side till you get the strings nice and even along the line of the neck/fret board. As for scale, I'd moive the saddles of the bridge as far forward and as far back as they will go. Use the mid point as the reference then measure from the back of the nut (where it meets the fret board) to the midpoint of the saddle movement and place that mid point at the length of the scale. Some people measure 1/2 the scale length from the 12th fret. Hope this helps :)
 
Not the saddle mid-point! (Edit: Sorry Rabbit if I was a bit abrupt there but it's important to get this right and the Pit Bull guide is just wrong on this point). Move them forwards towards the neck until there’s a just couple of mm of thread showing, then measure to the middle of the saddle barrel, as that’s the point the string will rest on. Mid-point on the intonation screw can leave too little space to move the low E saddle back enough. Measure from the G string slot position to the G string saddle. Mark the front/rear bridge position on the body (you can put masking tape down first if you don’t want to mark the wood or finish).

Also, the further back the saddles sit, the further up in the air the screws poke, and they can end up level with or above the strings.

You can run one piece of normal string from the bridge, down the neck, over the nut, through the E tuner hole, up through the G tuner hole then back down the neck back to the bridge. Move the bridge until the strings run nice and parallel to the sides of the neck. Mark the position of the sides of the bridge on the body and there you are.
 
Last edited:
As far at the bridge goes, the centre line is probably best referencing it from the centre of the pickup and neck route.

I did see somewhere about measuring the neck pocket and working out the centreline from that - Never thought to incorporate measuring it off the pickup route as well!

As for placement of the bridge, I'd probably tape a couple of pieces of string to the headstock and run one from the treble side of the nut to the bridge and the other from the bass side of the nut to the bridge and move the bridge from side to side till you get the strings nice and even along the line of the neck/fret board.

Ah! Builder's string! Now, I have a roll of that somewhere that I can use!


Not the saddle mid-point! Move them forwards towards the neck until there’s a just couple of mm of thread showing, then measure to the middle of the saddle barrel, as that’s the point the string will rest on. Mid-point on the intonation screw can leave too little space to move the low E saddle back enough. Measure from the G string slot position to the G string saddle. Mark the front/rear bridge position on the body (you can put masking tape down first if you don’t want to mark the wood or finish).

Just so I'm reading this right...Are you saying to move the saddles to within a couple of mm of the front of the bridge and measure to the G-String saddle only? Sorry if I seem thick, I'm just wanting to make sure I get this part right!

I haven't started sanding yet, so any marks I make will surely disappear anyway - unless I mark it with marking knives, of course!

Also, the further back the saddles sit, the further up in the air the screws poke, and they can end up level with or above the strings.

Funnily enough, I had noticed the screws poked a bit higher as I wound the saddles back. I wasn't sure if this was by design or not.
 
Just so I'm reading this right...Are you saying to move the saddles to within a couple of mm of the front of the bridge and measure to the G-String saddle only? Sorry if I seem thick, I'm just wanting to make sure I get this part right!

Funnily enough, I had noticed the screws poked a bit higher as I wound the saddles back. I wasn't sure if this was by design or not.

Yes to the first part. Just because it's easier to measure to one point than try and get the saddles all lined up the same and measure to them all (and on some of the kit bridges, the E and A screws are a bit shorter than the B and G screws so you can't set them all the same position).

Unless there is something very wrong with the strings, the G will intonate the furthest forwards (probably a couple of mm back from the scale length position), then the D back a bit further, then the A and with the E string saddle intonated furthest back of all.

So the G is the important saddle for setting the scale length/intonation. Just make sure the bridge is nice and perpendicular to your centre line once you've measured it.

On the second point, it's just the way the original Fender bridge design works. It's been copied by so many others that the dimensions are now pretty standard. The saddles are meant to sit fairly well forwards, which means that the intonation screw angle is then both fairly flat and not much of it protrudes from the front of the saddle to get in the way.

The further forward the bridge plate is placed, the further back the saddles have to sit, and the greater the upward angle the intonation screws end up sitting at. It's just the way Leo Fender designed the original electric bass bridge. He was a great penny pincher and if the intonation screw angle was made flatter, the rear of the bridge would have to be taller.

That would mean that it would both need a slightly longer piece of metal to make the bridge from and it wouldn't be quite so rigid, so the bridge plate may have needed to have used a slightly thicker piece of metal as well, both of which would put the unit cost up slightly. Not by a lot, but this was a man who secured the first Telecaster pickguards on with five screws to save some money, which turned out not to be enough to stop the pickguard from warping over time, so in 1959 Fender finally switched to eight screws. He was a man who always thought in saving fractions of a cent per guitar during the design to maximise profit.
 
Not much action has happened on this recently - life seems to be continually getting in the way of having a good time. However, it seems that I will have some extra time on my hands as life presses pause for a little while.
I think I've got the measurements down for the scale length, so I'm up to the sanding part, and I've come across my next few questions.
I'm reading the PBG guide for assembling the kit, and it mentions sanding with 120/180/220 grit sandpapers. I think I may have gone and confused myself somewhat by trying to research some more information about the sanding process and found a few videos seeming to suggest that you go all the way up to 1500 - before the paint coats! Is there a consensus as to which is "more" correct?

Secondly, how do you know when your piece is ready to be sanded by the next grade? For example, if I start with the 120, how do I know when to start with the 180 grit?
 
There really is no point in going up to 1500 before painting, as any paint finish will need to be sanded back. And depending on the paint, you'll generally get a better paint to wood bod if it isn't too smooth. Certainly if you are staining, then you won't want anything above P240, and for me P180 is enough for stain and paint).

What you want when sanding is to a) remove any machining marks left from the factory (often more visible on the sides than the top and back) and b) to get the flat surfaces really flat (as opposed to very smooth but undulating) and the curved surfaces evely curved with no dips.

It should be quite obvious when you've removed any machining marks, but its harder to tell if a surface is really flat unless you first spray a light 'mist' coat on it of a contrasting colour, so that you can sand it back with sandpaper stuck to a flat board (sandpaper that comes on a roll is good for this task). You'll sand off the high spots firsts, and leave any dips still with paint in. You just keep sanding until all the paint in the dips has gone, and the surface should now be really flat. You don't leave any of the mist coat paint on the body, but its still a good idea to use the same type of paint as the finish for the mist coat, to prevent any risk of a reaction between incompatible paint types.

For the edges, a smaller sanding block can be used as that will still bridge dips when sanding.

I'd probably drop to P80 for the dip removal part, then move up to P120 and P180 (and probably P240 for the neck).

You sand with one grit until any marks left by the previous grit have gone, the move up to the next grit and repeat. If you move up a grit and you still can see sanding marks and they are taking ages to remove, then you've moved up too soon and need to step back a grit level.

P180 is normally considered a fine grit in general woodworking terms. Save the finer grits for the finish. Even if you sanded to P1500, the finish will still sink in unevenly, any you are bound to get some orange peel (if spraying) and uneven finish height application, so you'll need to still sand everything flat again. But if the wood is as flat and dip-free as it can be when the finish goes on, then the easier it is to sand back at the end. An uneven body can be very obvious when sanding back the finish, as you get obvious glossy spots left in the dips. And if you haven't got enough depth of finish, then it's easy to sand through the finish on the high spots of the body before you get to the bottom of the dips.
 
For pre paint, I would not go any finer than 240 grit. On timber that gives a fairly smooth. Go too fine and you end up burnishing the timberand compromising the surface for paint to grip to.1500grit is for preparing the top coat for polishing.

Were you staining or painting?
 
Thanks for the replies re: sanding. I thought going to 1500 seemed a bit extreme!

Were you staining or painting?

My daughter seems really - REALLY - keen to pick out a paint colour and have it painted that colour.

Guess I'm going with painting then! :D
 
If painting you don't wanna above 240 grit. Just make sure it's smooth and with 240 grit there shouldn't be any obvious sanding marks.You can use a primer to fill the grain and sand smooth.The paint system I use gets sanded with 400 grit of the primer. I found a maroon scotch brite pad works well.
 
I went and did a little bit of research and ended up getting some Dupli-color - acrylic based enamel. I now have two cans of primer ready to go.

Seeing as it's been pretty cold here, I haven't been game to try spraying the body yet, but there appears to be a day coming up that provides for some more ideal conditions for spraying. Planning on spraying the first coat of primer and then leaving the body for a few days before sanding it back and going again, seeing as it's been cold here.

I've made a small jig to attach the body to so that I can hang it in the carport so I can spray it - I just have to mask off the cavities for the pick ups, as well as the control cavity.

Before I do this, I wanted to ask if I need to drill the holes on the body for the neck any bigger first? They seem a bit tight for the screws that I have for the neck.
Also, I'm guessing I should be drilling the holes for the bridge now, right? If that's the case, I just have to plug those holes with match sticks or similar so paint doesn't get into them, which shouldn't be too much hassle.
 
I'd drill the body neck screw holes out bigger first. Whilst it's unlikely, there's always the risk of the finish cracking around the holes when drilling them out. Which if covered by the neck plate isn't a big issue, but if a crack runs so that it's visible, then it becomes more of one. So best to do it now, where there's no risk of that, and if you do get a drill slip, you can touch up the body before the finish goes on.

Having said all that, I'd probably still wait until I'd done the finish before drilling the bridge screw holes, as you want to include for any slight offset on the neck angle that the finish on the neck gives. If the finish is brittle (I use nitro and that can be), then it's worth using a bigger full screw-thread width diameter drill bit to just widen the holes at the top to remove the finish around the holes, as I've found that screwing through the finish into the pilot holes can occasionally cause the finish to crack. So now I always enlarge the holes at the top to remove the finish from the screwed area.

Paint in holes can be removed by gently running the same-sized drill in them again. It's water you don't want to get in those holes when wet-sanding, so best to plug any holes with beeswax before wet sanding. It doesn't take much water in a hole to swell the wood and split the finish. The wood will shrink back flat again when it dries out, but the finish will remain cracked.
 
Update time.
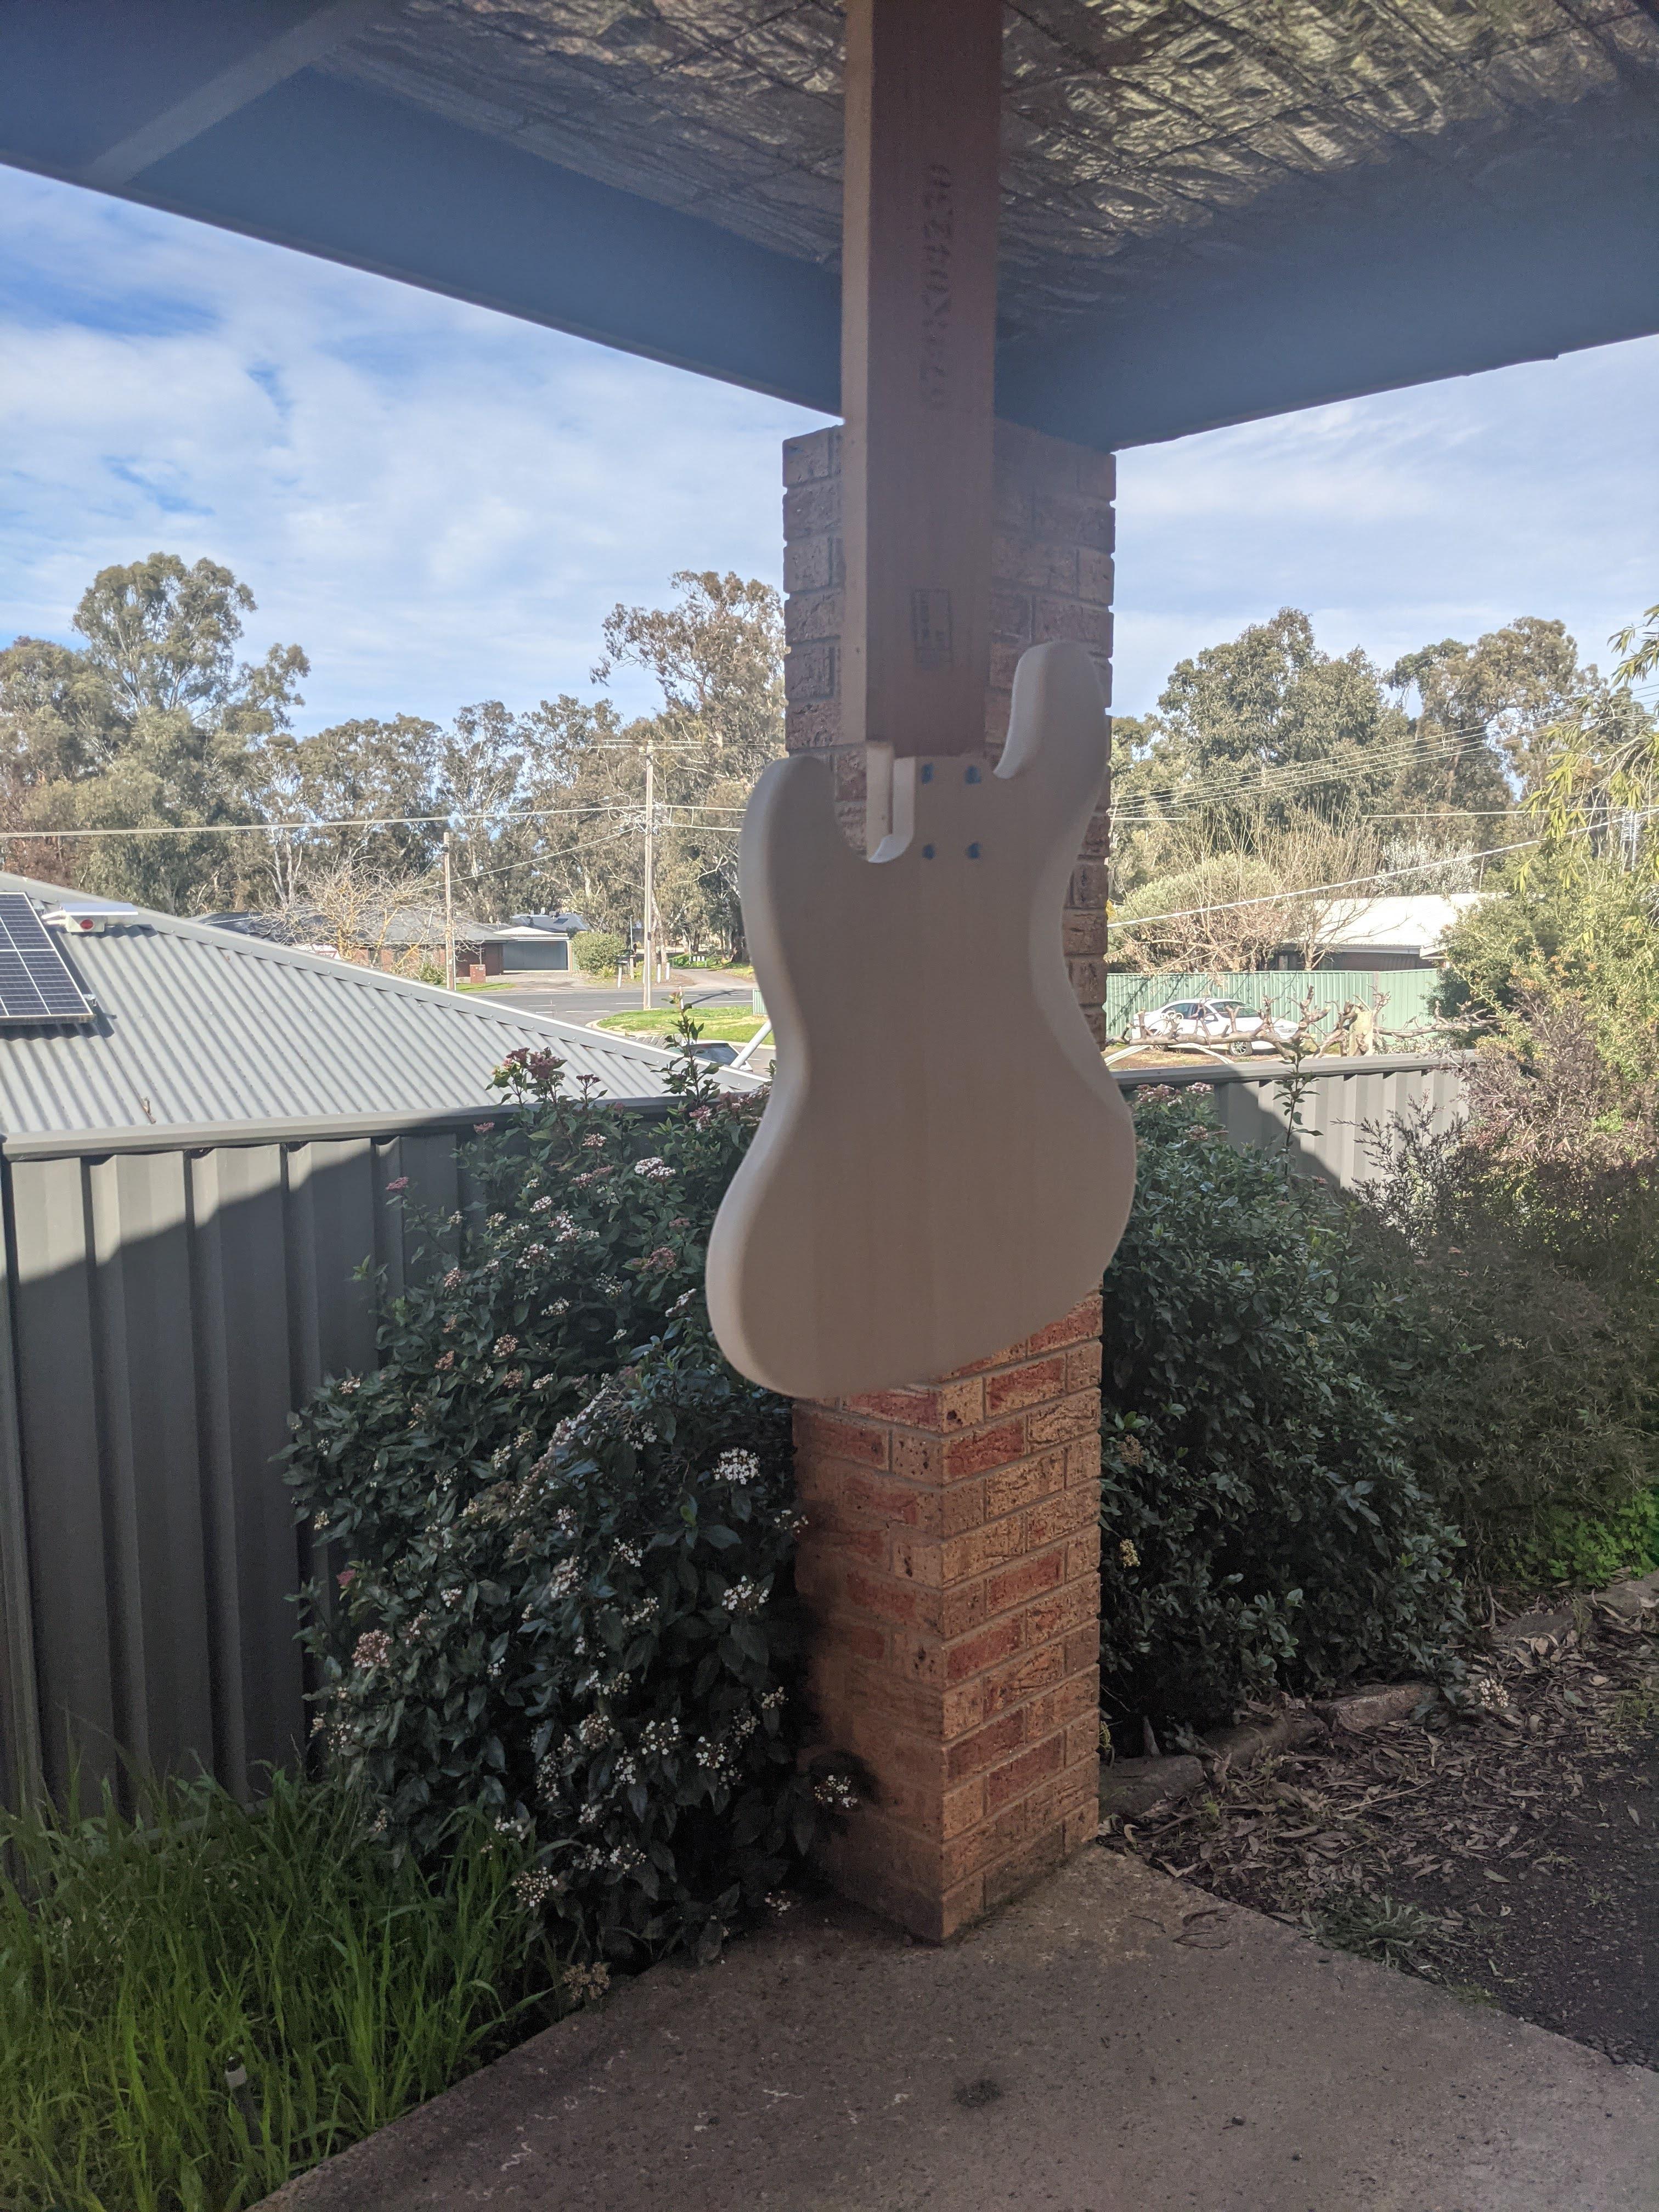
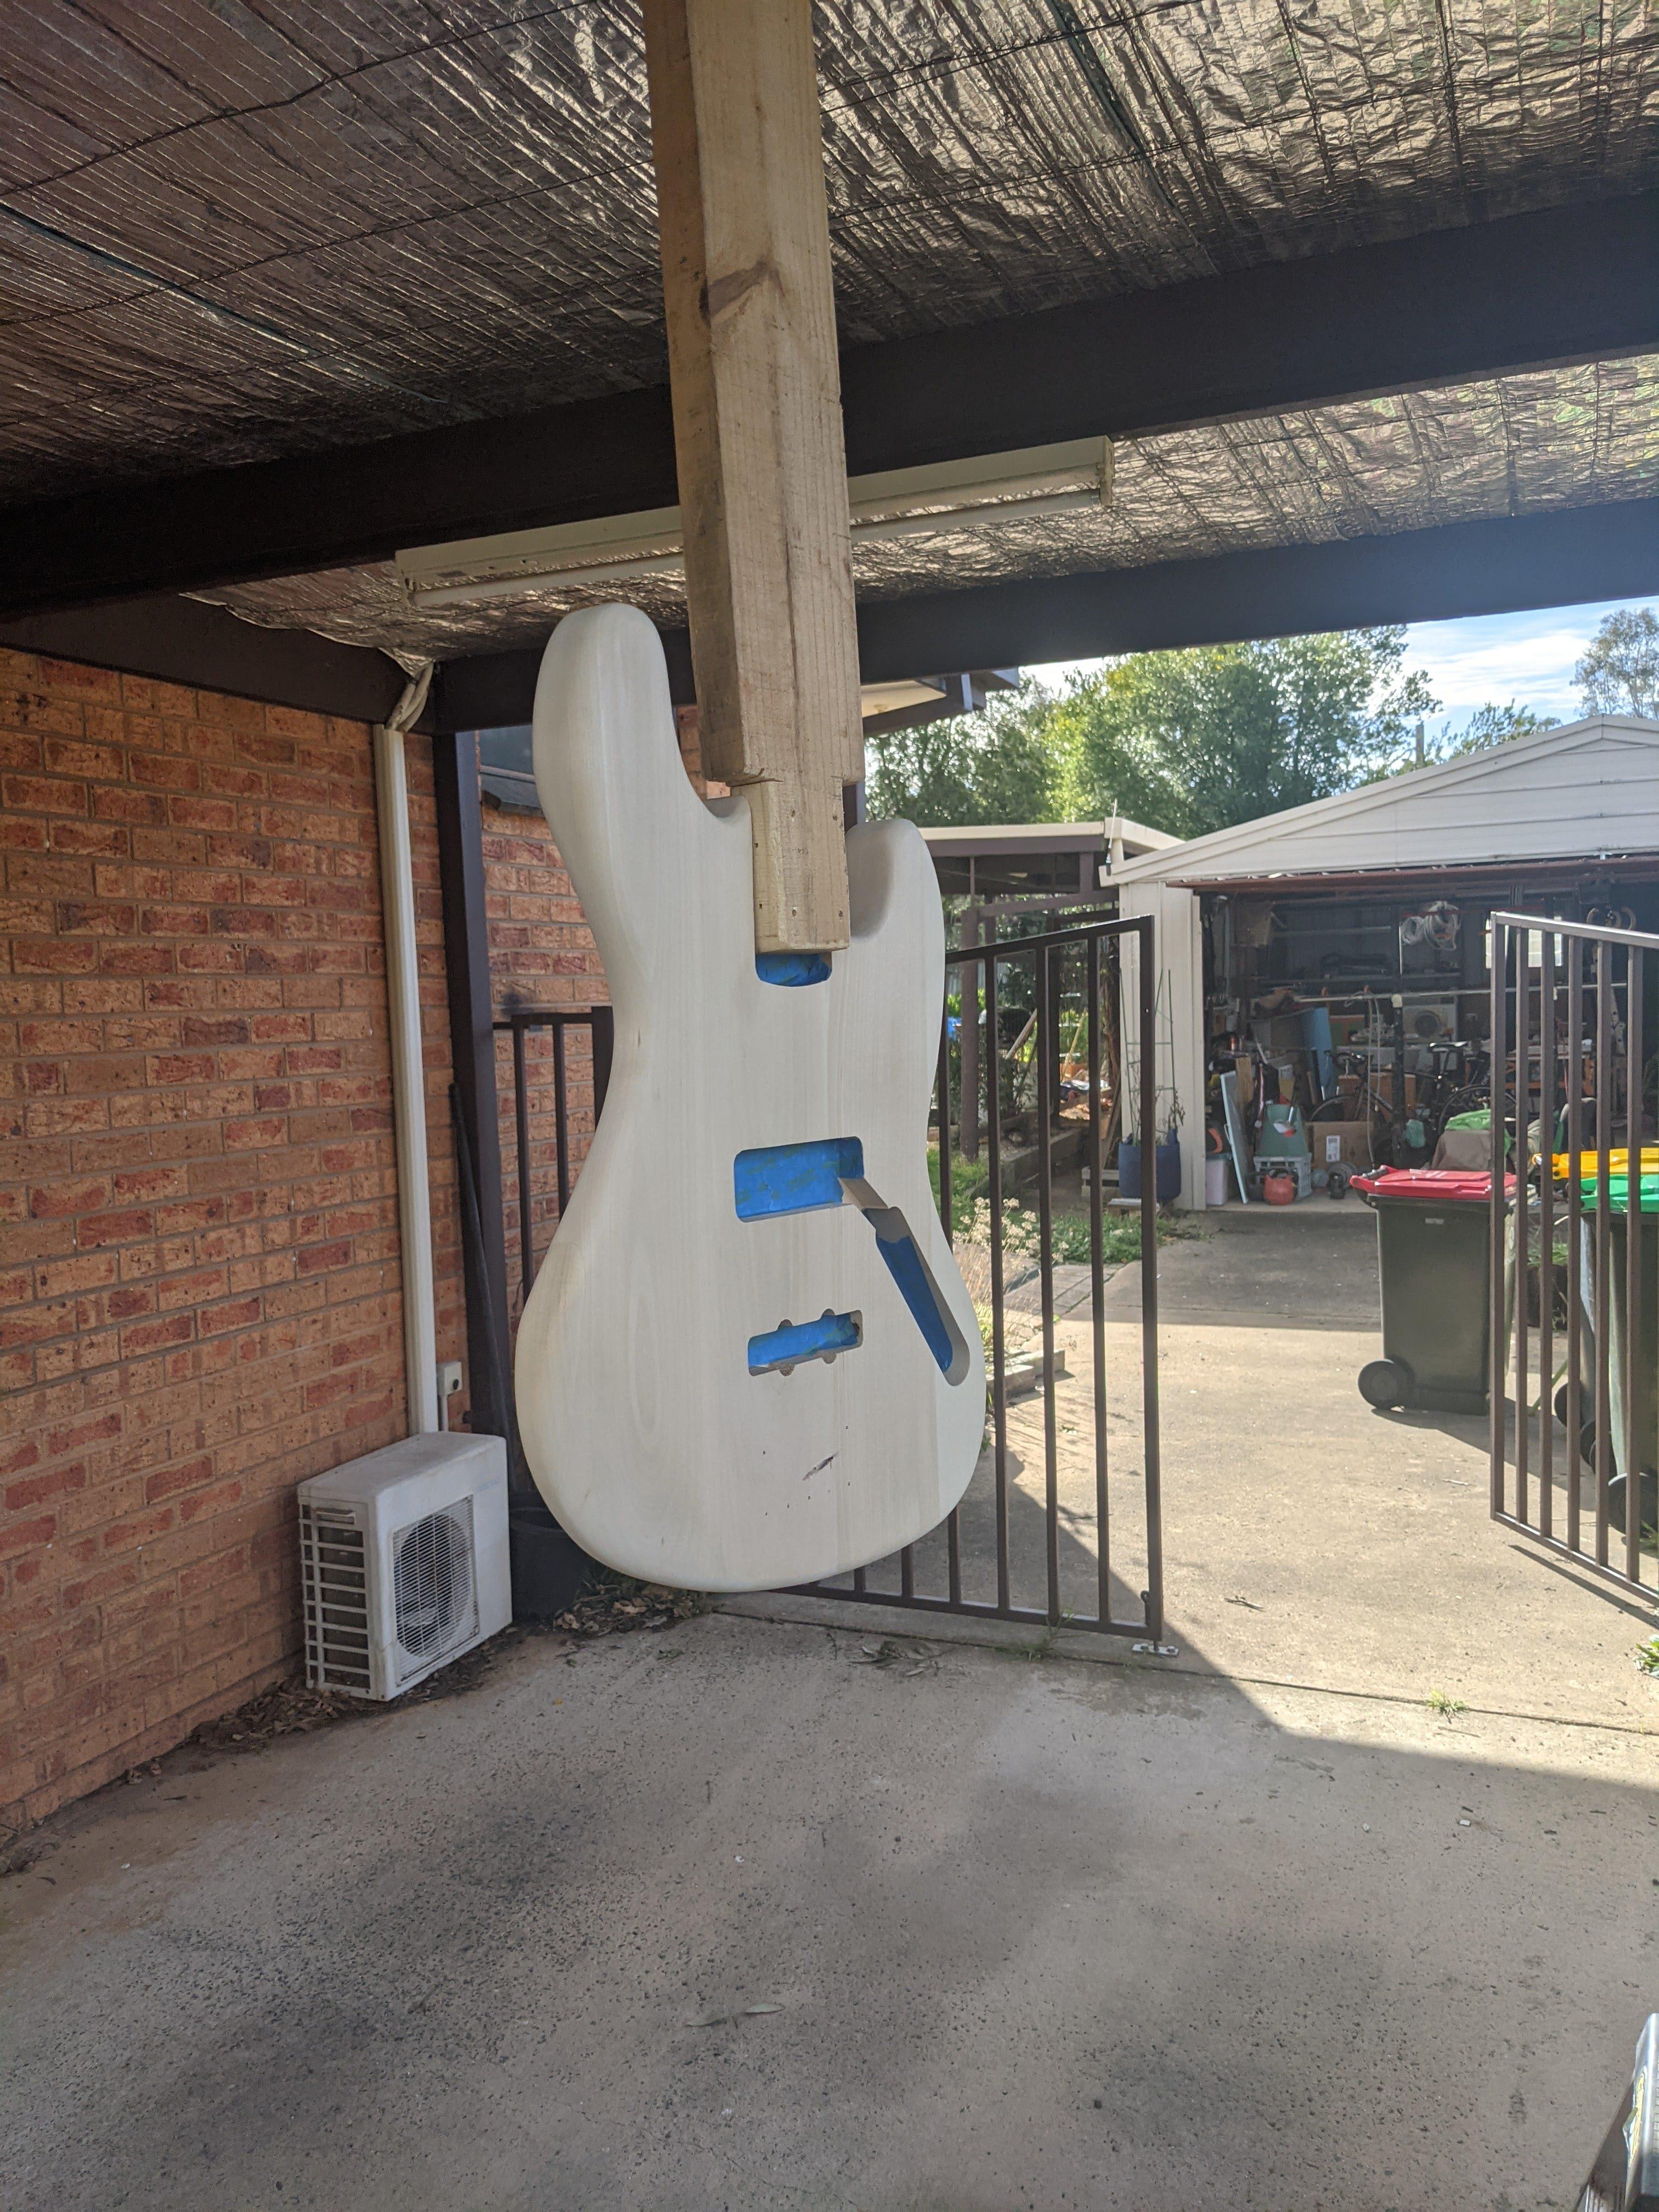
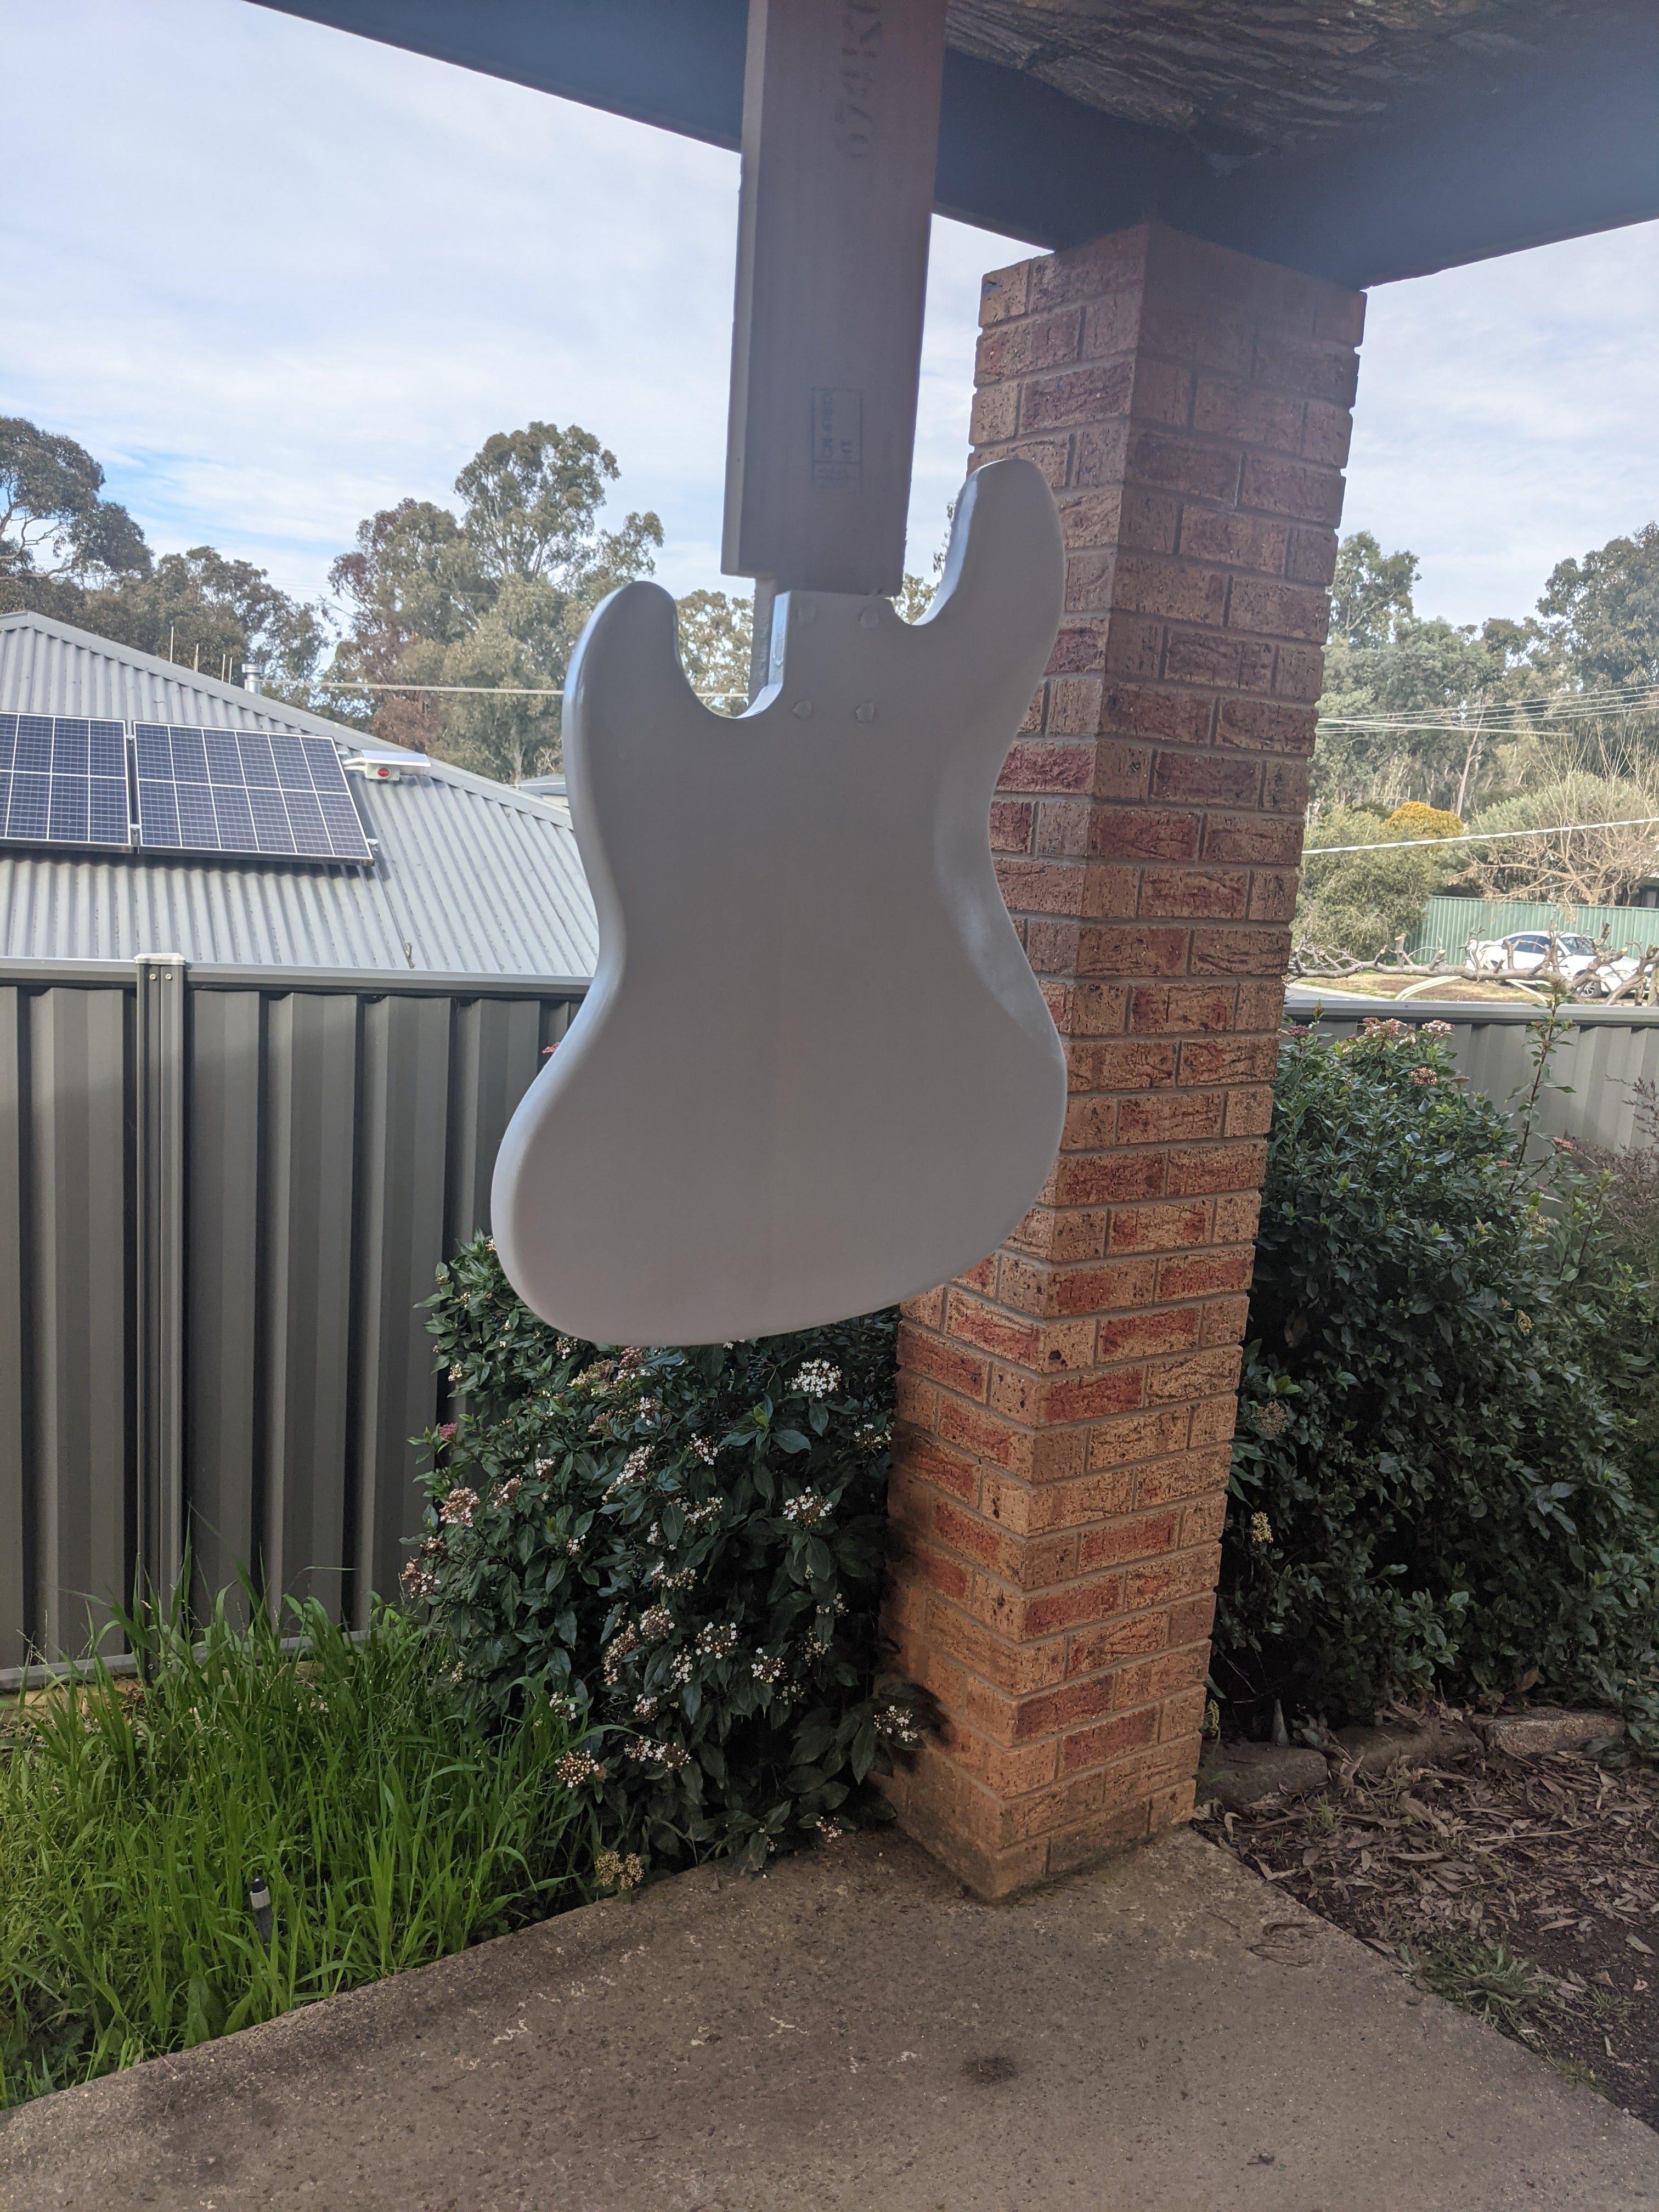
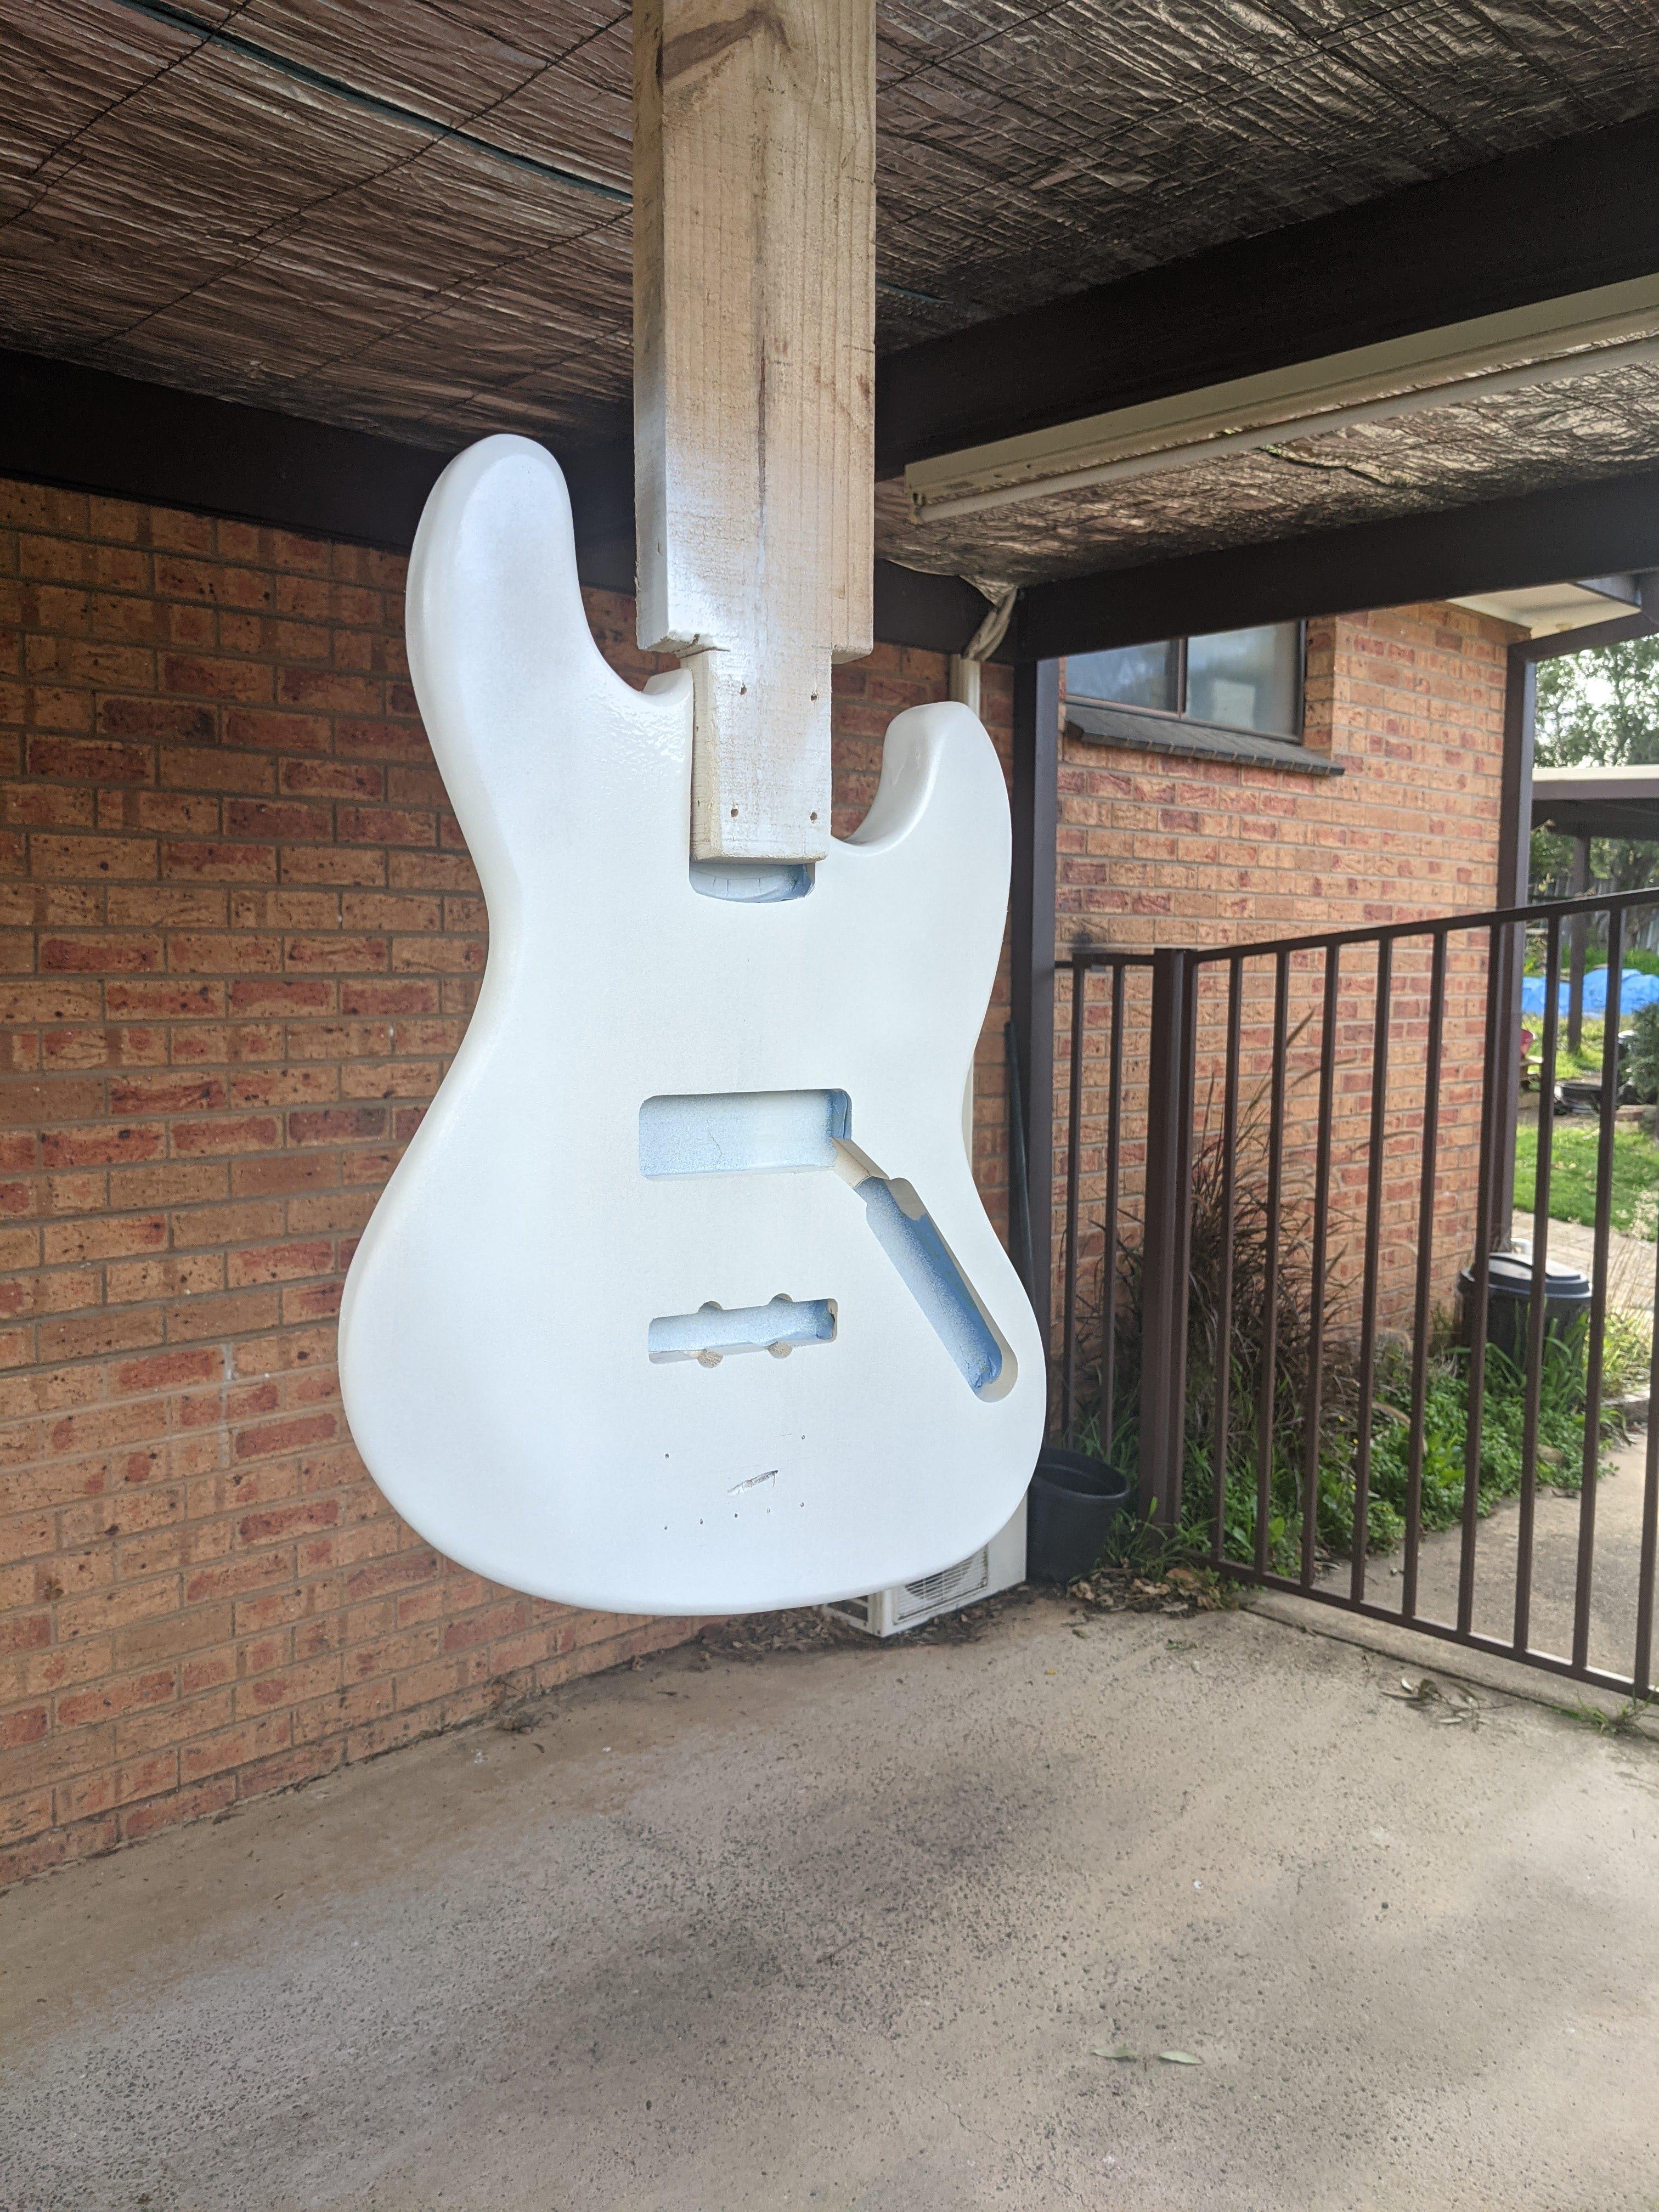
I primed the body!

As I mentioned in my last post, I had made a jig to hold the body so I could move around it to spray the primer on with. I hug it in my carport and went at it.
Before:
emPDtFL.jpg

DJF1es4.jpg

After:
Q4JnN9N.jpg

bVw3p3m.jpg


Overall, I think I did an okay job. Definitely could have been a bit more evenly applied, but I was only really able to see this after I took it down from it's drying hook today to sand back - some areas went back to the bare wood a lot easier than others. Having said that, not everything went back to bare wood, which I'm guessing is not something to worry about too much.

From here, I need to hit it with another coat of primer, let that dry and sand that back with 400-grit before starting with the top coat.

At this point, I've somewhat neglected the neck - or rather, I have set it aside and not worried about it just yet. But I think now's probably a good time to think about how to finish that. I think for the neck I will just do a natural wood finish - either just a clear coat, or a varnish for it.
Question about the neck - How have people gone about prepping and finally applying the finish to the back of the neck without getting it all over the fretboard? Is it just a case of masking it off and going from there, or is there some other form of dark arts that I've missed and am not thinking about?
Is it better to (brush) paint or spray the back of the neck?

Next steps from here:
- Shape headstock
- Finish the neck
- Second primer coat to body
 
Primer time is the time to get the body as flat as possible so there's no orange peel lumpiness to it. If the primer finish is flat, then you'll have a much easier time when sanding back the main colour finish. I'd try and leave a thin coat of primer all over the body once it's flat, rather than leave any wood exposed, as bare wood will undoubtedly want to suck in the finish a bit, leaving it uneven.

It is normal to put finish on the side of a rosewood (or similar) fretboard, just not the top of the board. I just apply masking tape between the frets, cut that off level with the edge of the board with a scalpel, then run masking tape along the length of the board to cover the frets.

I always spray the neck and headstock. Much easier and as the maple is non-porous, it goes on pretty evenly so there's not a lot of sanding it level to do before polishing. I tend to spray my necks when they are flat. First the face of the headstock, and let that dry for a bit so that it won't run at at when moved, then I turn it over with the headstock over the edge of a table and the neck resting on the masked-off board, then spray the rest. You can certainly spray the neck when it's hanging up, but I do prefer to spray the flat surfaces when they are laying flat if possible, as there is less likelihood of runs.
 
Looking good. Although next time, I'd a use a bigger board :p.


Just kidding of course!
Actually I would have either gone with a smaller piece of timber, or cut it so the sides of the "neck" portion are longer (if that makes sense).

My point being that spraying the inside of the horns can be a tricky area to get a good paint depth with any jig, but that jig board width and thickness compound the problem. You will have needed to spray at an odd angle (especially the top horn) and I doubt there there will have been a an equal amount of paint deposited inside those horns as the flat surfaces. It could be as thin as just a dusting.

The inside and outside edges of the horns are notorious areas for having sand-throughs.

You may want to consider recoating those areas with primer, and absolutely fix/modify your jig before the colour base coat if you want to avoid the frustration and heartache of sand-through later.
 
Last edited:
Thank you to everyone who pointed out that I didn't quite hit the "n" key hard enough for my laptop to recognise the keystroke when typing out my last post. Something something hand moving too fast for my brain to keep up, or something. :p:D

Thanks to Simon for the tips on finishing the neck. I've got some painter's tape, which I'll use to mask off the fretboard.

McCreed, Not sure I follow re: the jig. I do, however recognise what you are saying about the horns. I didn't find it particularly frustrating to get the paint in there, but that could purely be down to beginner's luck more than anything else. If anything, I might just need to use a couple of longer lengths of rope so that it hangs a touch lower.
Funnily enough, the bare wood seems to be more on the flat surfaces rather than the sides/horns. I did use a 320-grit sanding sponge, rather than actual sandpaper - haven't yet found any at that grade yet!

I do have at least one more coat of primer to put on, but before that, I may go back one grade of sandpaper and sand the first coat back further before hitting it again, perhaps. I've got plenty of primer, just in case!
 
You’ll need to switch to wet and dry sandpaper for the finer grits, P240 and above. Standard sandpaper normally stops around P180.
 
Back
Top