Build #1: DTL-1 (American Ash body)

craig747400

Member
Hi folks,

Time to start a build diary.

I bought this kit for myself as a 50th birthday gift. My Dad has Triton workbenches, a scroll saw, etc, so I will be building it at his place. He has just finished chemo, so this will keep him mildly amused (along with me) whilst he recovers his energy etc over the next few months.

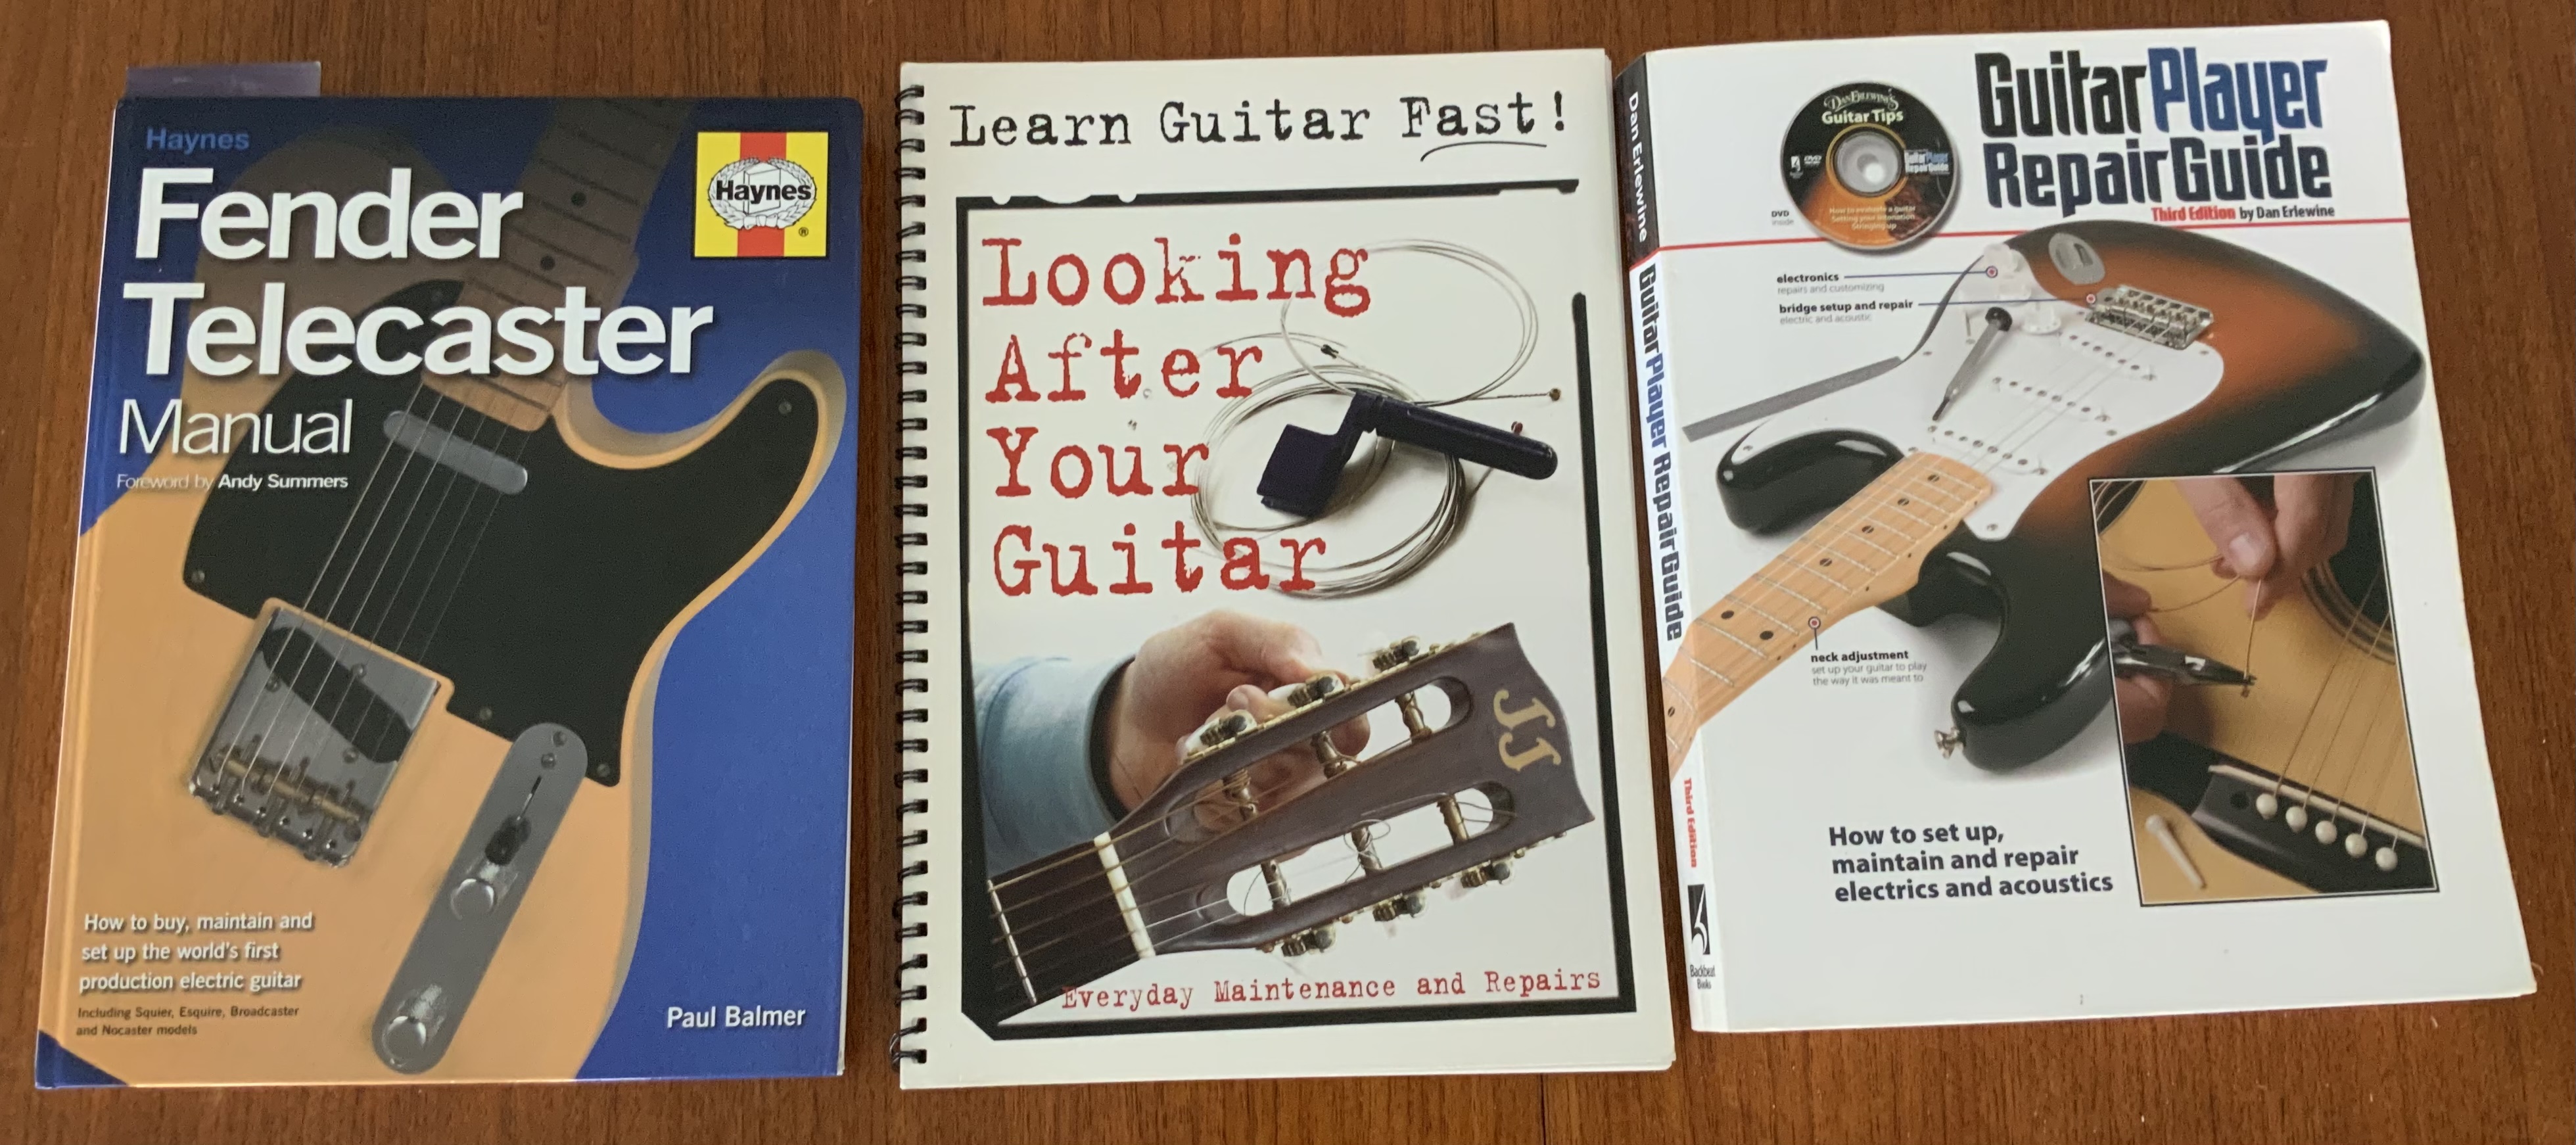
As I mentioned in my welcome post, I have a wee guitar collection, and have been wanting to build a guitar for years (but never had a workshop). Hence, moving back home to Brisbane has given me access to my Dad’s set-up. I’ve been researching a fair while, and bought the odd book (including these):
ejXtyFb.jpg


My packaging was all in good shape when it arrived, but still awaiting the decals and shielding that were missing. I have ordered the extra following stuff:
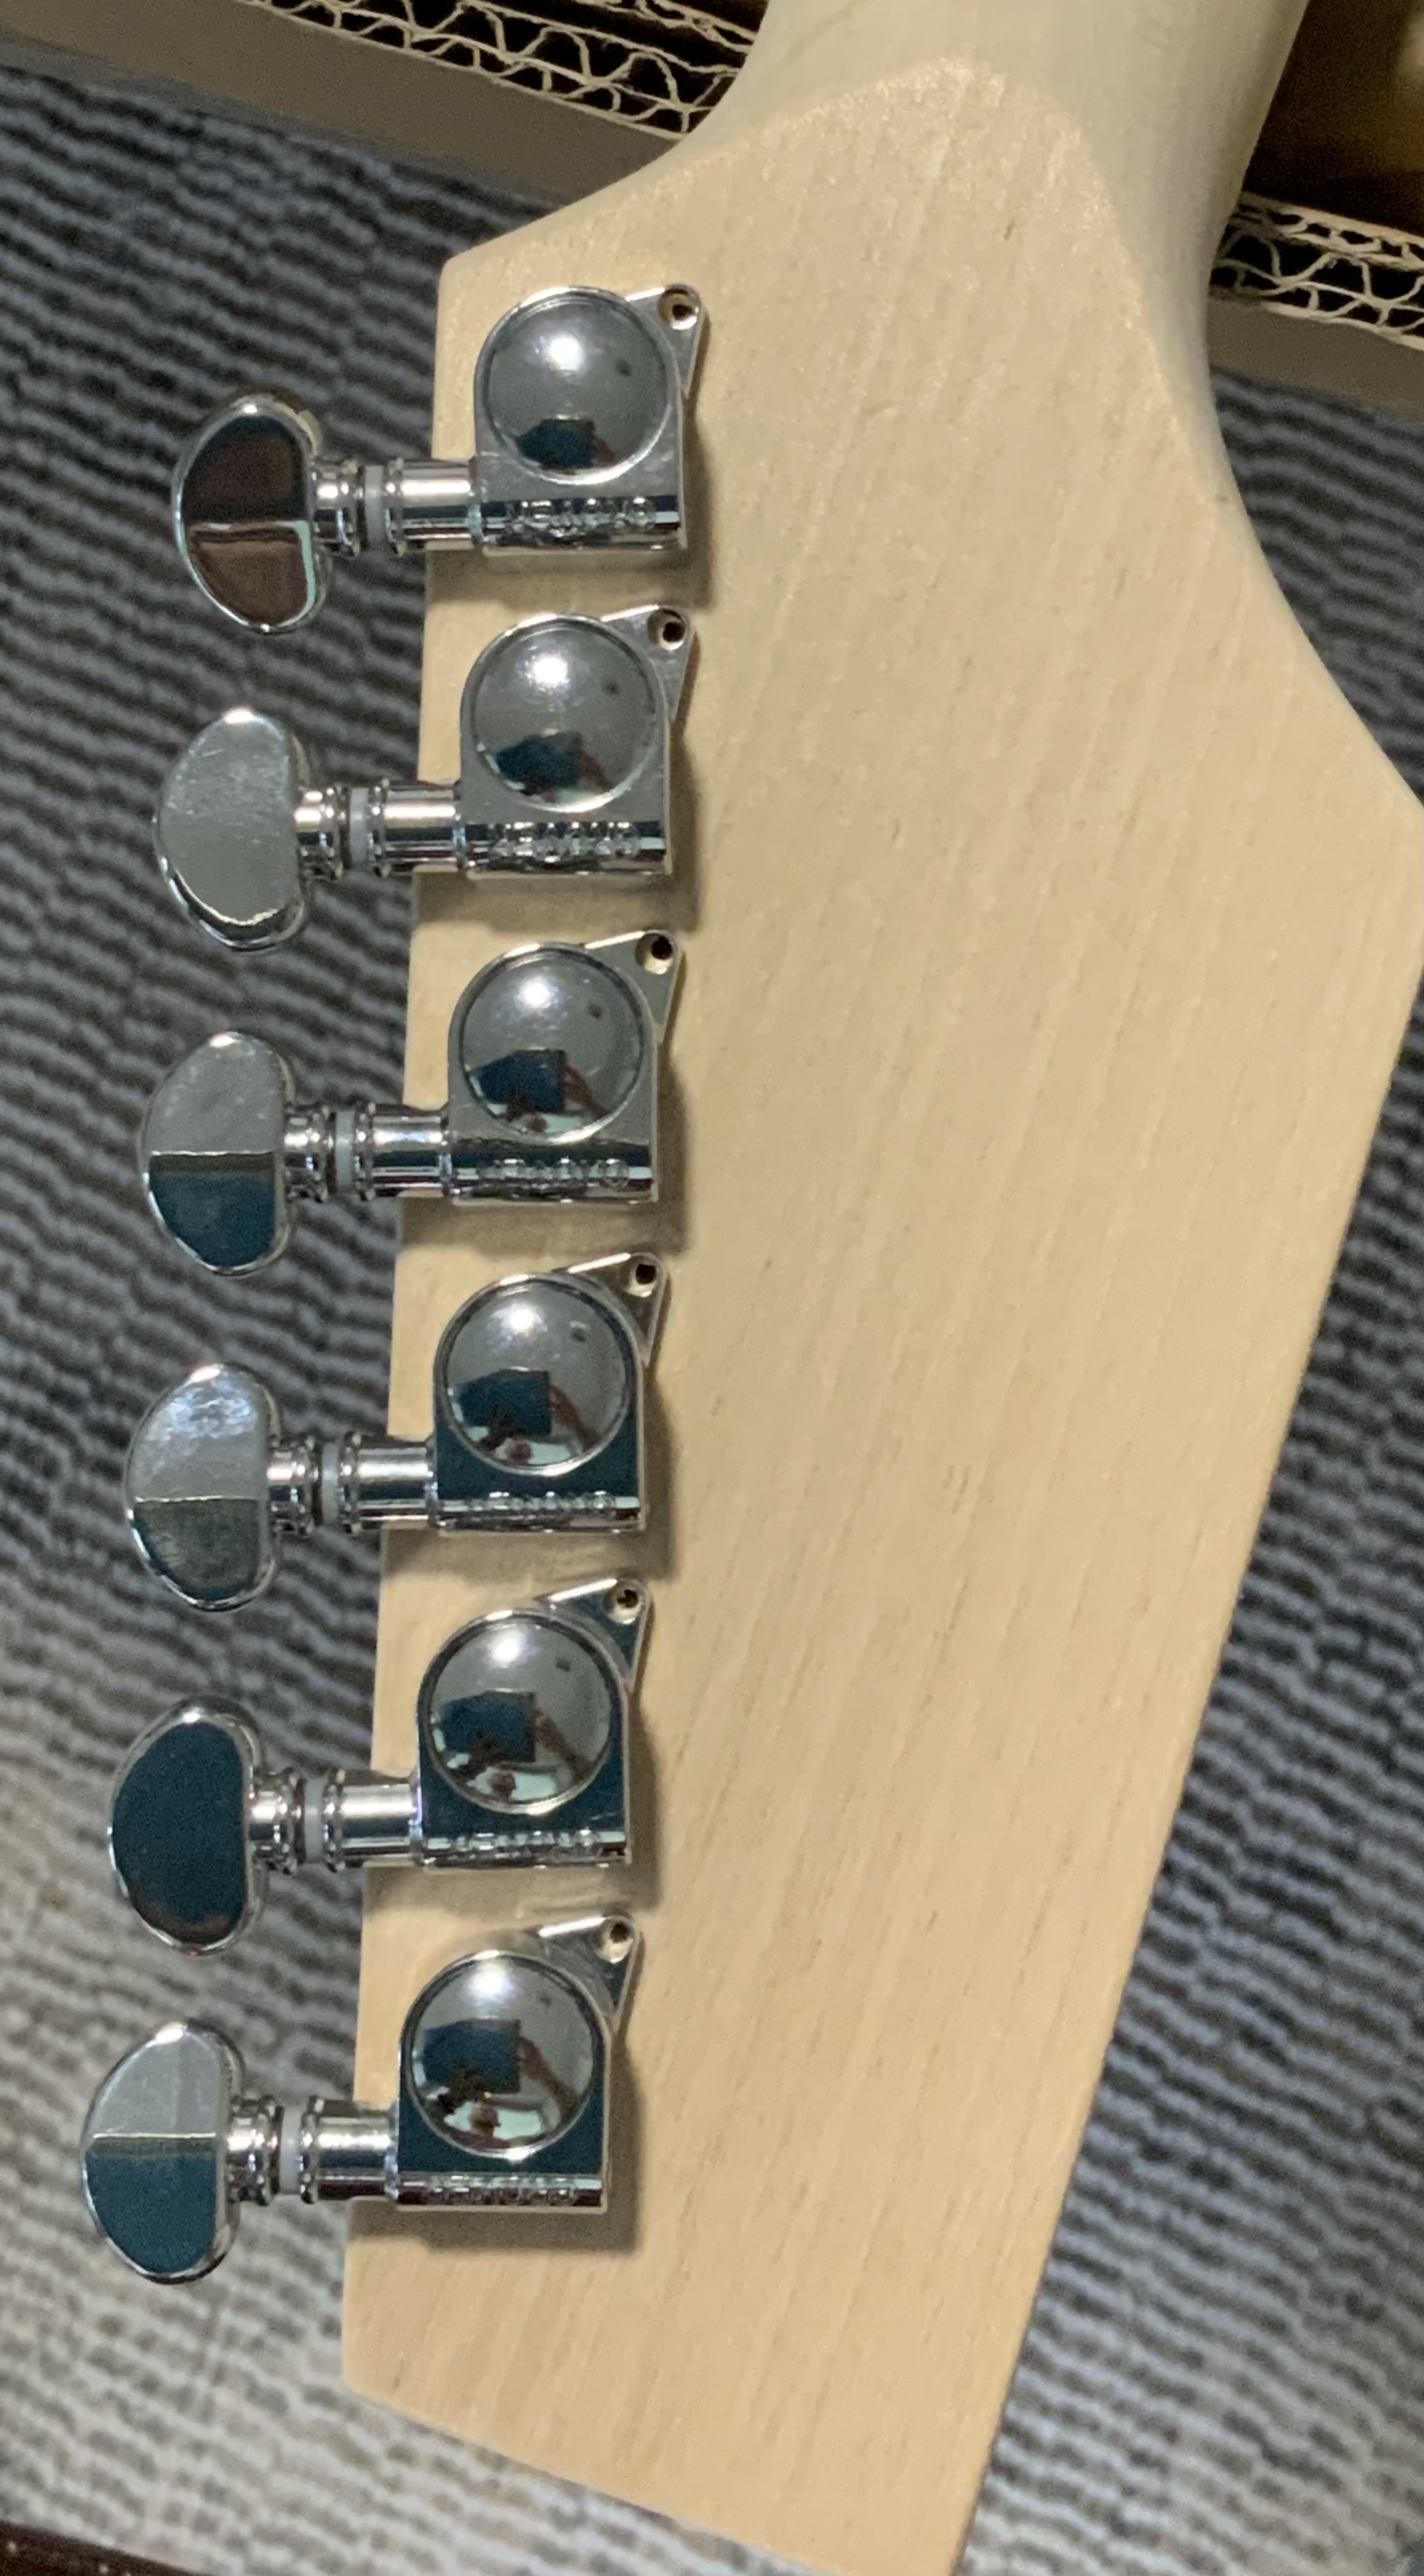
- Grover tuners
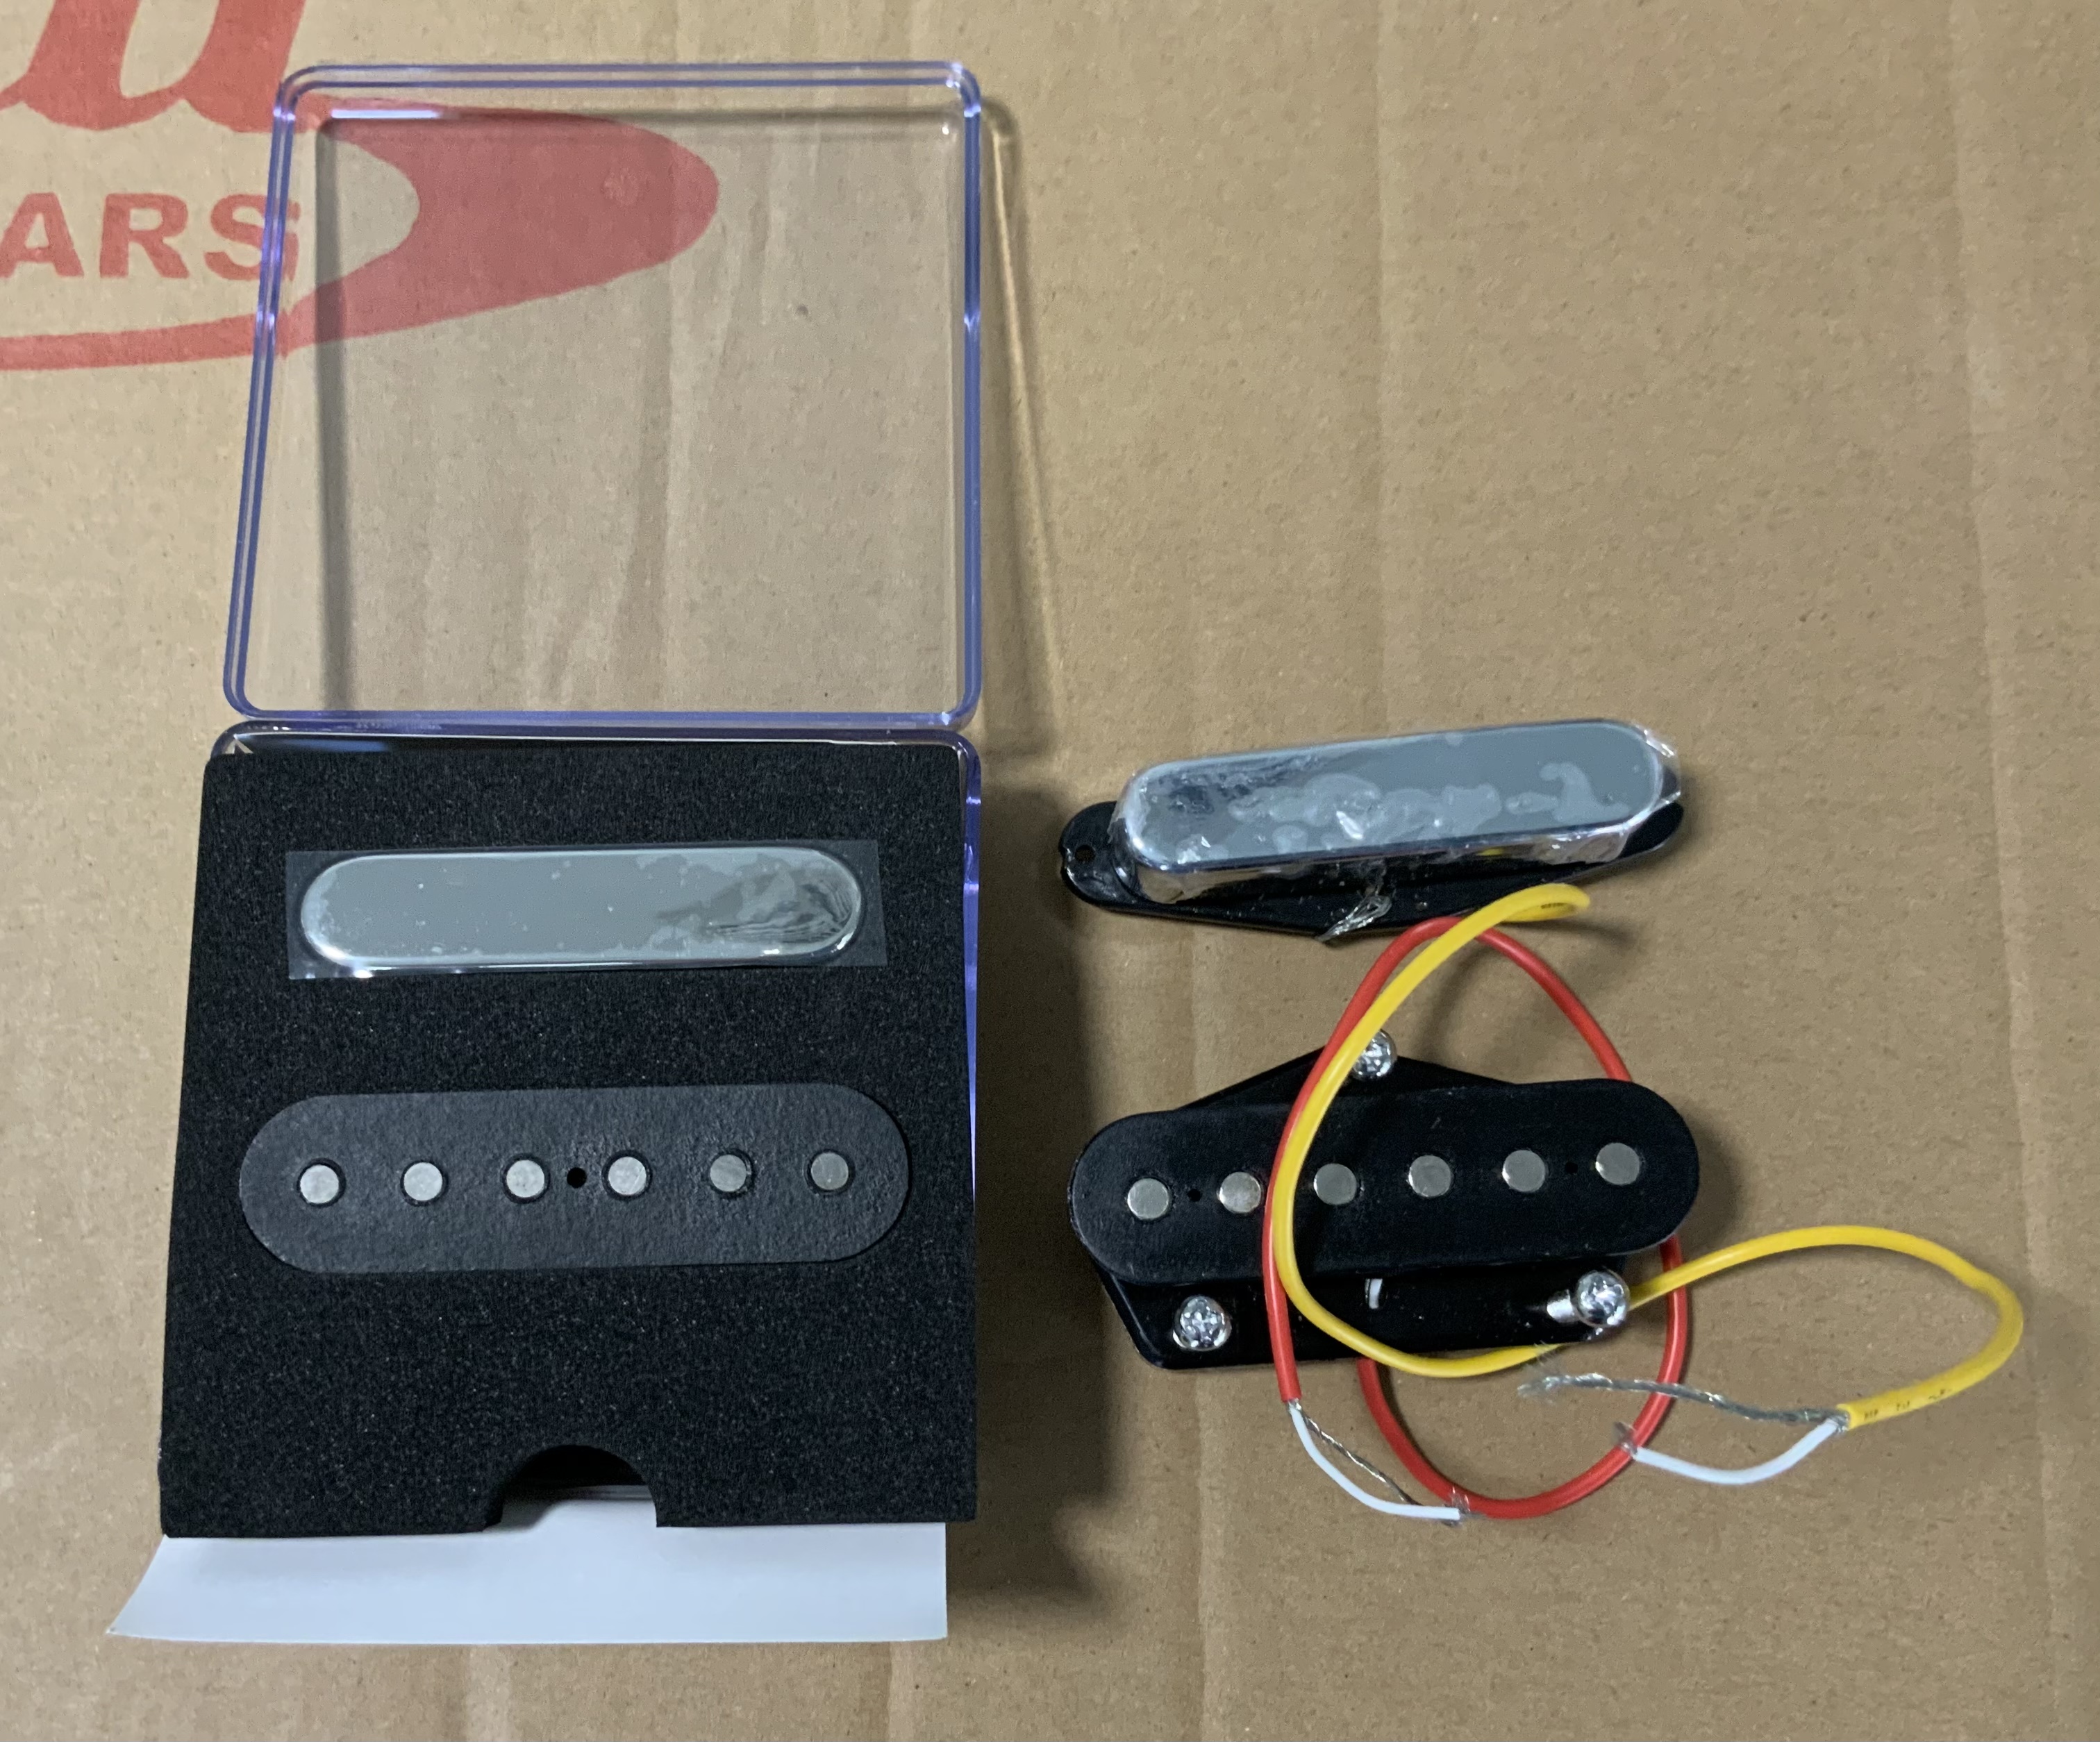
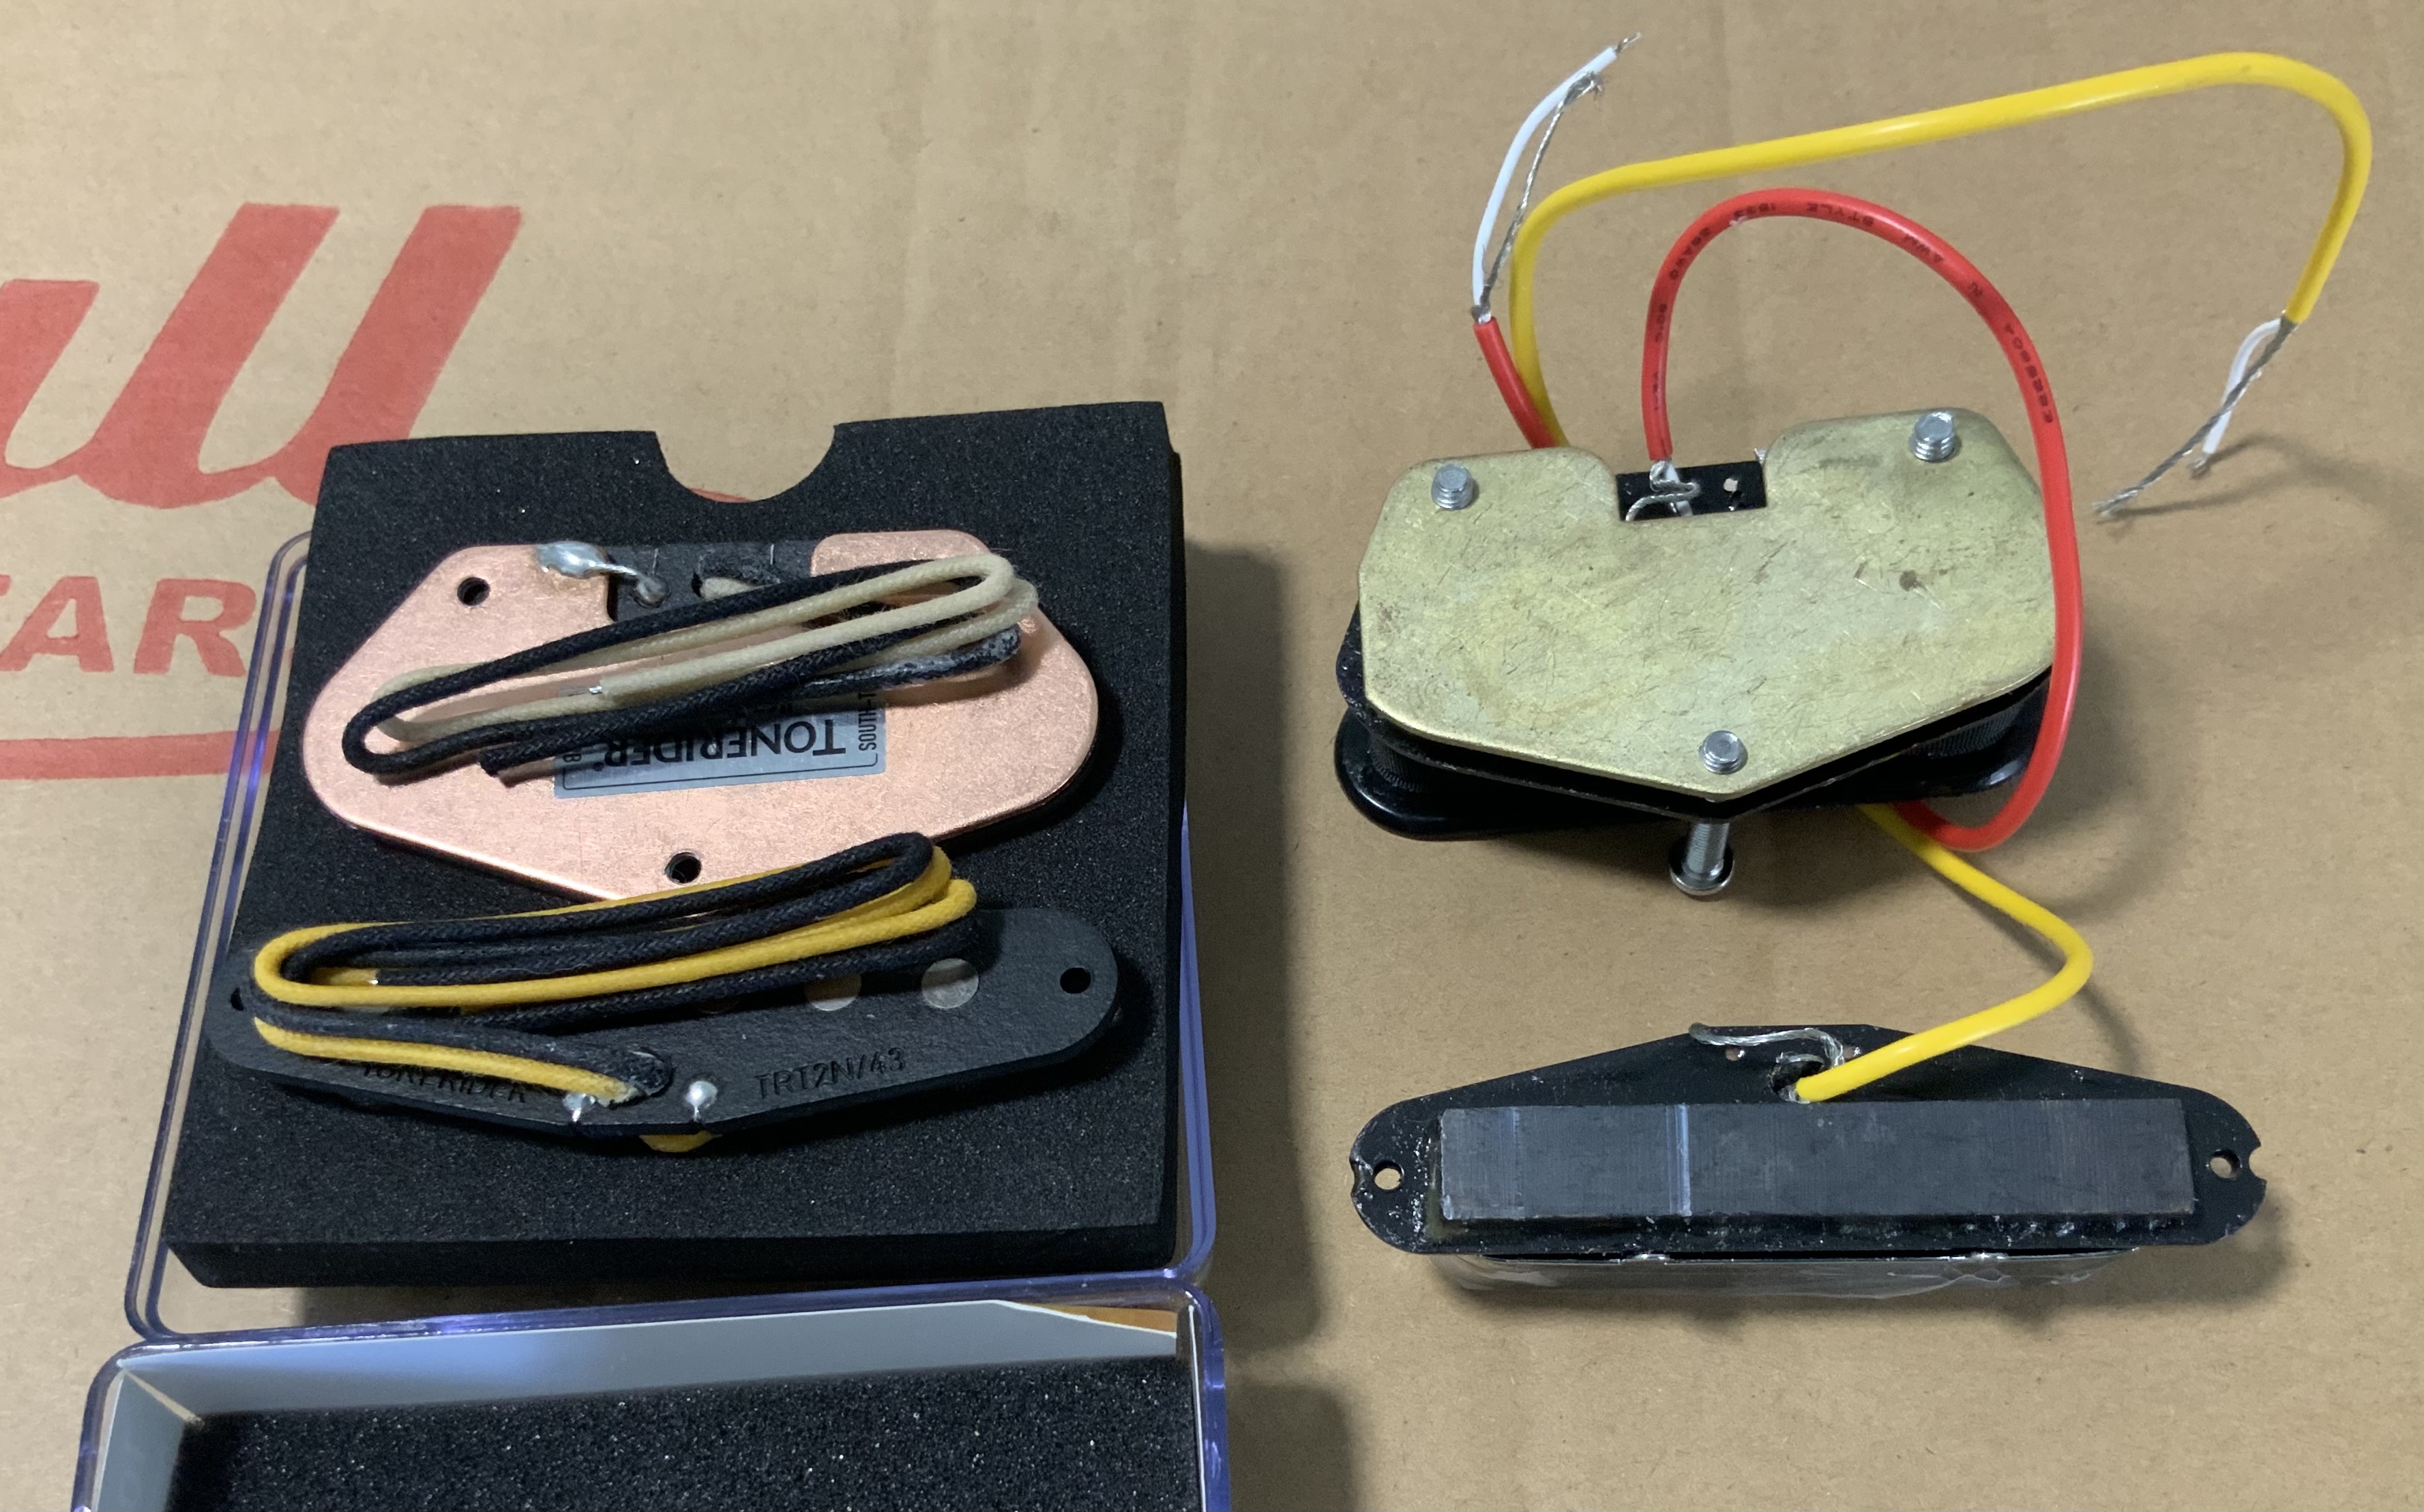
- Telerider ‘Hot Classics’ pickups
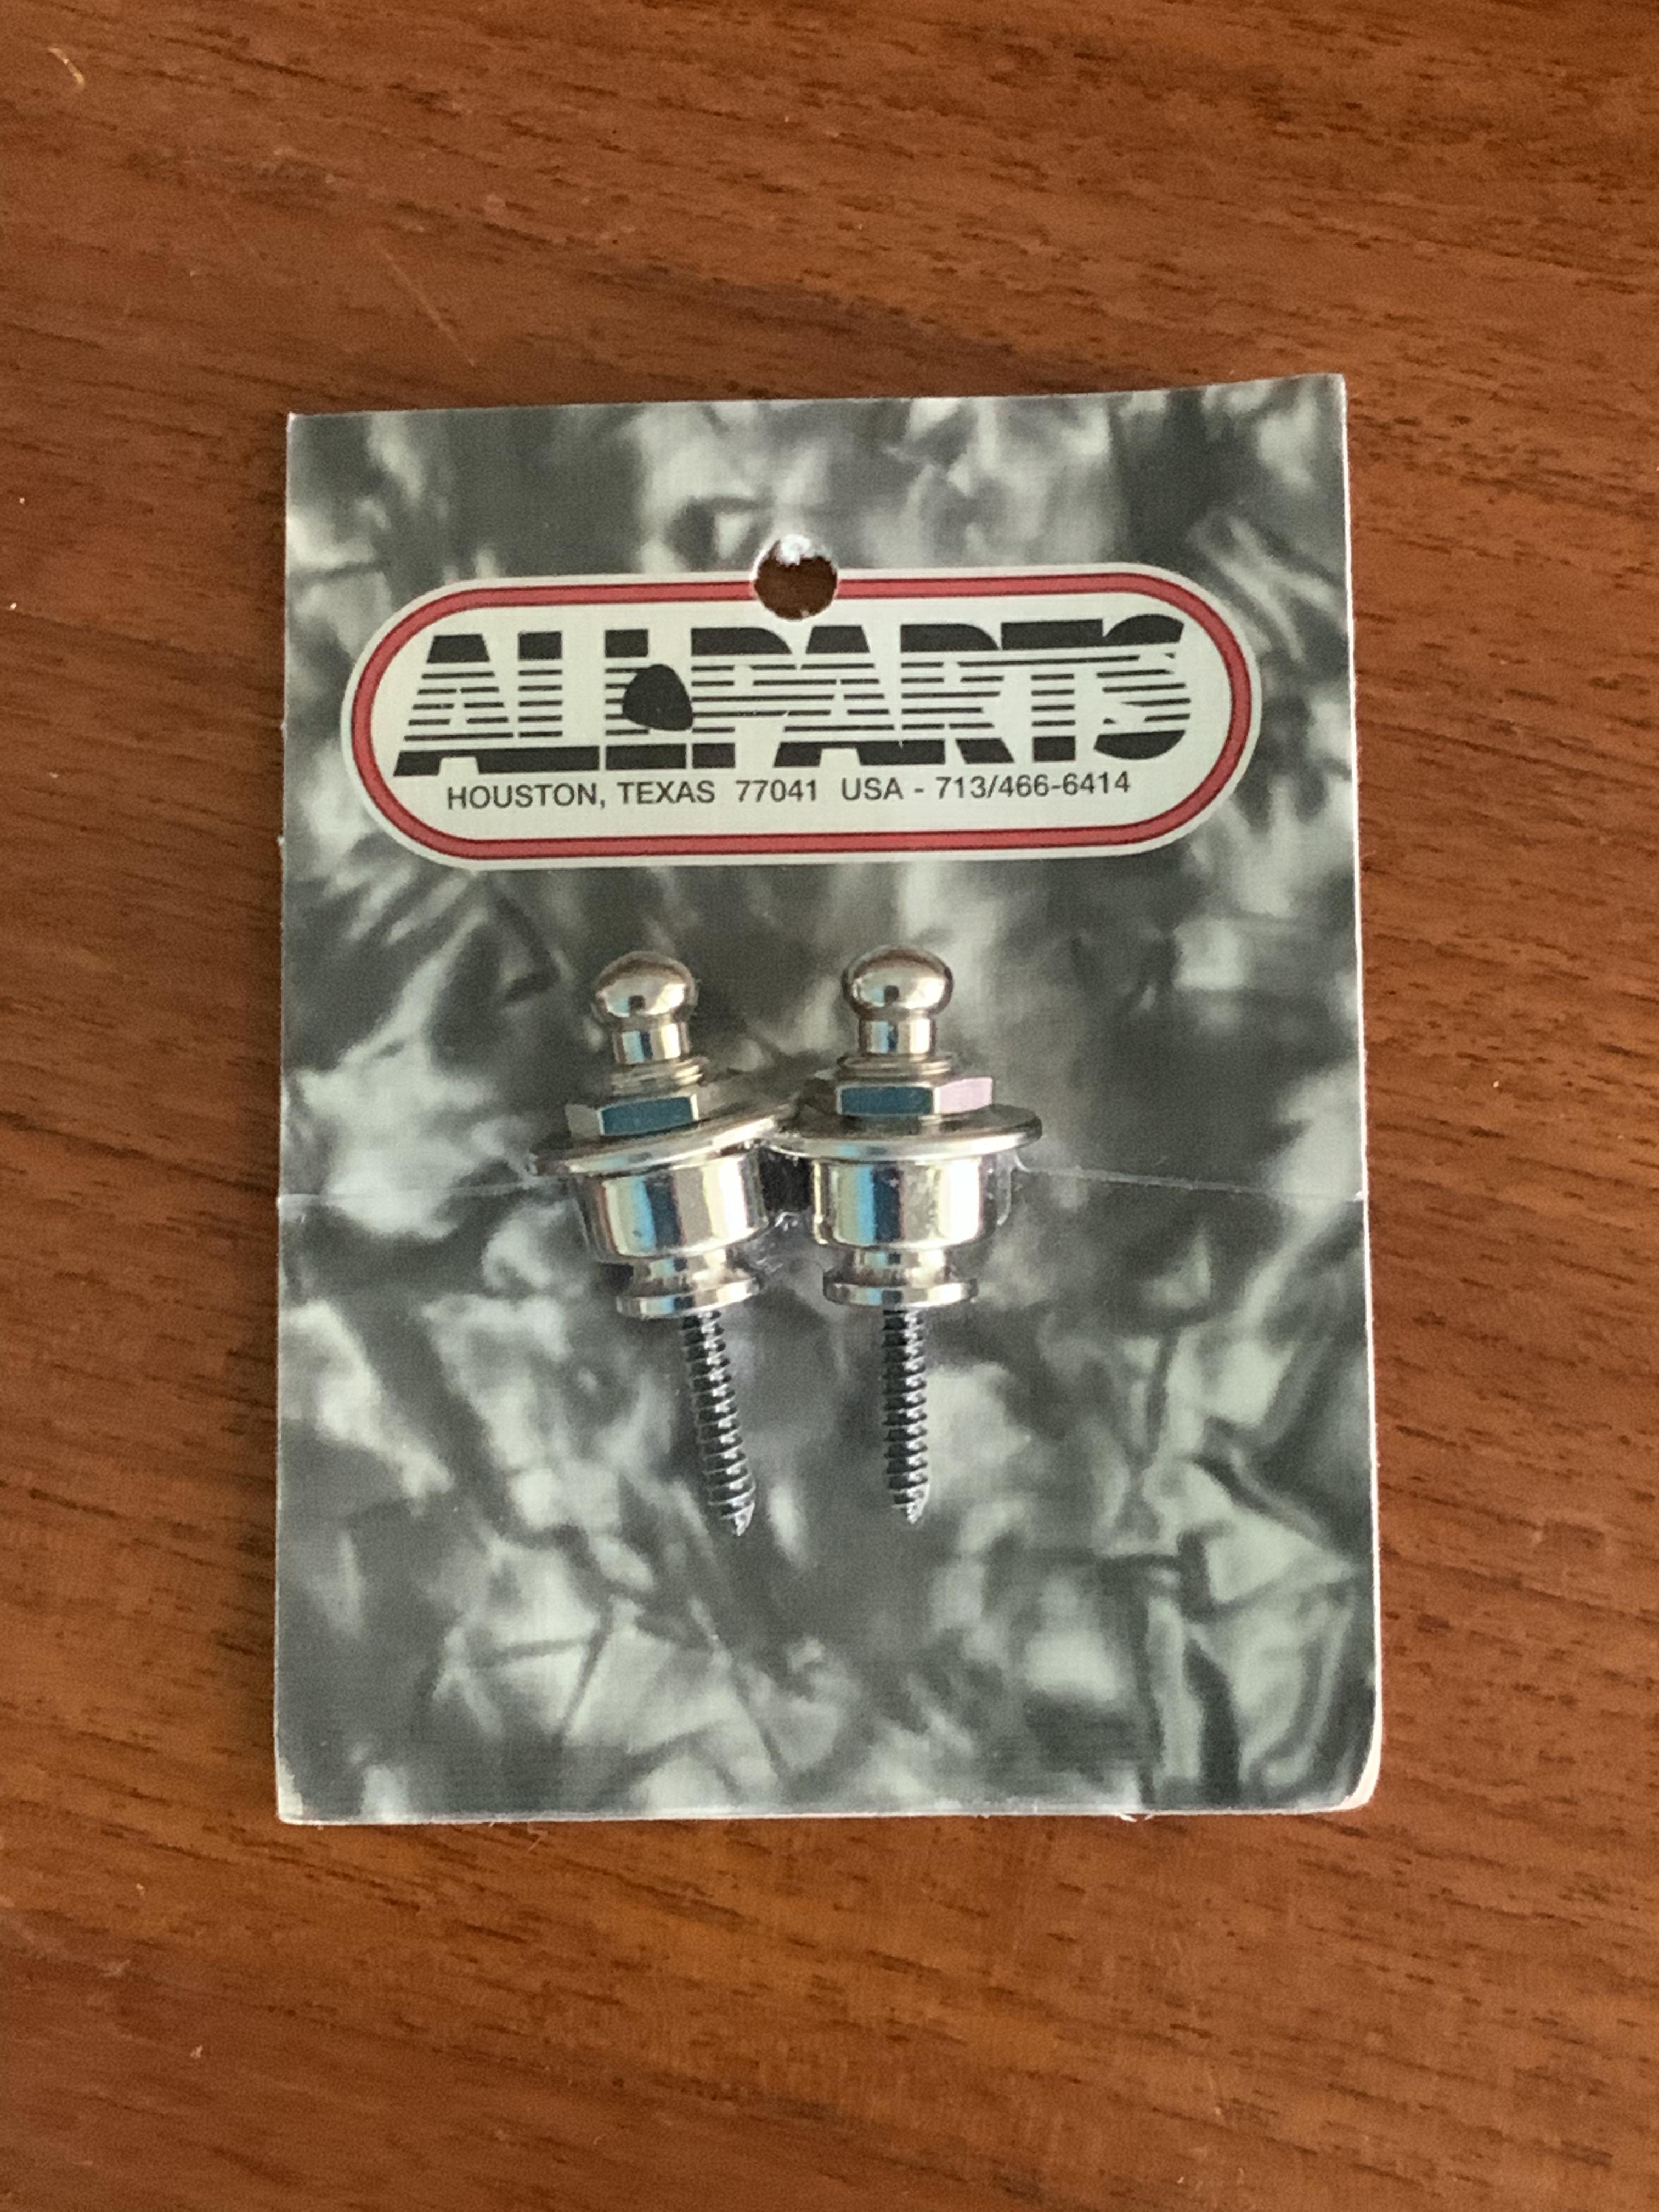
- Allparts ‘Schaller-style’ strap locks
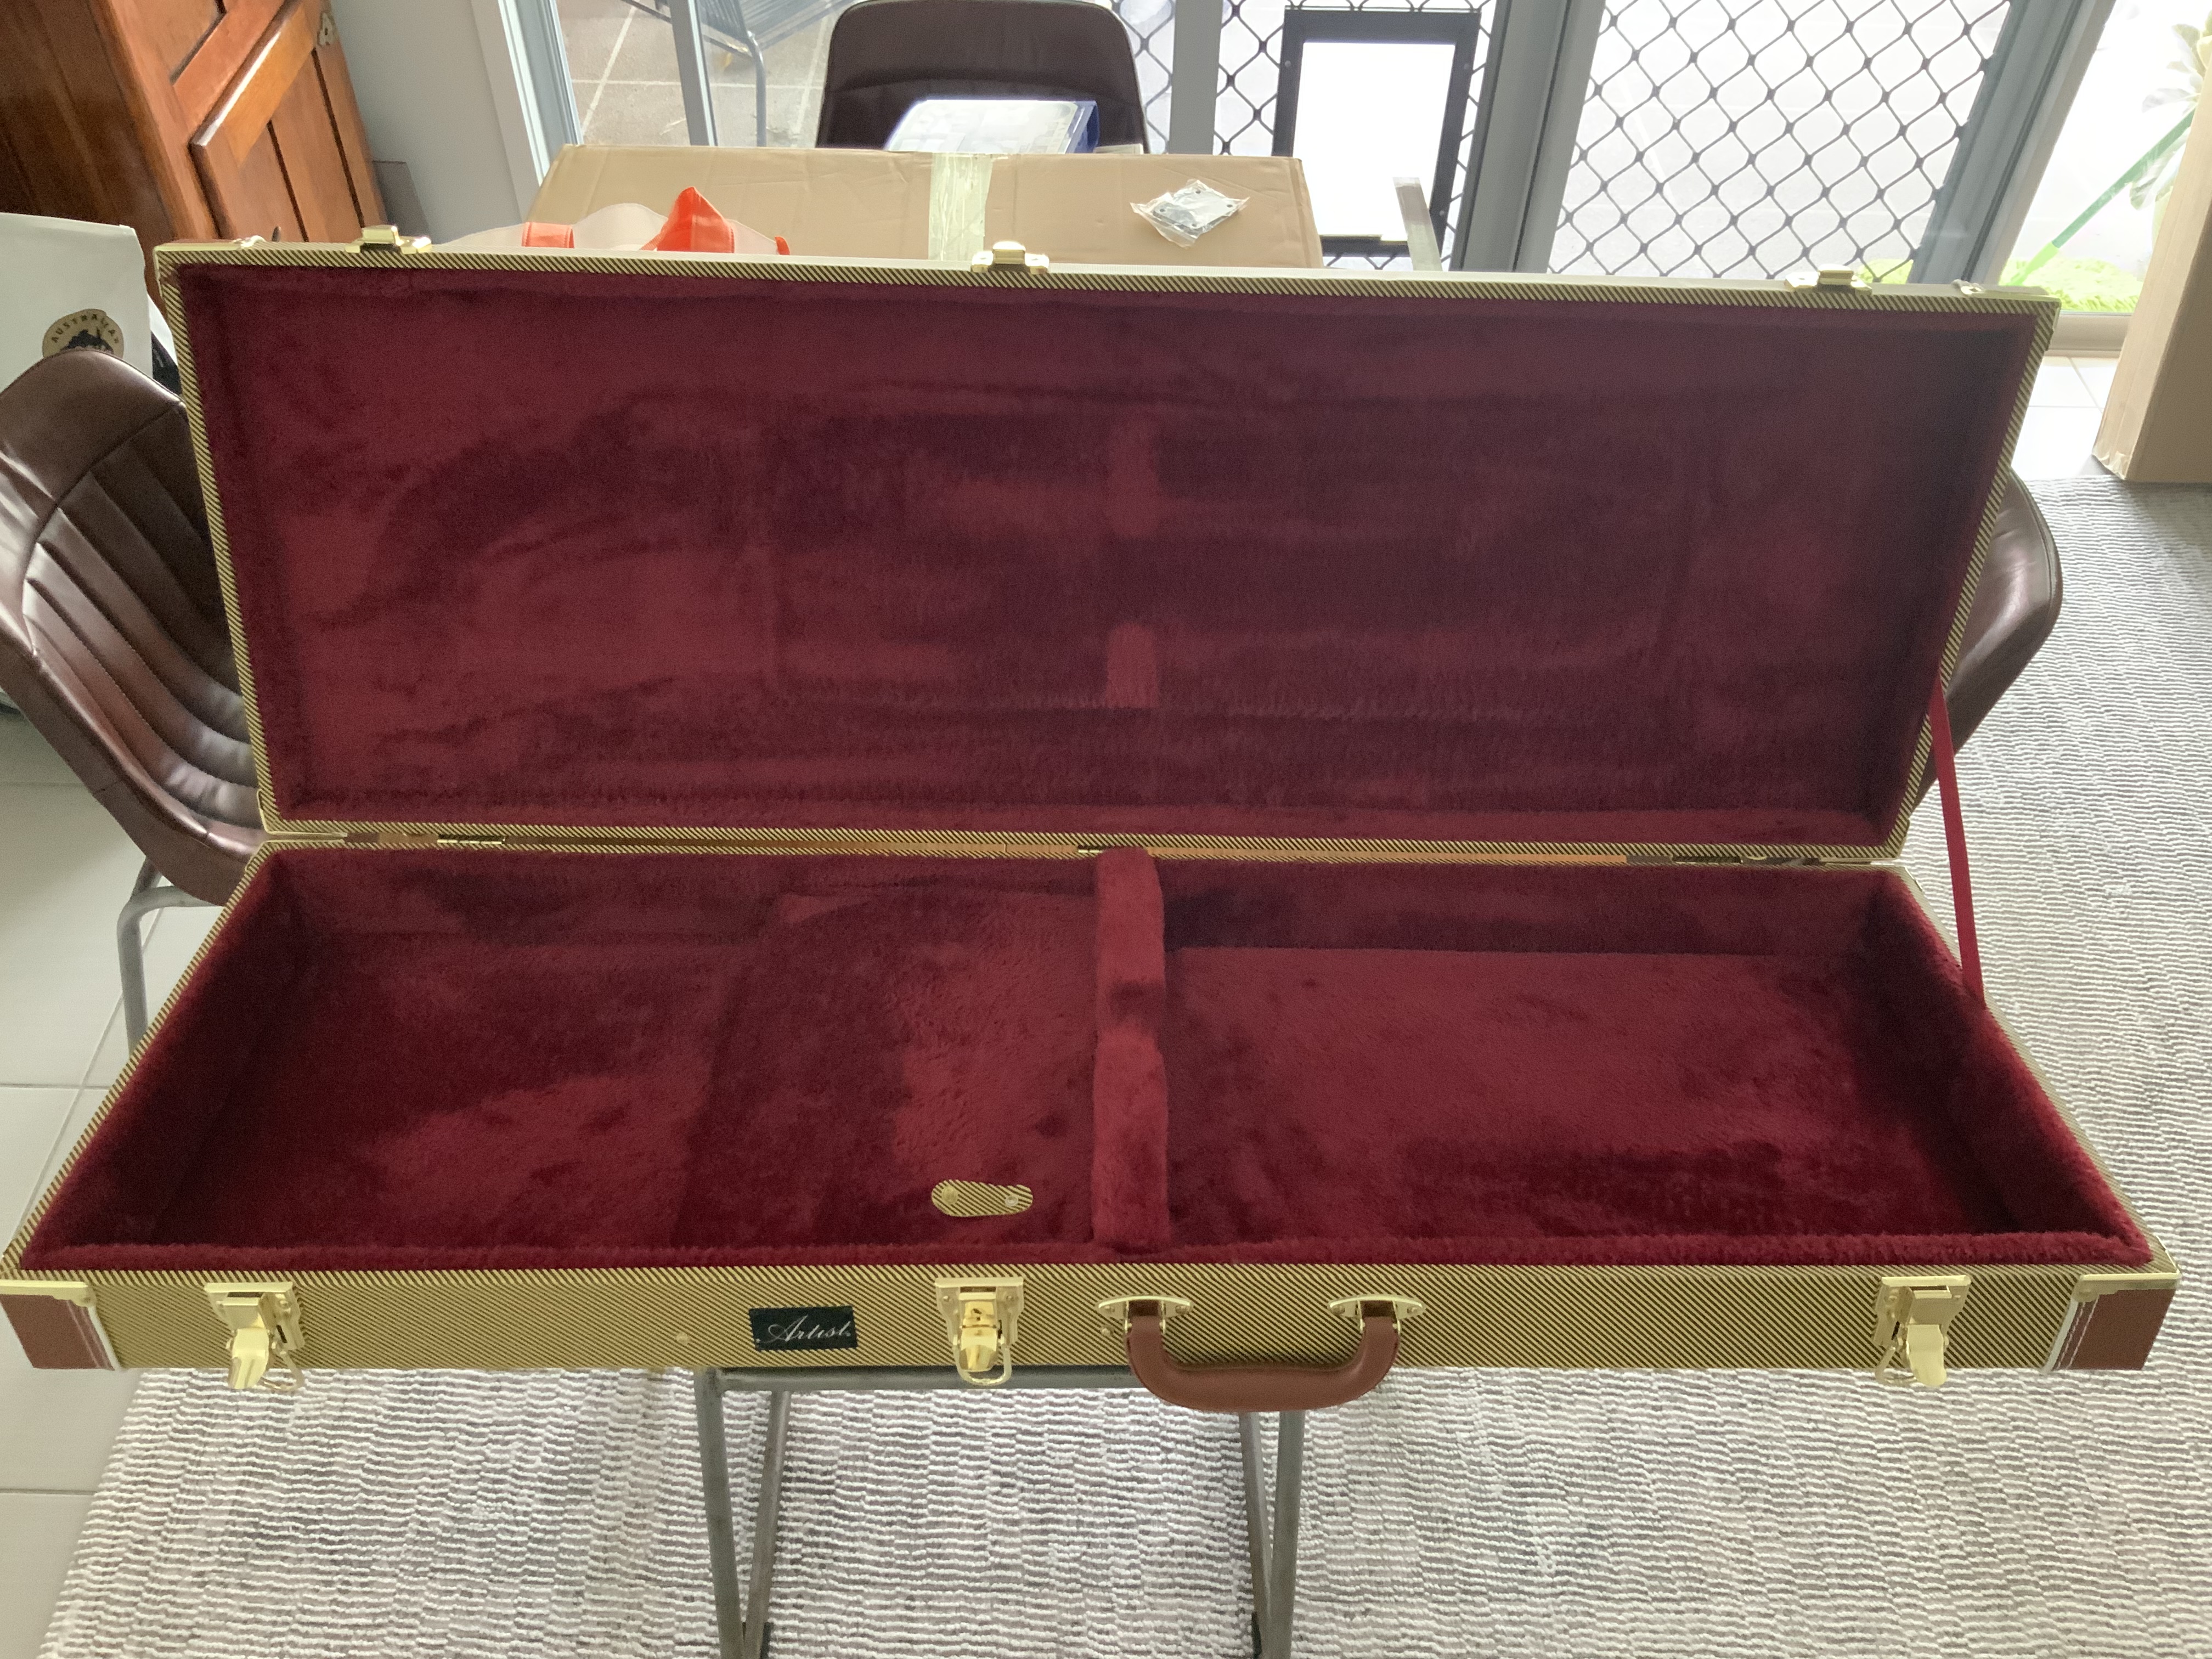
- ‘Artist’ tweed hard case
- Bone nut
- Copper shielding tape
- Guyker compensated brass saddles
- Through-body ferrules
KV0G4vb.jpg

j0aq1C5.jpg

XWRhWZF.jpg

7FvB02N.jpg

qNBJfRi.jpg


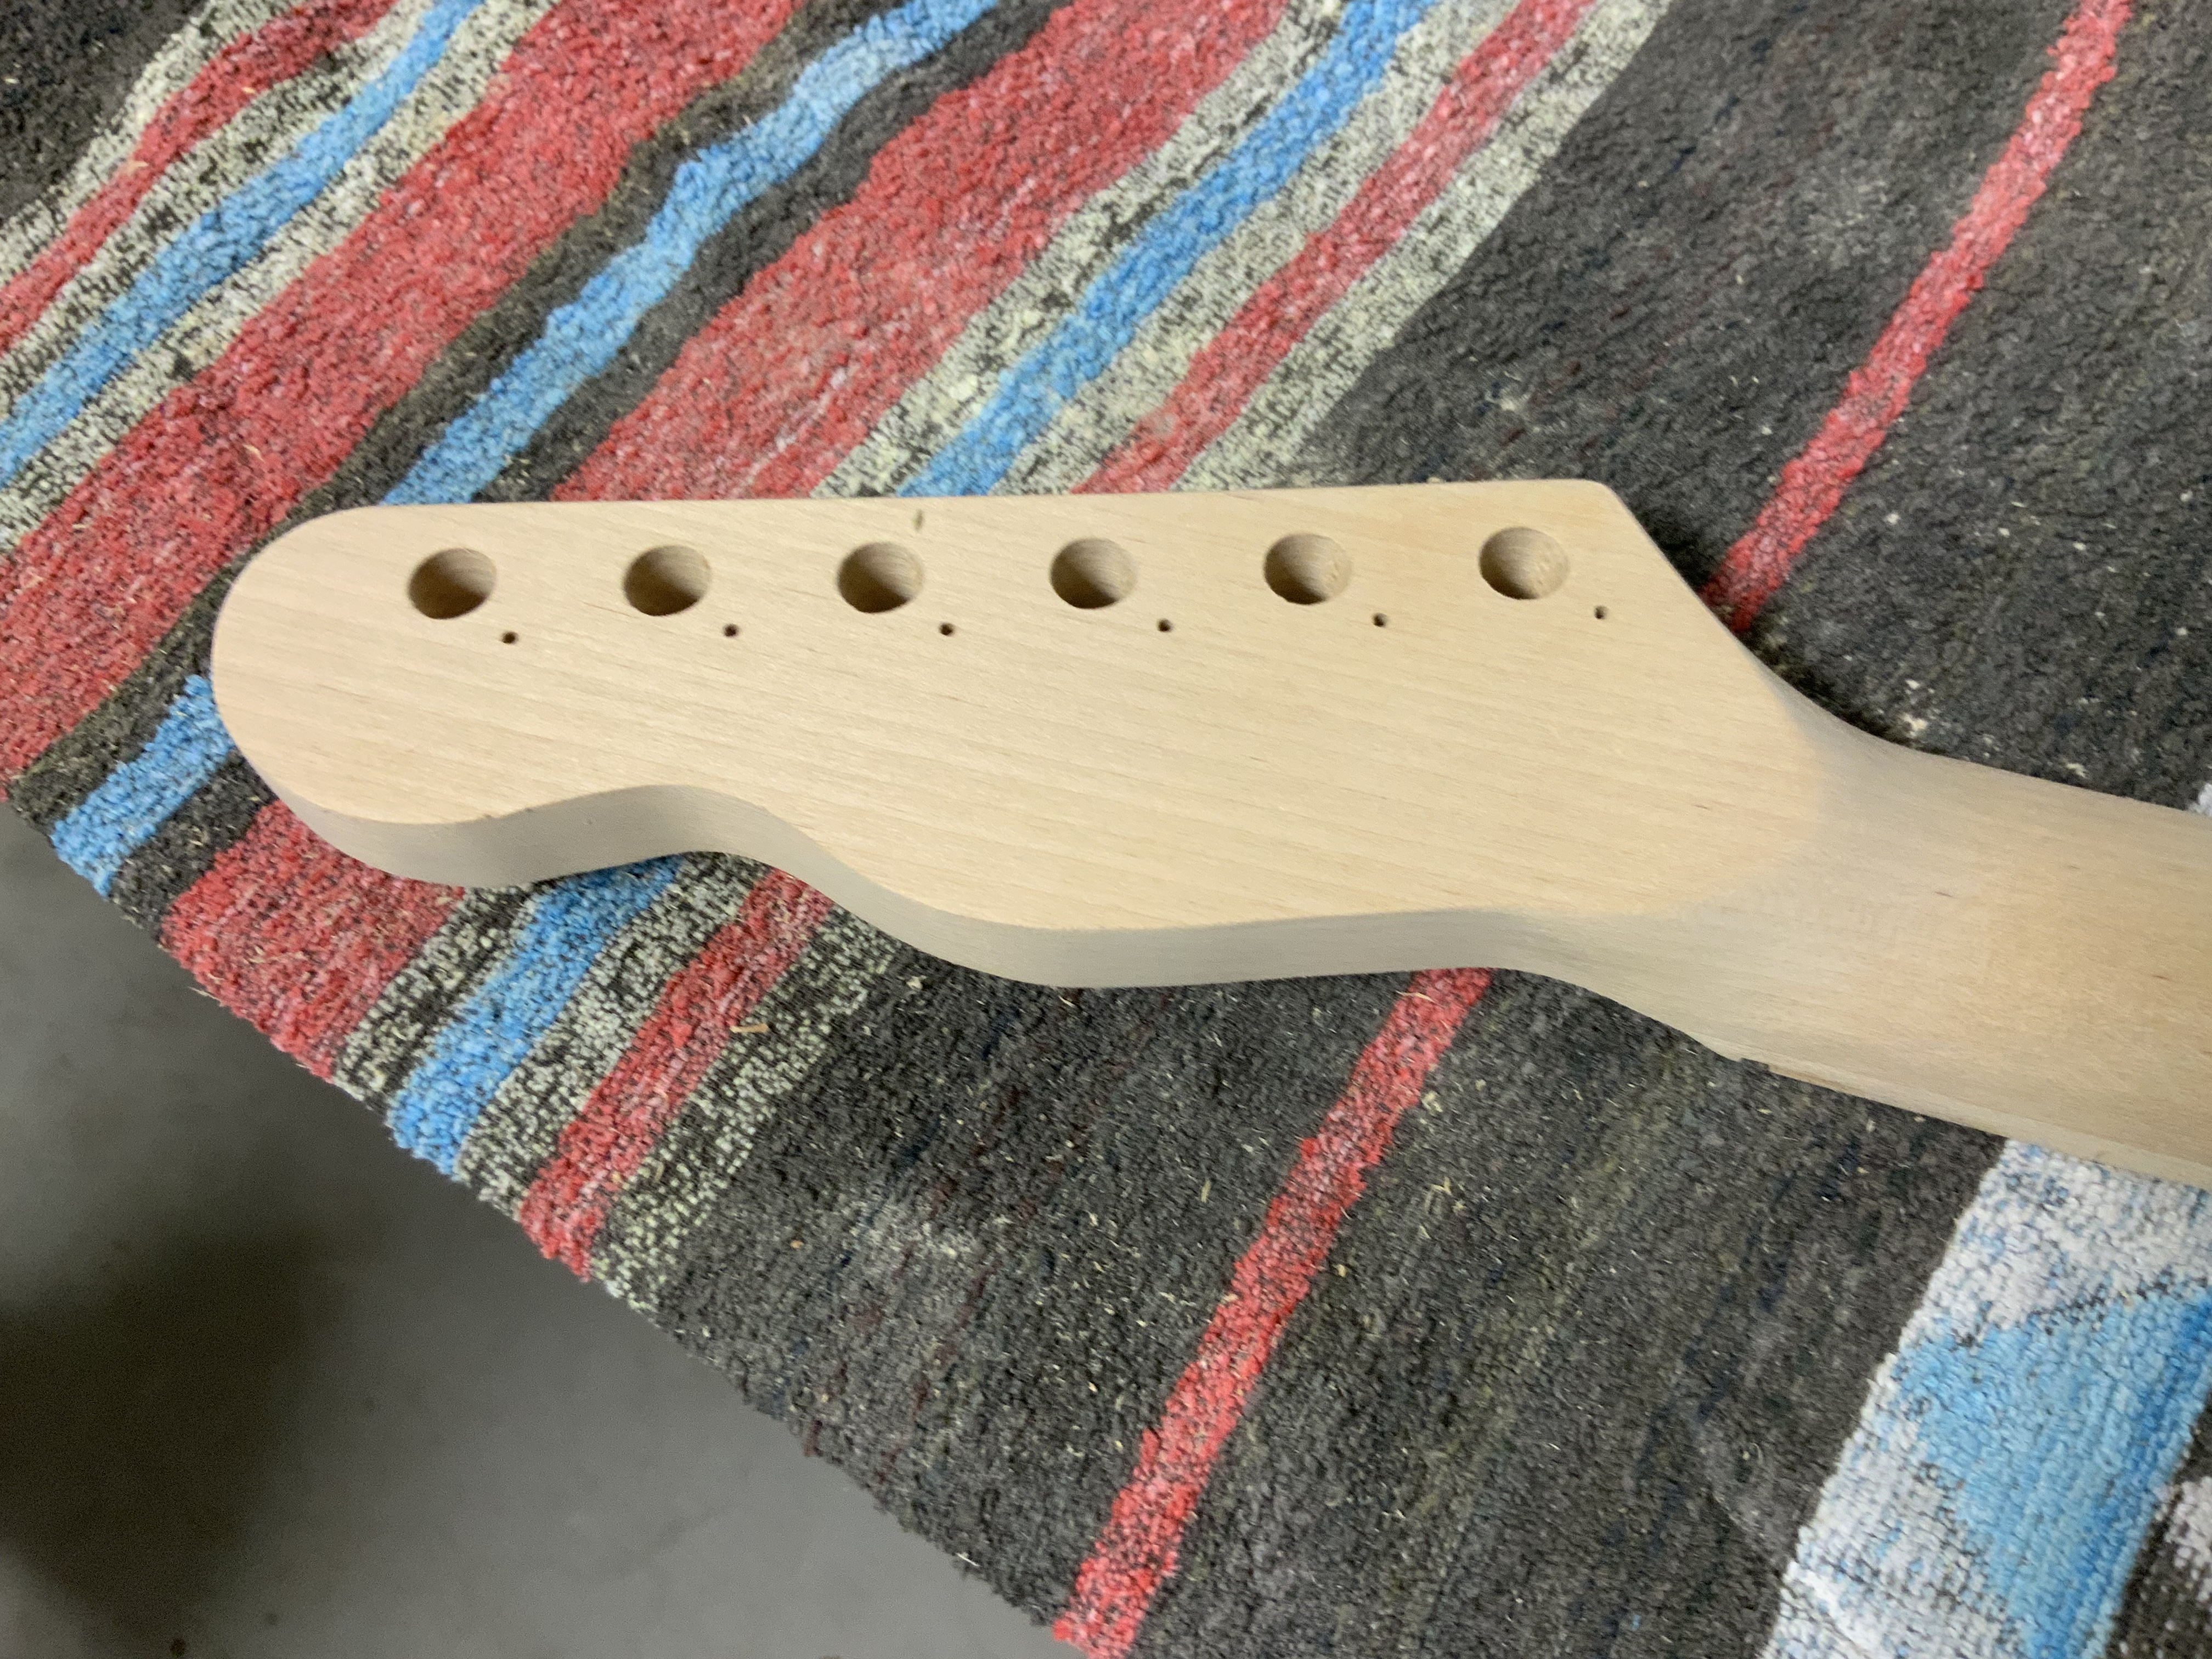
Test fit of the Grovers, shows the pre-drilled holes ever-so-slightly out of alignment.

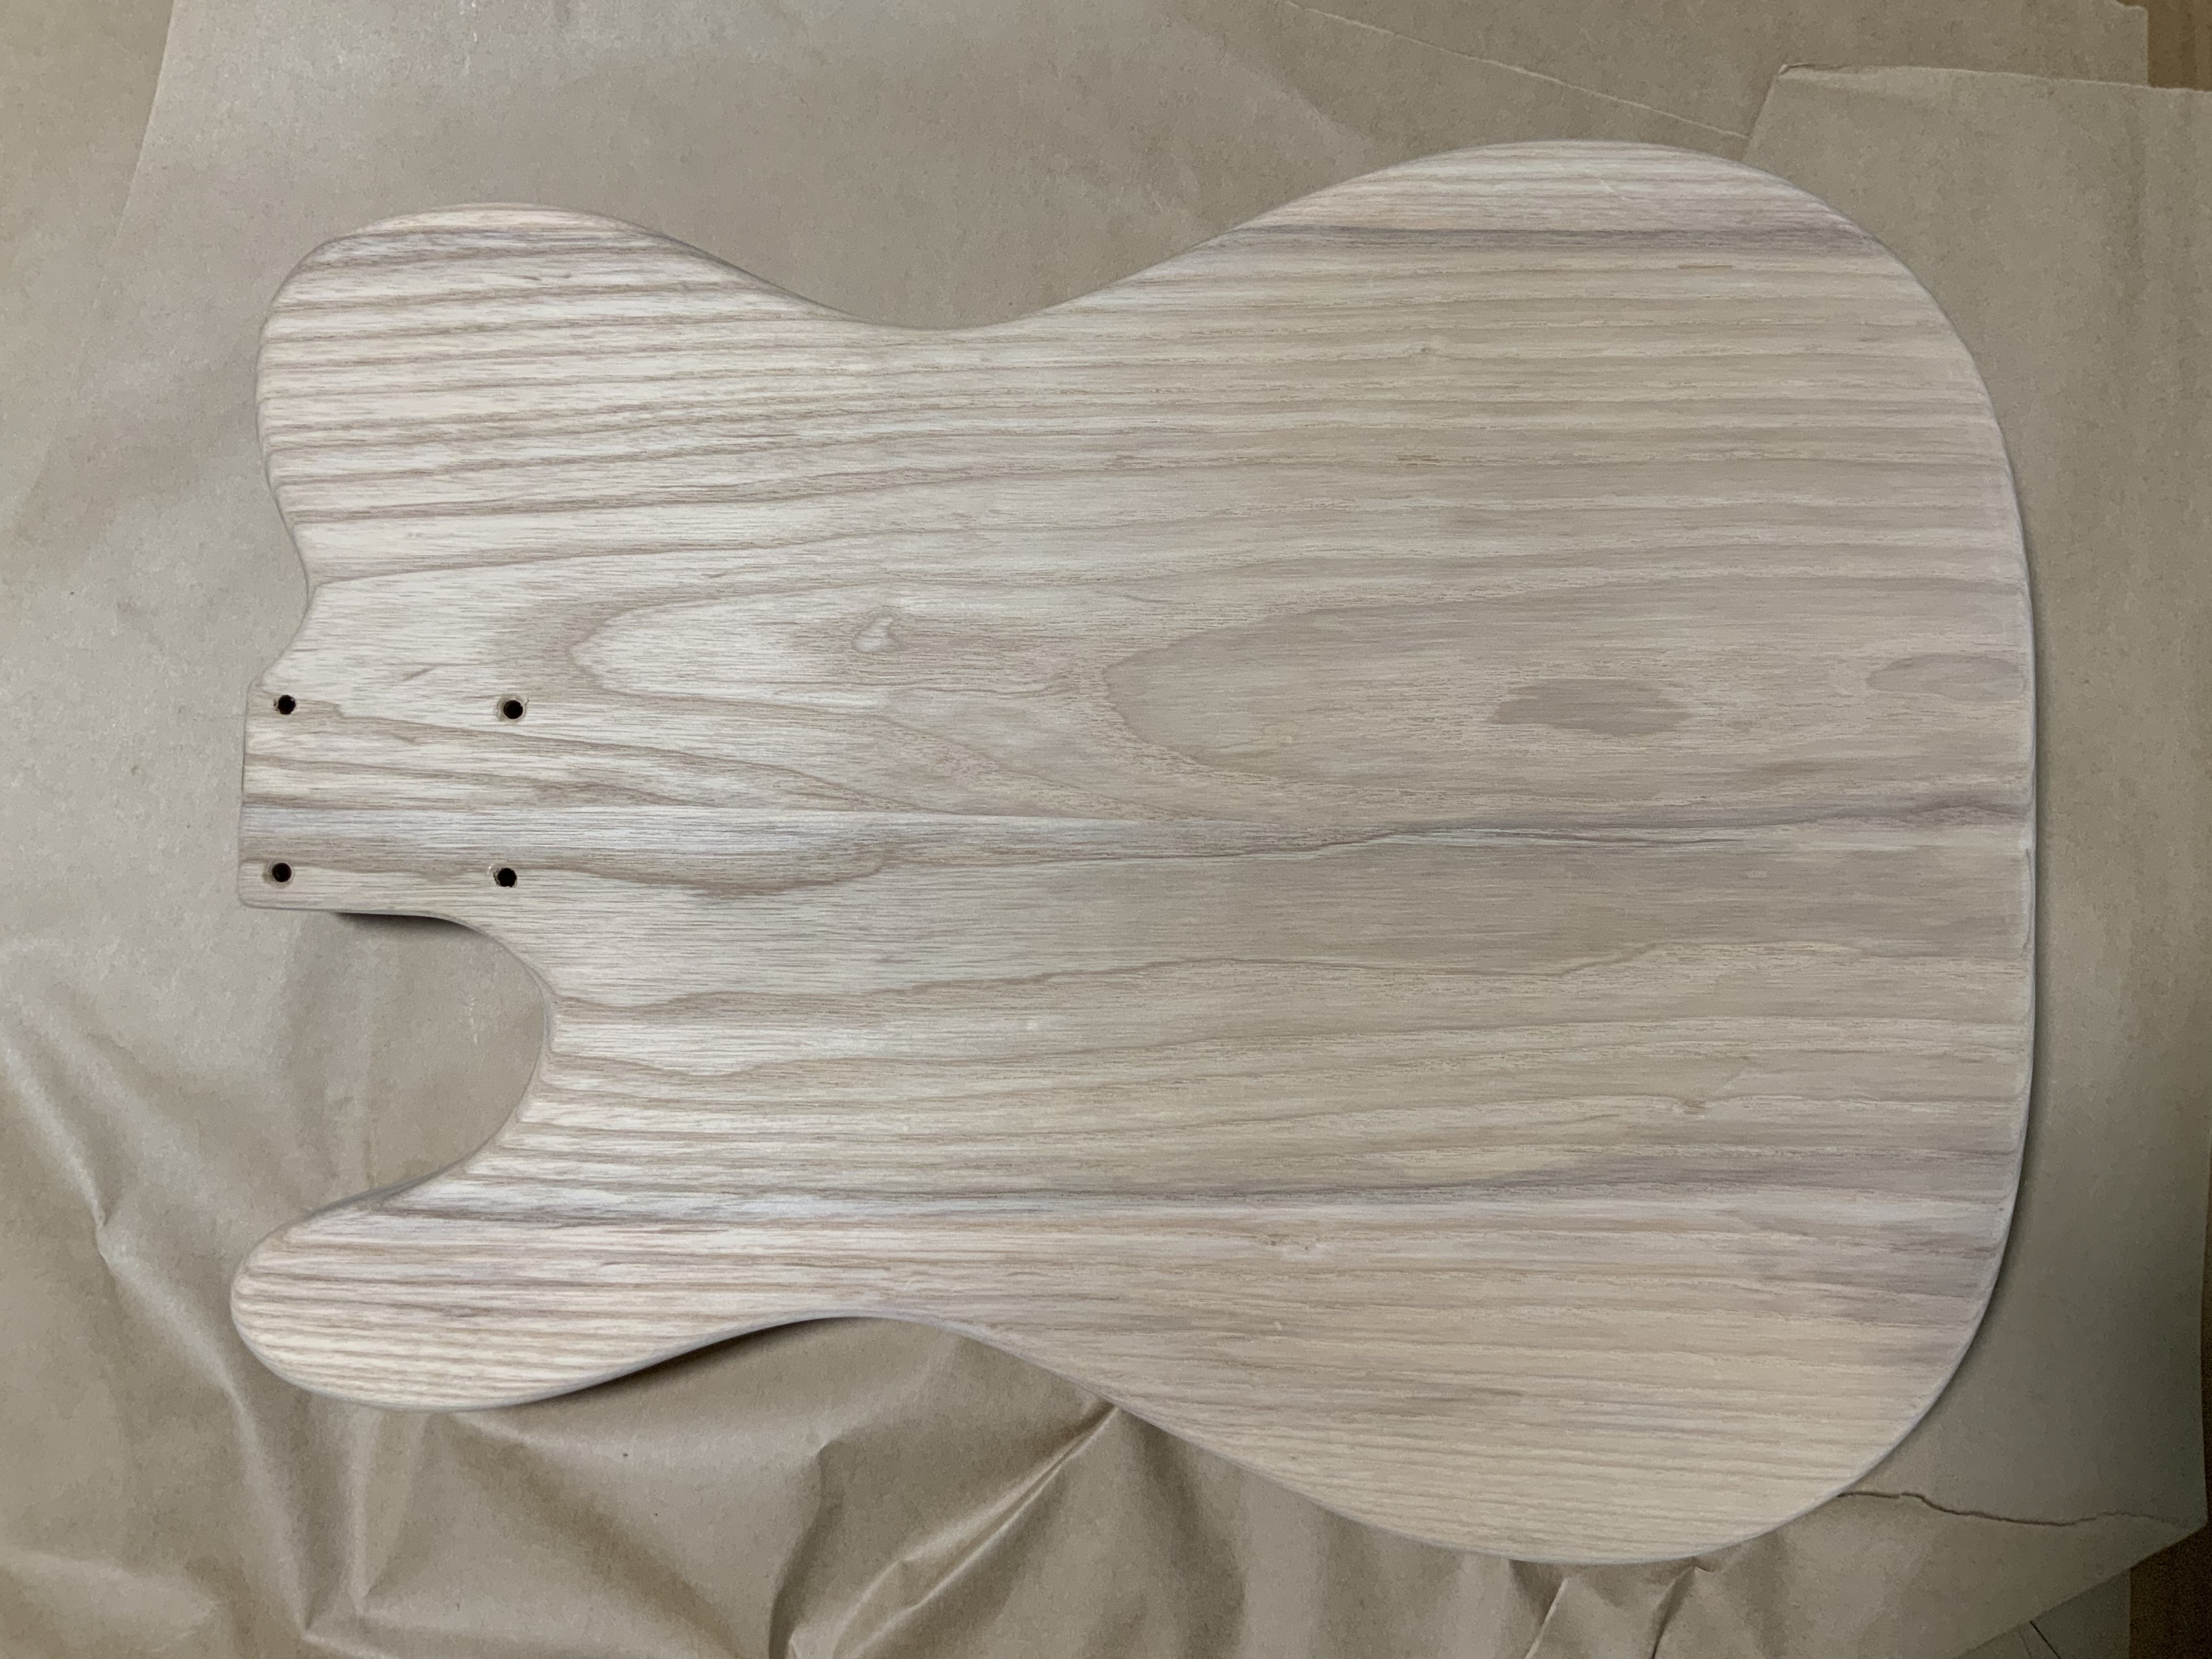
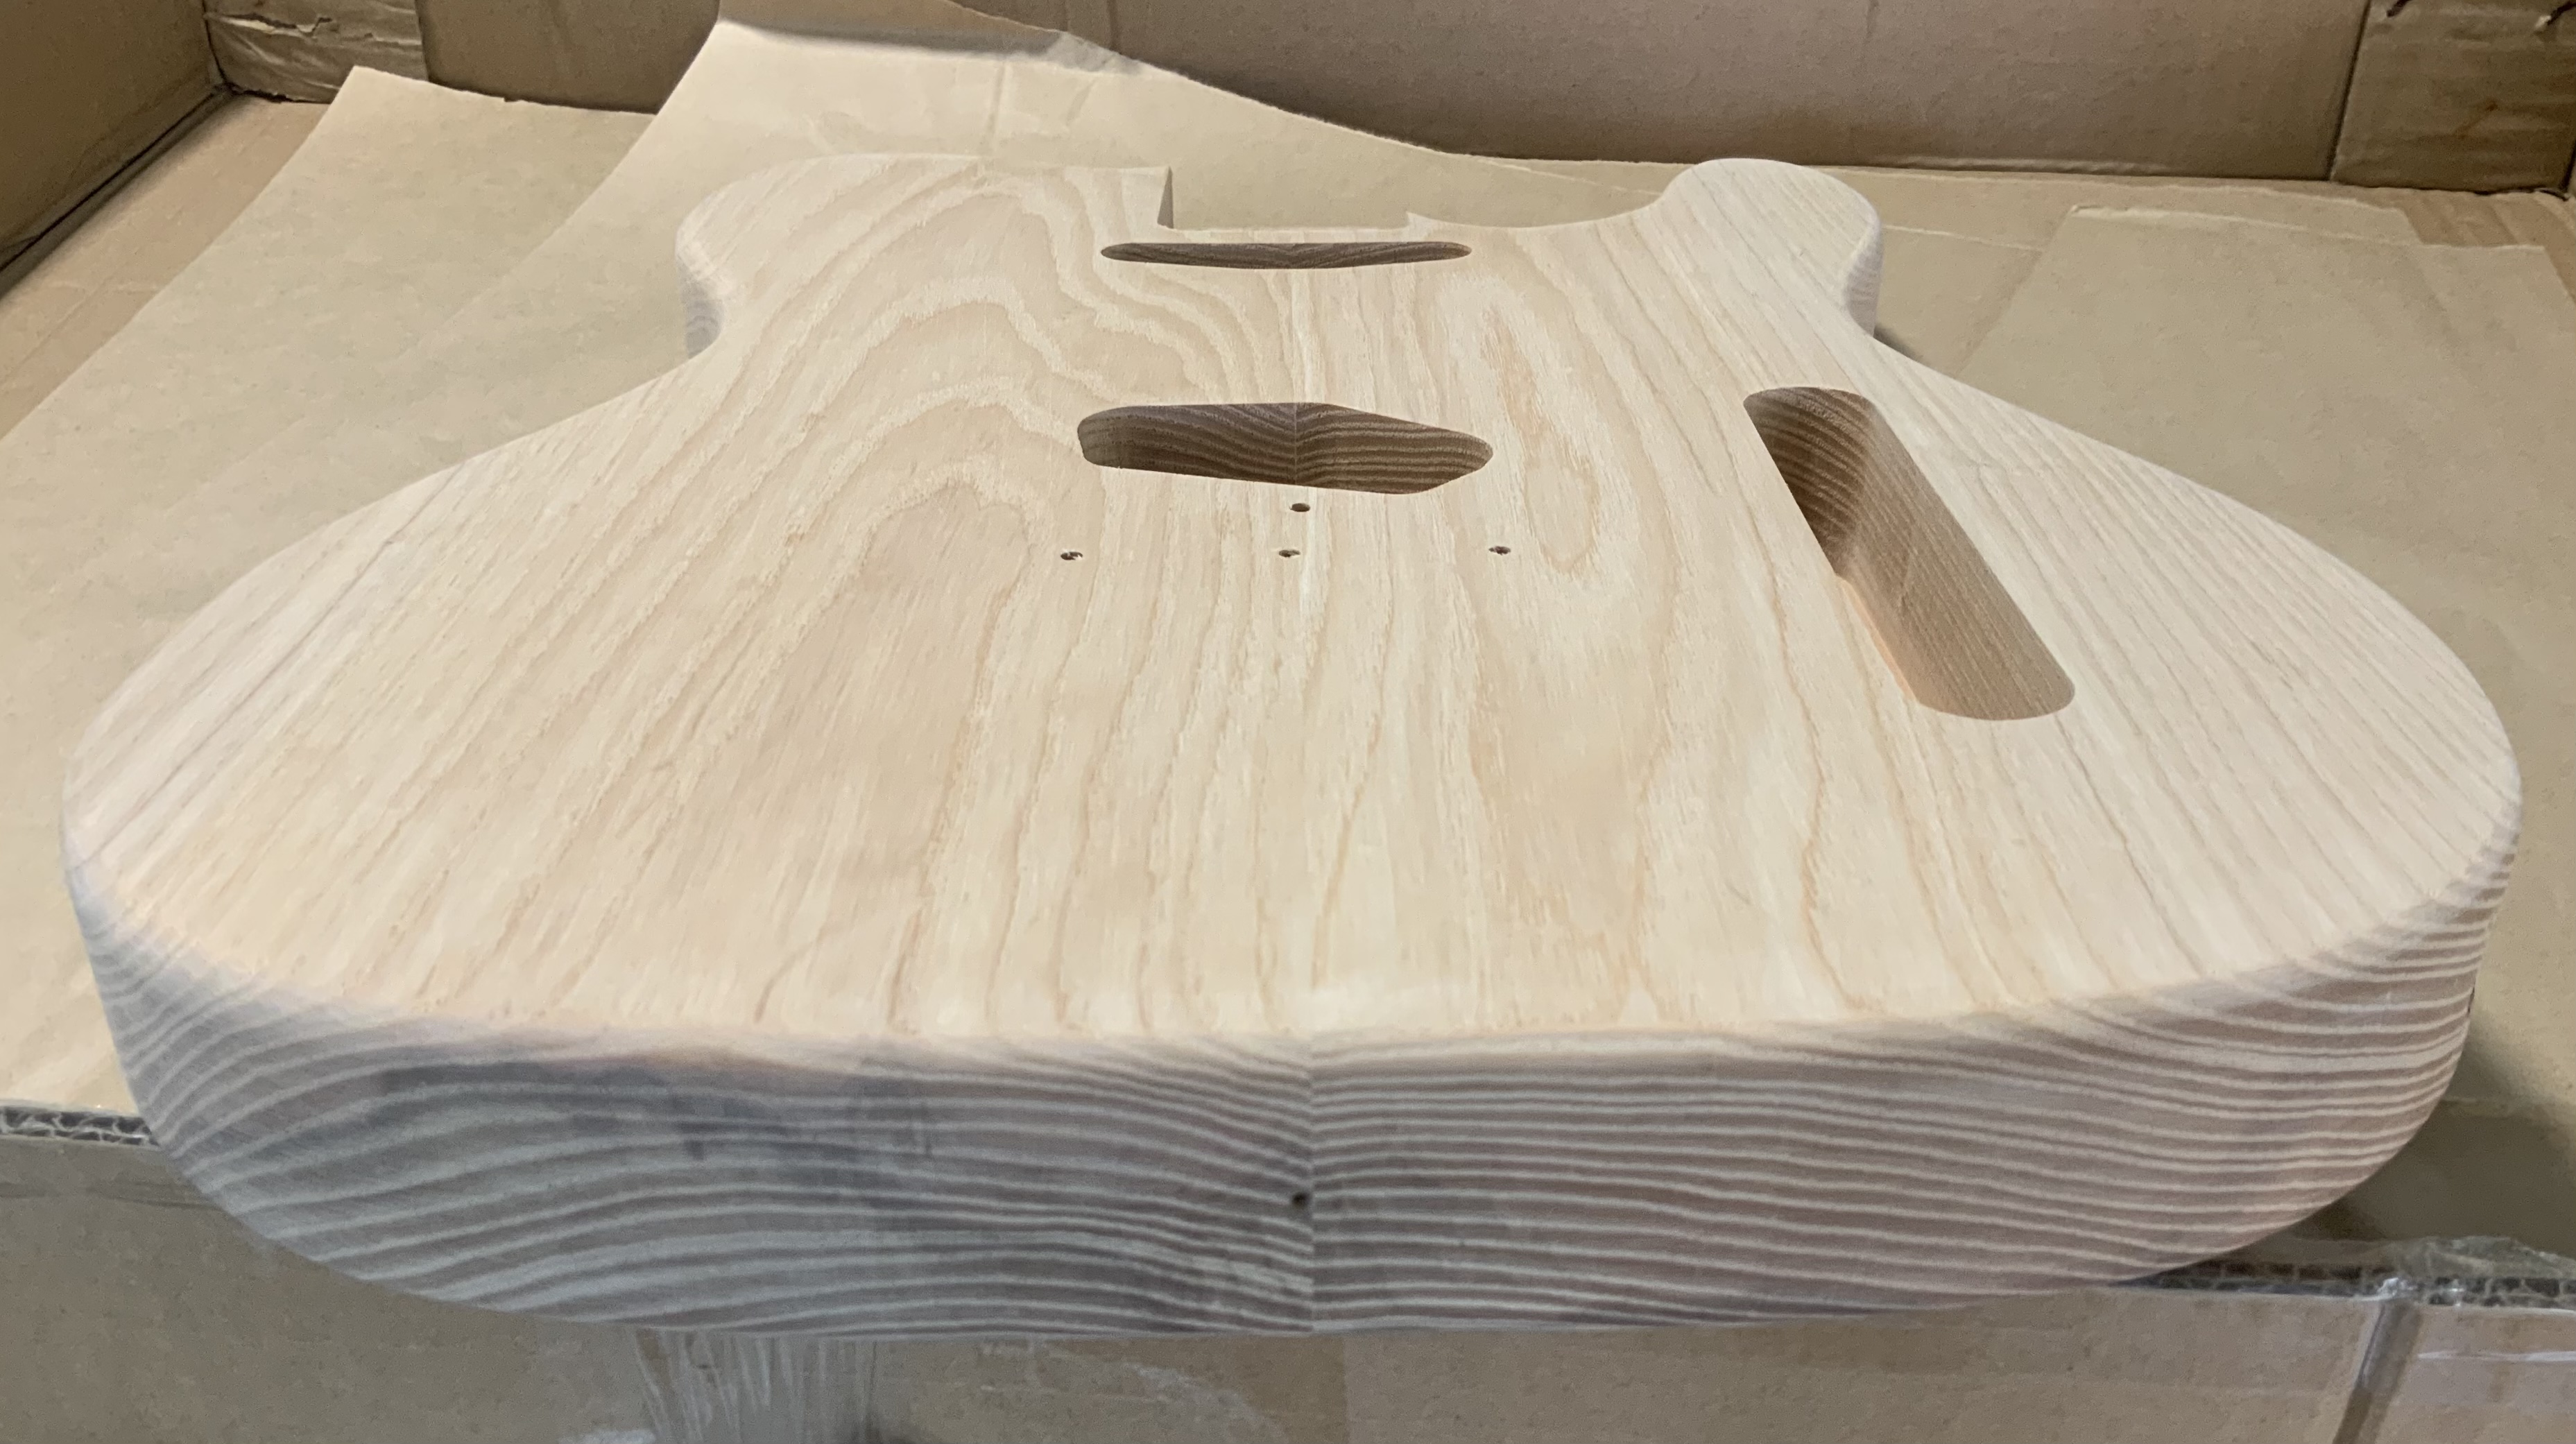
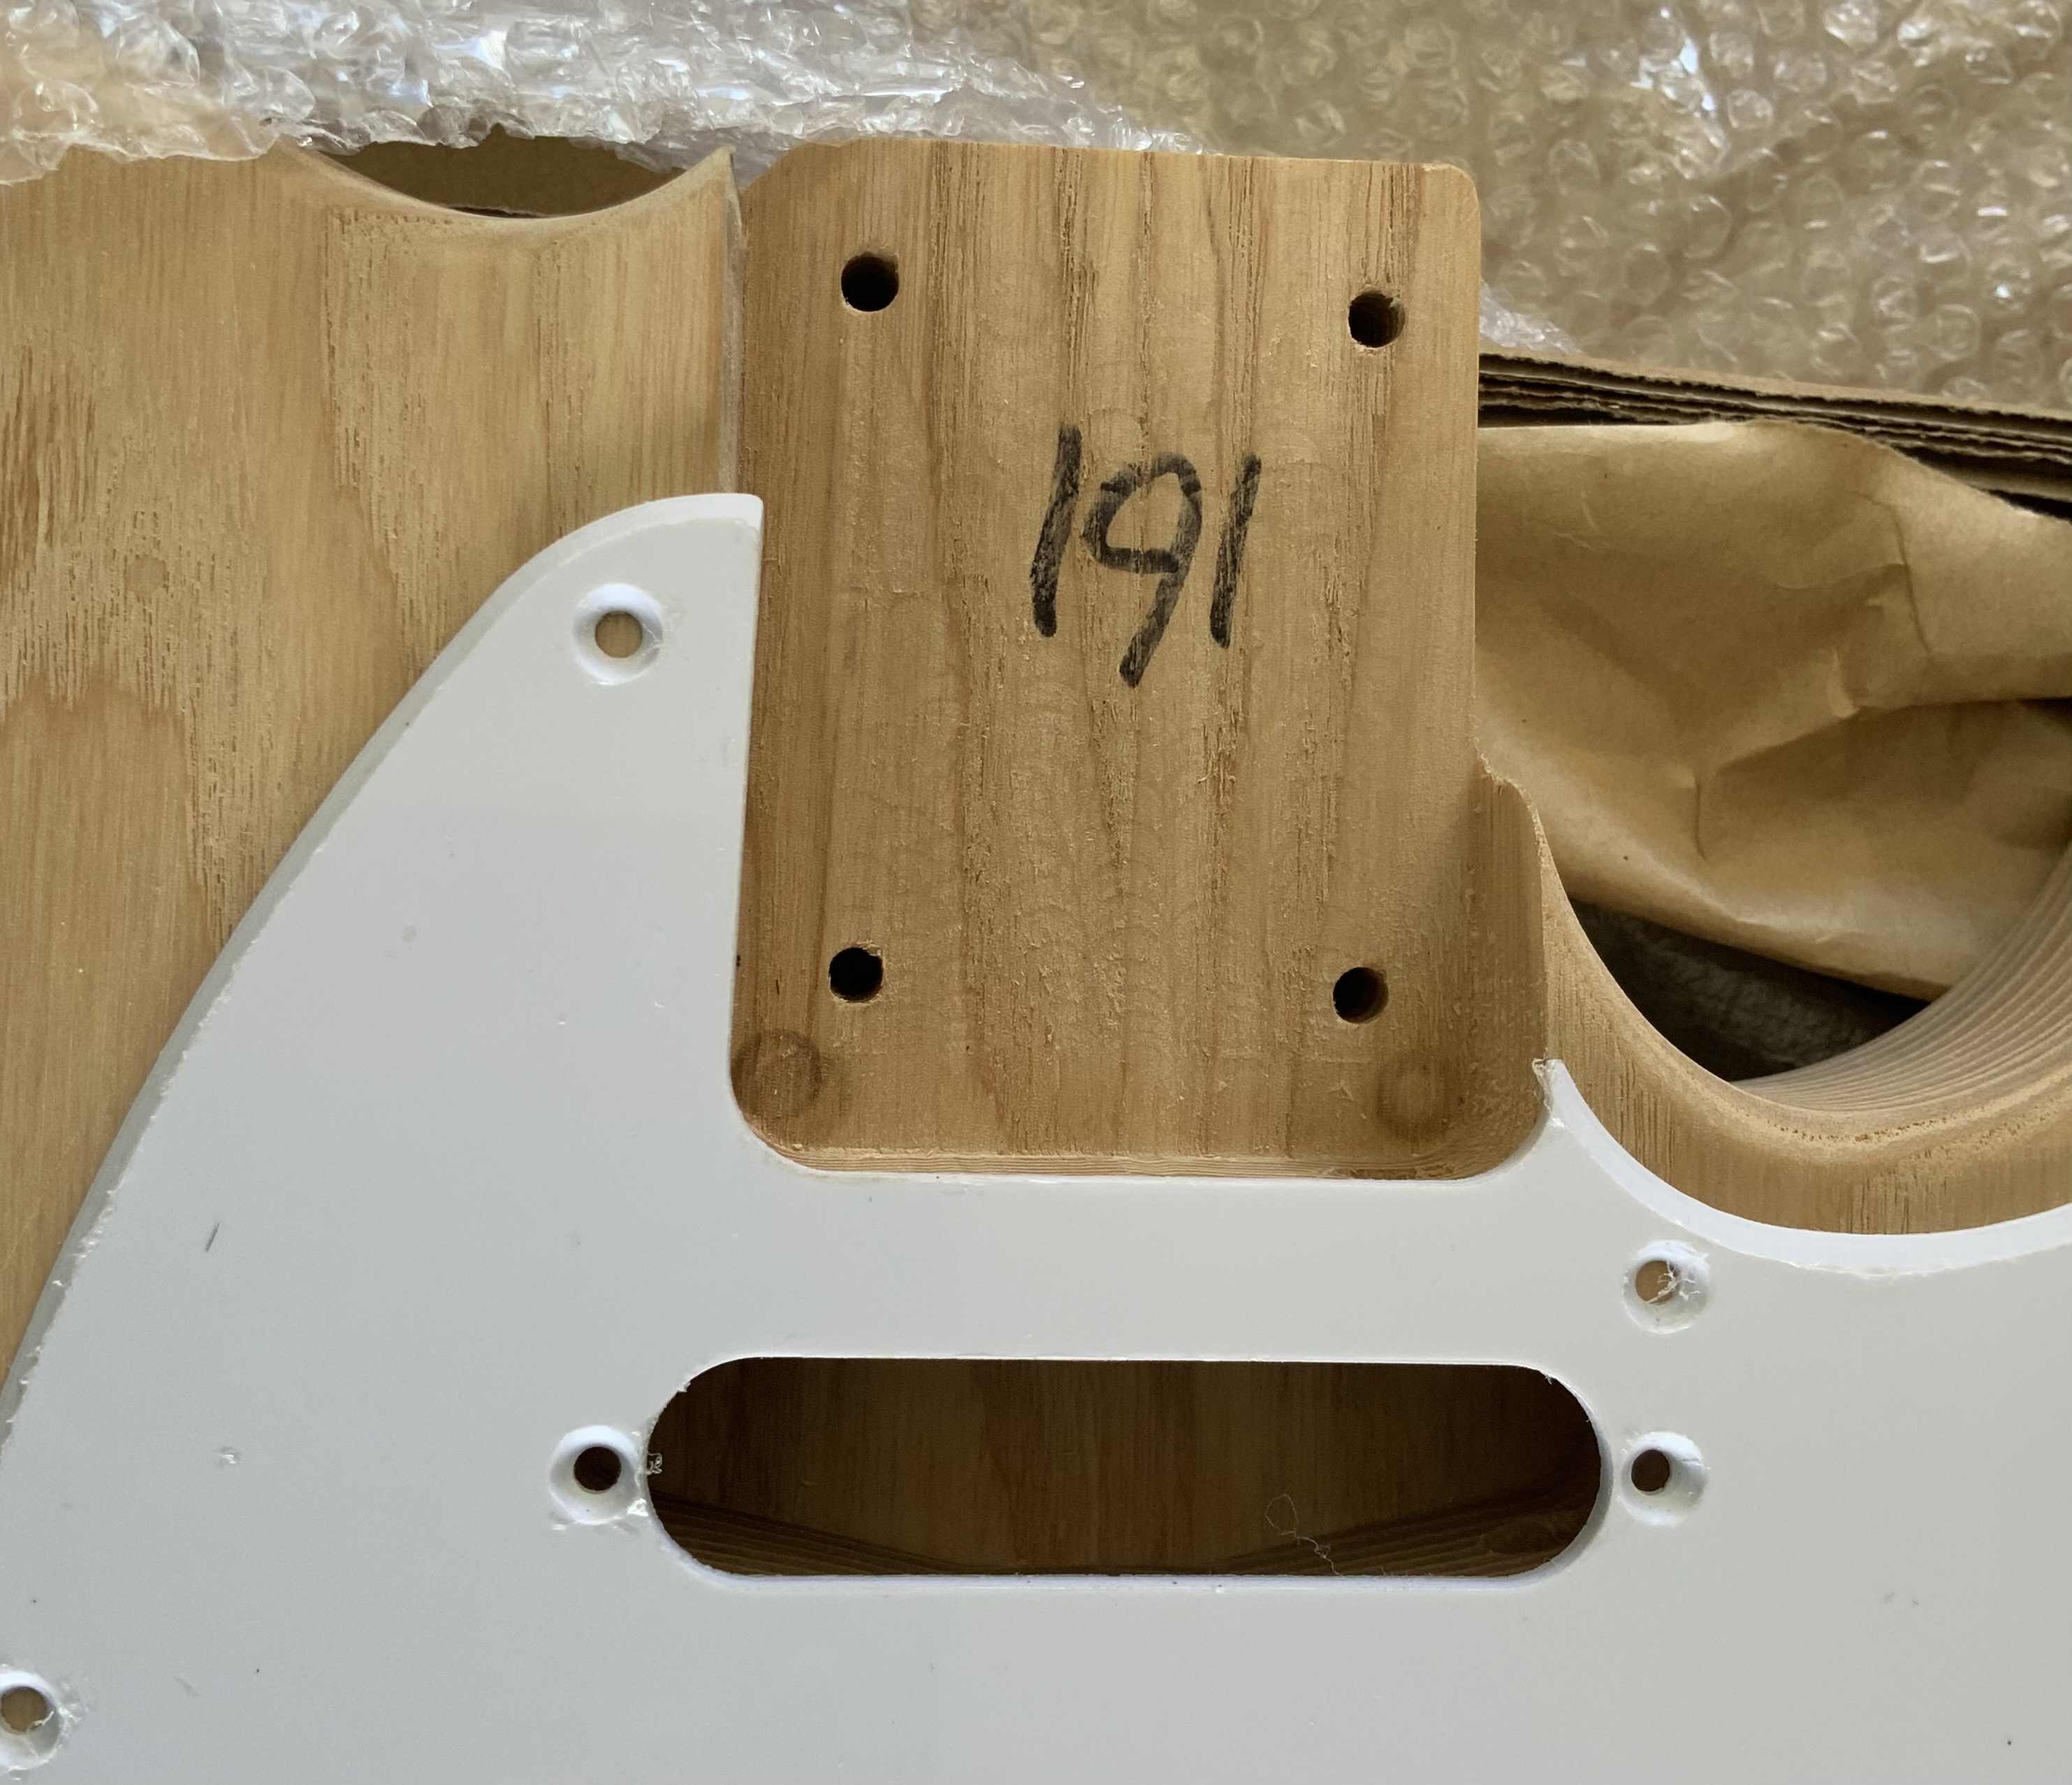
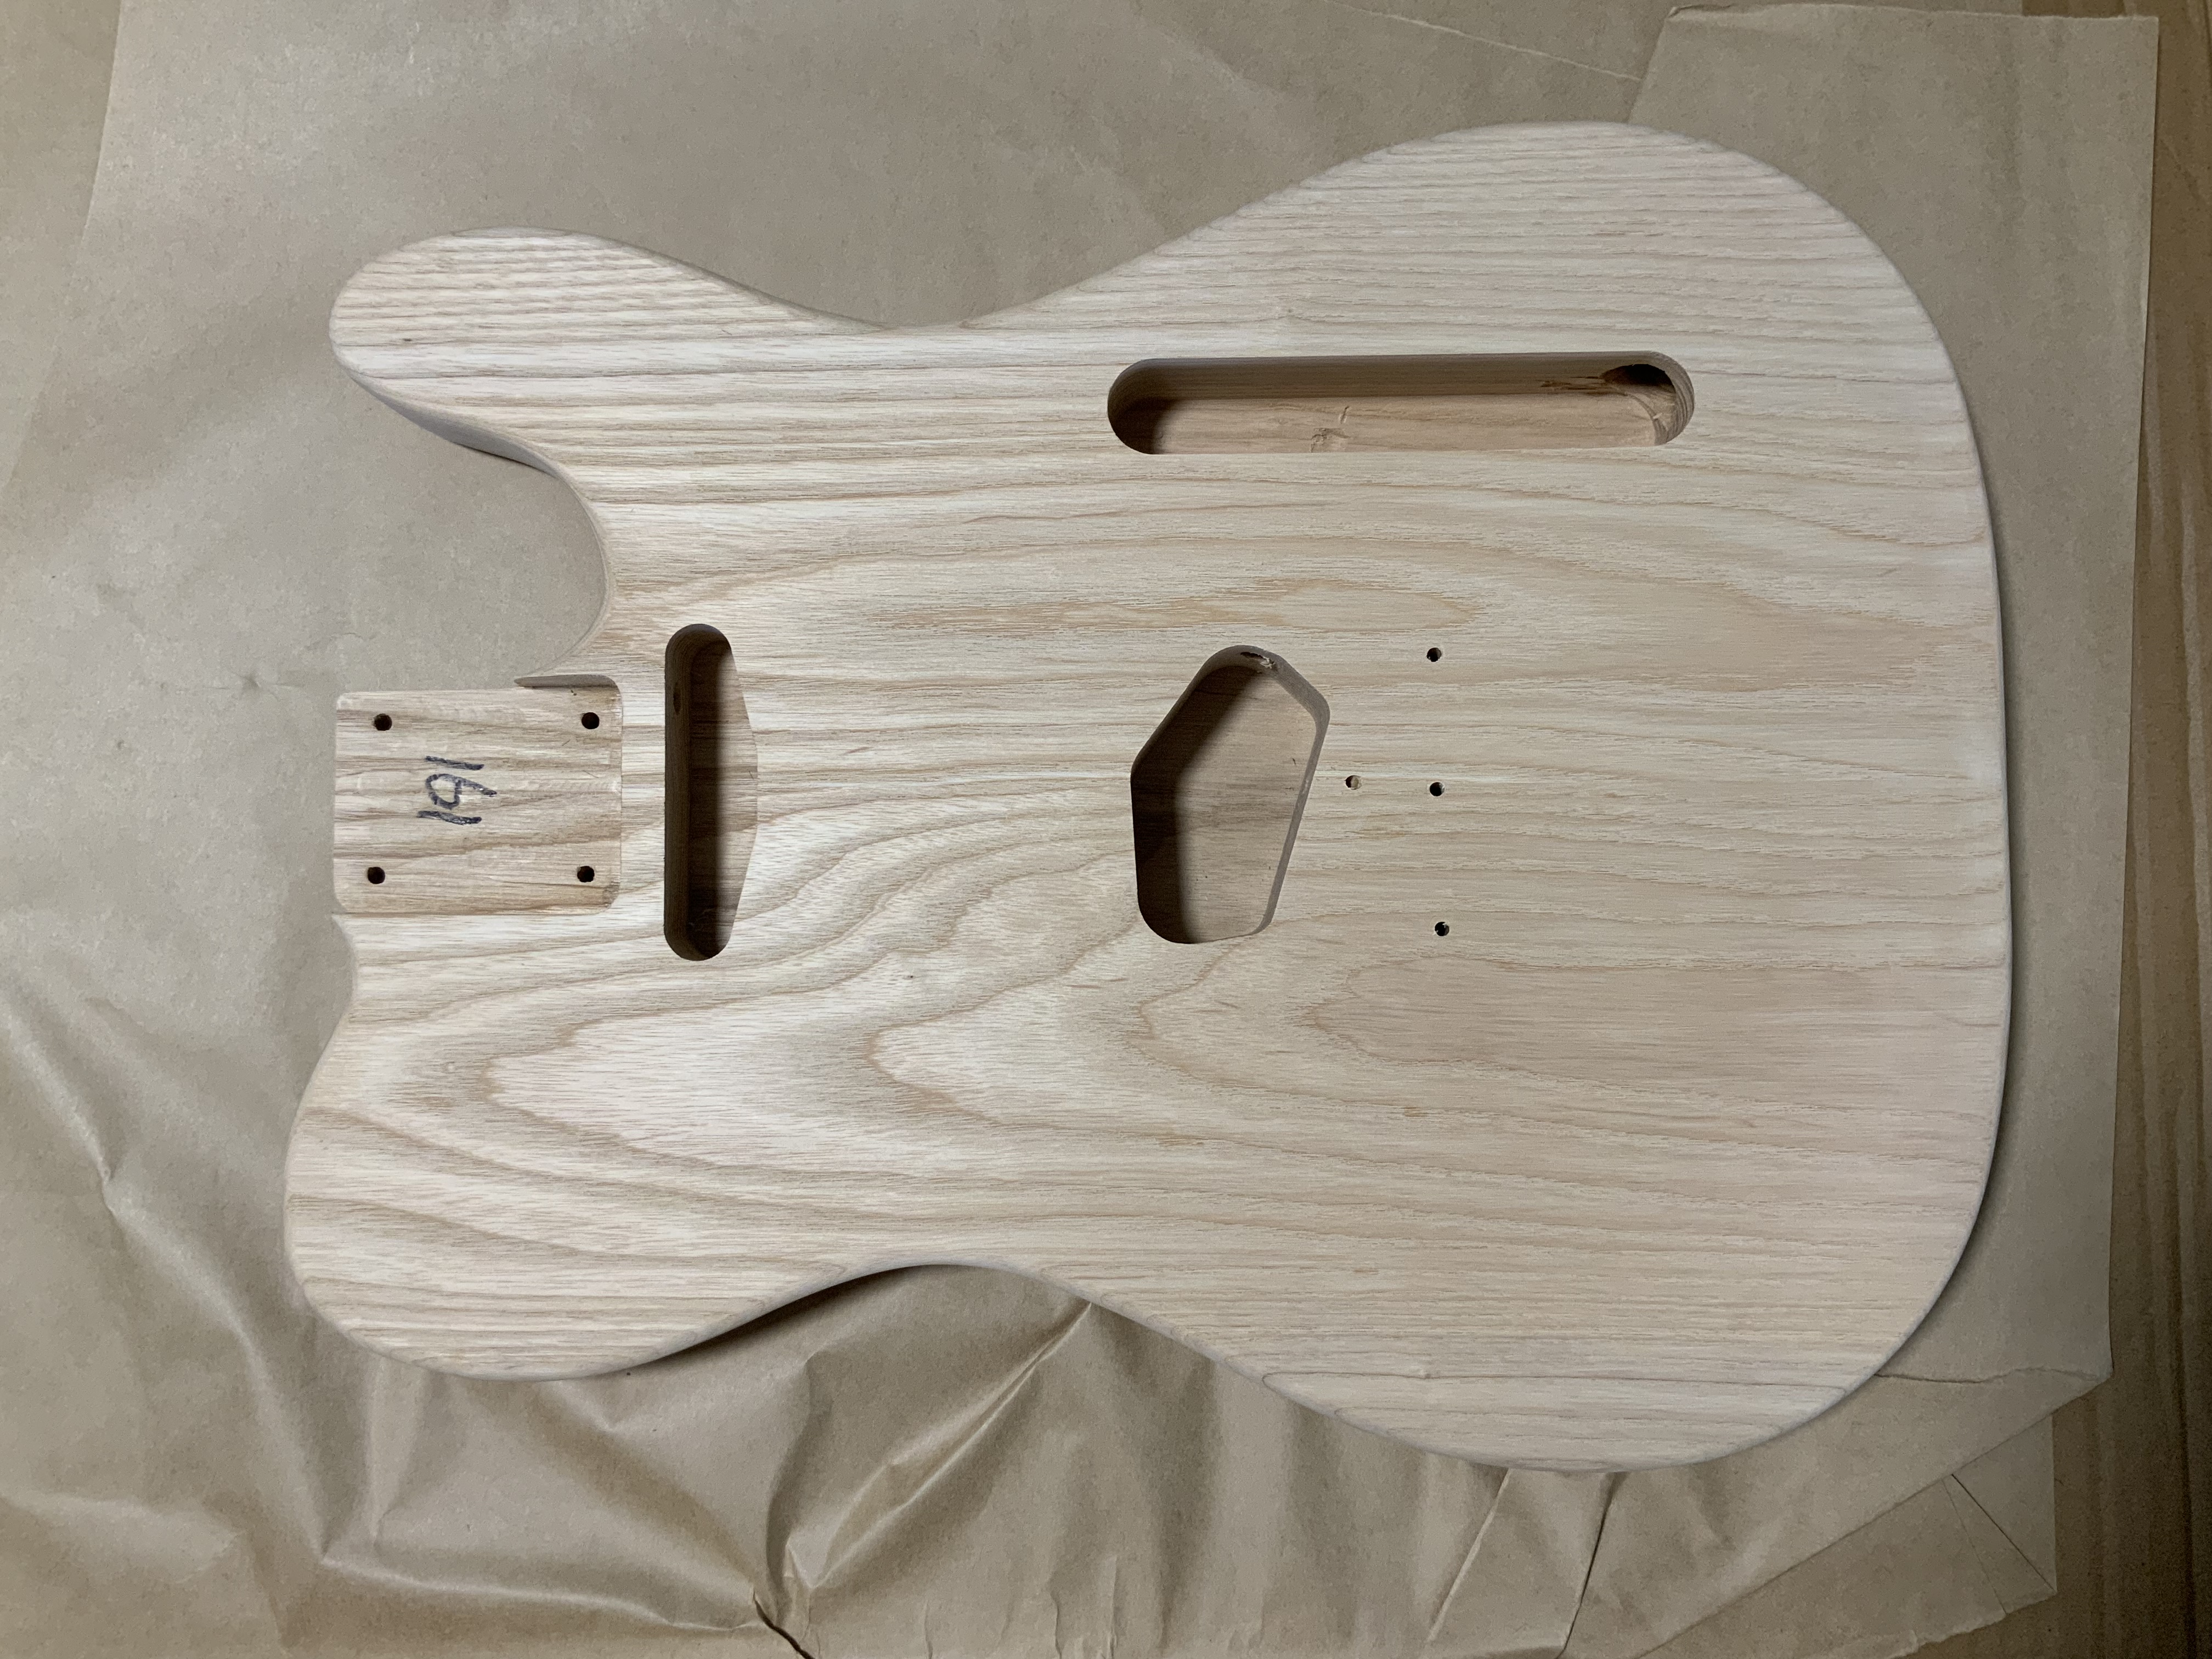
Body wood looks quite nice, raw. Neat enough grain, no obvious blemishes.
m6nHUix.jpg

ForKVPt.jpg

XExo36a.jpg


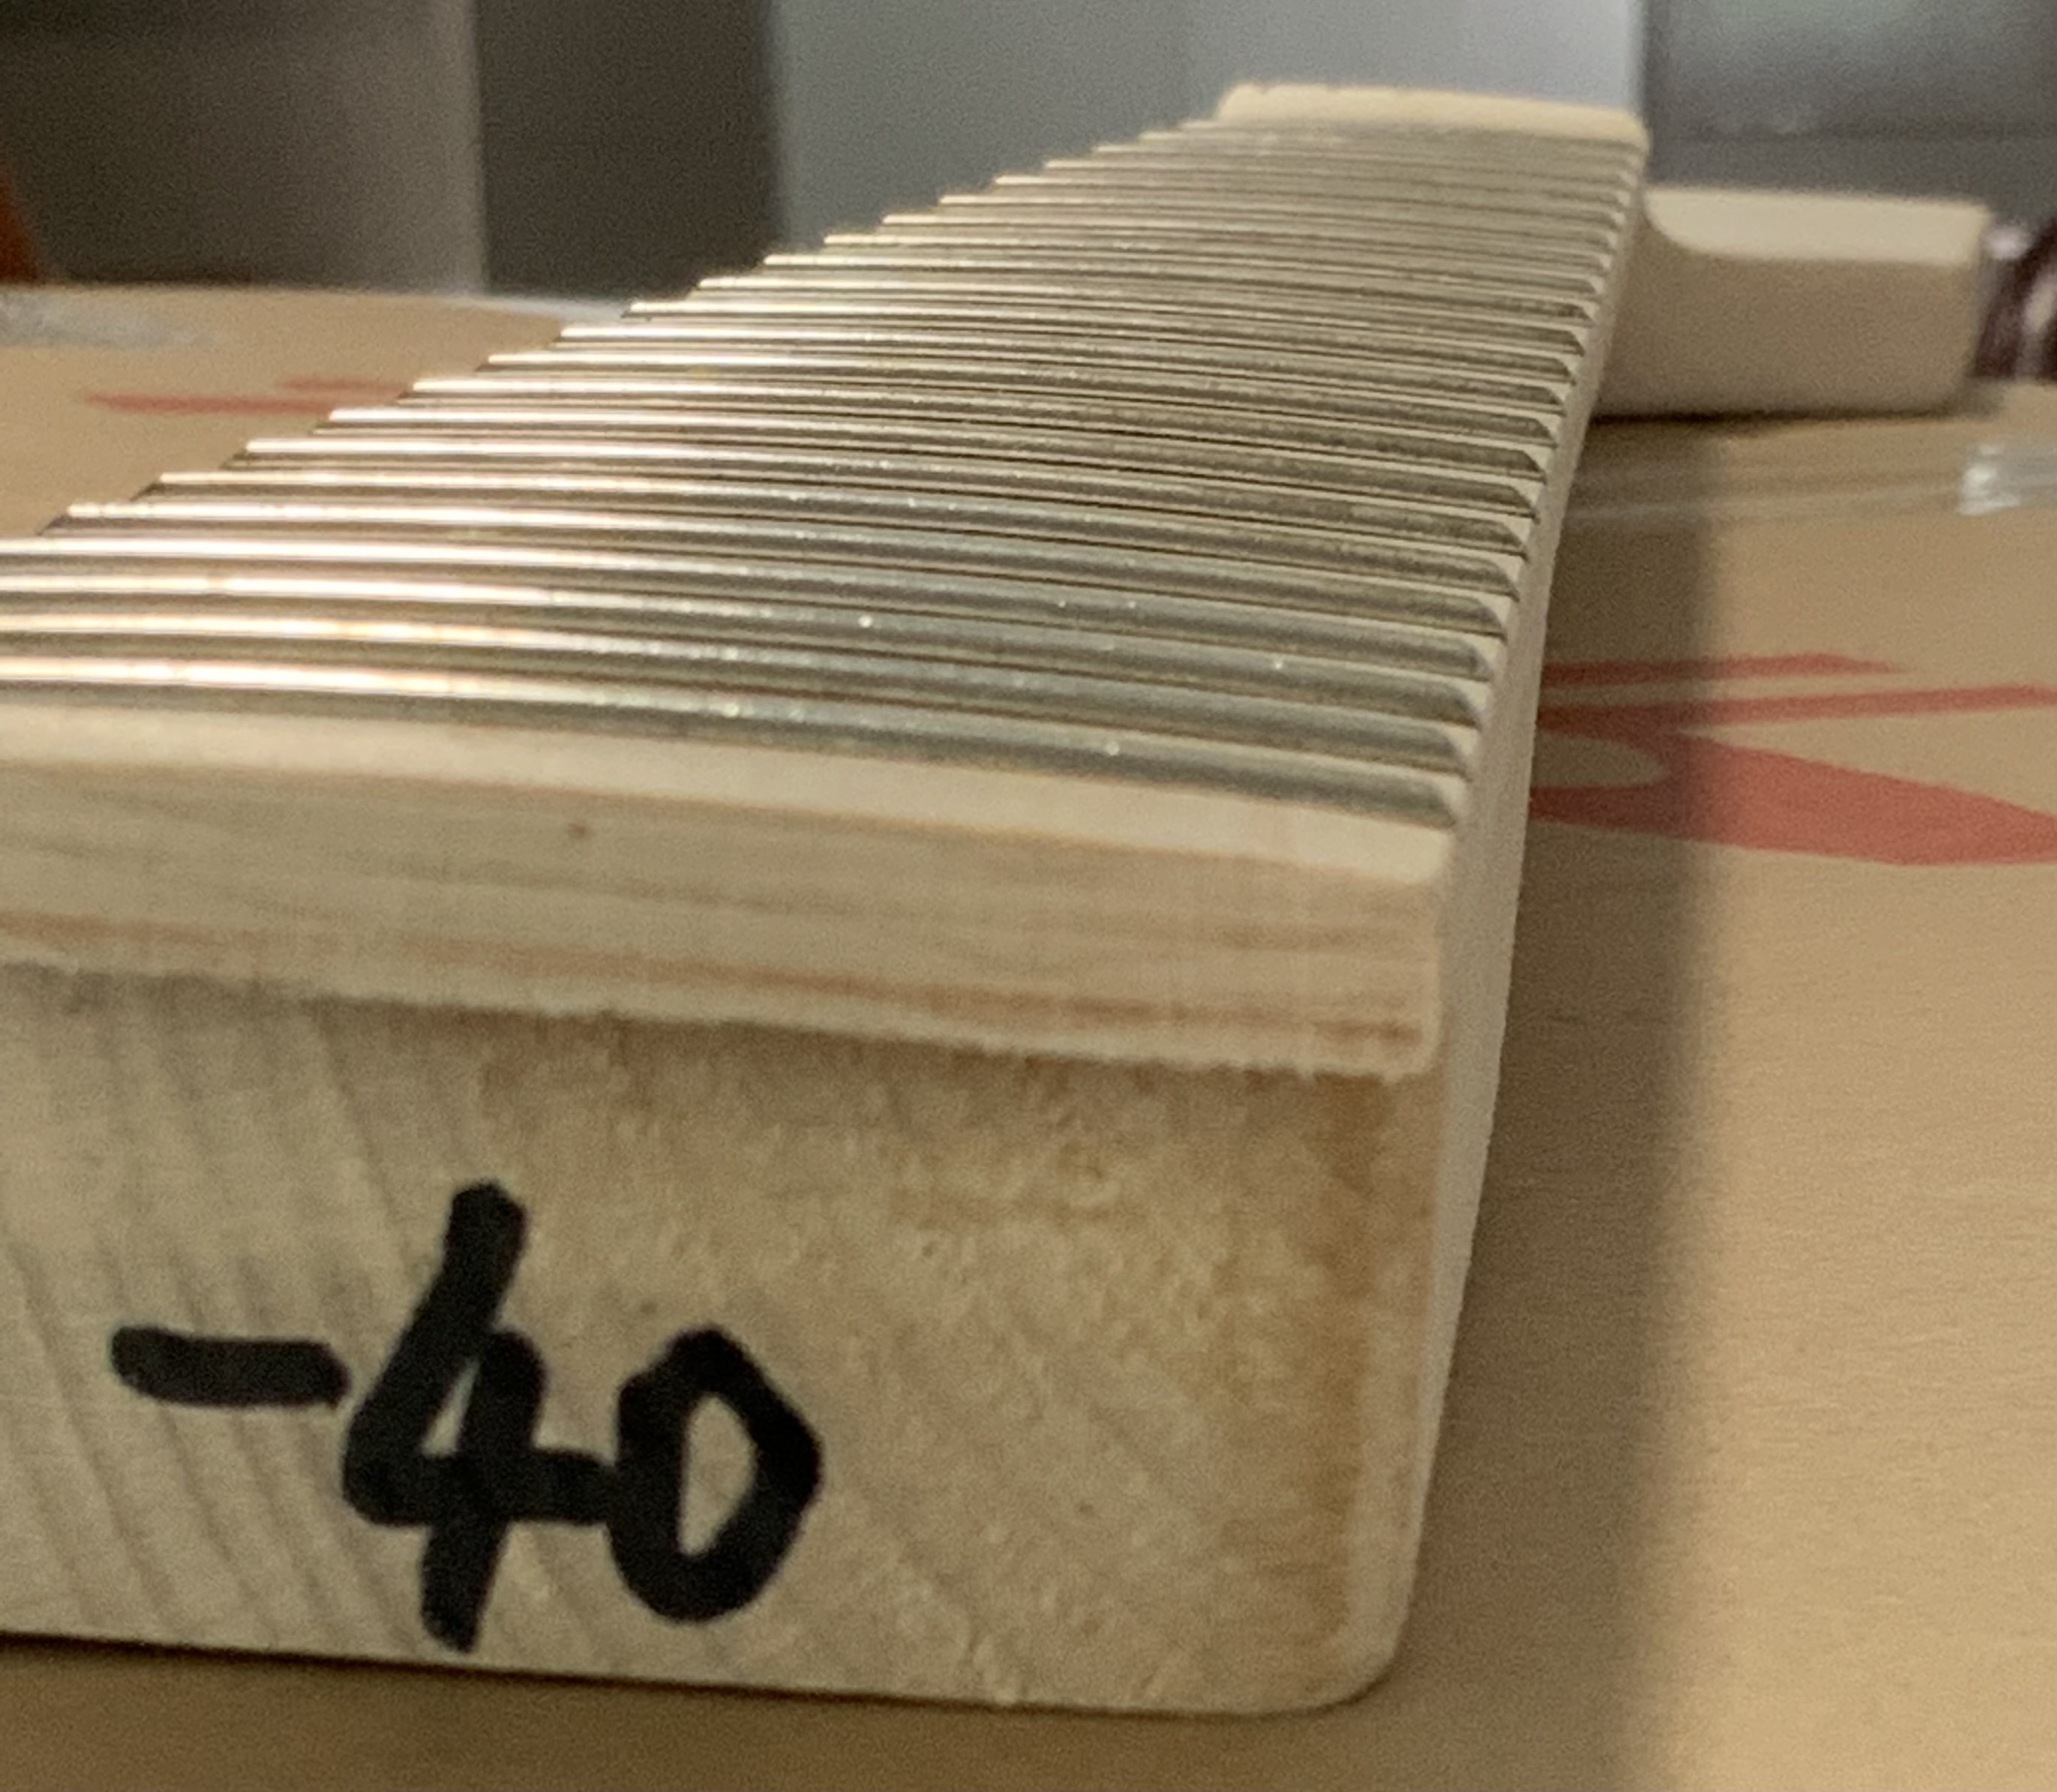
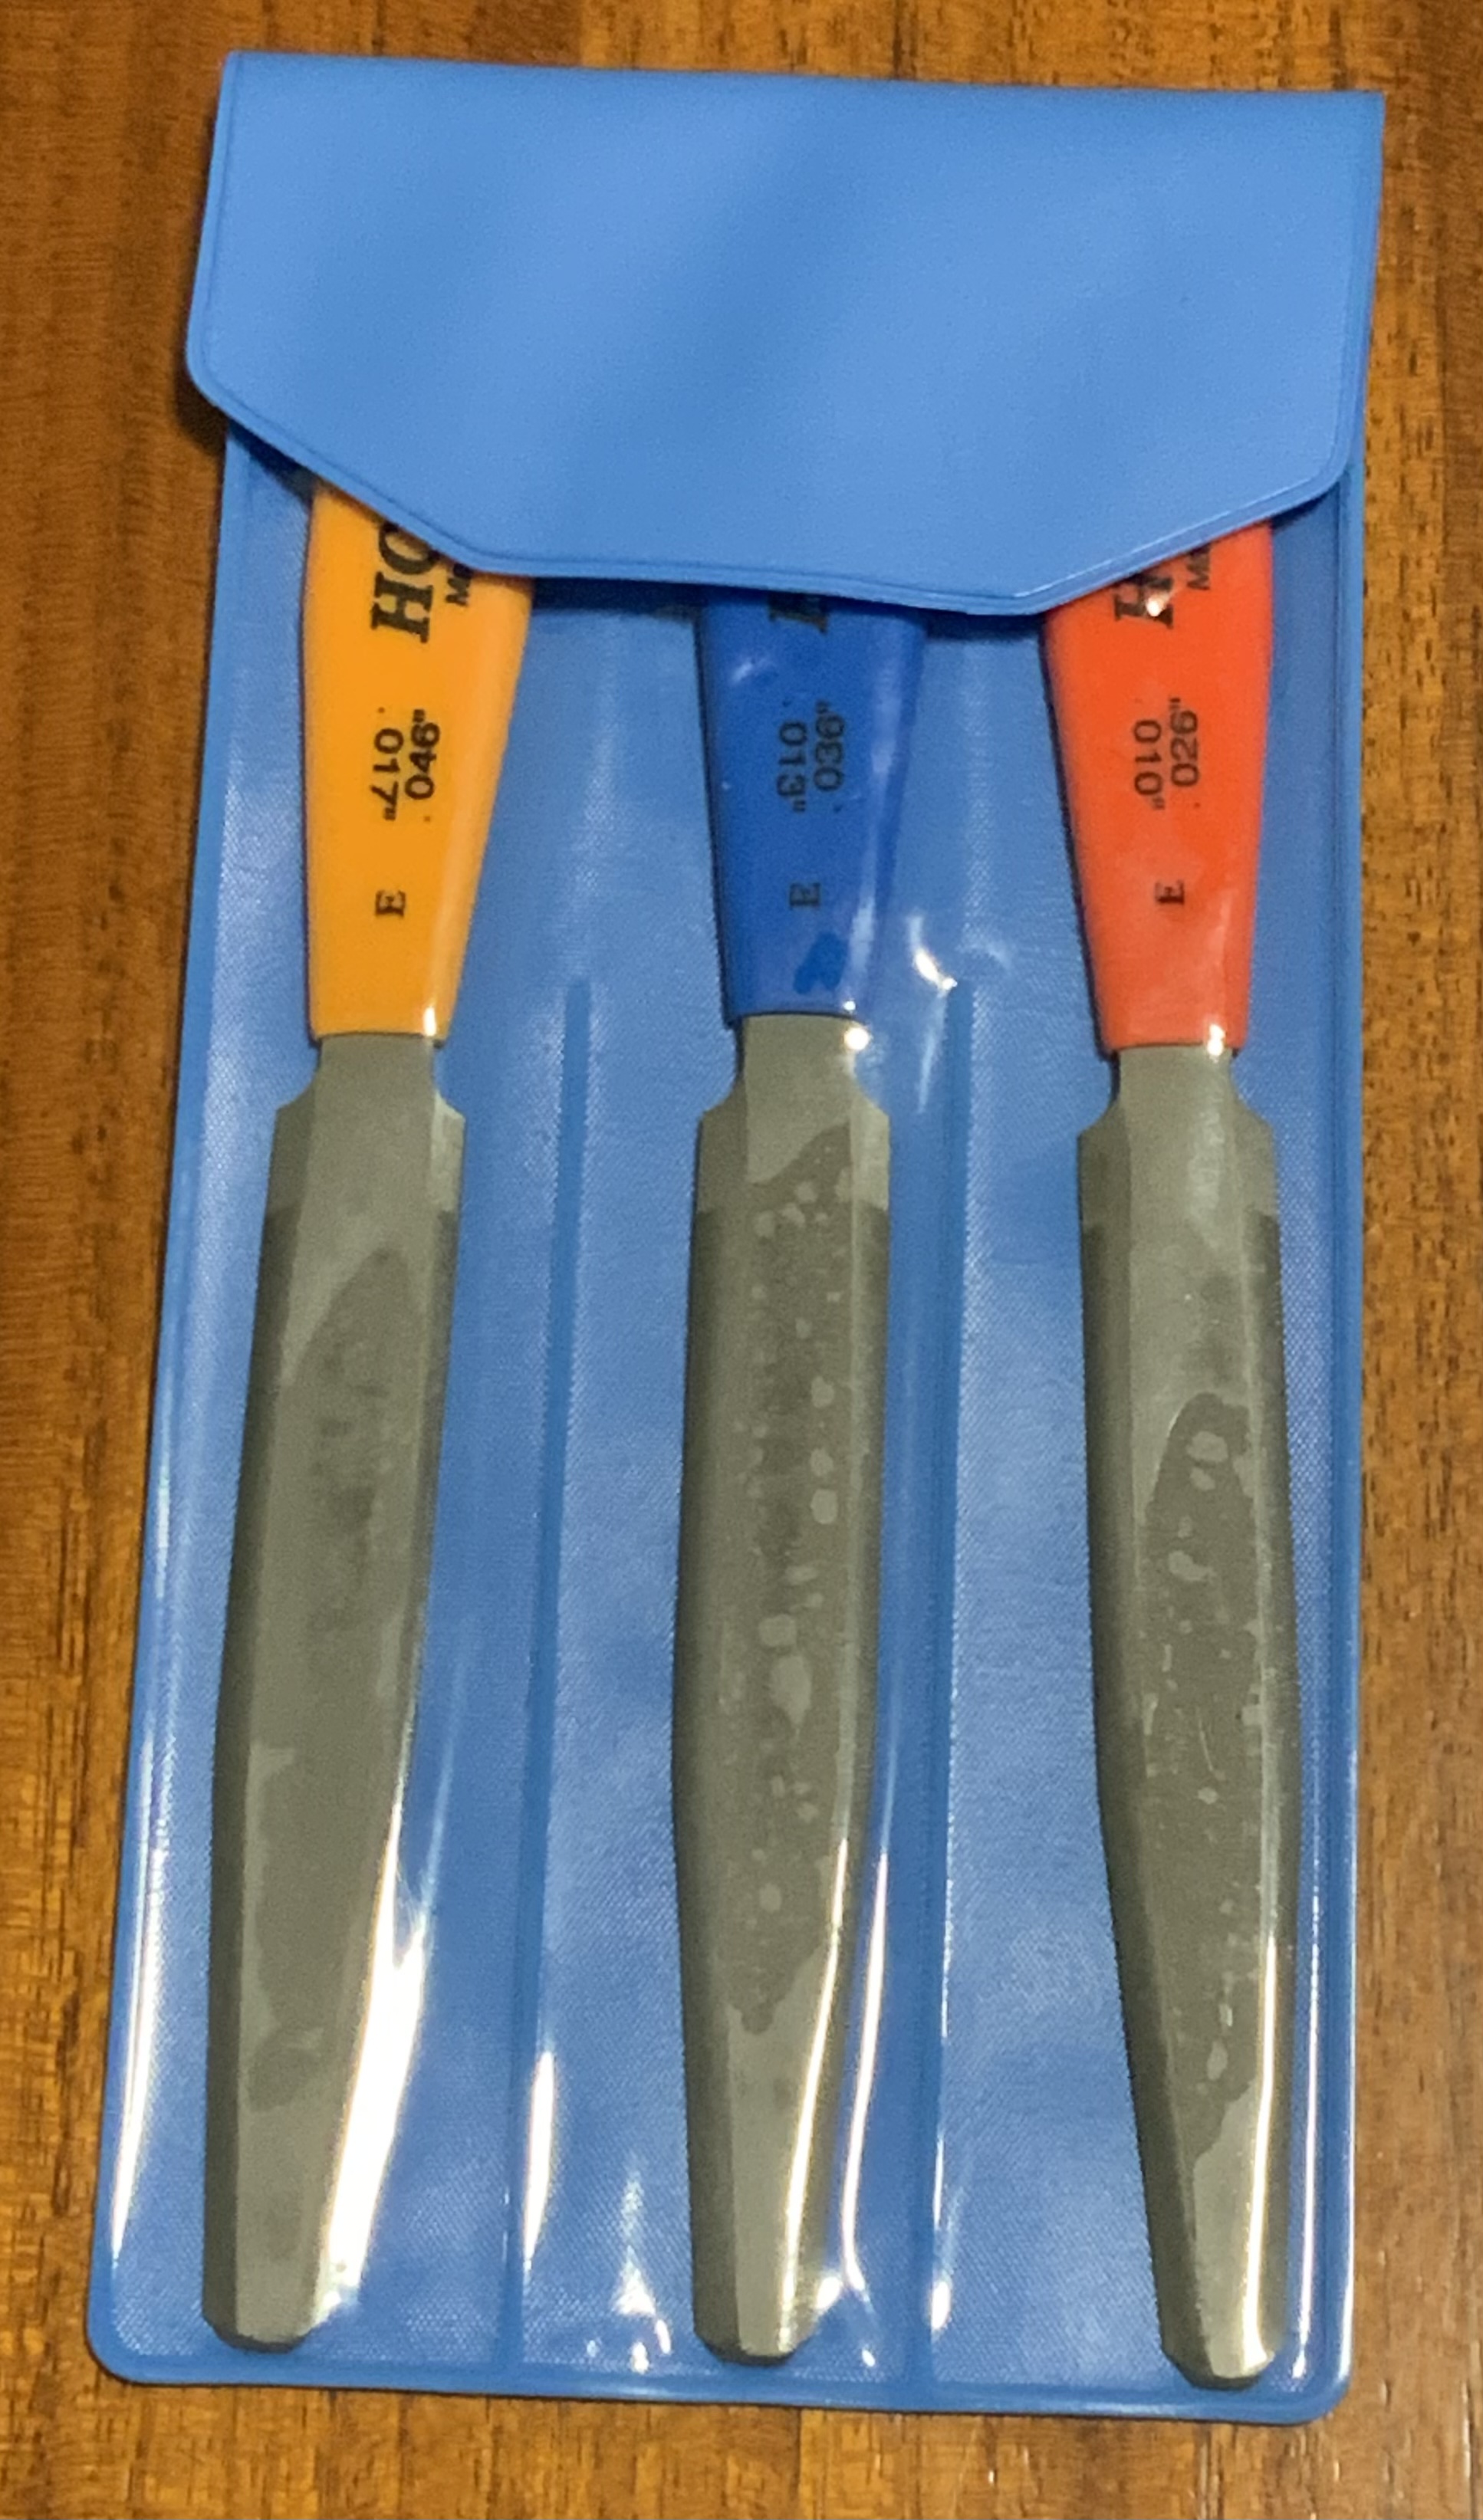
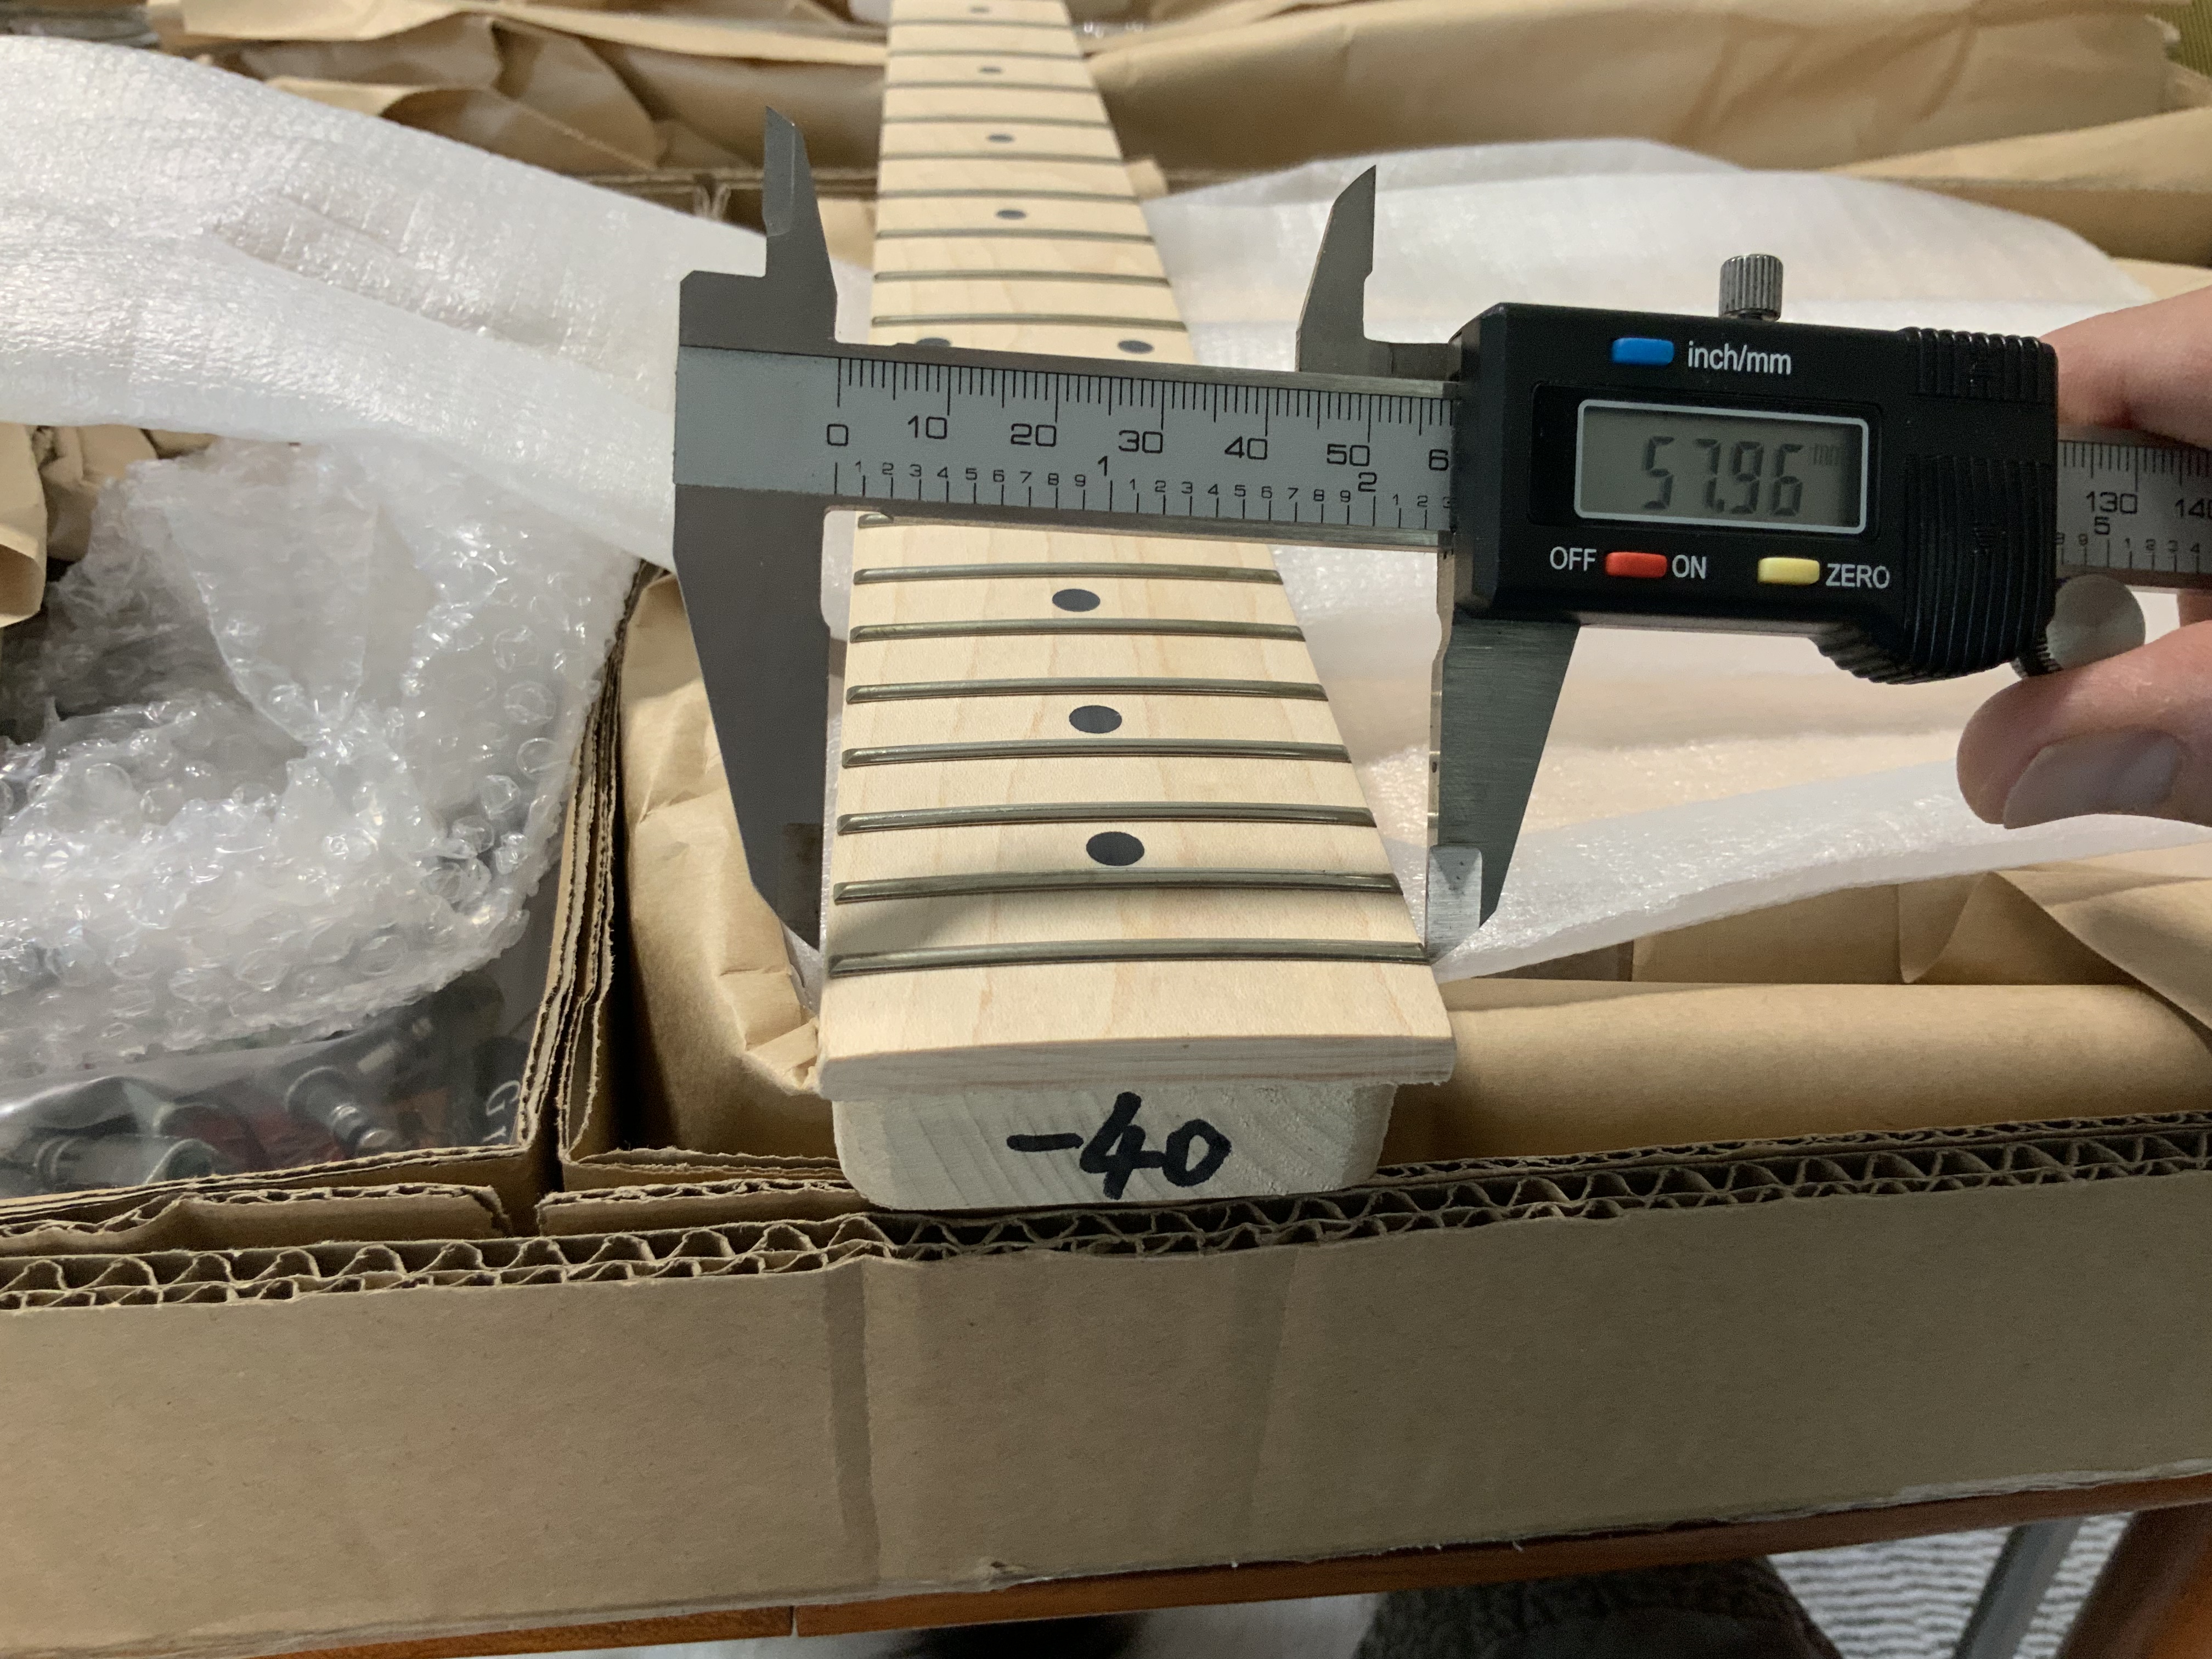
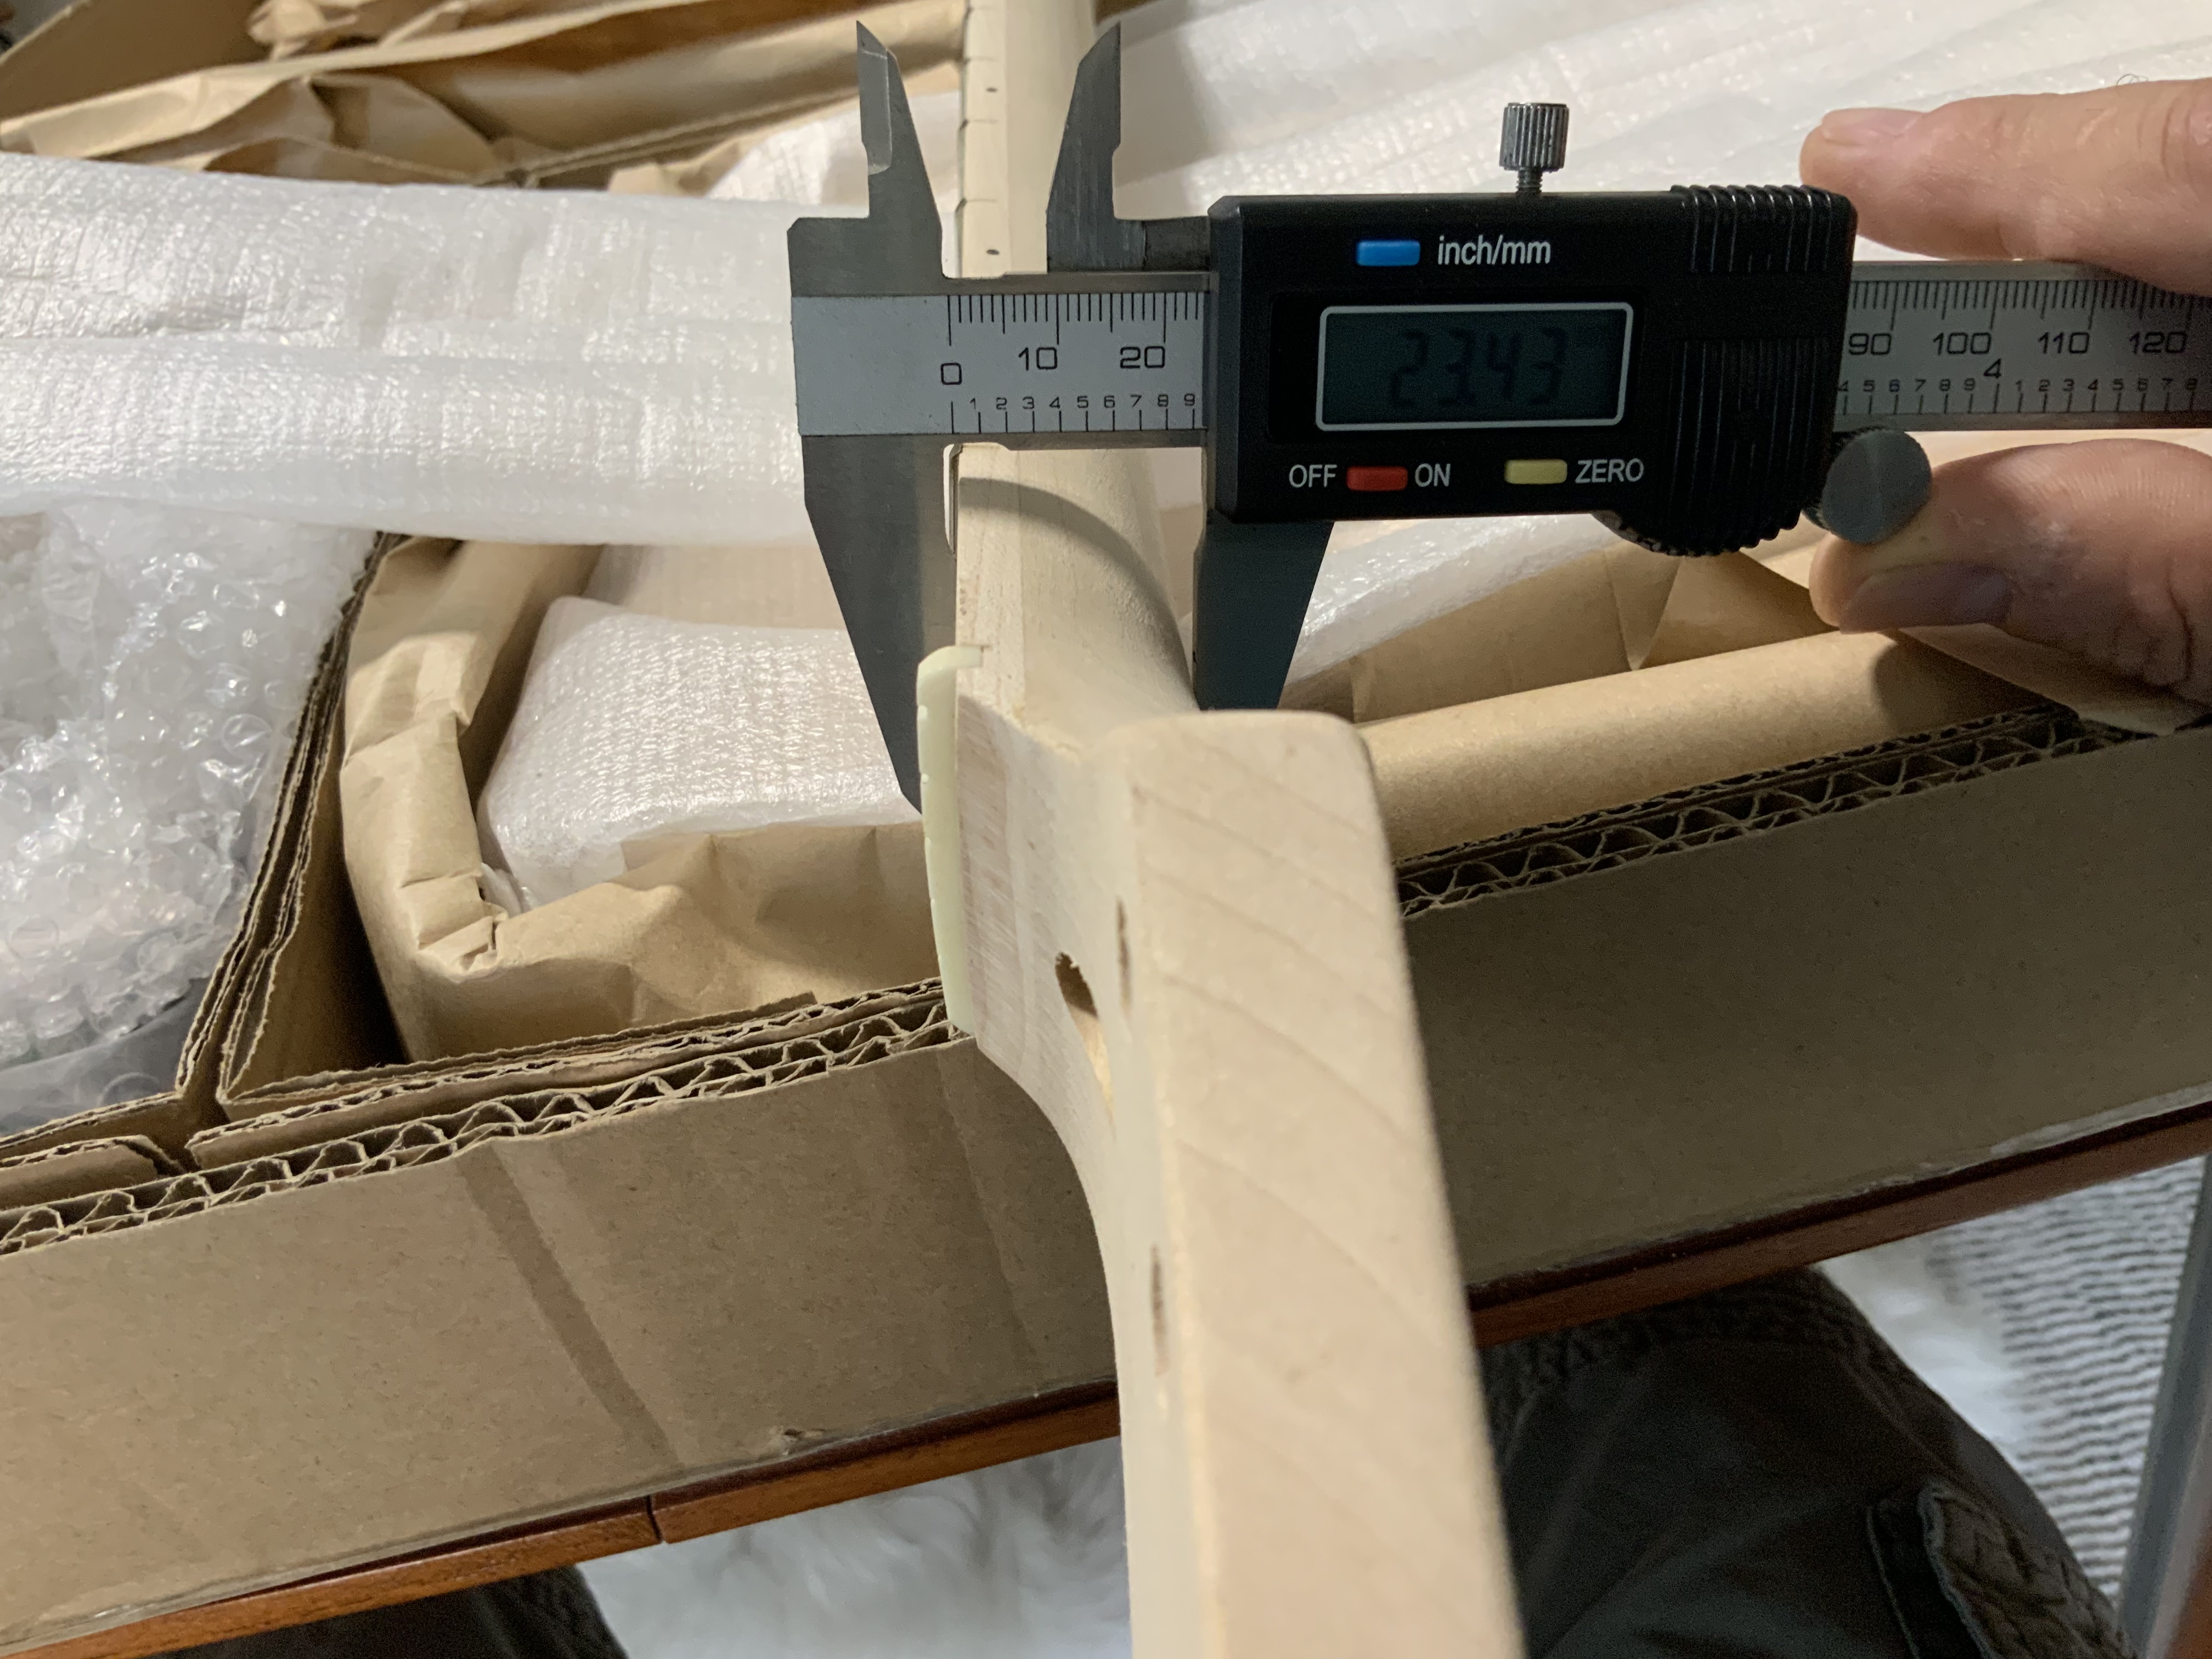
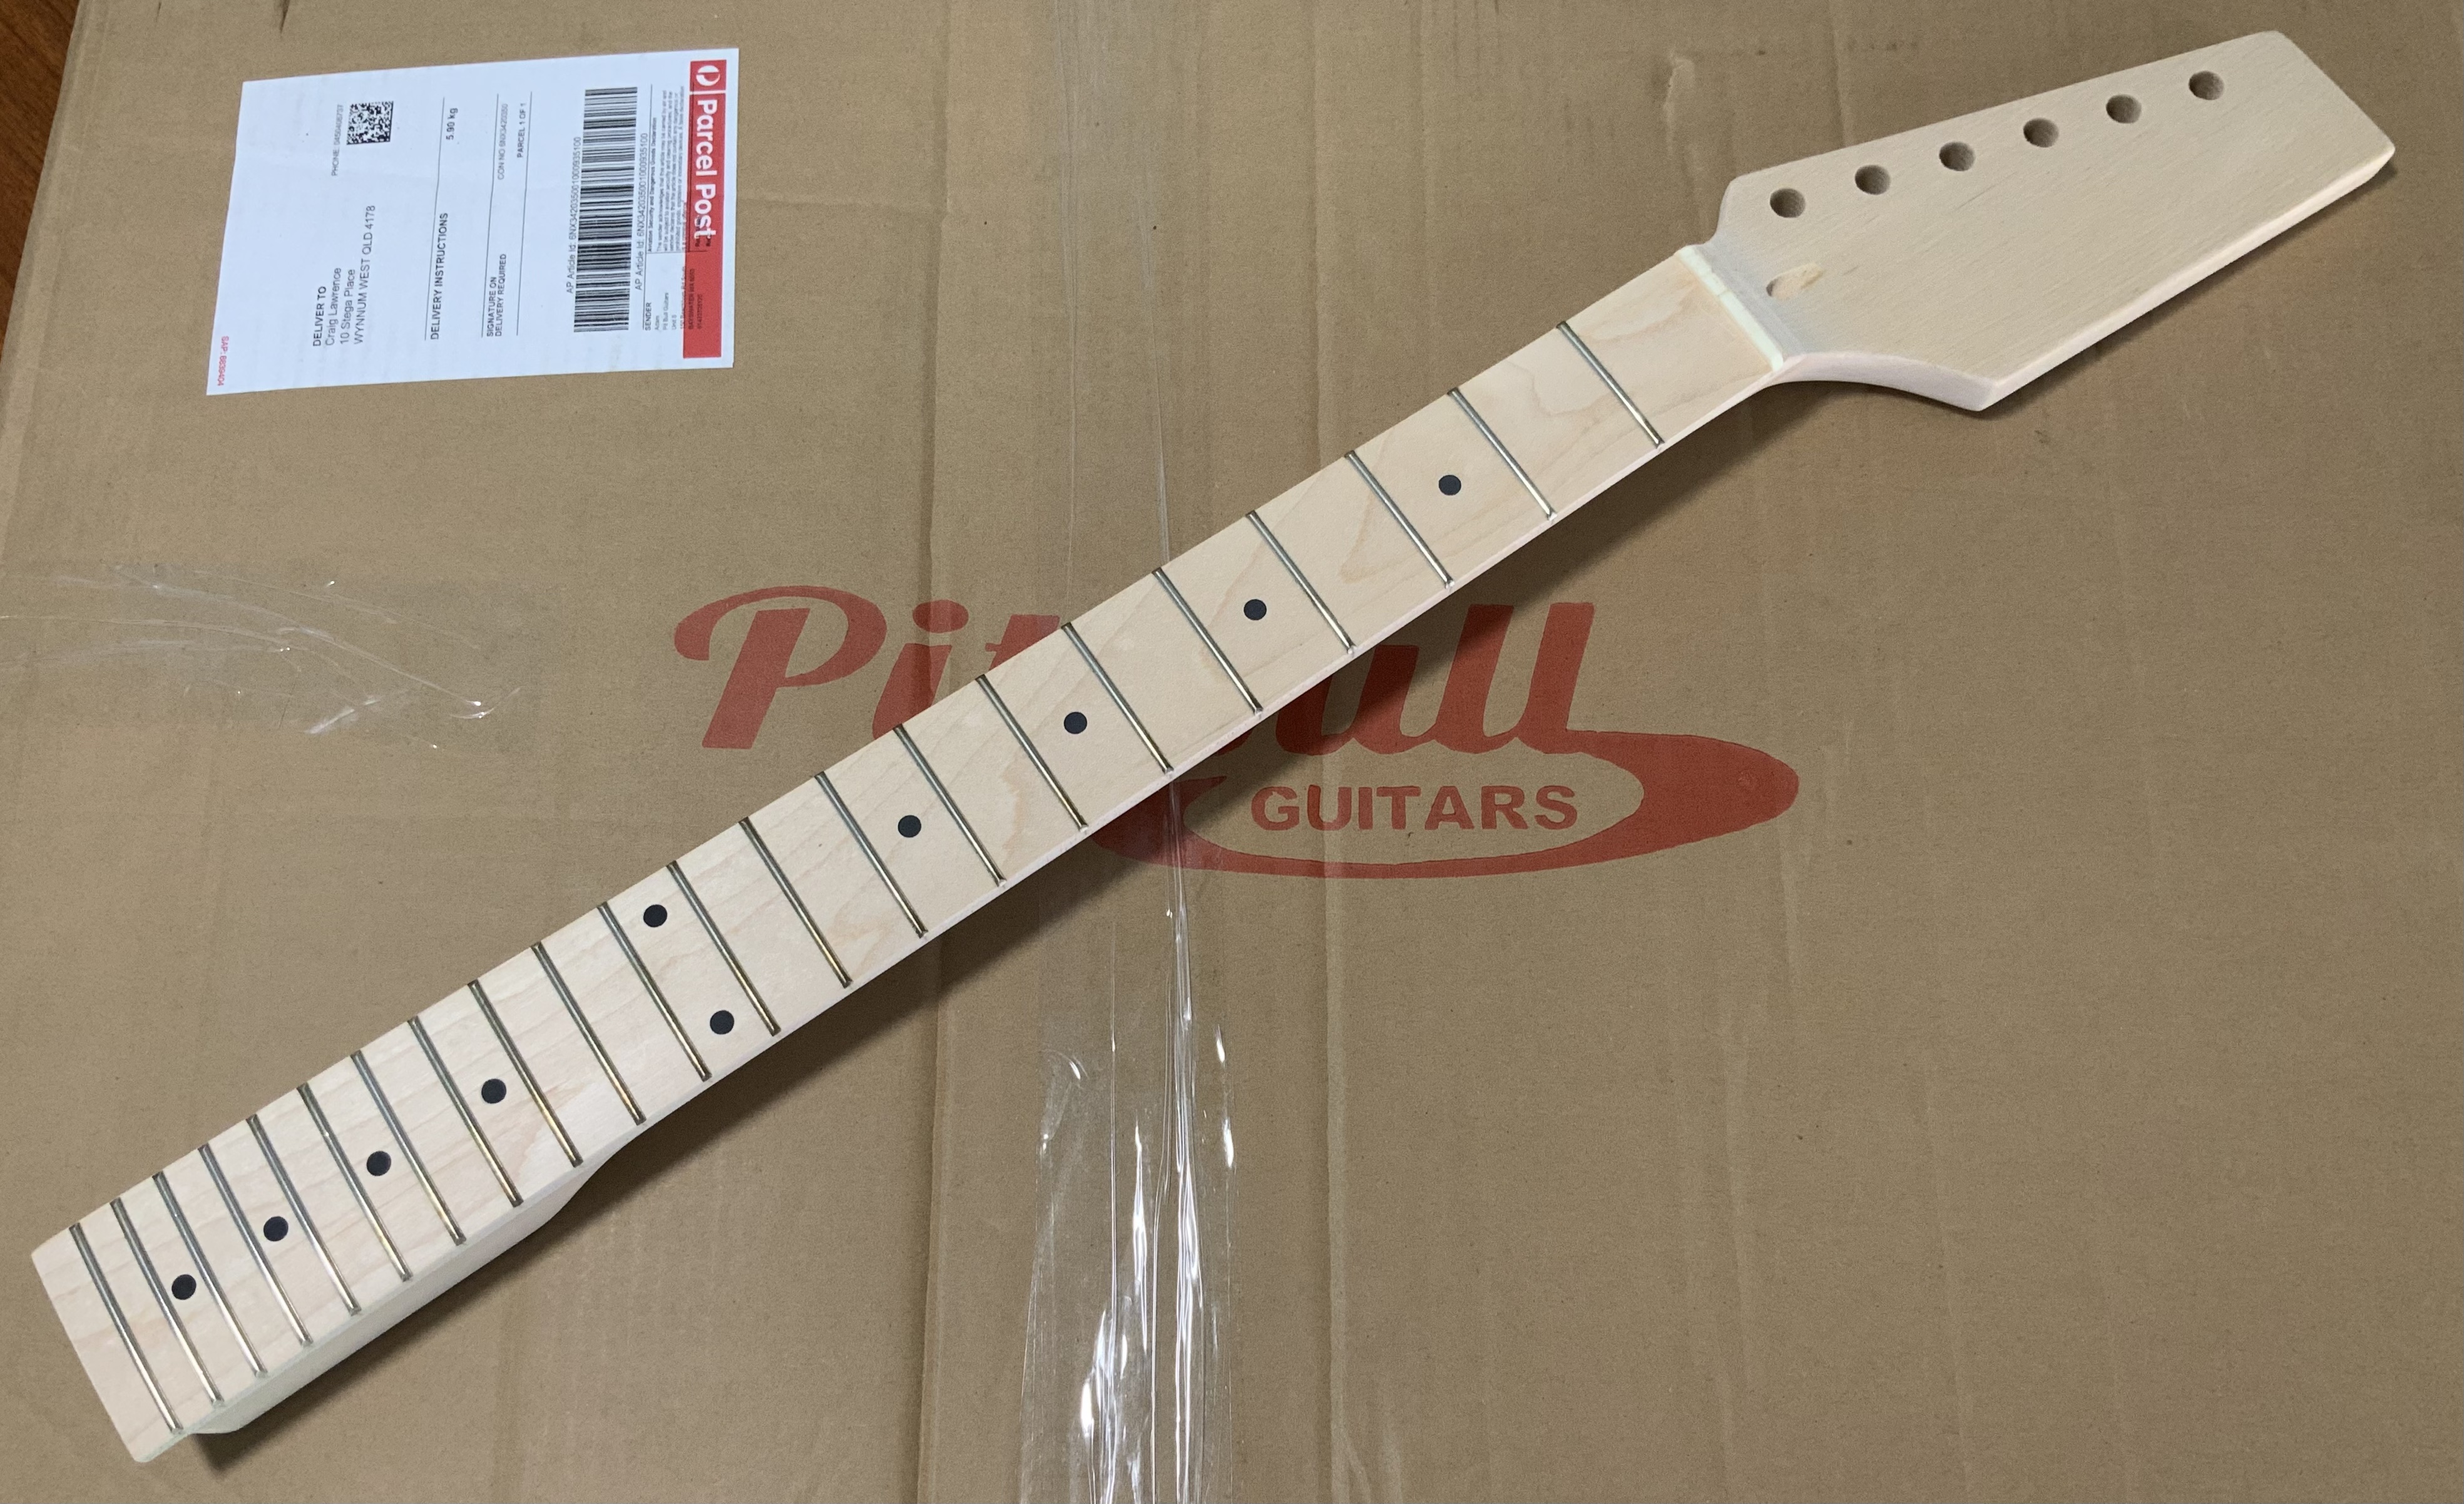
Nice looking neck. Frets will need a bit of work with the edges. What’s the “-40” on the end?
W8Ri6H4.jpg

Zt2yVOa.jpg
 
Last edited:
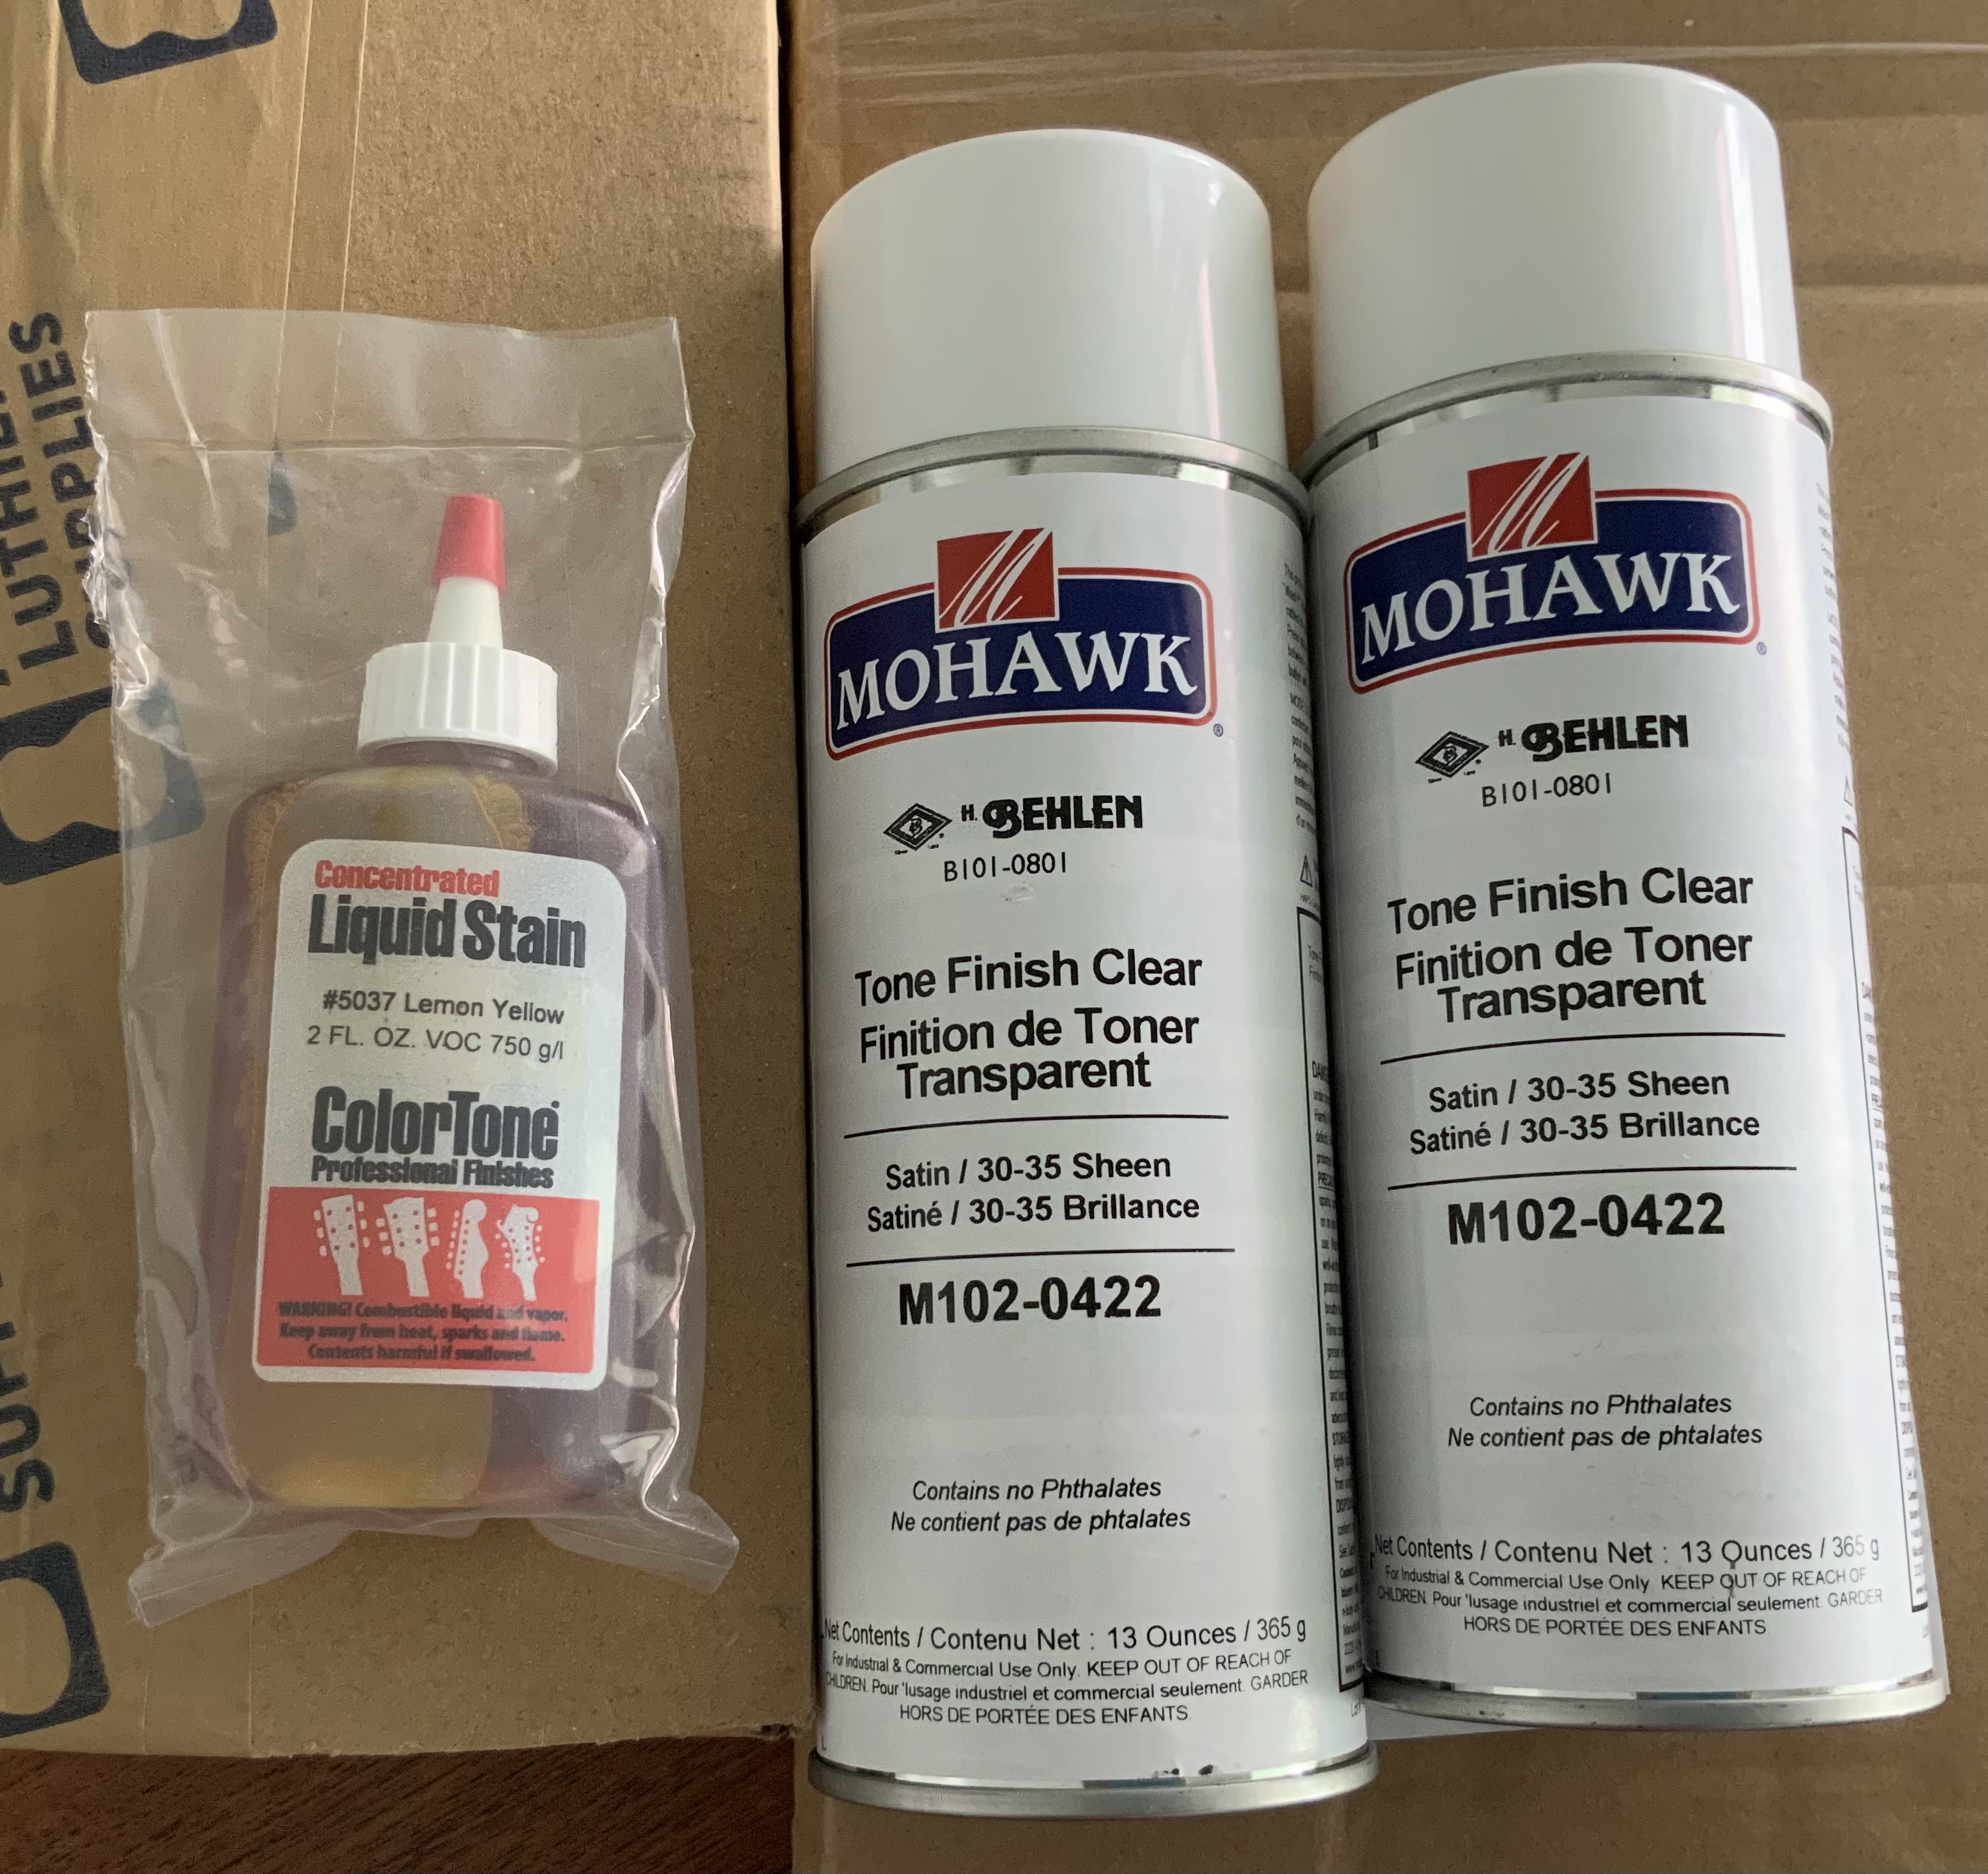
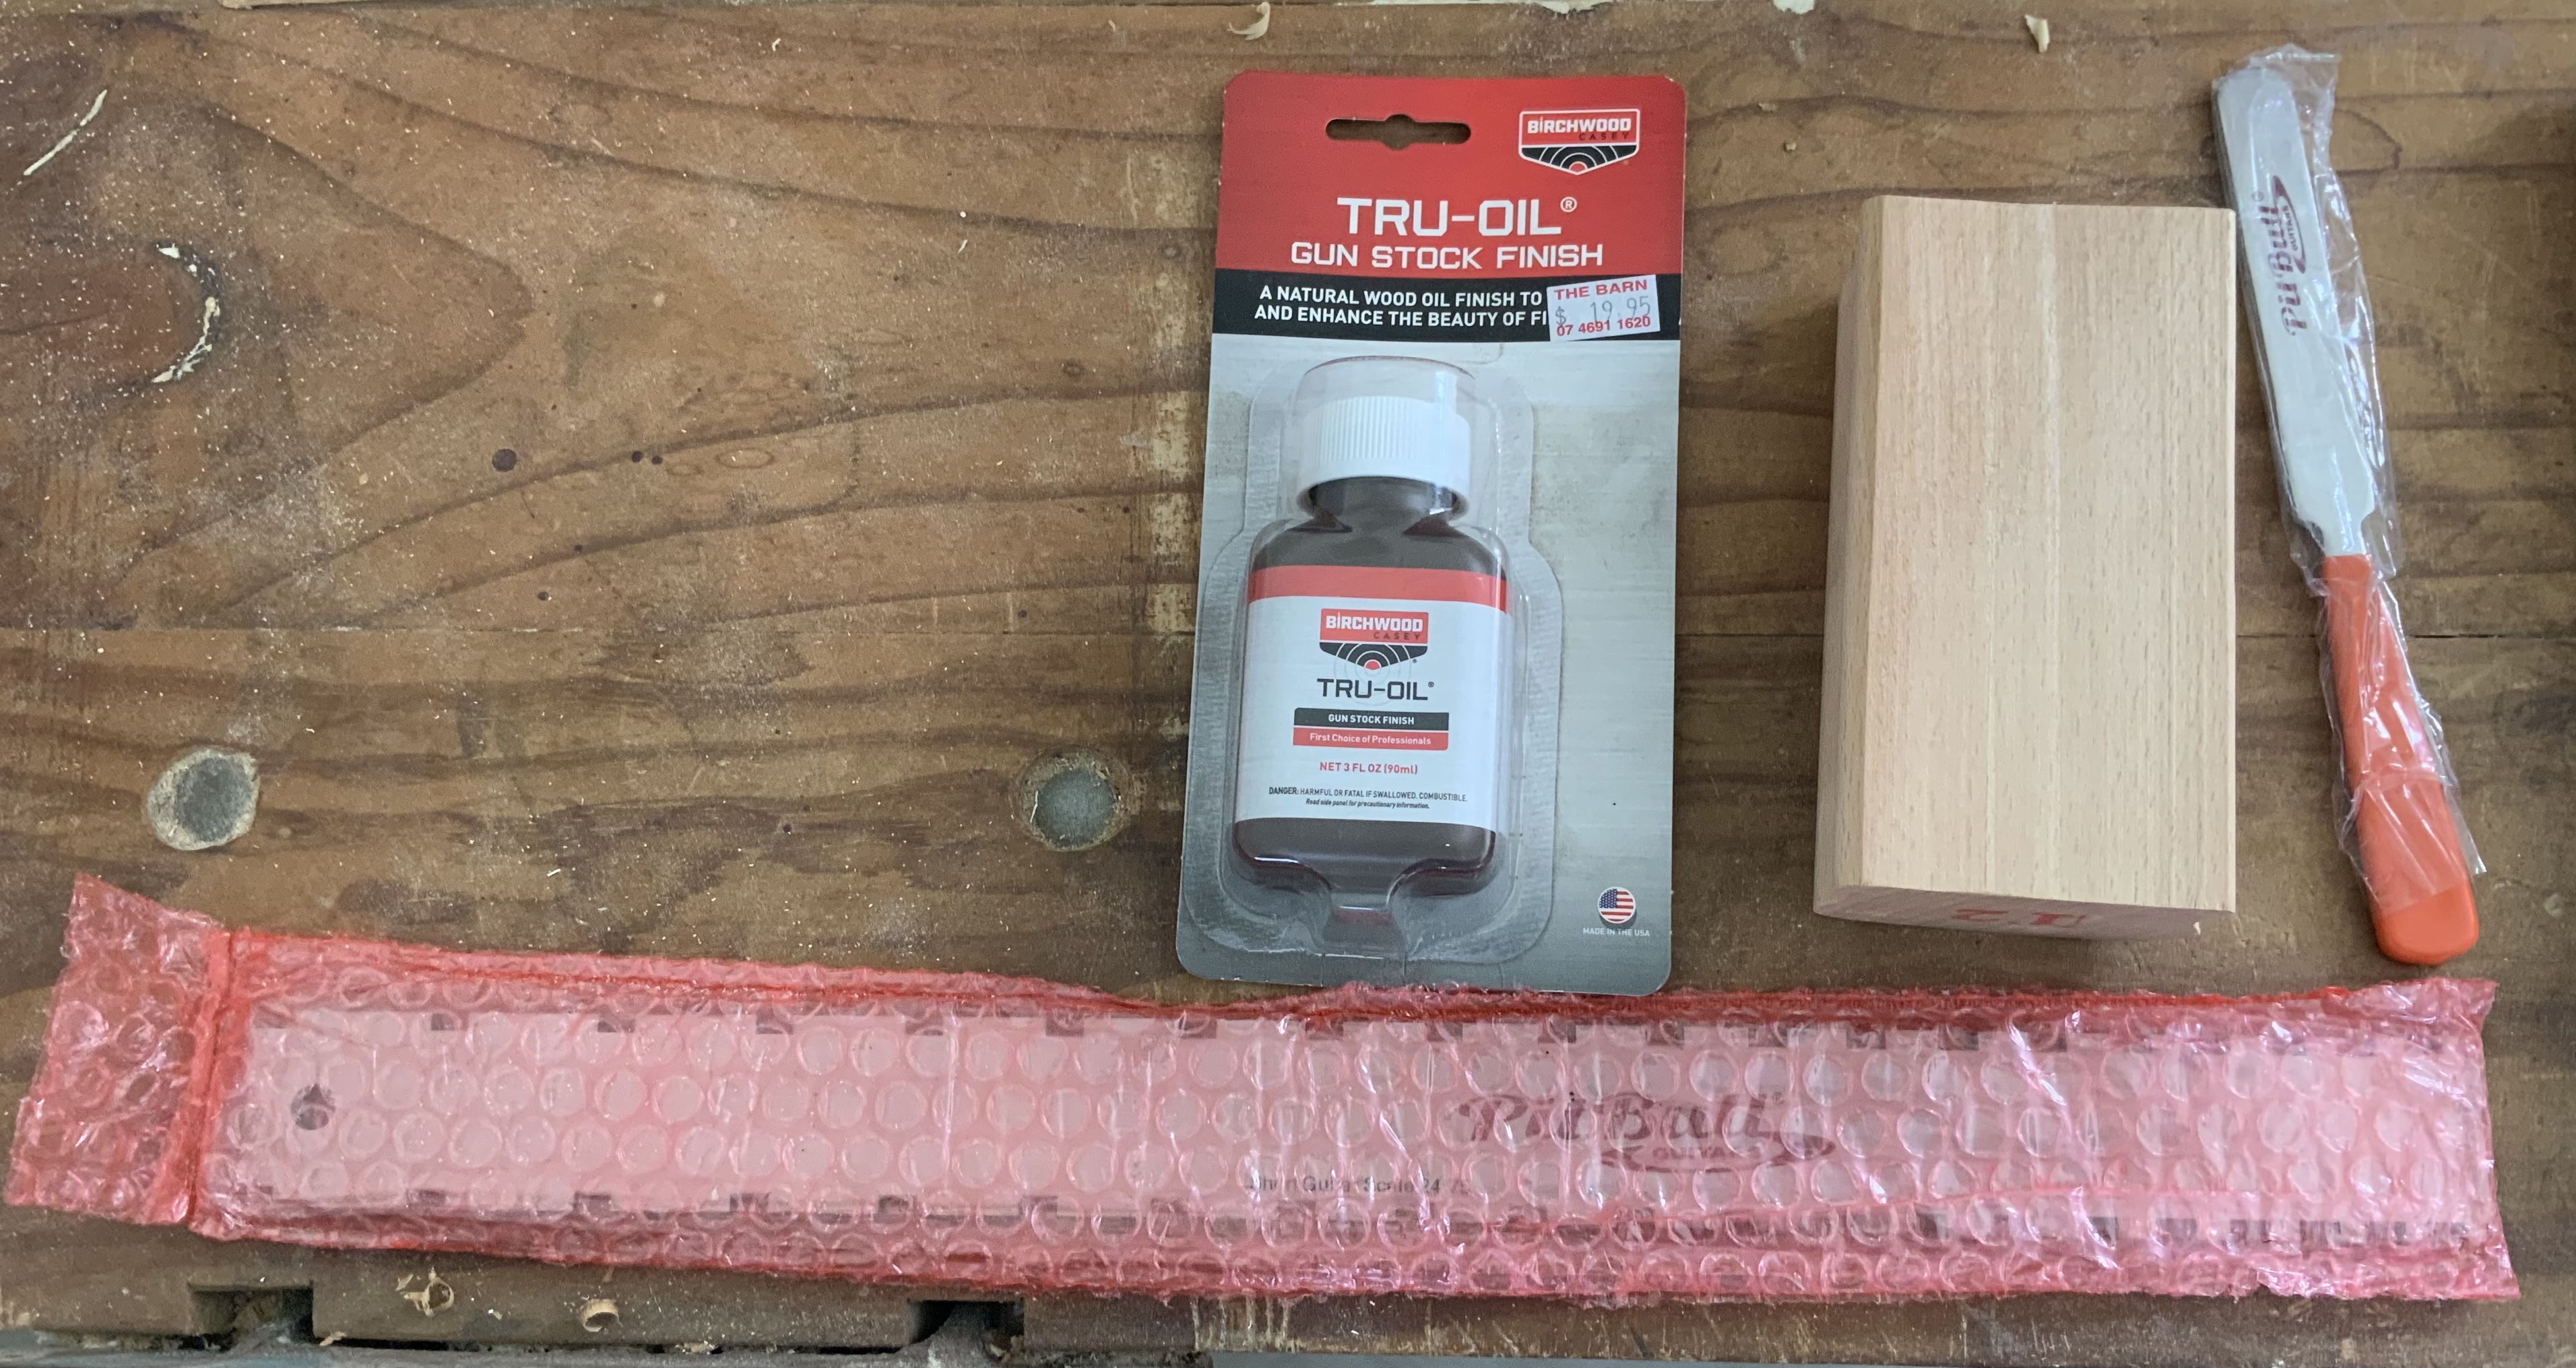
I decided to use Tru Oil on the neck, and these products on the body.

Is it just me, or is the search engine on this forum ‘hohum’ to say the least? Hence, any advice on finishing this (i.e. good links to other’s work), would be much appreciated as a reference that remains in my build thread for easy access.

EArvuSi.jpg
 
I’m also planning to keep reference information that I find along the way (for myself and others).

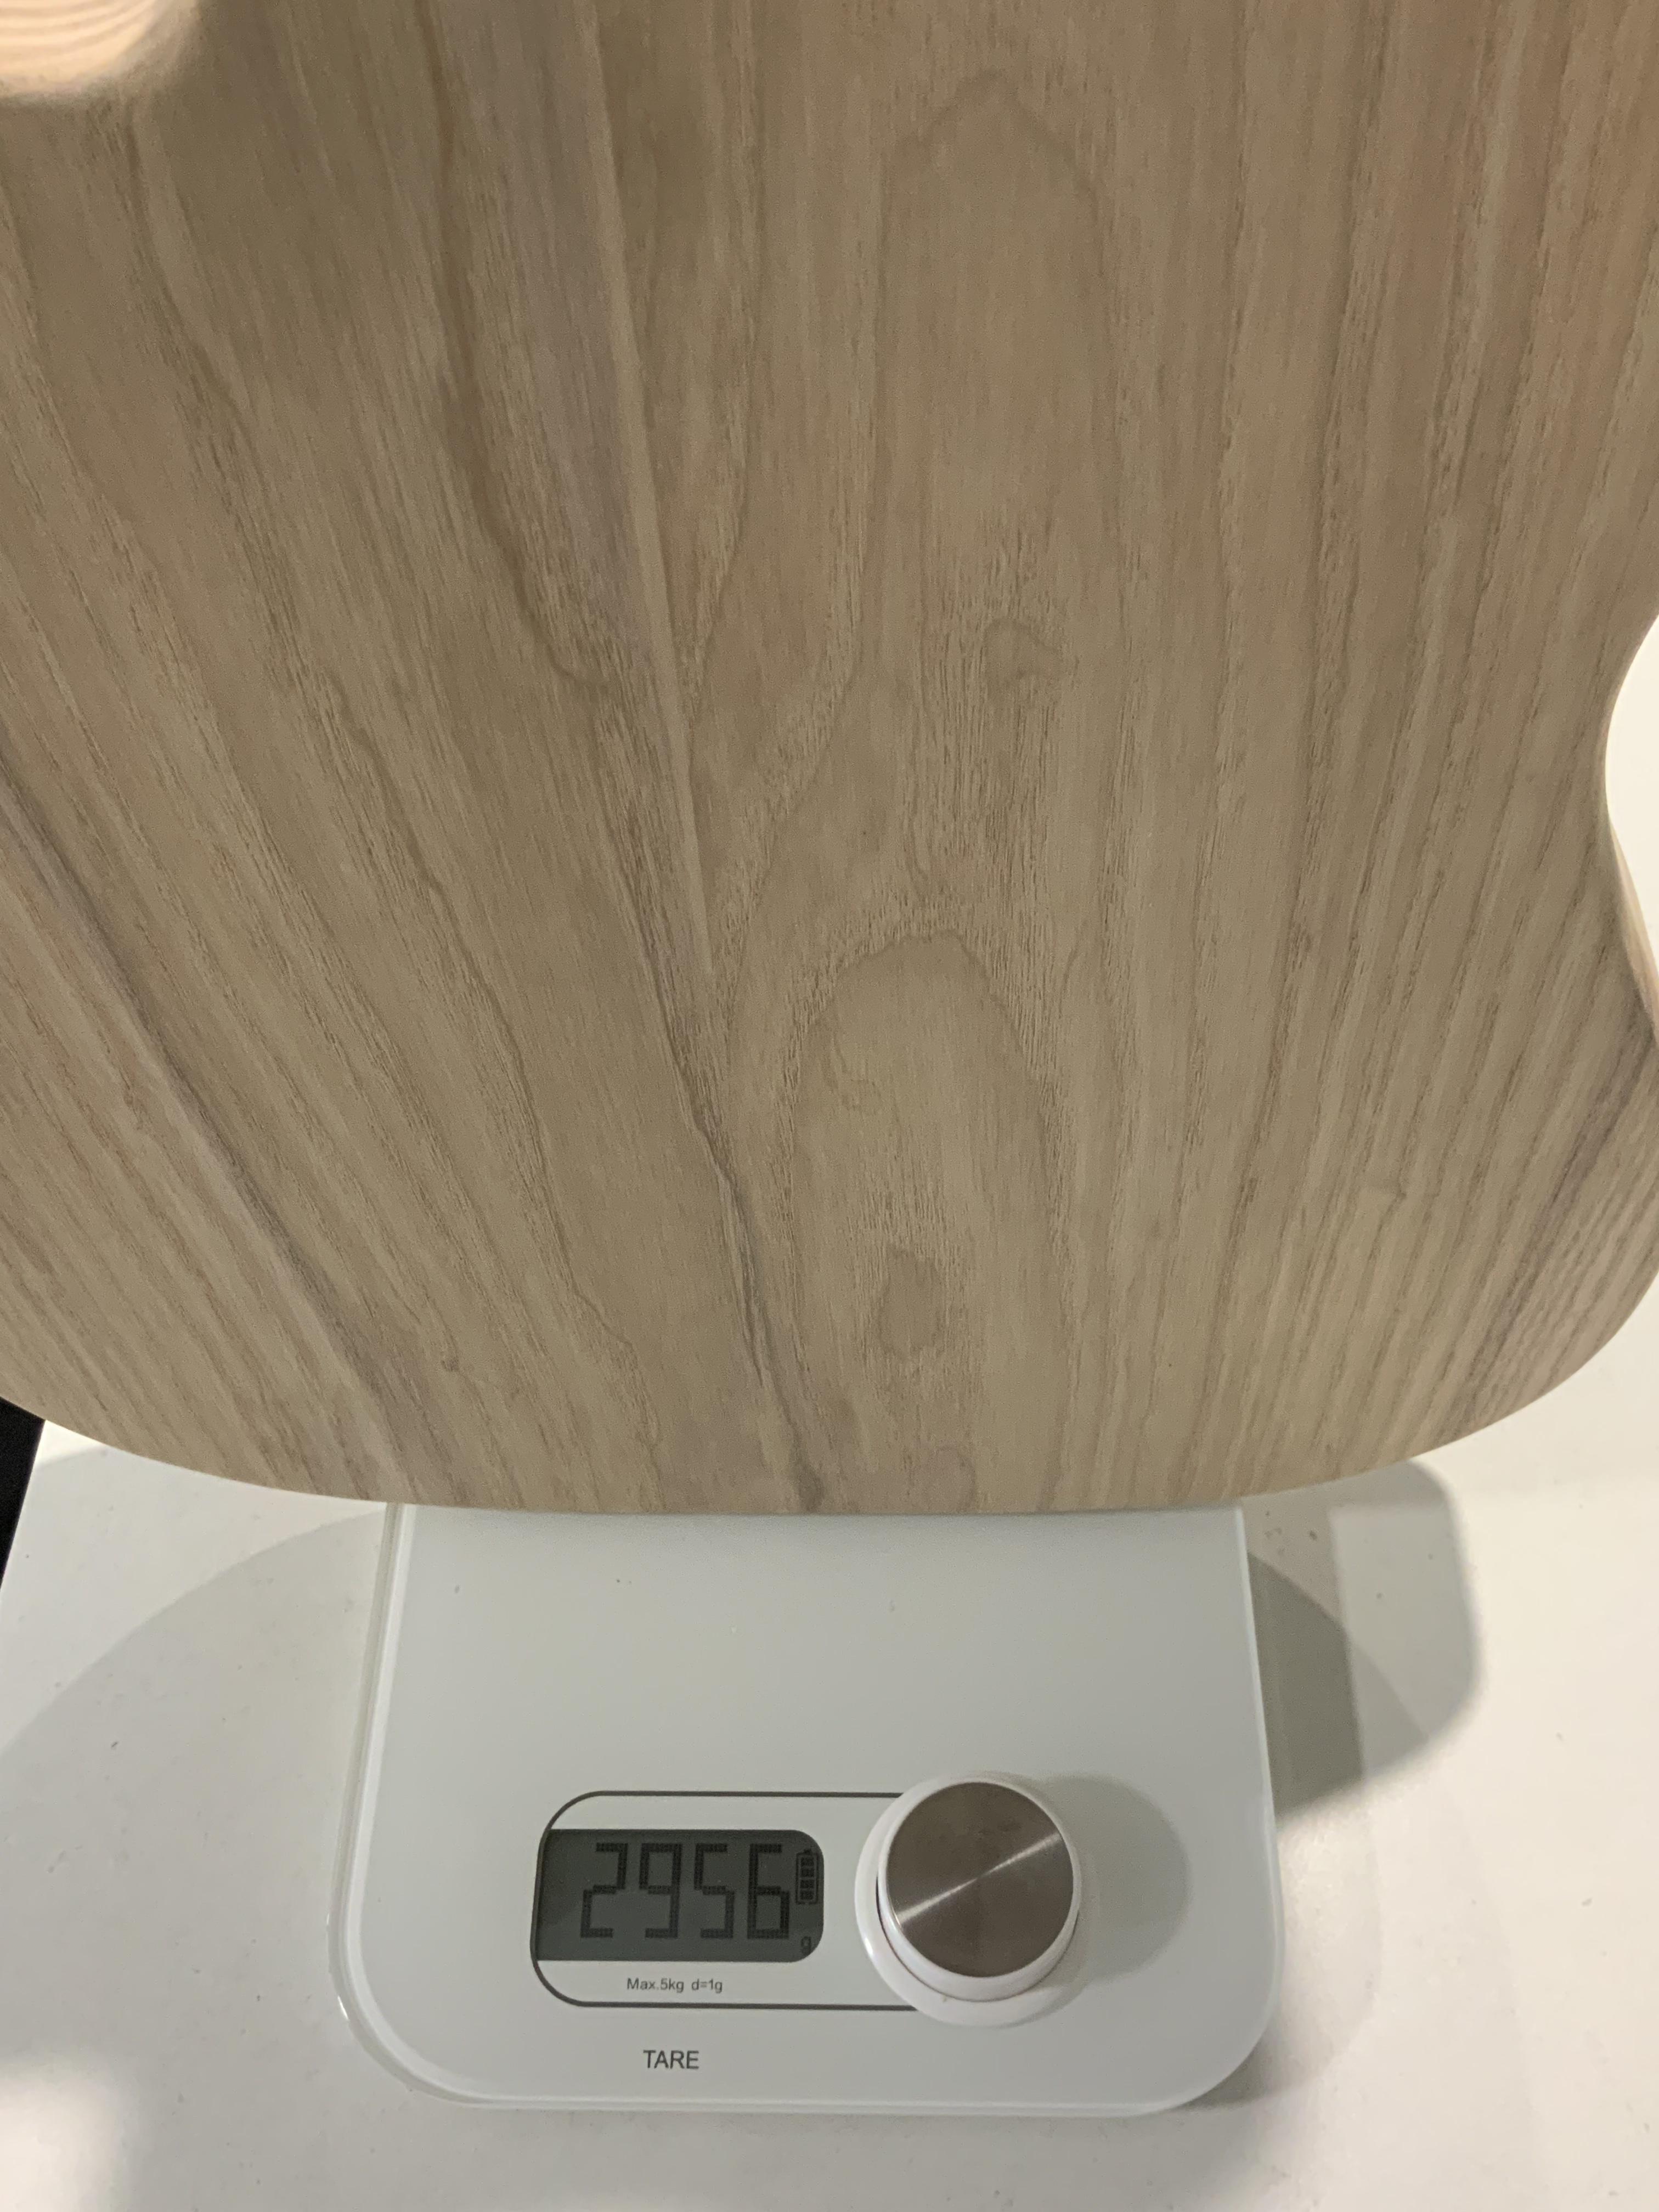
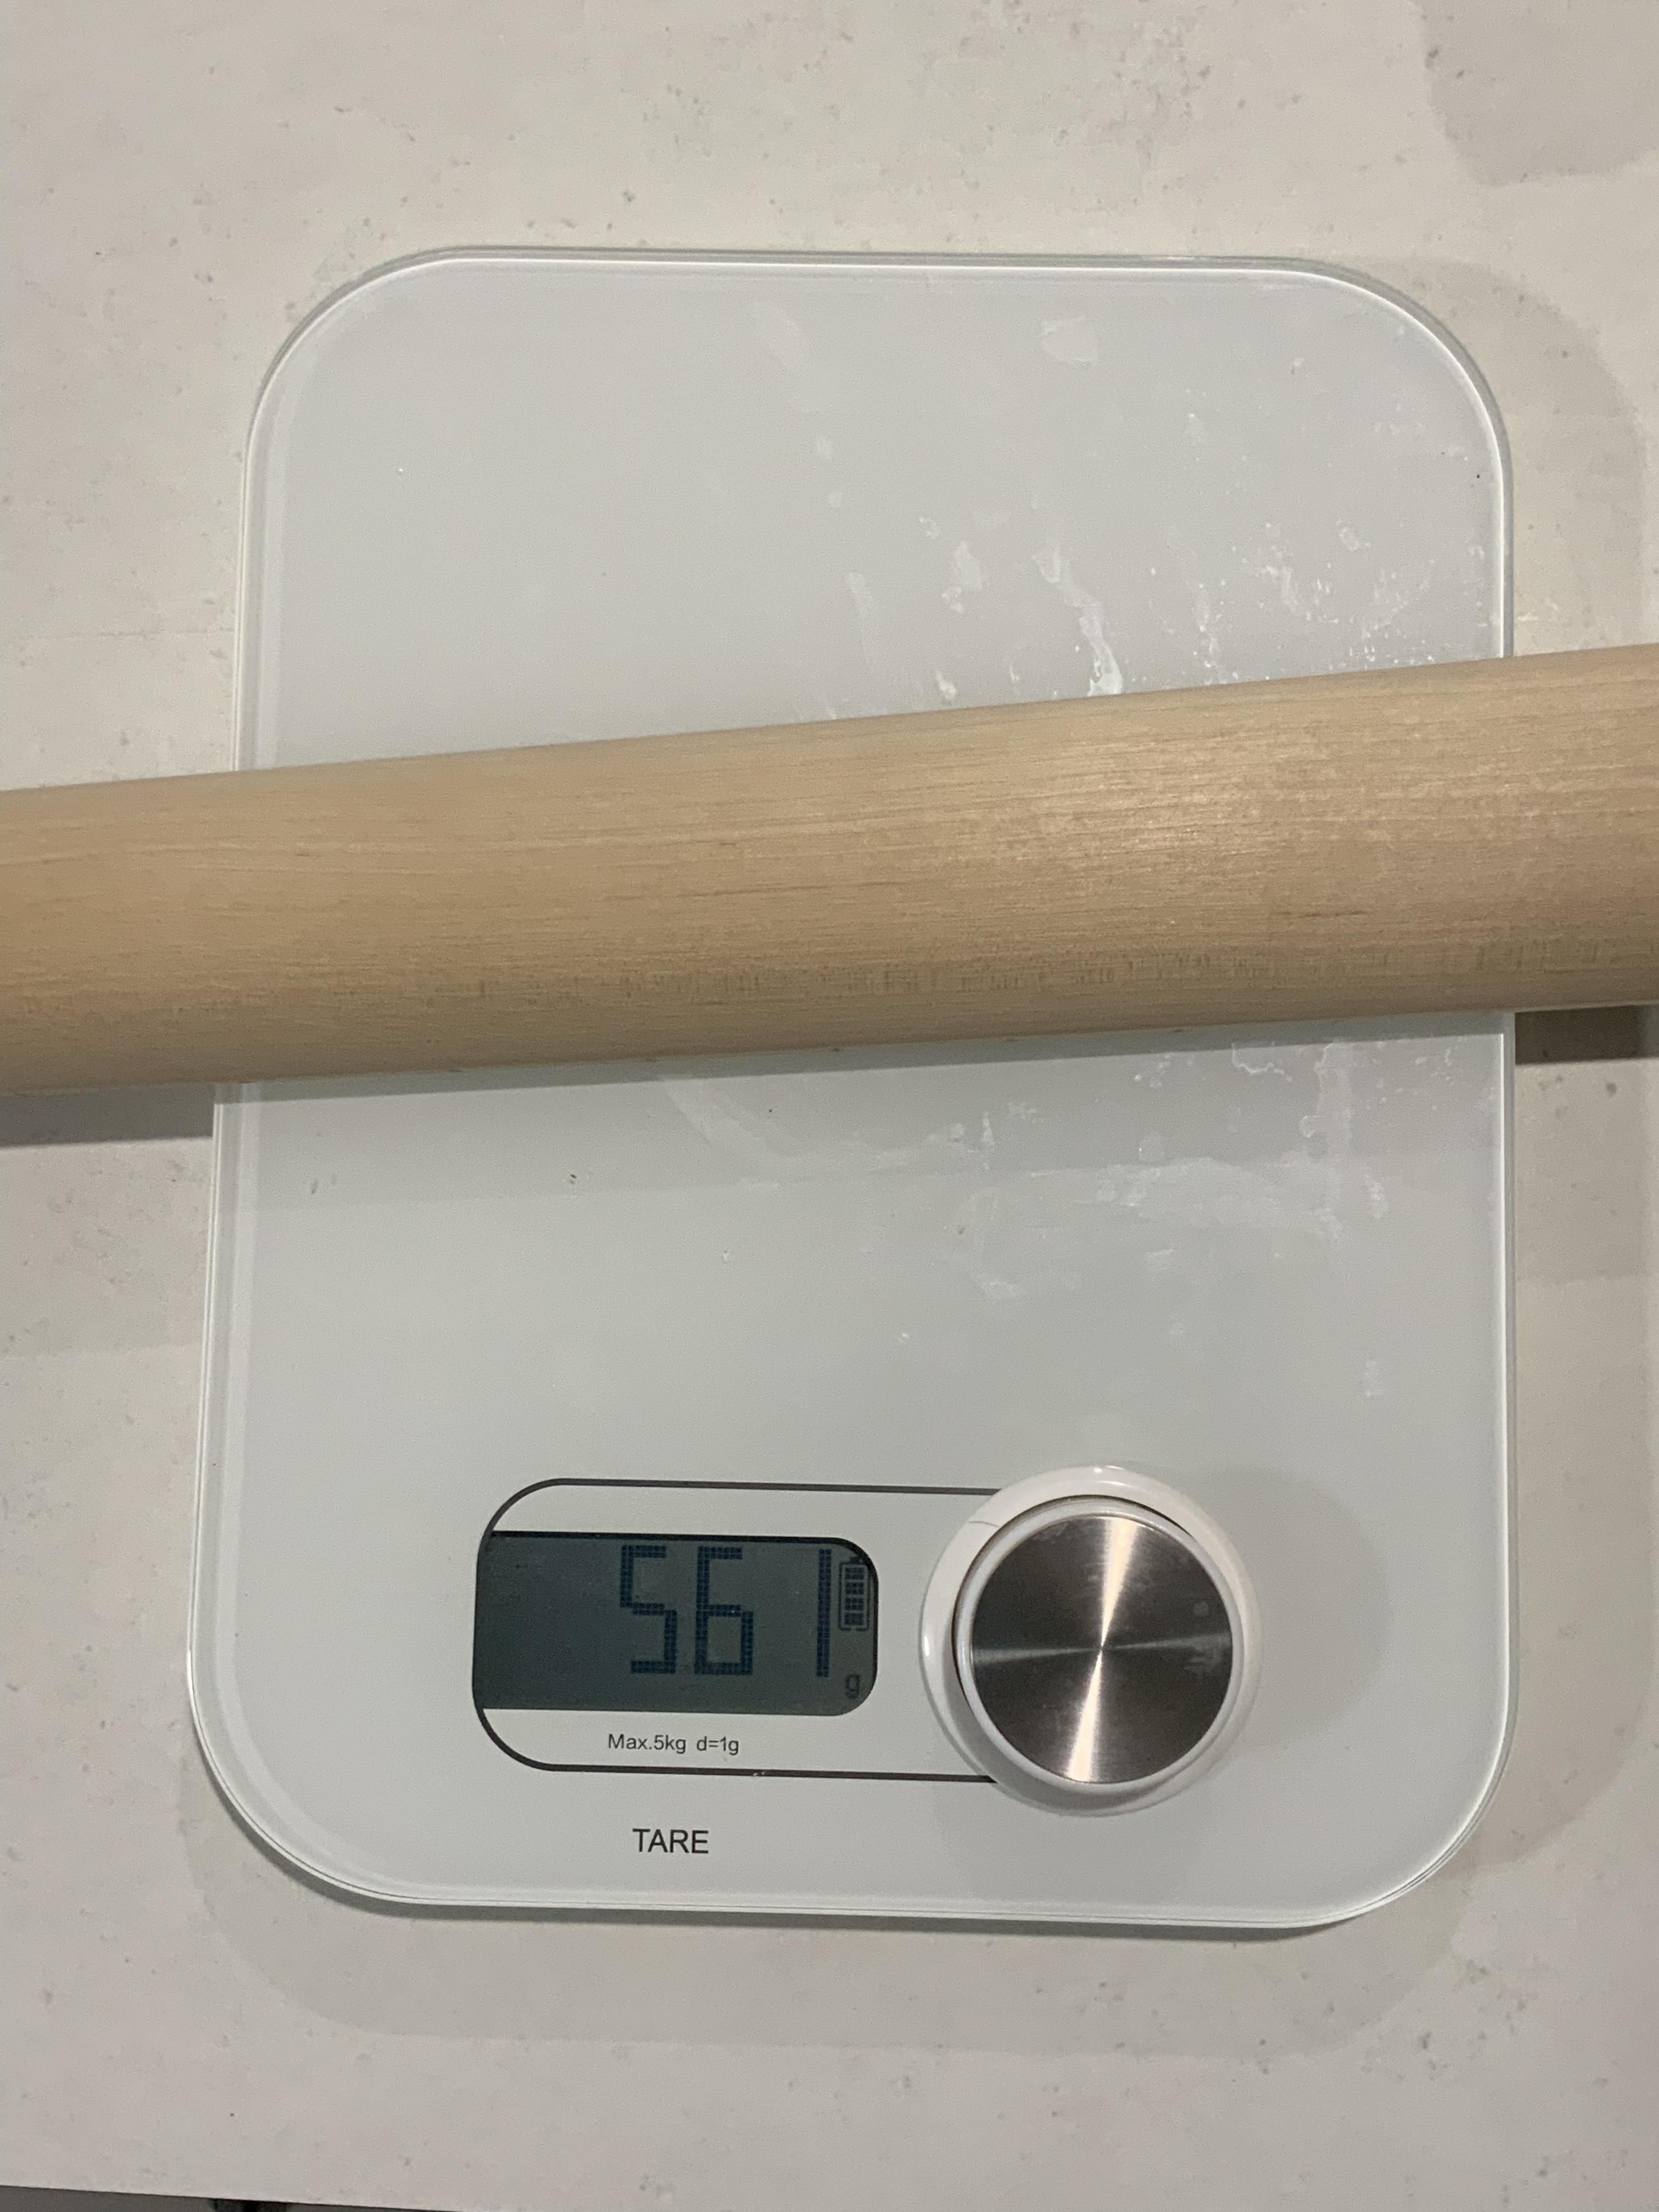
My guitar’s body weighs 3kg, and the neck 560g.

bNT1pep.jpg

XeKcfDm.jpg
 
3kg is pretty hefty!

(And yes, the forum search functionality is sub-par, when compared to what one might be used to.)

Sent from my Pixel 4 using Tapatalk
 
Test fit of the Grovers, shows the pre-drilled holes ever-so-slightly out of alignment.

I didn't know the little holes for the keeper screws came pre-drilled. You'll just need to plug them with small wooden dowel (eg: hardwood toothpicks) and redrill them.
It's hard to tell that close up, but the centre to centre spacing of the tuners appears to be ok at least.

At 3kg, I'd consider doing comfort contours front and back to attain a little bit of weight relief. The contours don't provide a lot of relief, but they help (and I like the way they feel). I know it's not "traditional" but neither am I!

Don't forget with Ash, it's a very open pored grain and will require grain filling if you're wanting a smooth glass-like finish.
 
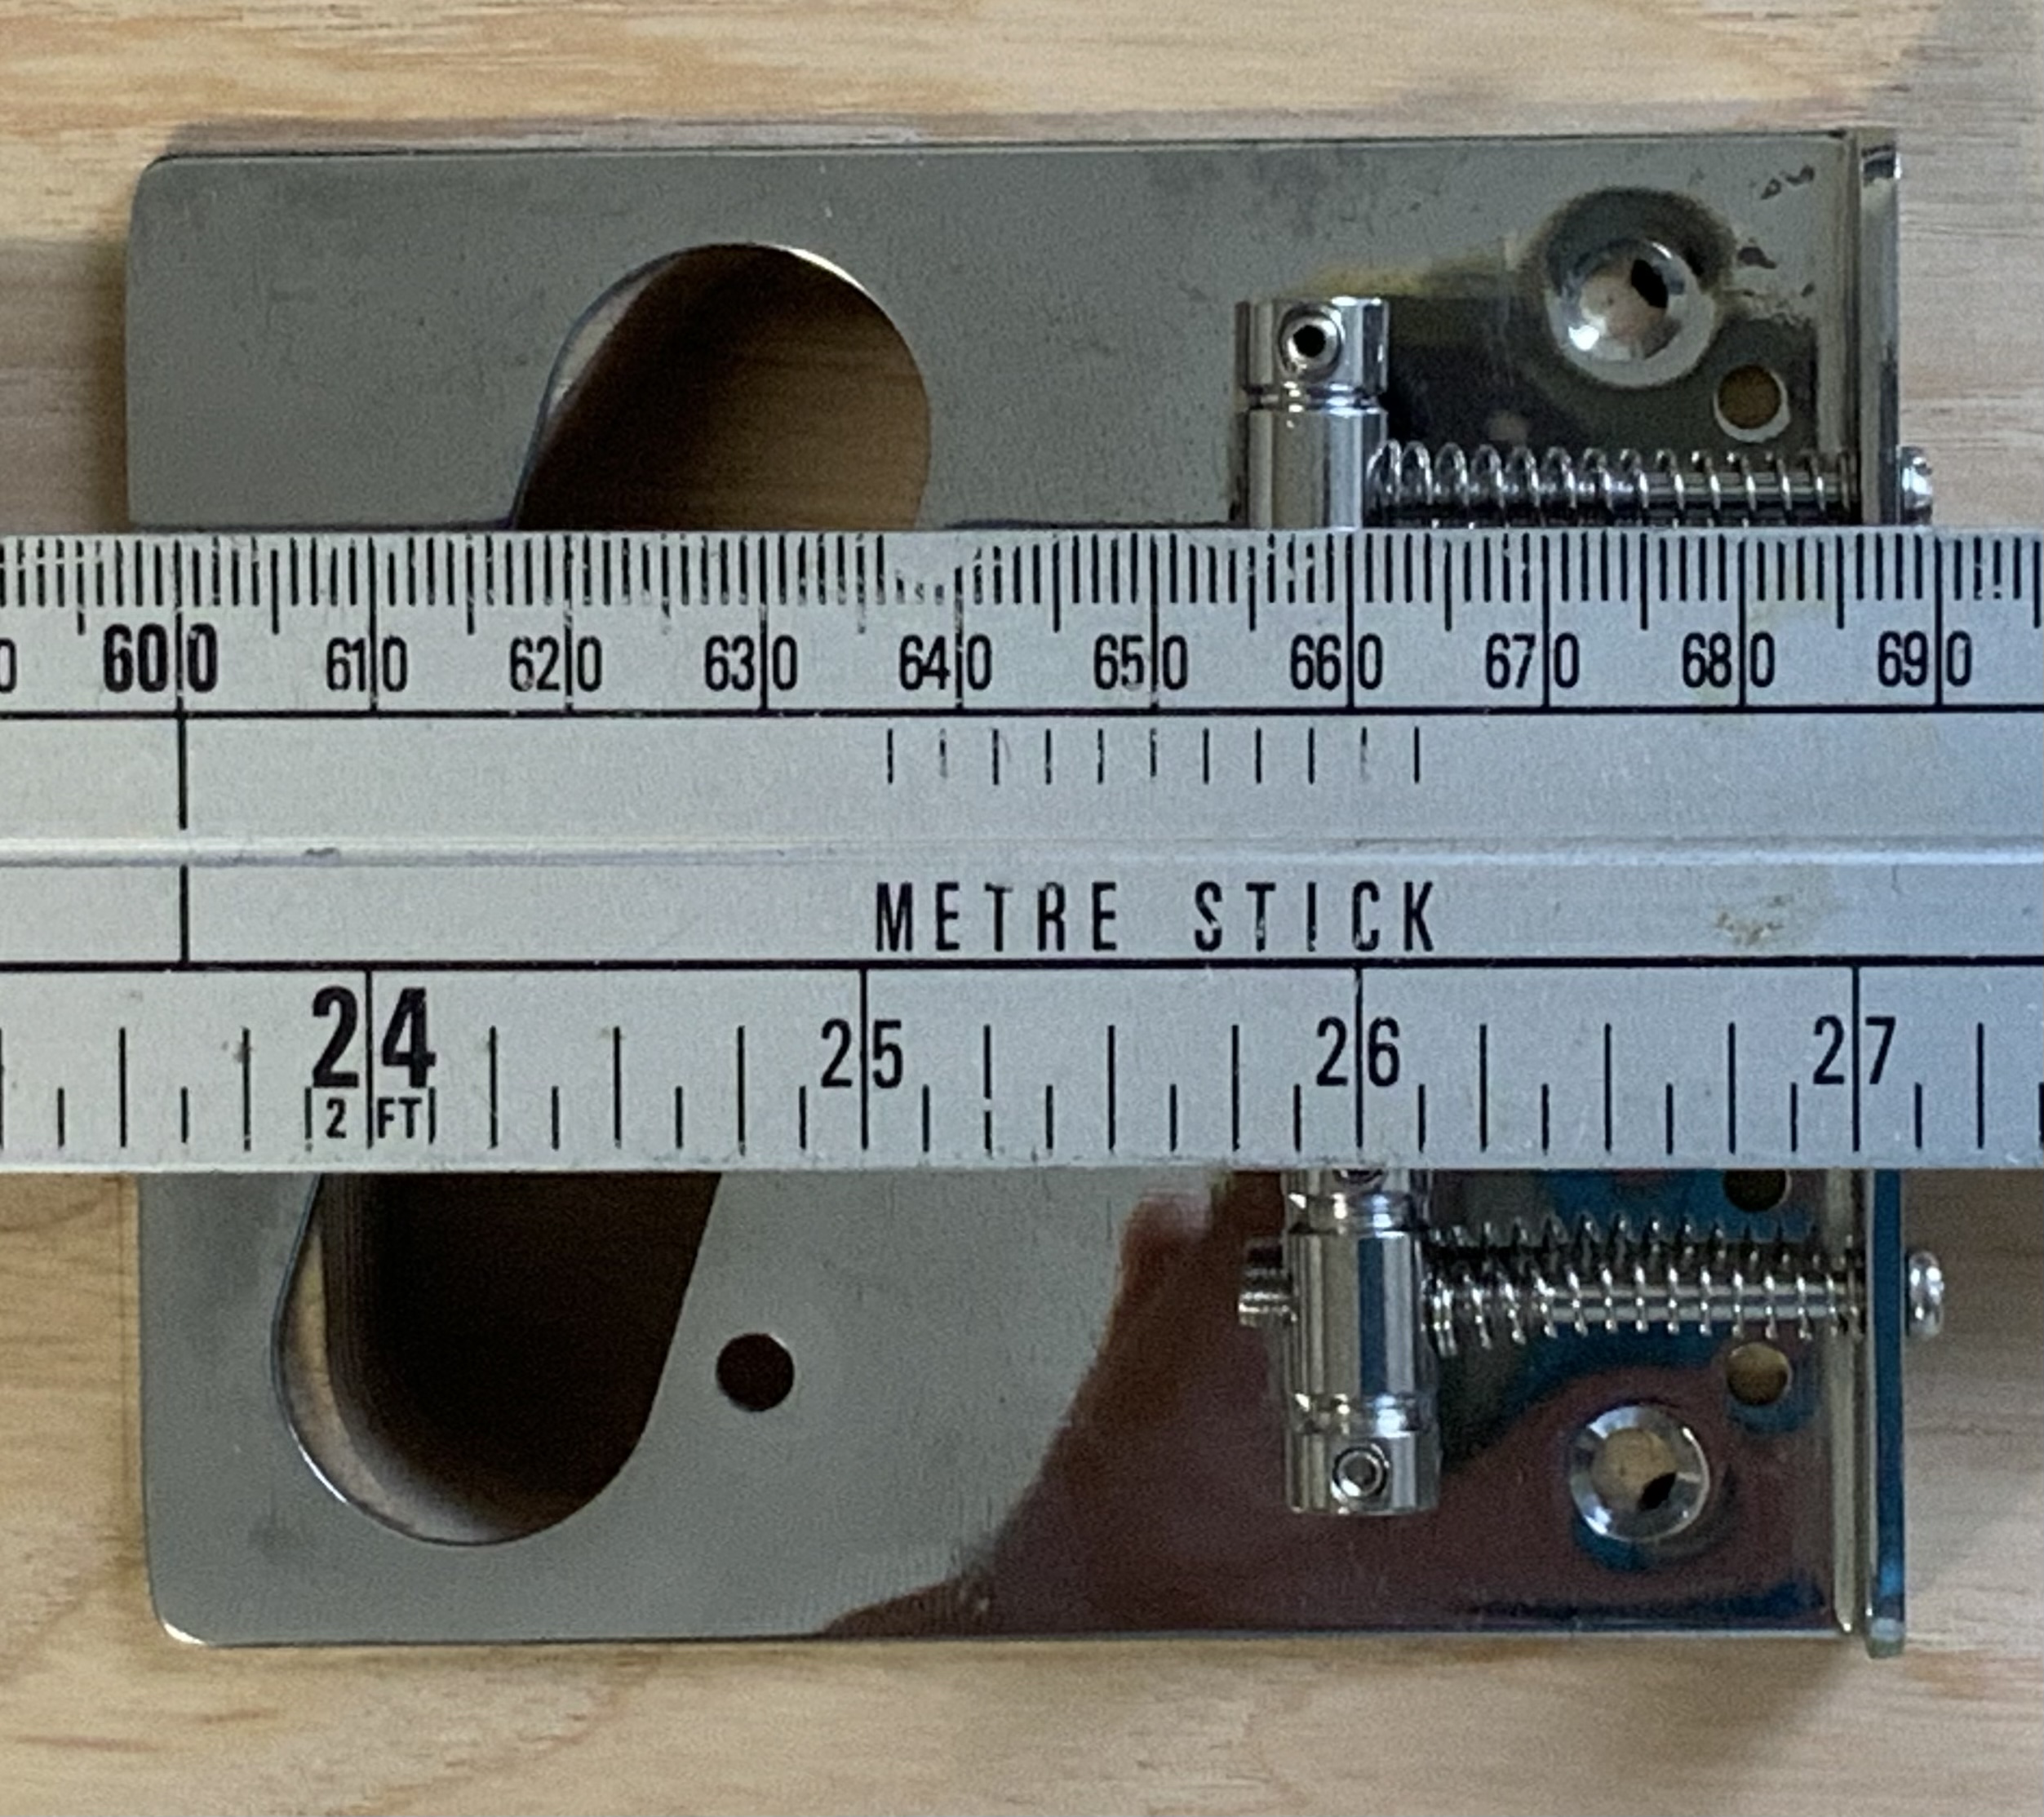
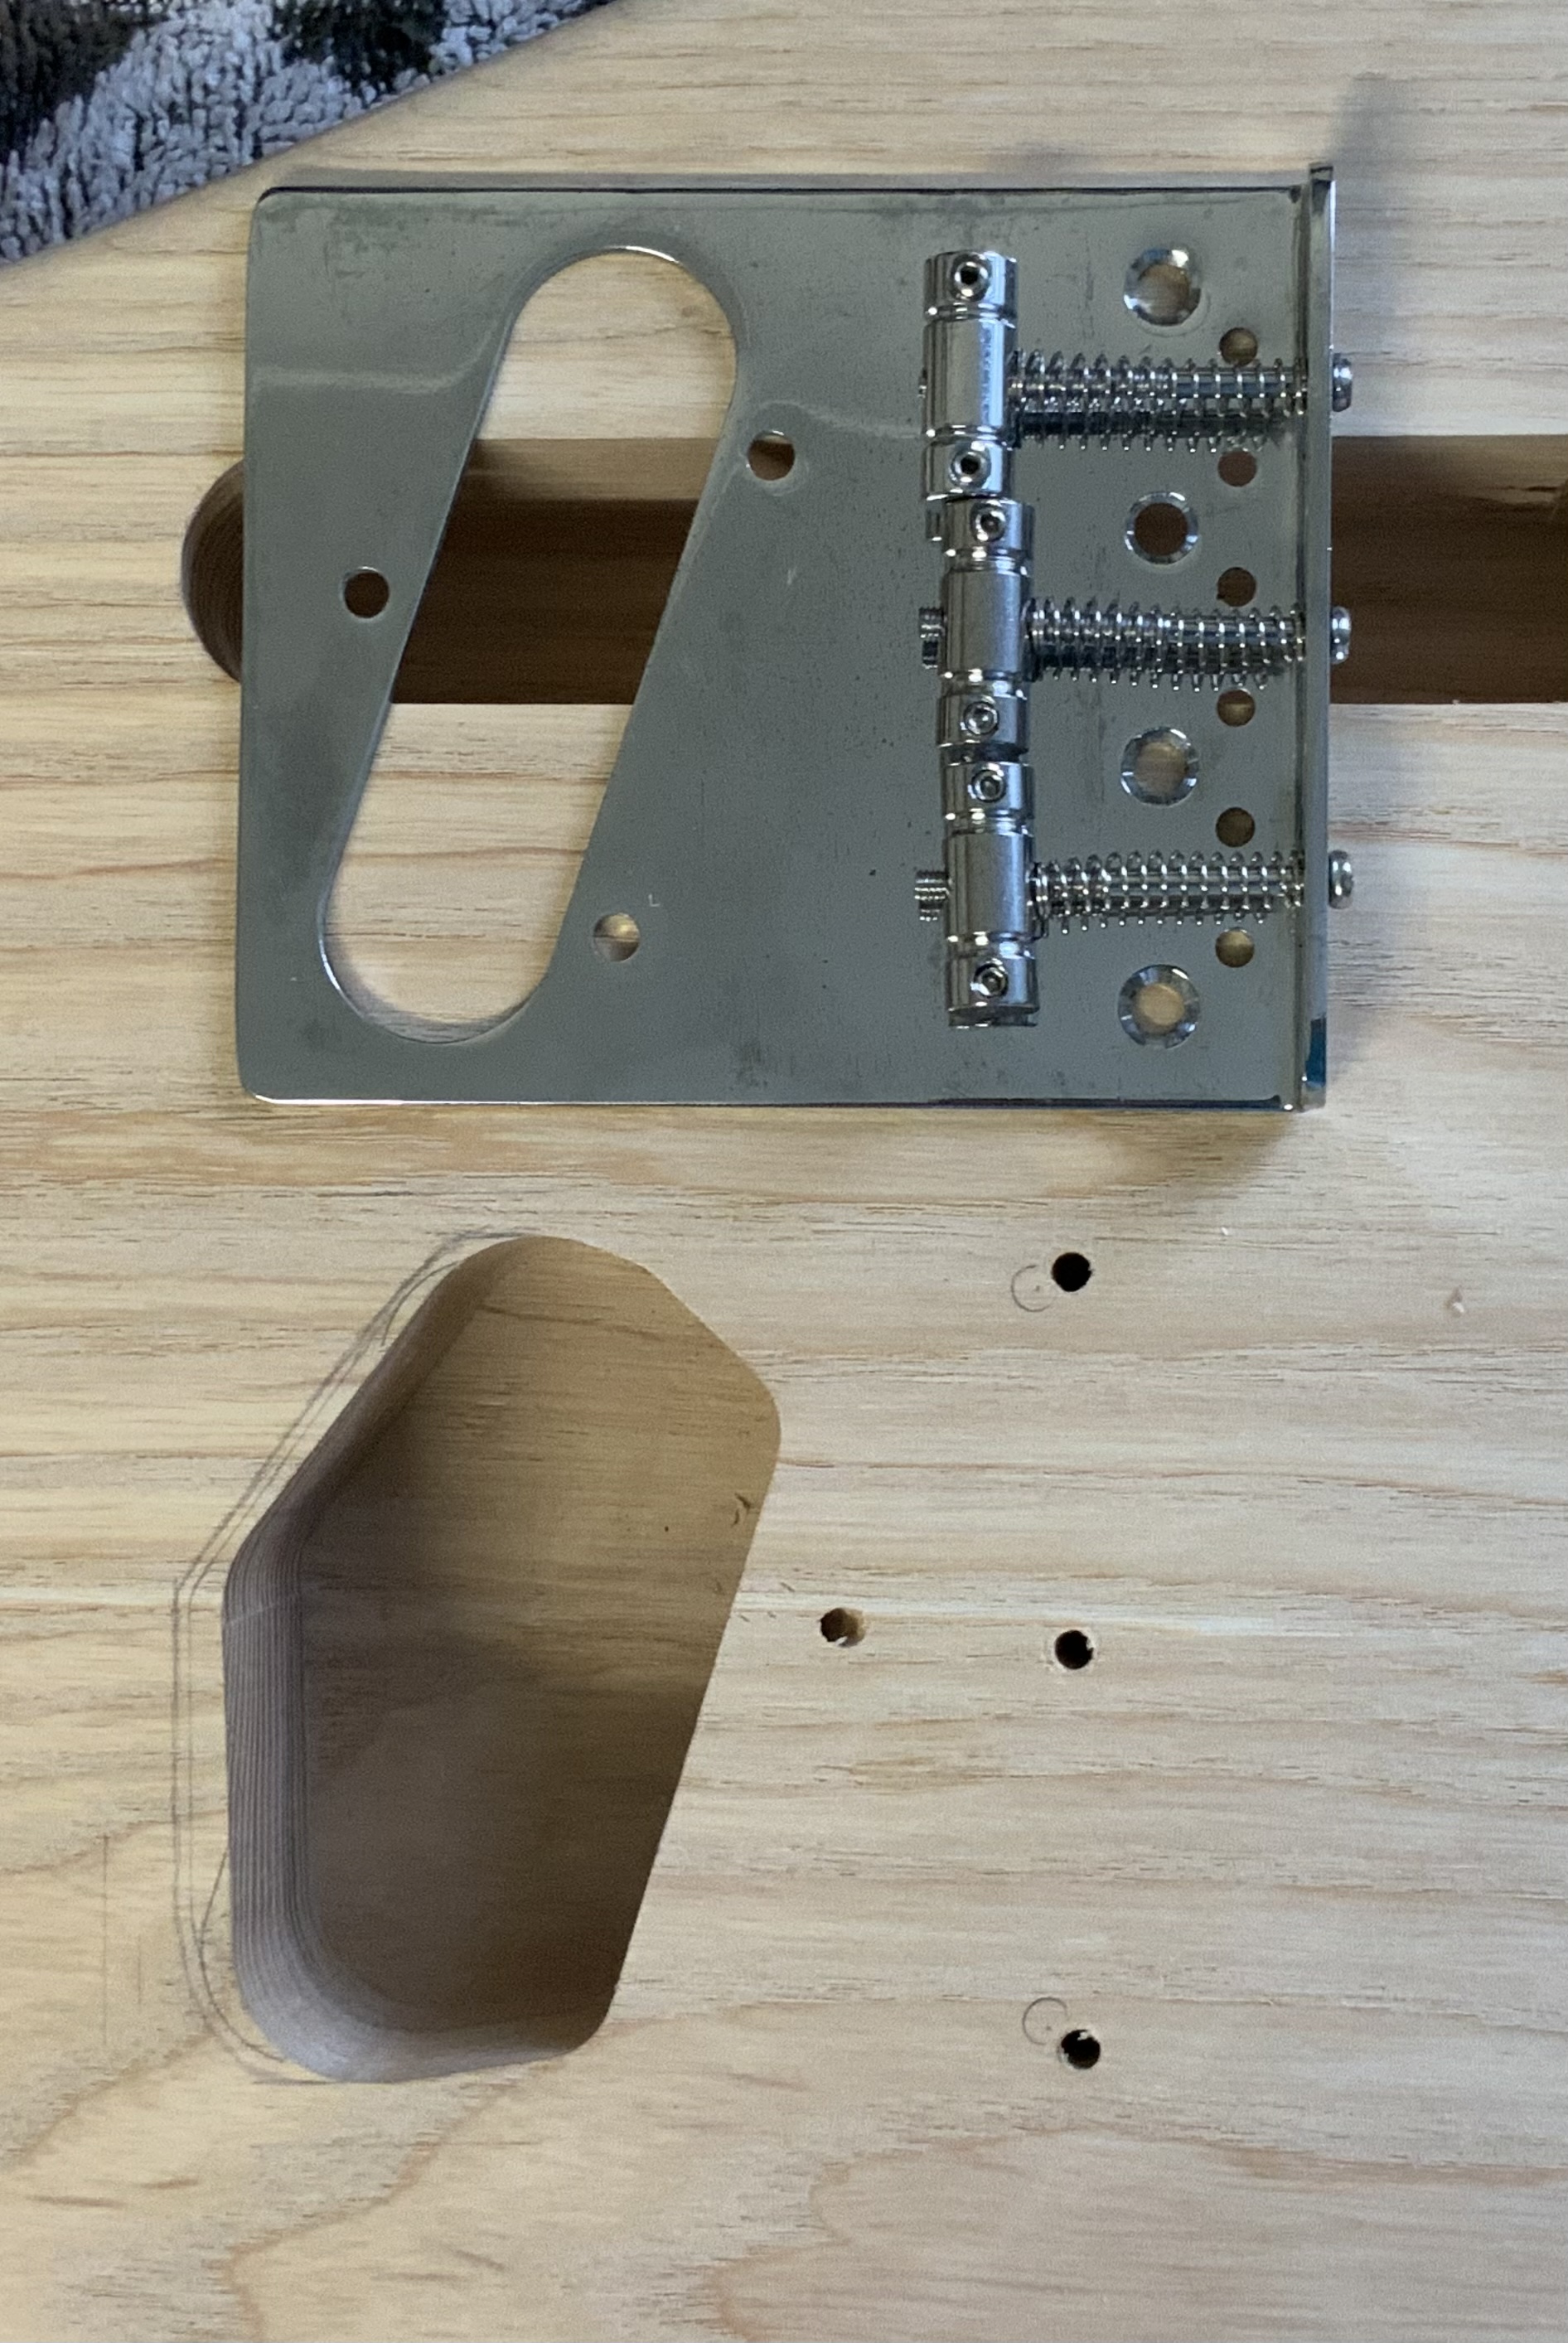
Bridge position check. I would appreciate the favour of checking my thought process and measurements before I commit to routing-out the bridge pickup socket.

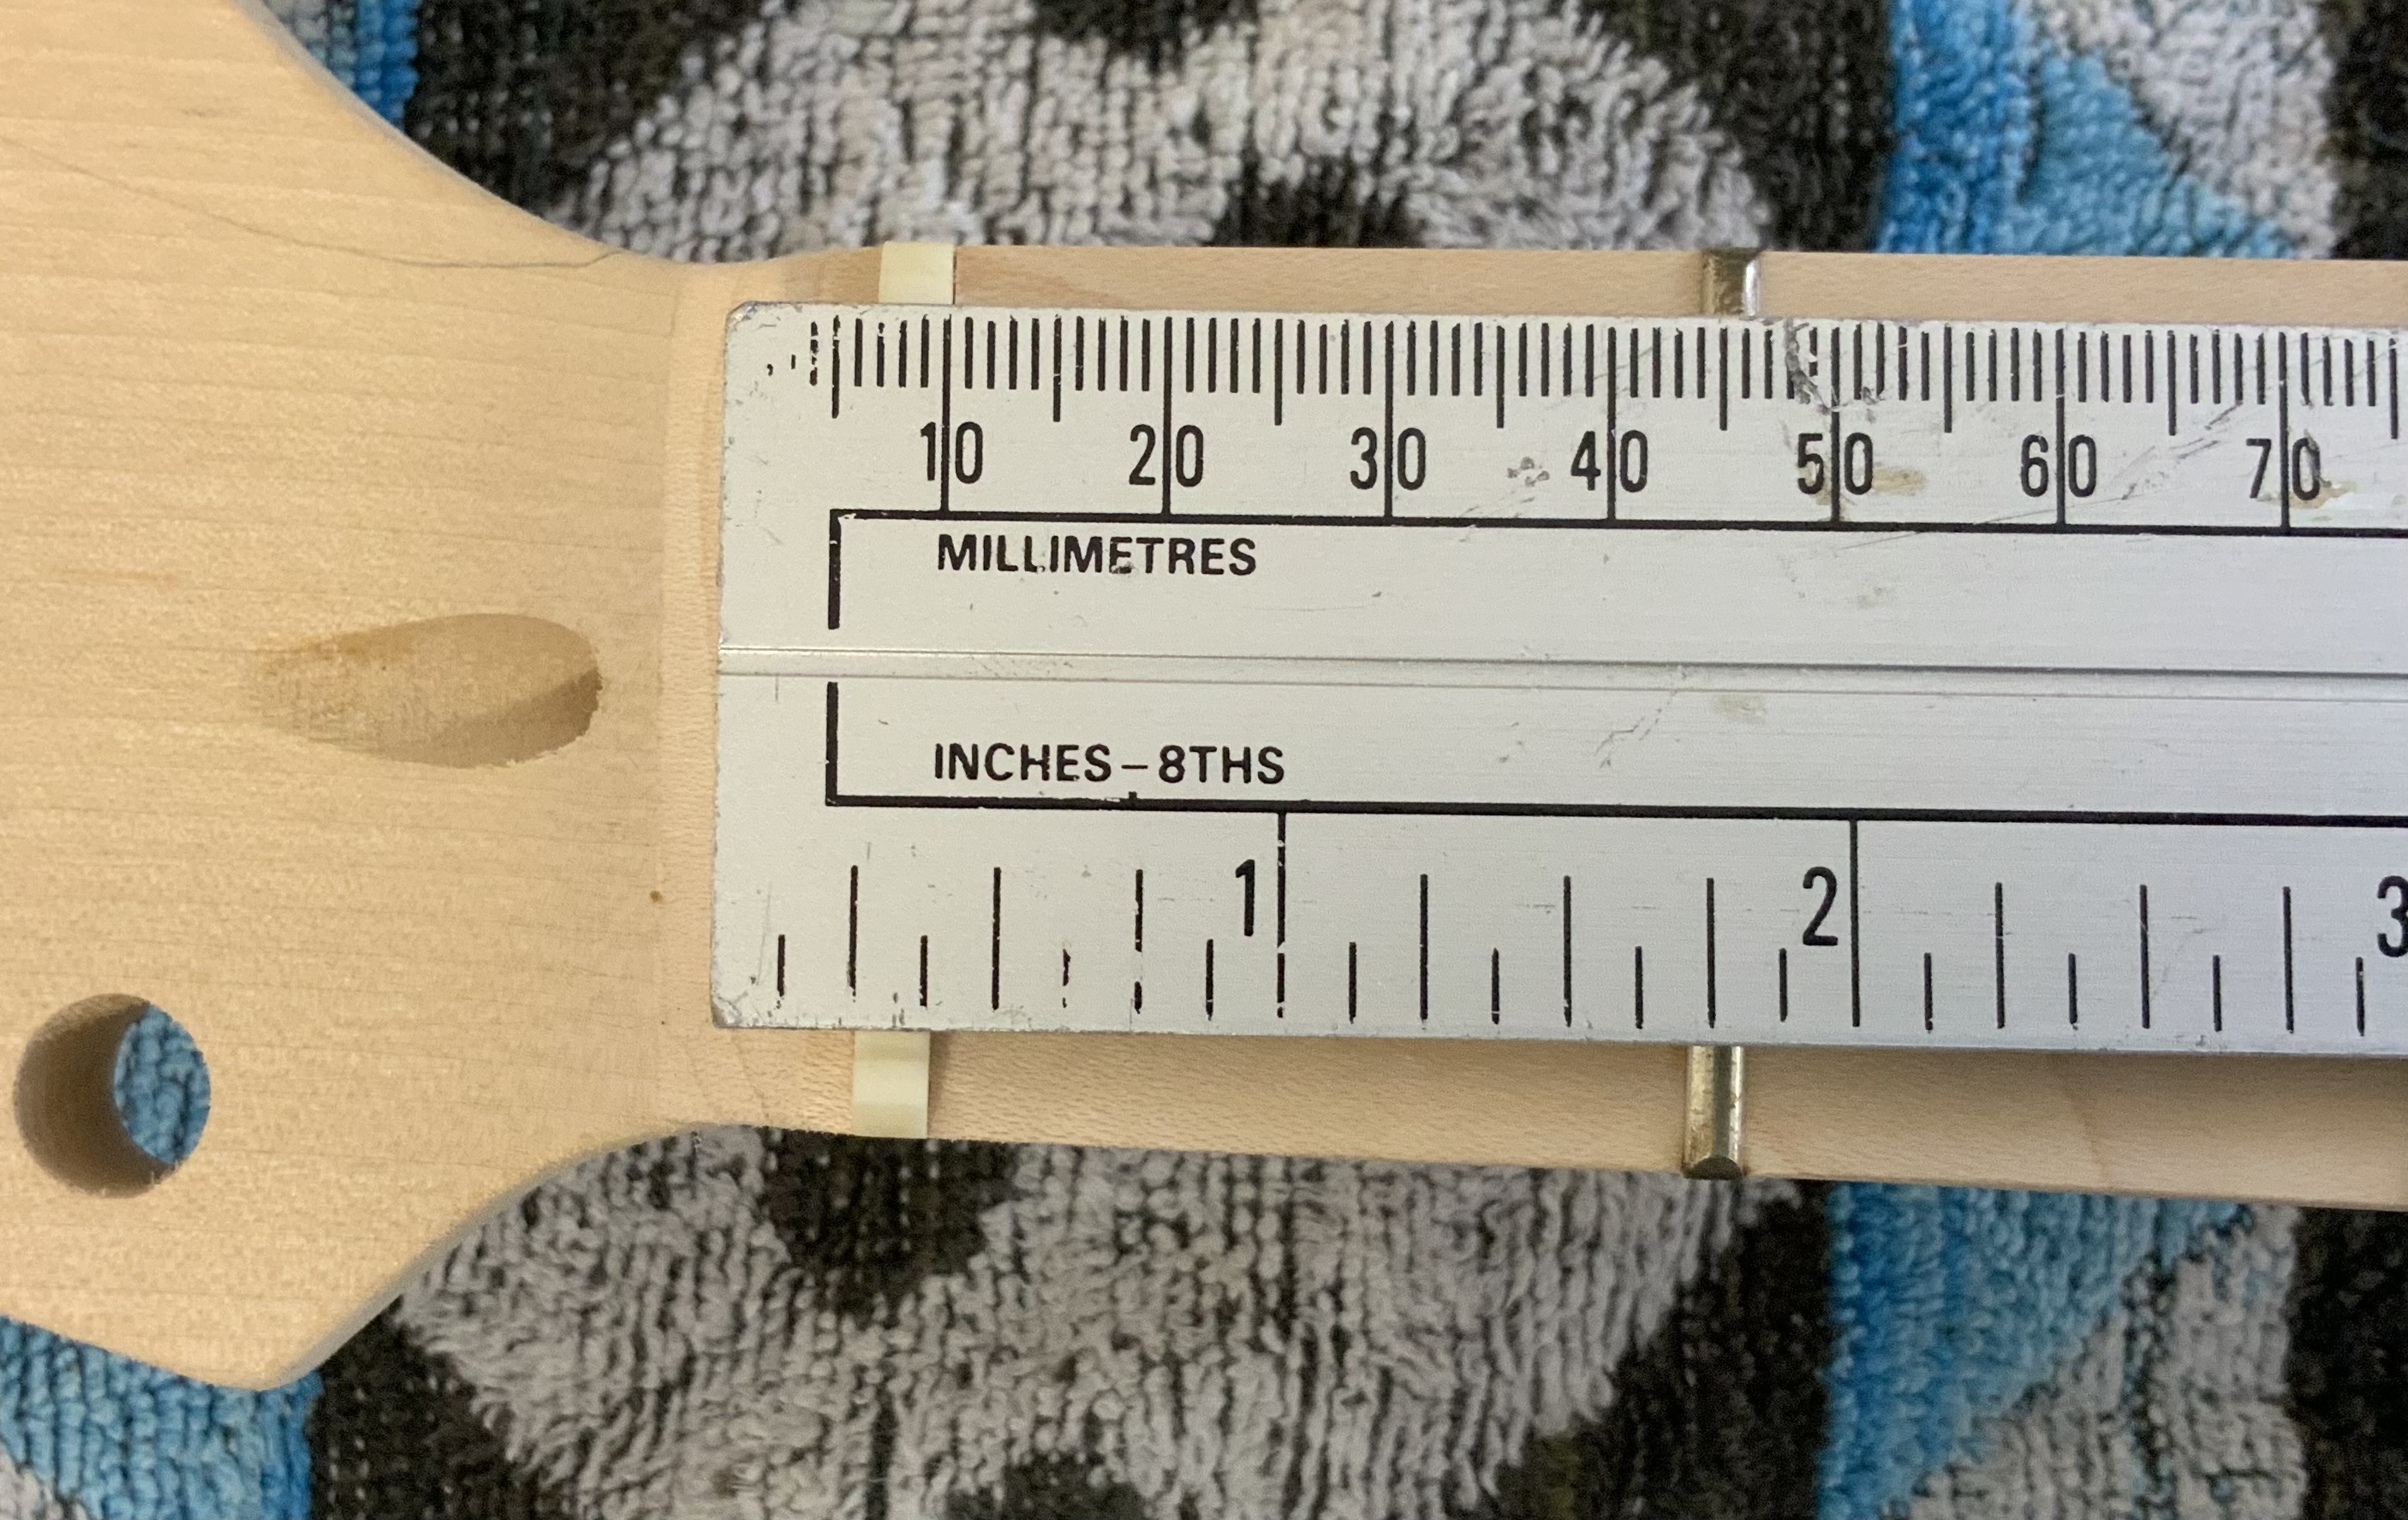
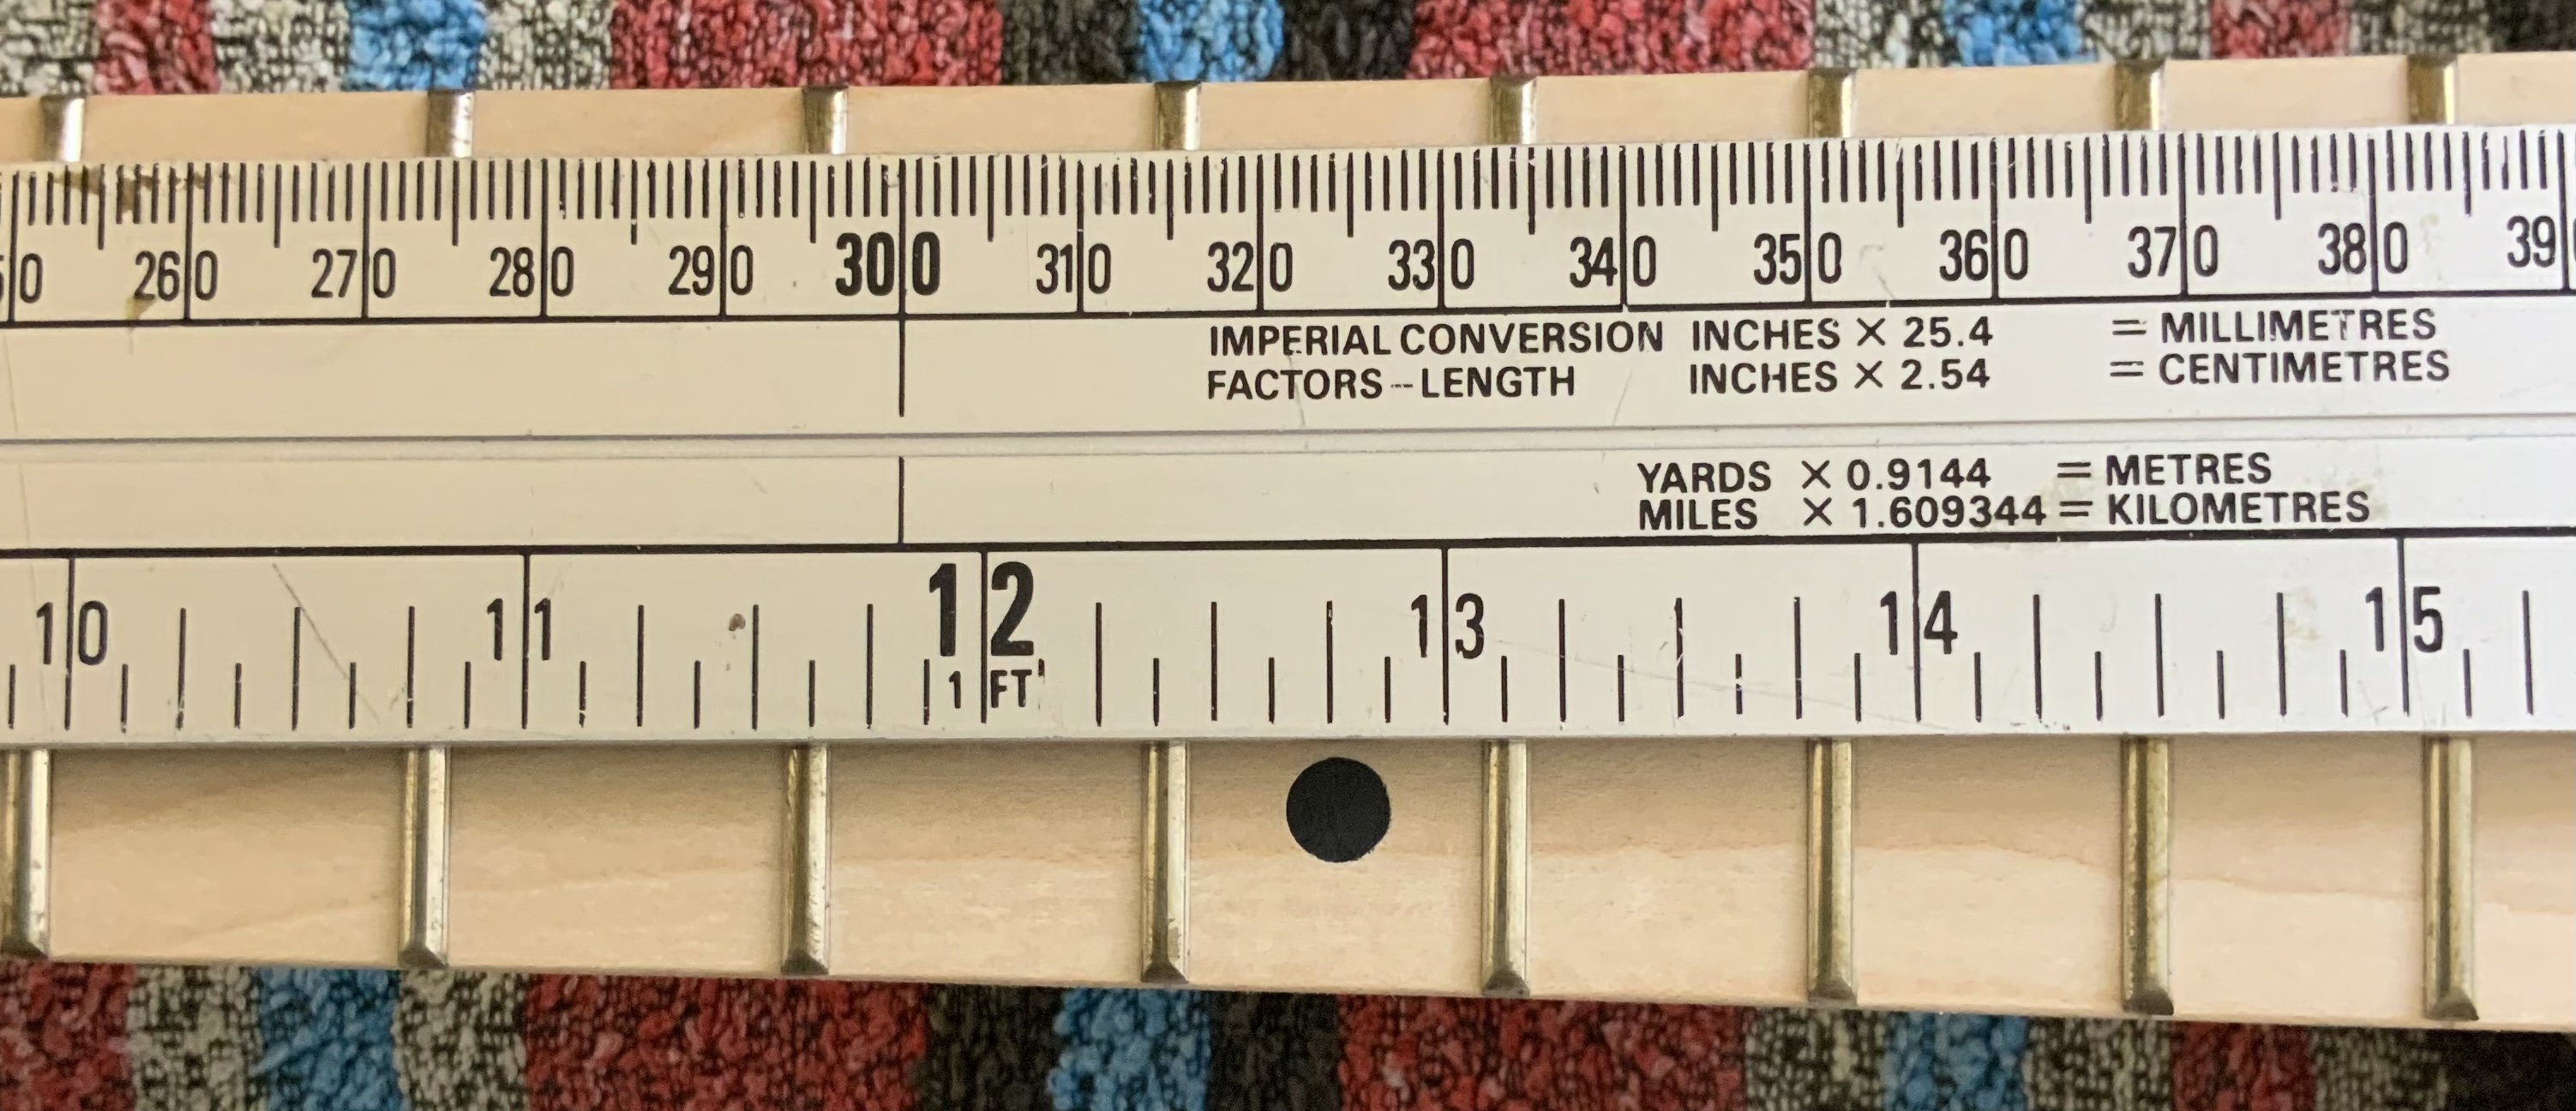
Nut to 12th = 324mm
12th to high-E bridge saddle = 648mm
Proposed rout pencilled in, awaiting confirmation, cheers! :)

RWAB4KD.jpg

4W1W4ju.jpg

b17IGFY.jpg

gVhaqID.jpg
 
Contemplating body-through string ferrules. Anyone have a link to how to do it?

The bridge install video on YouTube is on a finished guitar. I would not want to install ferrules on a finished guitar, but the ferrules’ position would be determined by the position of the bridge. *thoughts?*

Edit: answered my own question further on.
 
Last edited:
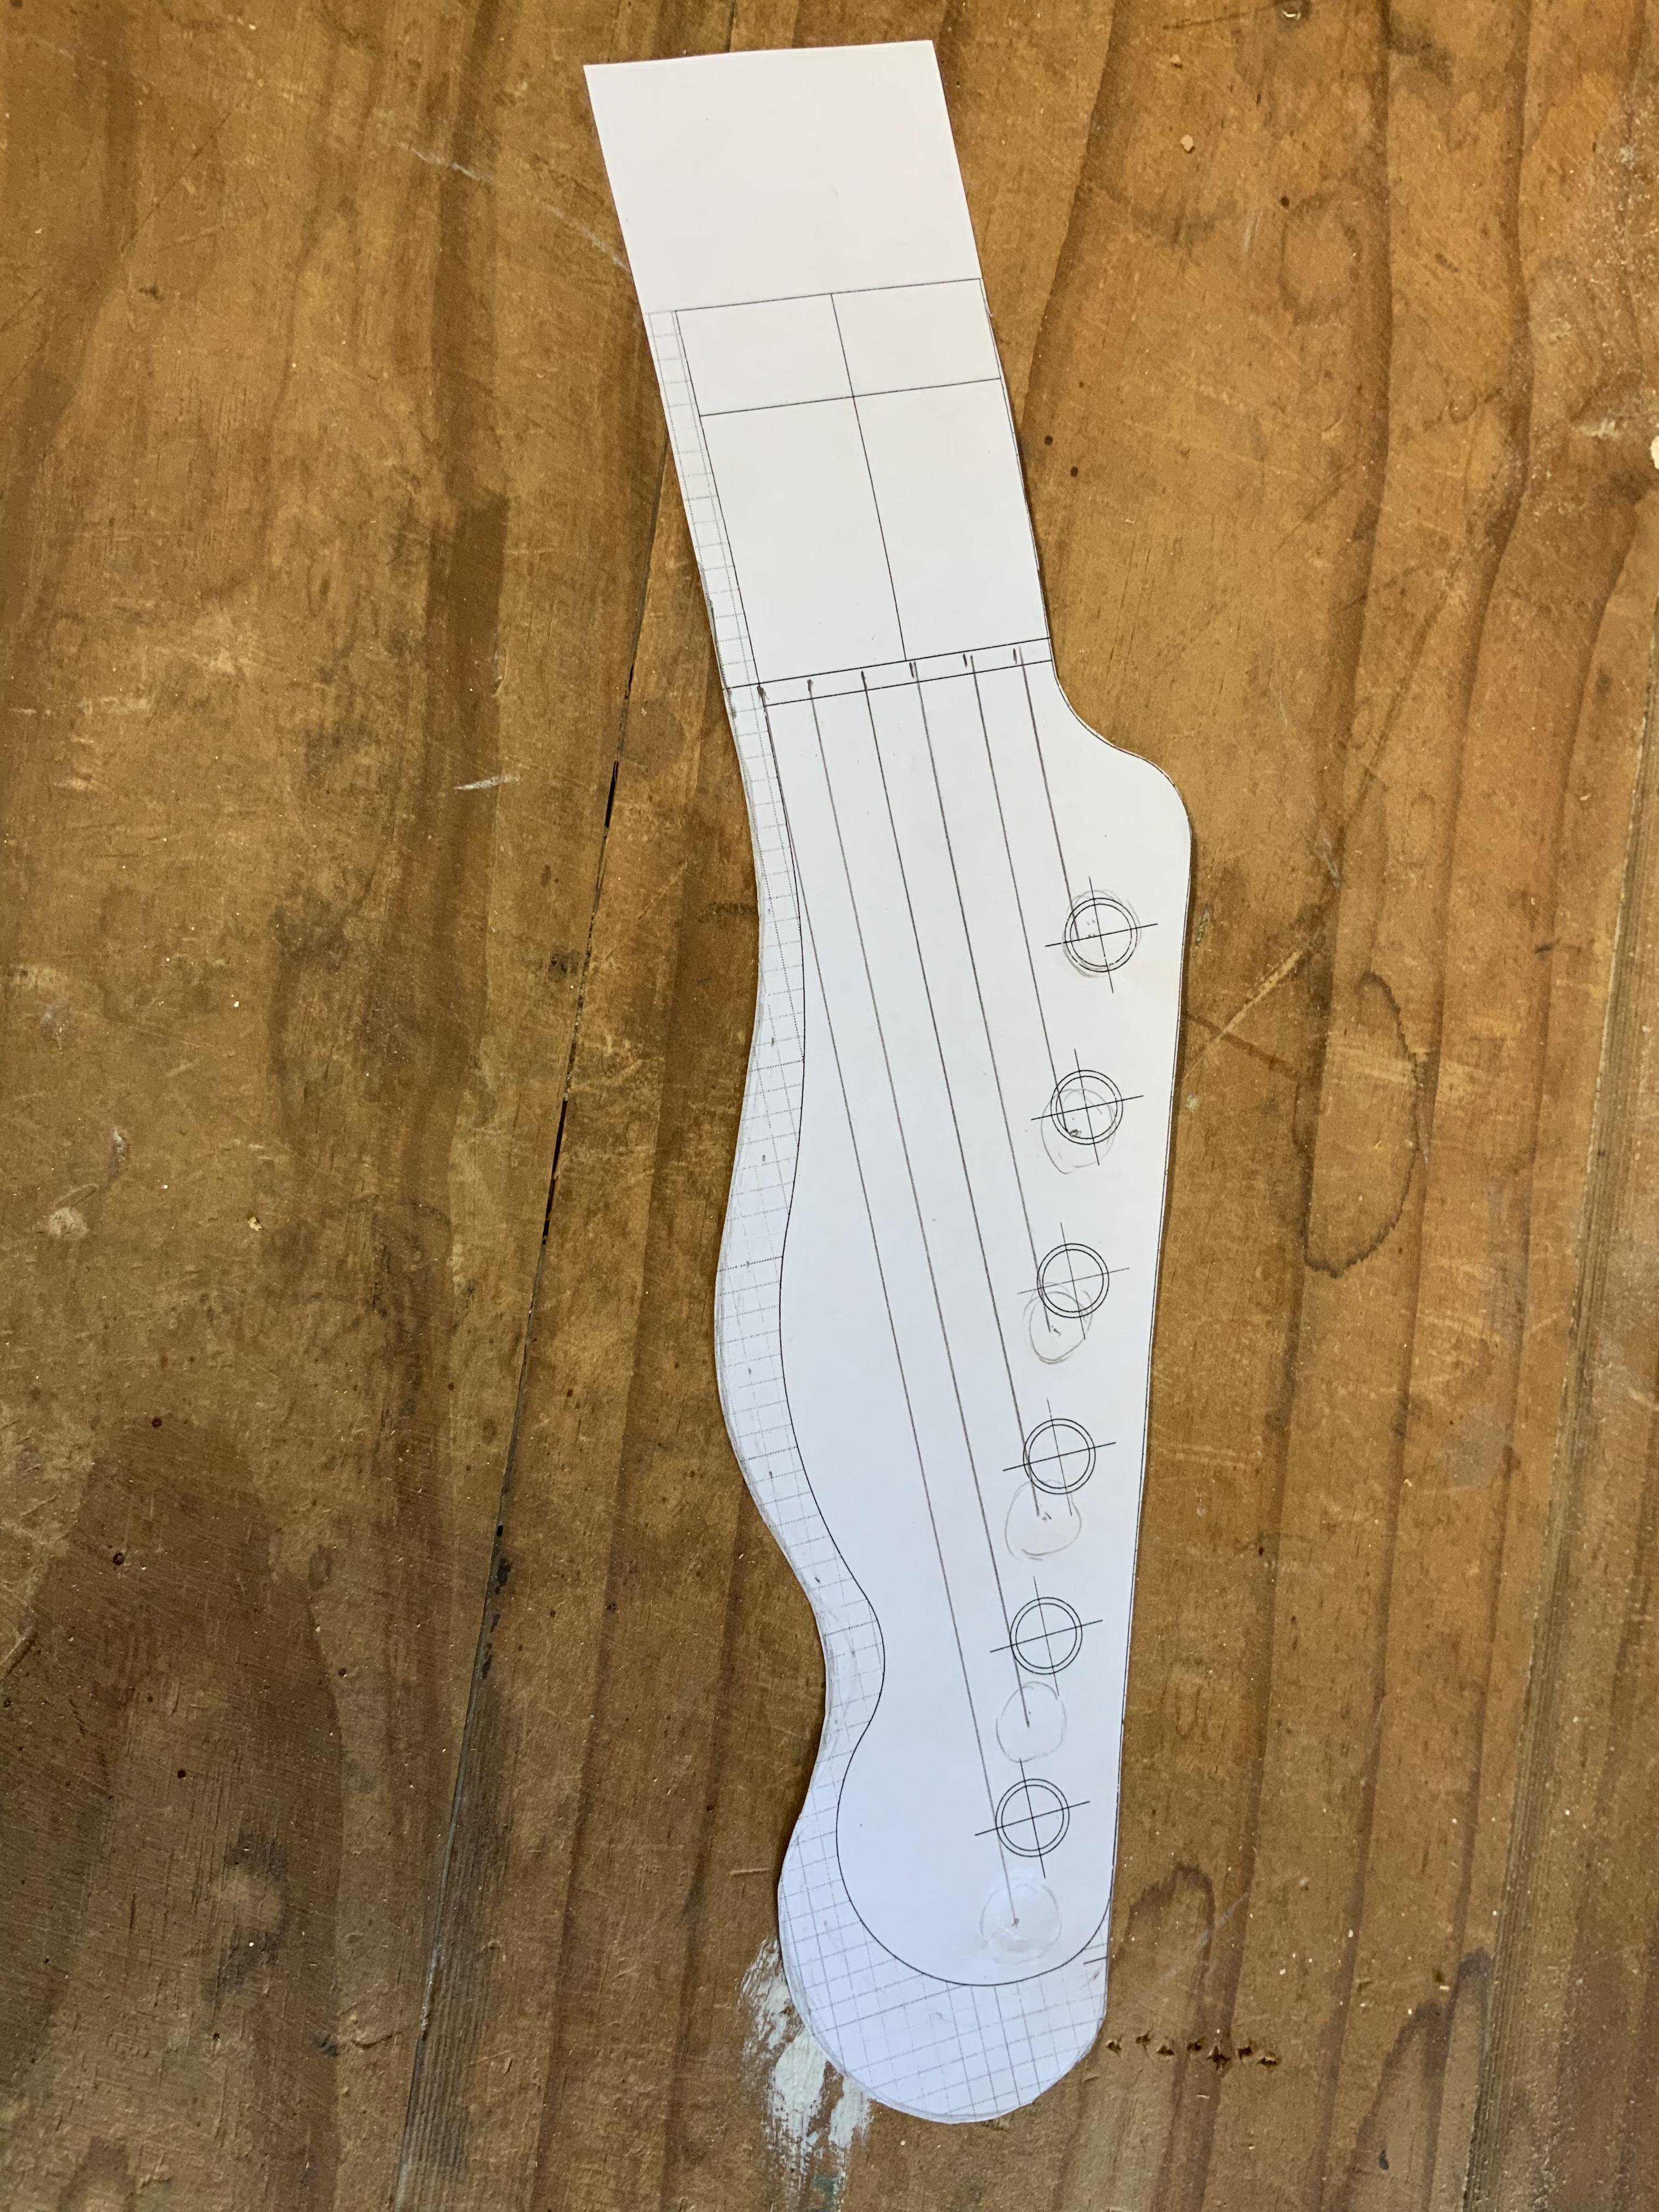
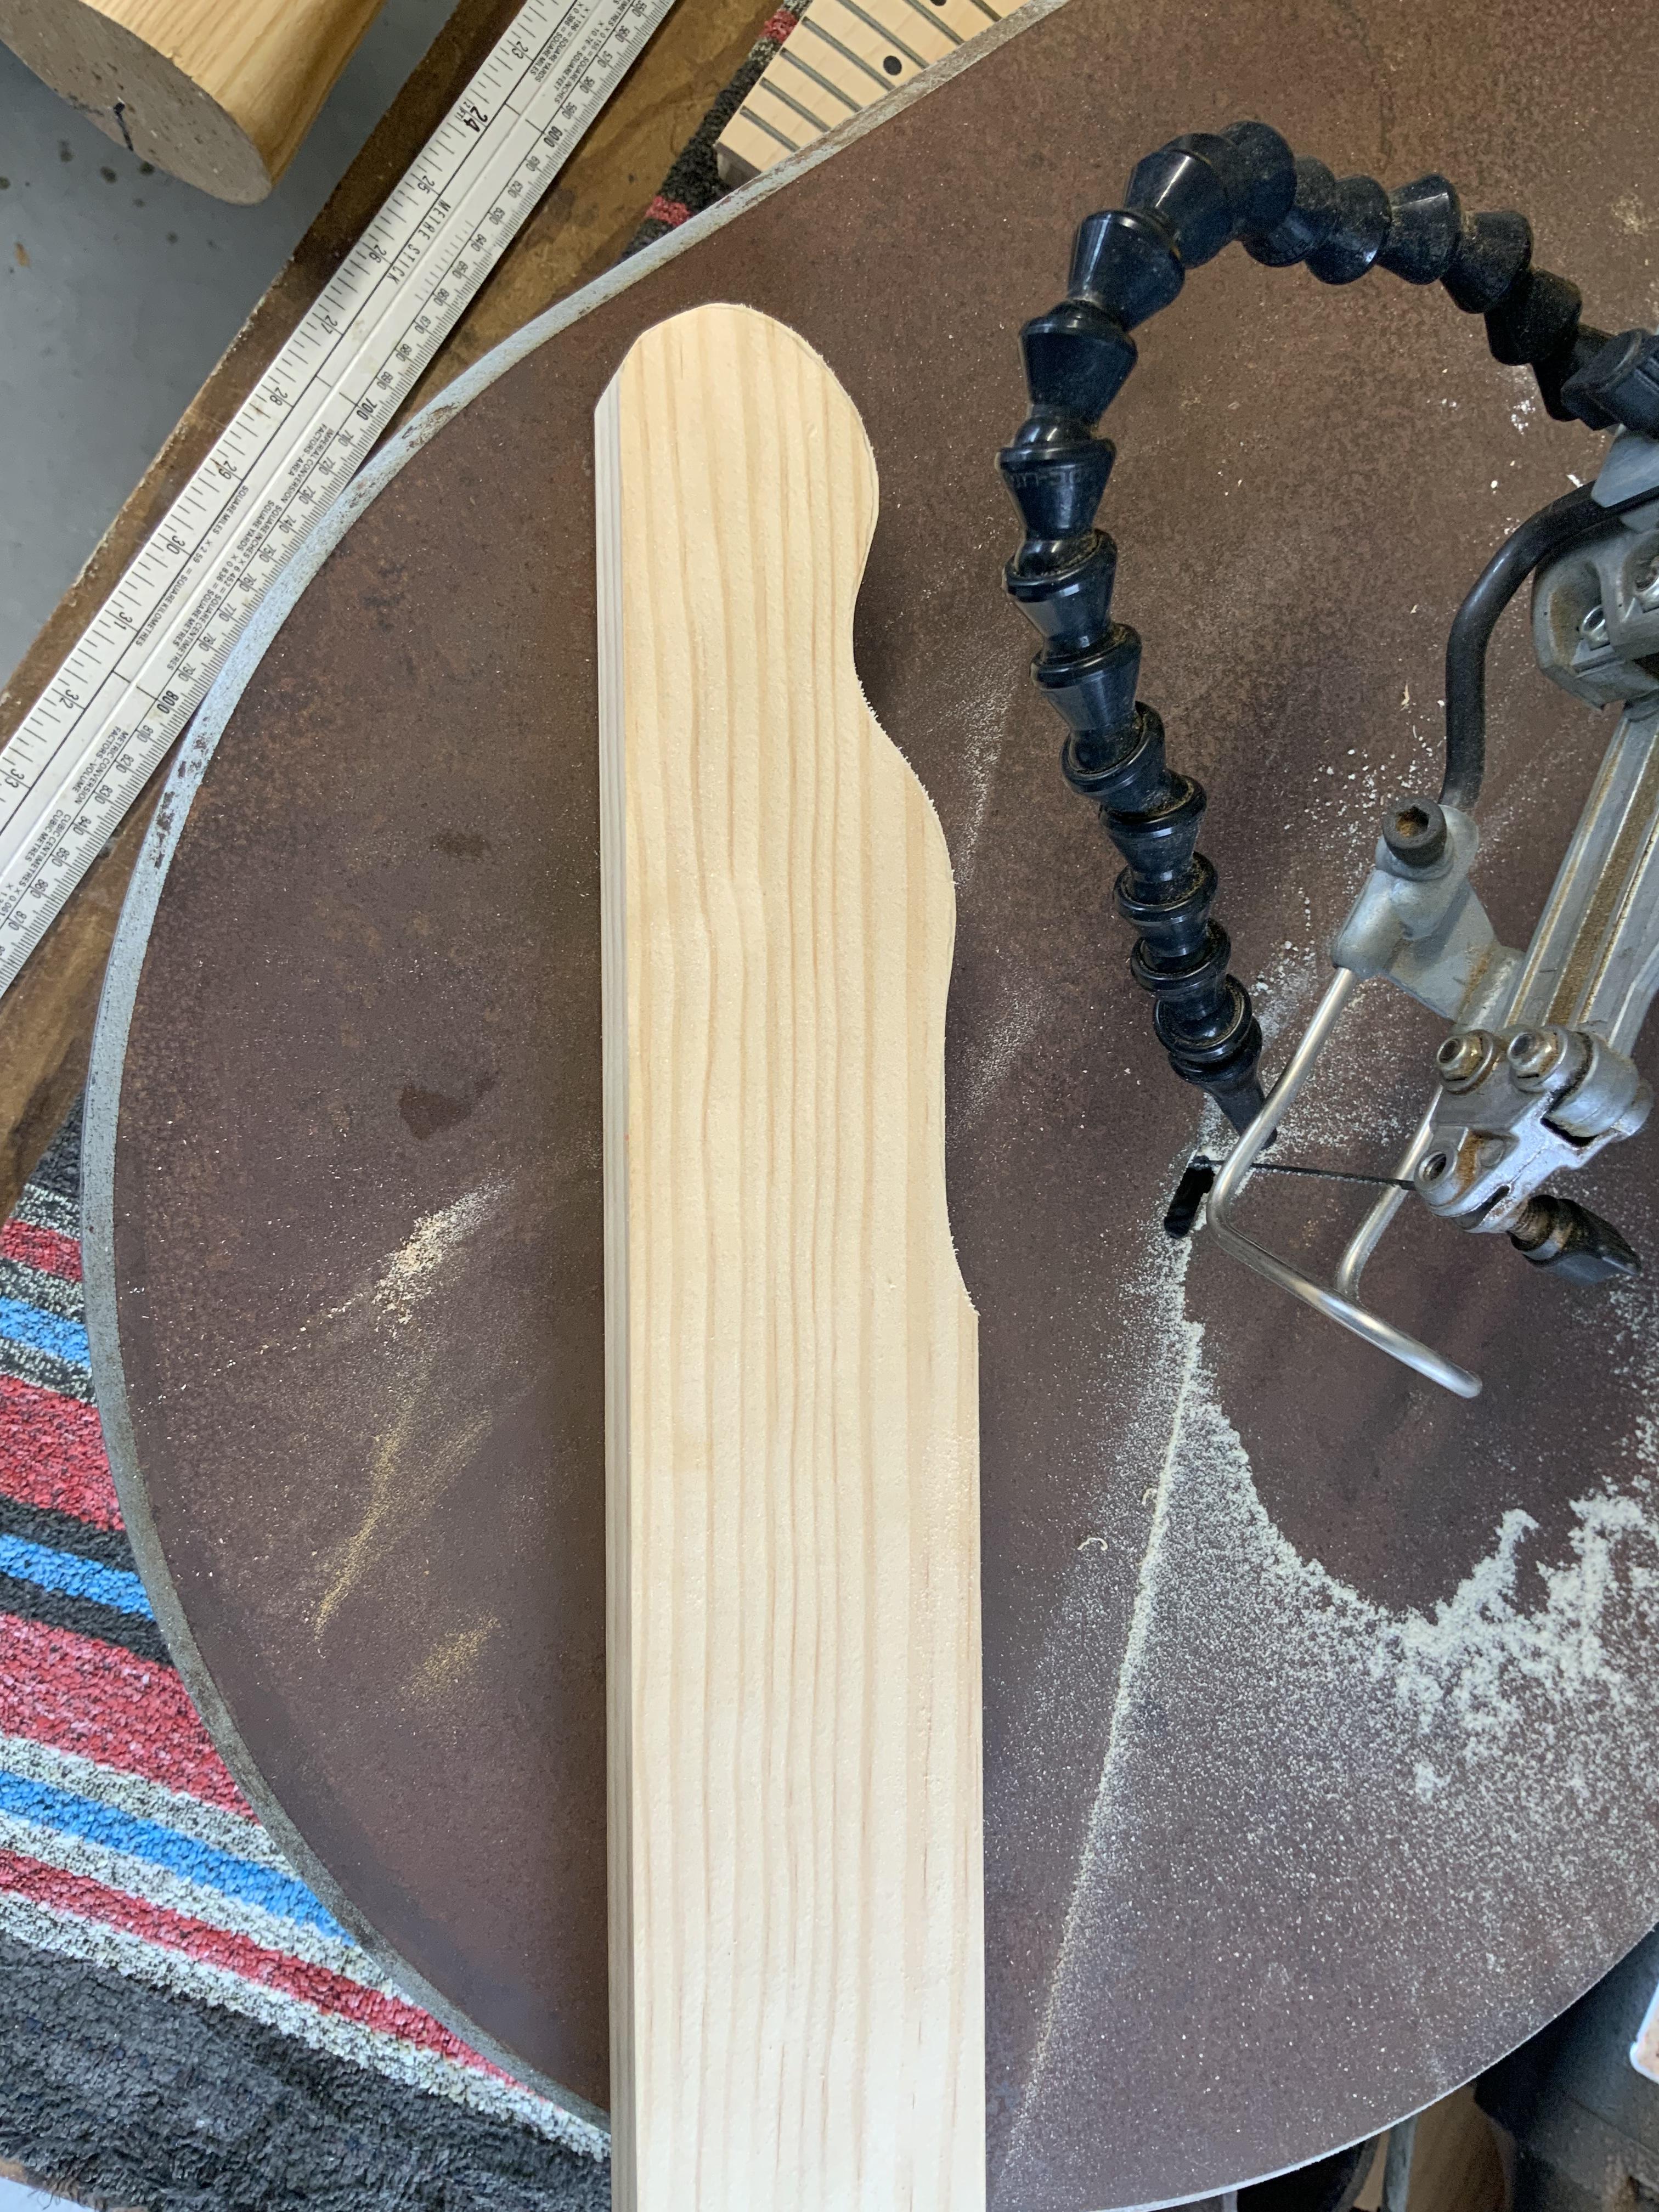
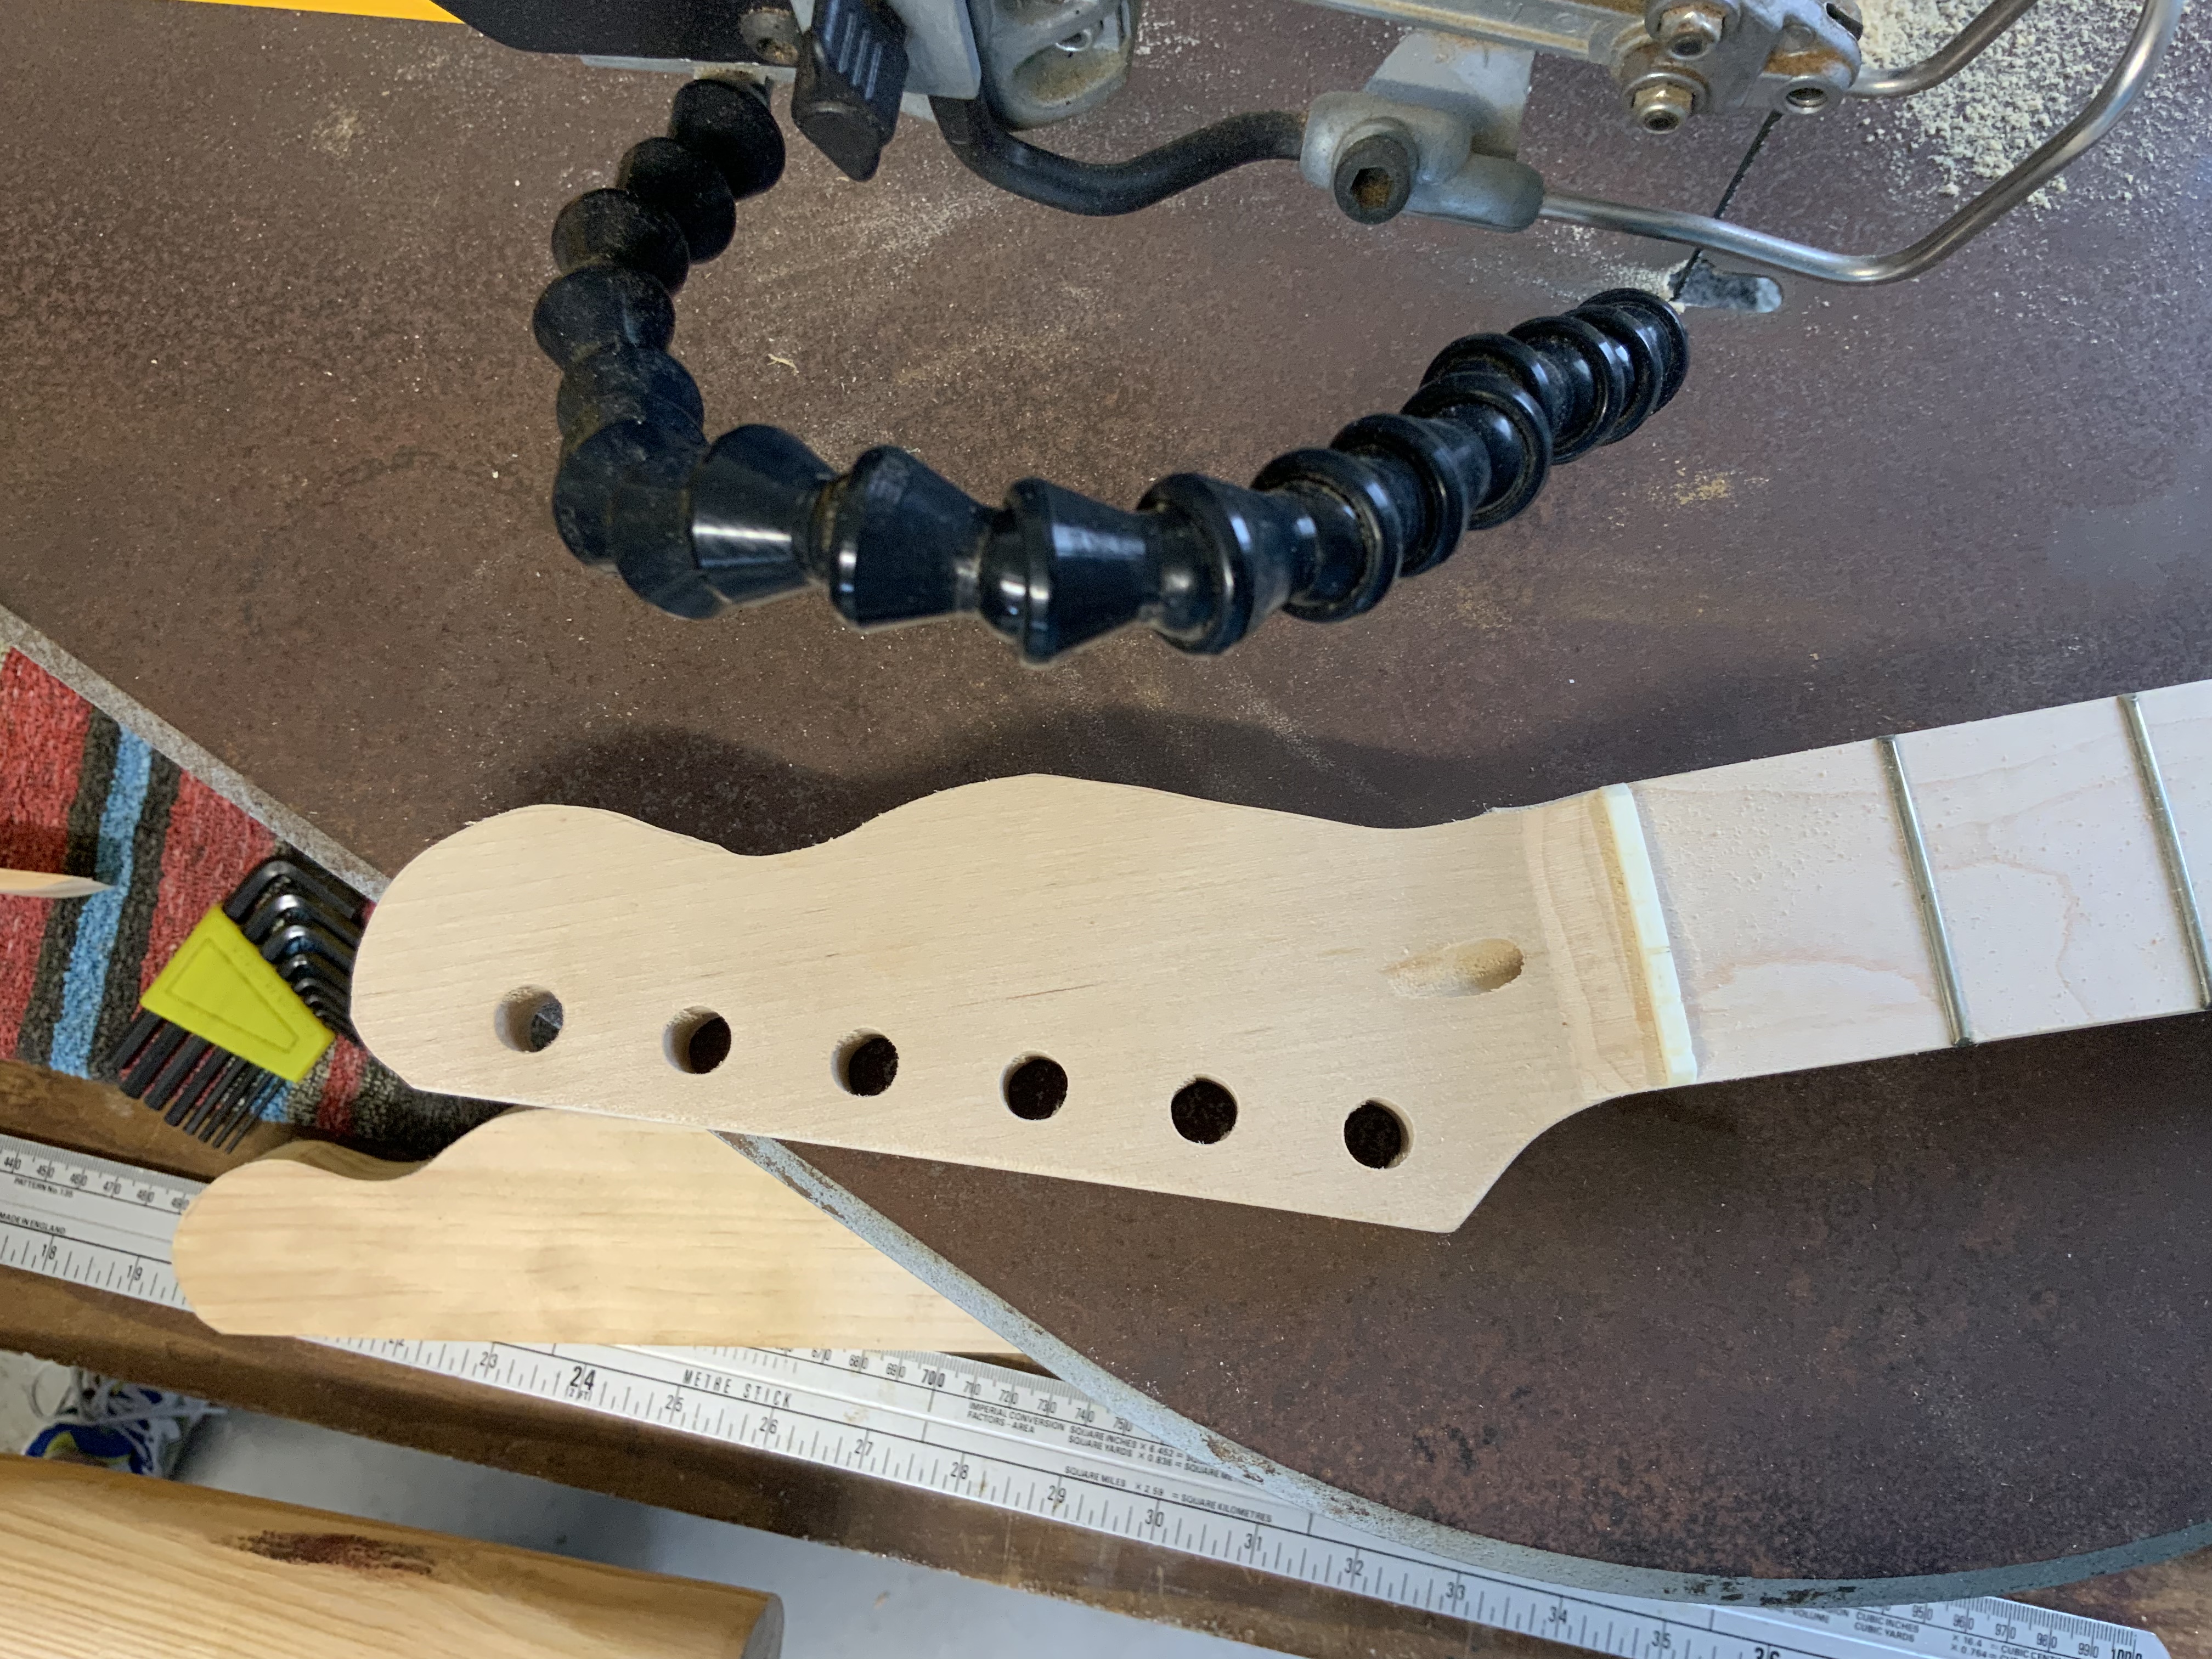
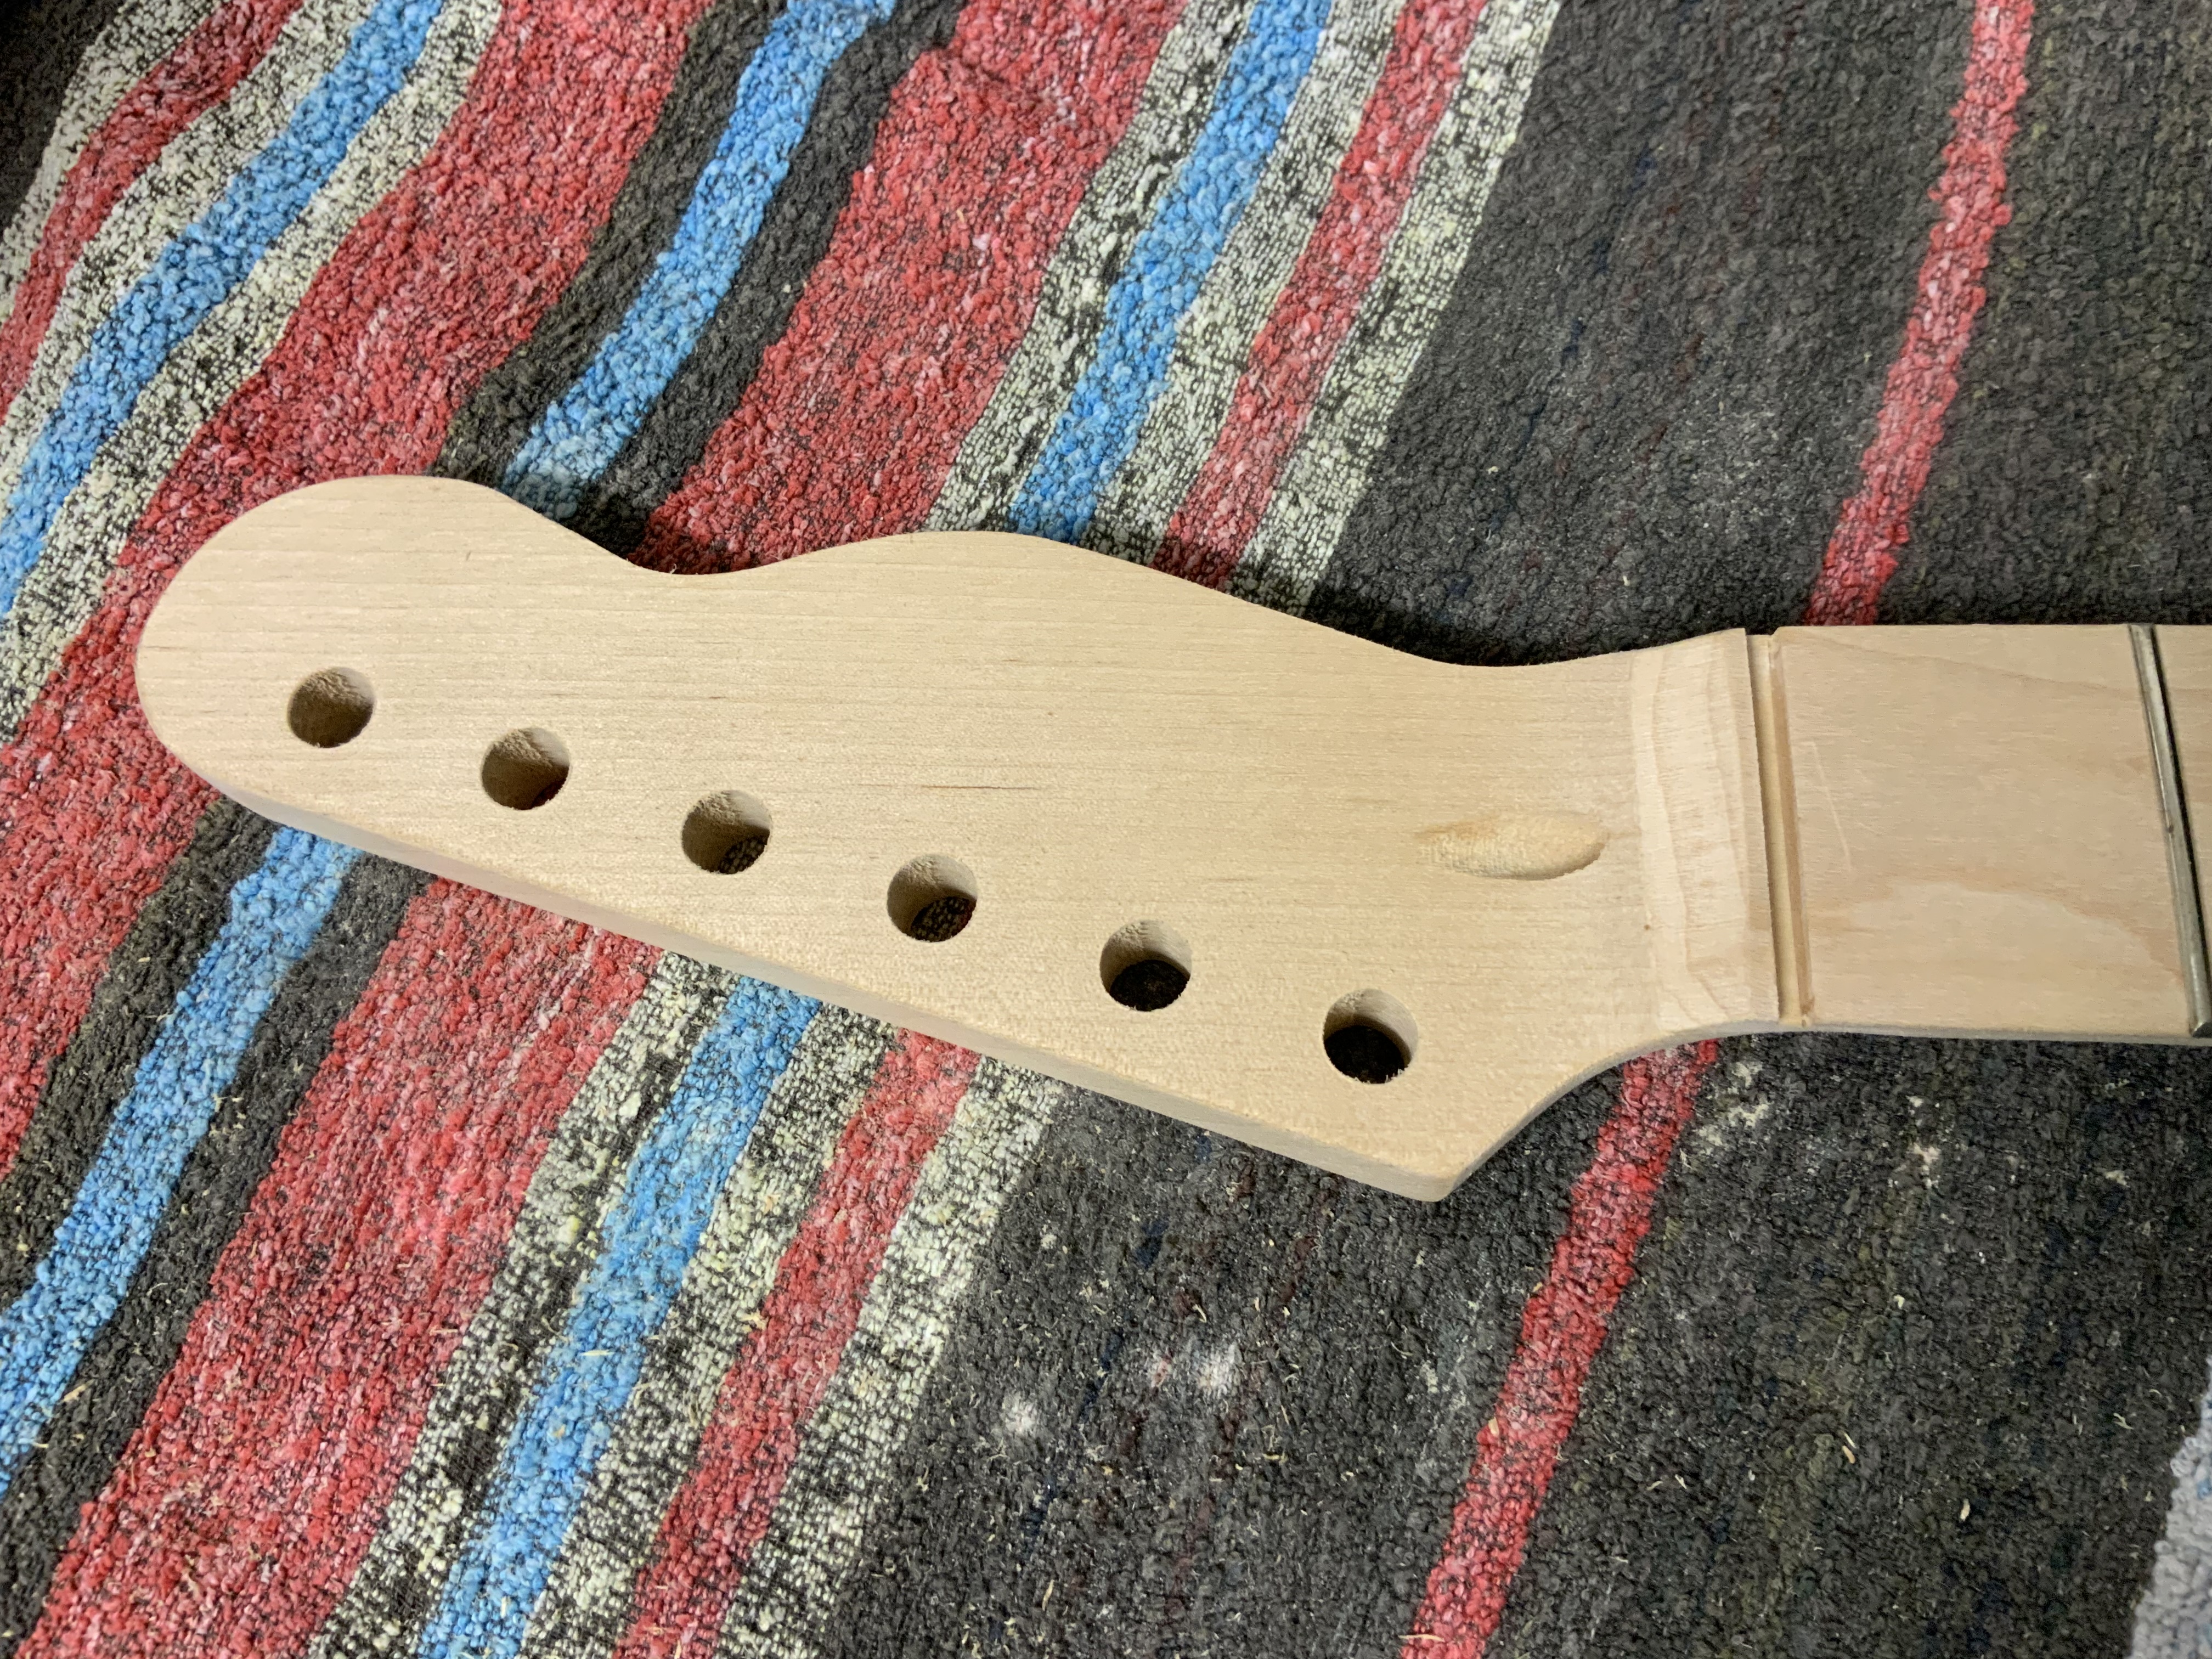
Headstock shaping. Drew up a template, did a test run on the scroll saw with a piece of scrap (to get the speed setting correct), then cut and sand to shape. More to come (haven’t rounded-off the edges, etc).

ZjhIRgz.jpg

vSPYaxD.jpg

xNIoMgn.jpg

jpdyJbv.jpg

KL1bVt2.jpg
 
In the photos showing the scale length, the ruler isn't behind the nut, so it's hard to comment on that (though I'm assuming you did actually measure from the correct spot to get your positioning right).

With the ferrules, there are plenty of examples on the forum, but the forum search isn't your friend here. The best advice is to get your 1st and 6th holes drilled through from the top first, as straight as possible (use a drill press if you've got one), then get your positioning measured from the bottom. Then there is a careful process of drilling from both sides, with the intention of meeting in the middle of the wood. (There is much more advice available)

One thing I noticed though, is that the string through holes on your bridge seem quite a distance from the saddles, and the lip of the holes seems quite sharp. I'm wondering how that will treat the strings.

Sent from my Pixel 4 using Tapatalk
 
In the photos showing the scale length, the ruler isn't behind the nut, so it's hard to comment on that (though I'm assuming you did actually measure from the correct spot to get your positioning right).

With the ferrules, there are plenty of examples on the forum, but the forum search isn't your friend here. The best advice is to get your 1st and 6th holes drilled through from the top first, as straight as possible (use a drill press if you've got one), then get your positioning measured from the bottom. Then there is a careful process of drilling from both sides, with the intention of meeting in the middle of the wood. (There is much more advice available)

One thing I noticed though, is that the string through holes on your bridge seem quite a distance from the saddles, and the lip of the holes seems quite sharp. I'm wondering how that will treat the strings.

Sent from my Pixel 4 using Tapatalk

For the scale length, I used the ruler, starting at the 10mm mark from the face of the nut, 334mm to the 12th (-10mm = 324mm), then 658mm (-10mm = 648mm) to the middle of the high-E saddle.

I’m off to London tomorrow, so I will have a good look at the bridge hardware when I get home and do some ‘finishing’ around those holes if they look a bit rough (good idea).

Your drilling advice was what I was planning on doing, and had seen using Google … and yes, I have access to a drill press and will make sure I have brand new Brad-point drill bits when I do the job.
 
For the scale length, I used the ruler, starting at the 10mm mark from the face of the nut, 334mm to the 12th (-10mm = 324mm), then 658mm (-10mm = 648mm) to the middle of the high-E saddle.

I’m off to London tomorrow, so I will have a good look at the bridge hardware when I get home and do some ‘finishing’ around those holes if they look a bit rough (good idea).

Your drilling advice was what I was planning on doing, and had seen using Google … and yes, I have access to a drill press and will make sure I have brand new Brad-point drill bits when I do the job.

There are lots of videos on YouTube addressing mounting a bridge without a drill press, but you do have access to one, you'll have to be sure it has adequate "throat depth" in order to appropriately accommodate the guitar body. (throat depth = distance from centre of chuck/drill tip to the support post of motor/table)

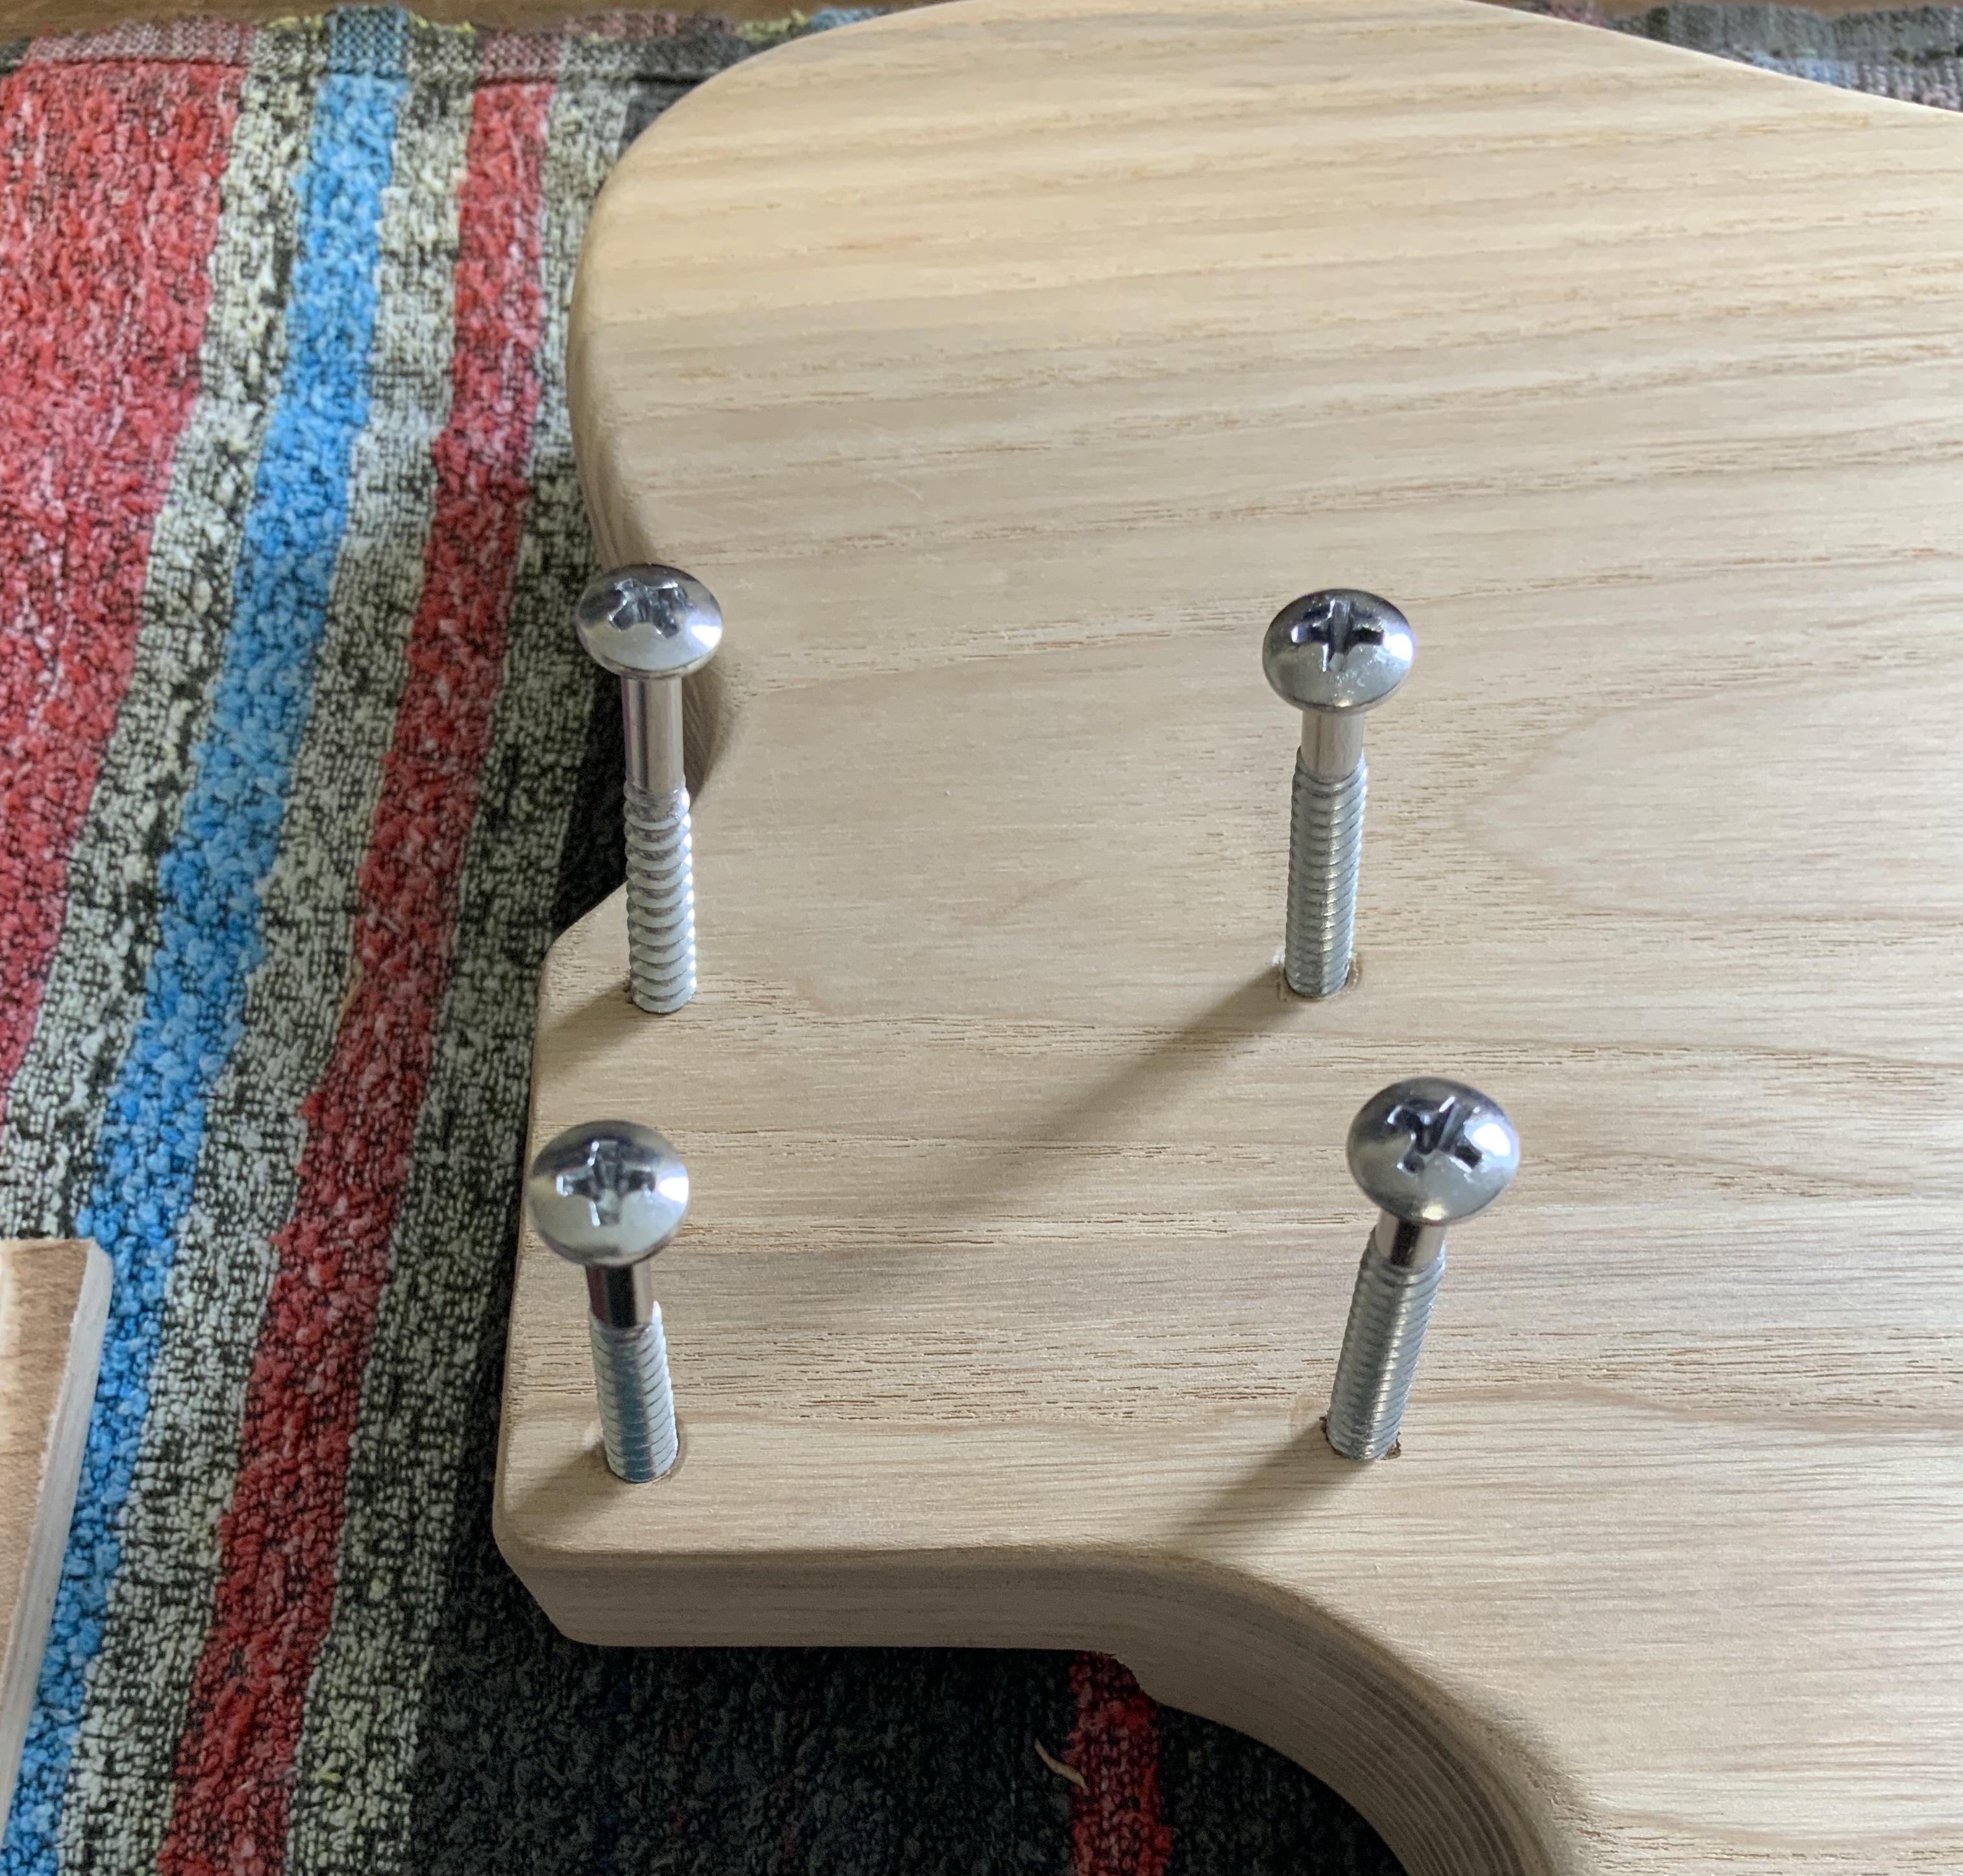
re: The neck mounting holes, yes, you need to enlarge them enough so the screws can be passed through them without needing to screw them in. Usually about 4.5mm with those kit neck screws I believe.
 
The undersize of neck bolt holes in the body is very useful for marking the hole positions in the neck. With the neck clamped in position you can either use a drill that fits the hole to mark the neck (be very careful not to cut into the body hole wall) or gently tighten the screws until they just mark the surface of the neck. In either case use a drill press (if available) or great care drill the "tapping" holes in the neck (make sure you don't make those holes too deep), and the clearance holes in the body - these two sets of holes will be different sizes, I think it's 3.5mm in the neck and 4.5 in the body.
 
The undersize of neck bolt holes in the body is very useful for marking the hole positions in the neck. With the neck clamped in position you can either use a drill that fits the hole to mark the neck (be very careful not to cut into the body hole wall) or gently tighten the screws until they just mark the surface of the neck. In either case use a drill press (if available) or great care drill the "tapping" holes in the neck (make sure you don't make those holes too deep), and the clearance holes in the body - these two sets of holes will be different sizes, I think it's 3.5mm in the neck and 4.5 in the body.

Great idea to know, but this kit has the body holes predrilled.
 
Back
Top