One option for the join area is to spray it with a similar or contrasting solid colour, a bit like a sunburst. Gibson have often used this technique to cover up join areas on an otherwise stained and clear-coated body. I think its one reason why sunburst finishes came into being.
Obviously the spray needs to be the same sort of paint as the clear coat e.g. both polyurethane or both acrylic, ideally from the same manufacturer to ensure compatibility.
Without an airbrush or small spraygun, you are reliant on using a spray can, so masking is very important as the spray pattern isnt controllable. To get a graduated edge to the finish, you need to use the very edge of the spray cone. This means that youll need to point the can at an area to the side of where you want the fade, and probably where you dont want paint! So youll definitely need to mask off most of the guitar to start with, and then add extra masking when doing just the edges. Definitely practice on some scrap wood first.
It does allow you to fill and sand the joins so they flow smoothly, without worrying about the stain being taken up evenly.
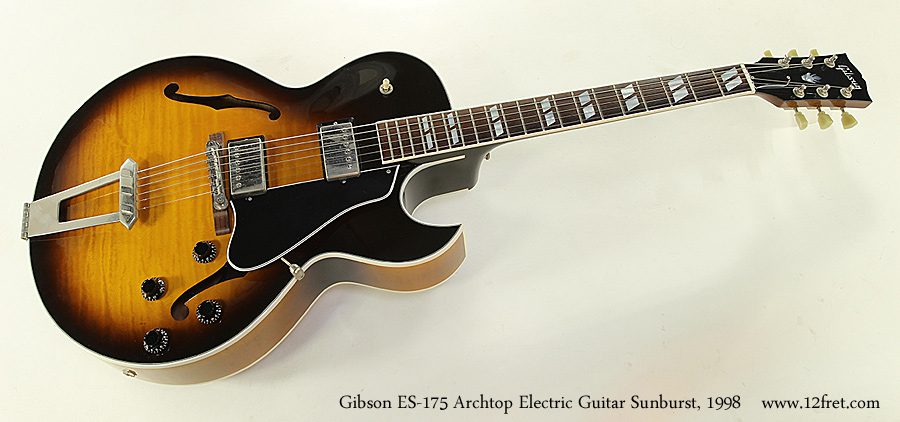
Here you can see how this ES-175 has a solid finish over the neck join area.


Originally Posted by Drashkum


 Reply With Quote


