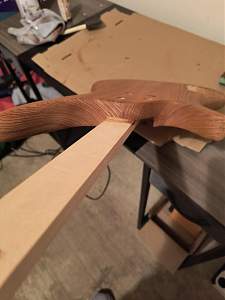
Second staining went pretty well. There were still some spots that wanted to stay thick and not wipe off, so I used very judicious swipes with a damp cloth to coax it to a level that matched the surrounding level of stain. It’s at about the level of darkness that I want, but I saw or read that subsequent coats of grain filler and sanding sealer will probably lighten it up a bit, so I will put on one more quick coat of stain. The front looks pretty good, and I plan to make it the same as the rest of the body, just in case I have to scrap the decal idea for the front. The machine marks I tried sanding out came out pretty well, very hard to see, but I had not noticed the machine marks running along the bottom curve-edge. Not super noticeable to the naked eye, and will be covered by the decal unless that doesn’t work out.


 Reply With Quote
