Sundragon's Walnut 335 tribute build - A gift for a friend

Sundragon

Member
So, this is the start of an ambitious build.
Ordered around midnight last night, thought I'd start the diary with the inspiration first.

Starting with an ES-1GT kit, and inspired by a blend of the two 335's pictured here, I'm building this guitar as a gift for a friend.

Will be Walnut high gloss finish with gold hardware and a capped and embellished headstock.
intended upgrades are StewMac electrics, Gotoh bridge and tuners, black tusq nut.

It will likely take a while, as I'm pretty pedantic about details, but can't wait to get started!
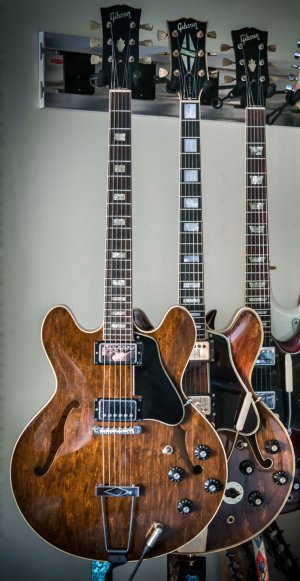
tumblr_ni91u2JAeW1qkno37o5_1280.jpg
 
Welcome Sundragon,

The inspiration looks awesome - love the walnut colour on the semi-hollow and the gold hardware will be the perfect accompaniment.
How will you treat the flamed maple veneer? Are you planning to pop the grain somehow or just go walnut and let the grain speak for itself?

Will be following your build with interest. Nothing like a tasty 335 build!

cheers,
Gav.
 
Hey Gav,

My intention is to do a light 'pop' run over the veneer with Black Japan, and rub back until the depth shows, then do as many coats of Walnut as my eyes tell me is right.
Fortunately, I have a kit body from a different project that I can use to do the testing of the staining and wipe-on poly I will be using to make sure it works first :D
 
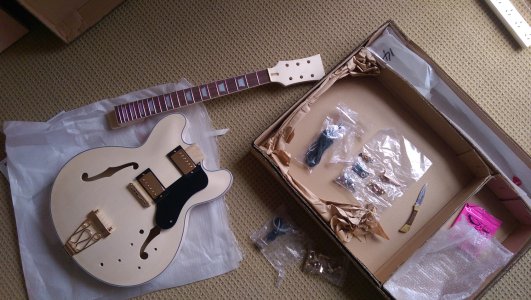
So, the kit arrived today!

Planning on getting hold of the remaining required hardware before getting into any work on the body though. Need to measure 30 times before I start anything :P

First impressions:

Overall, not bad at all actually.
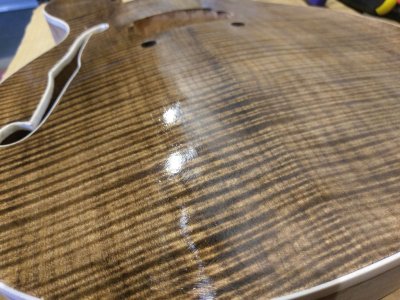
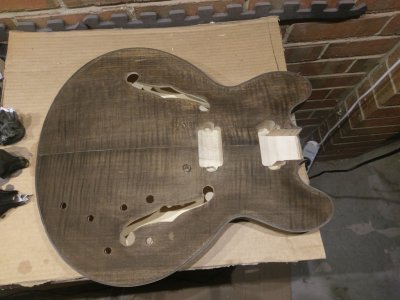
The flame top is quite subtle, so the pop step will be important on this one.
Neck seems very good, slightly behind flat which is a good start.
Will be plugging and re-drilling peg holes. Considering putting a veneer on both sides of the headstock, depending on length needed for tuner posts.
Neck recess seems straight, but is both too tight and offset angle is too great. will probably need a shim and some trickery to make the end finish look pretty.
Not seeing much in the way of glue marks or factory repairs which is a bonus.
Binding looks pretty tidy, even f-hole binding is decent which I am pleased about.

Overall, a decent canvas to work with from the first look :)

IMAG0907_small.jpg
 
kit looks great Sundragon. The flame maple should pop more after you stain it black. Don't do any presanding as the veneers are thin. Look forward to progress
 
I'd just like to point out, whilst I'm waiting for parts from StewMac et al to arrive... that I ended up with the ES-1GT sample image kit :P
 
Gold hardware should look really great. You will find that even the subtlest flame will pop as soon as you get some stain in there.

cheers,
Gav.
 
So, after many months of poverty, I'm back on the track with this build and a LARGE update :)
Will be keeping things pretty up to date moving forward now.

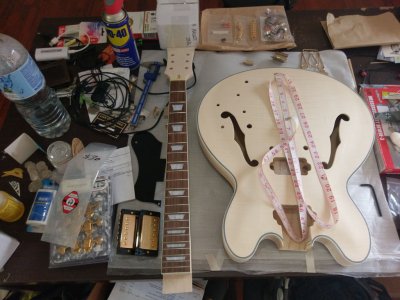
Here's the Kit, along with various bits from StewMac

IMAG0045.jpg

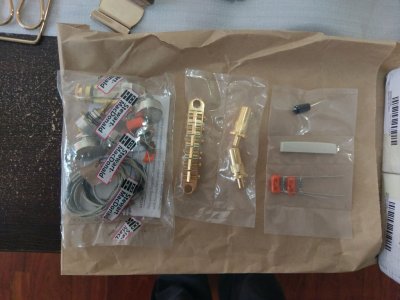
CTS Pots, vintage wiring kit + Gotoh bridge

IMAG0046.jpg

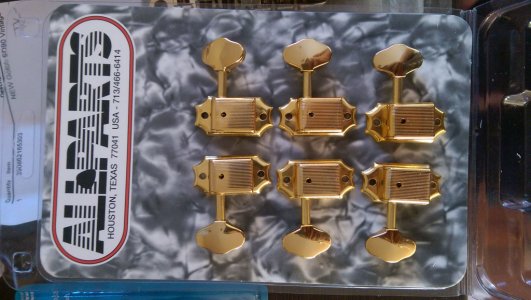
Special Gotoh Butterbean Gold tuners

IMAG0928.jpg
 
And to throw the progress part of this job into gear.. Here's the TESTING of colour and clear I've been going through.

The body is from a crappy chinese kit I custom ordered a couple of years ago (in the Deusenberg style) that had a screwed up fretboard. One day I might re-board the neck, seeing as this finish is coming out VERY nicely.

Stragenyl red for a walnut to start with, not sure why
comparing difference in coats at this point.

IMAG0939.jpg

IMAG0936.jpg

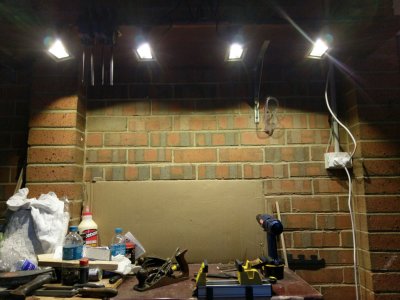
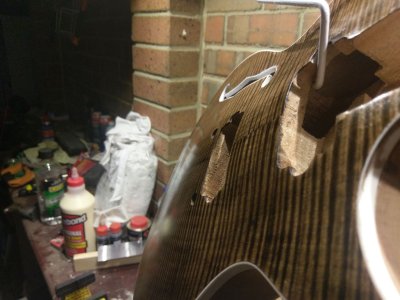
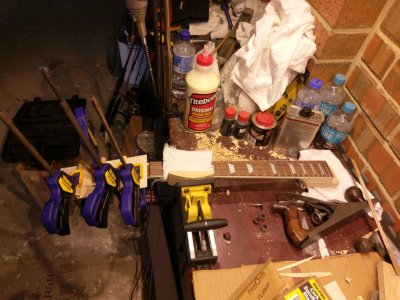
The little work space I have going on in my garage

IMAG0112.jpg

Colour balanced out very nicely after a few weeks resting.
Here is after one coat of Min-Wax wipe-on poly.

IMAG0124.jpg

Second Coat (wet) applied after rubbing lightly with 000 Steele wool, already gaining gloss.

IMAG0126.jpg
 
Continued:

After only 3 coats, with 000 rub between each coat. Very soft at this point, one coat per day and not hardening much.

IMAG0132.jpg

4th coat, wet

IMAG0136.jpg

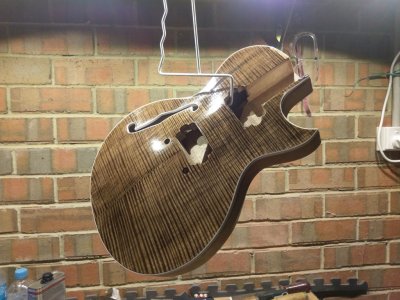
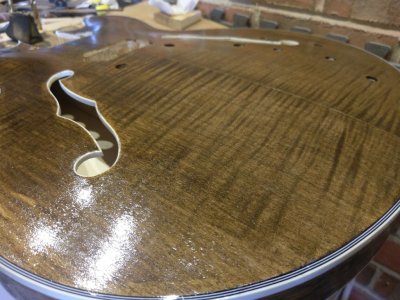
Looking like this wet after only 5 coats of this process!

IMAG0140.jpg

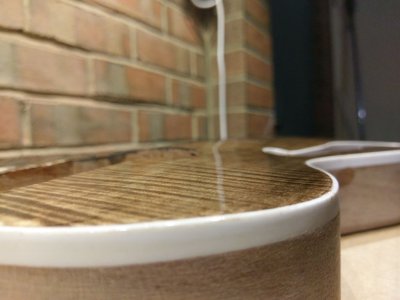
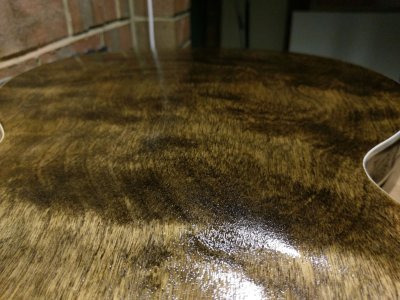
Pre and post 000 rub today, for comparison of what the finish looks like

IMAG0958.jpg

And lastly for this post, this is halfway through applying the (I think) 8th coat today.
Left this finish for 3 days before this coat to see how the hardness is going. Seems to have hardened up quite nicely indeed!
IMAG0959.jpg
 
And now for the real thing.

Got some gripe points about the kit that I will address as I go as well.

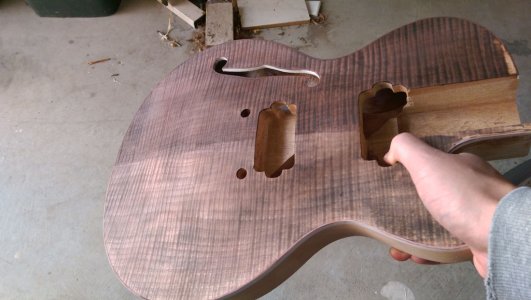
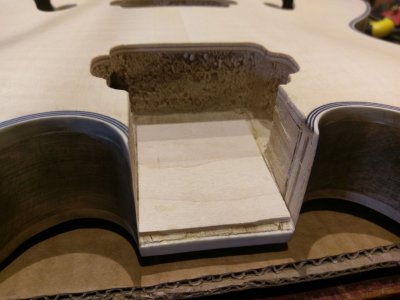
The primary issue that affects anything is the neck pocket. It was cut very poorly. Not quite straight (up and down ways) so the neck, when in place, was as much as 3mm higher on the low e side than the high e sid, and also the pocket cut was not square! BAD.
I have had to do a LOT of delicate and fiddly 'shaving' to try and get the cavity to the point it will accept the neck squarely.
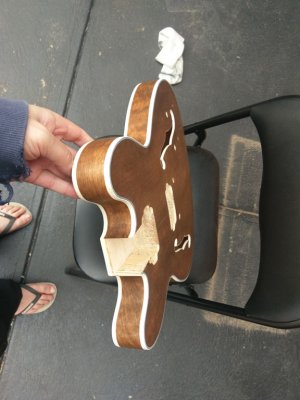
Here pictured is a shim I have had to insert, which has been angled today to give correct break angle.
The good thing about this is that it has added more solid and level material for when the neck is glued in.

You may also notice that the 'taper' angle of the pocket (widening the further toward the bridge) is quite over-pronnounced.
I will be forced to add filler wedge-shaped slivers of material into the gaps between the neck and the body after it is glued in. This is also the reason for the pictured shim not reaching the front of the pocket. I will have to fill this with a small piece of Maple to attempt to fill the gap without seam-gaps.

IMAG0954.jpg

Testing for break angle

IMAG0956.jpg

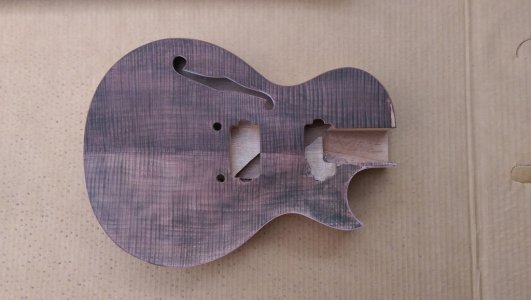
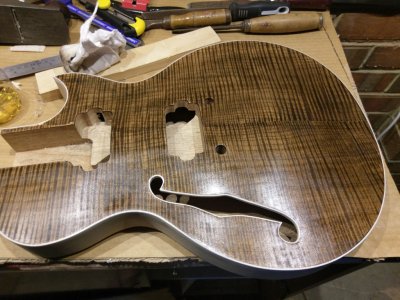
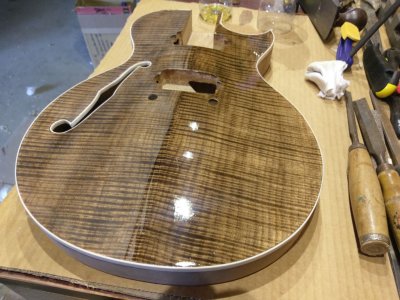
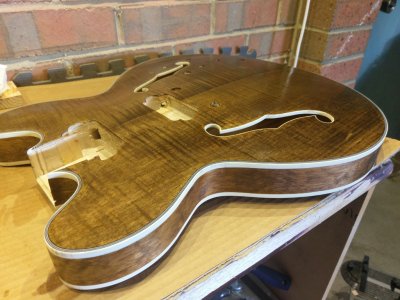
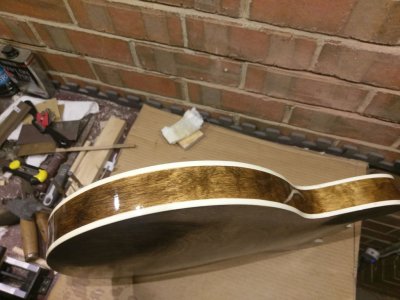
The figuring on this top is very subtle, not quite what I wanted, but might make for a nice understated vibe against the gold hardware

IMAG0123.jpg

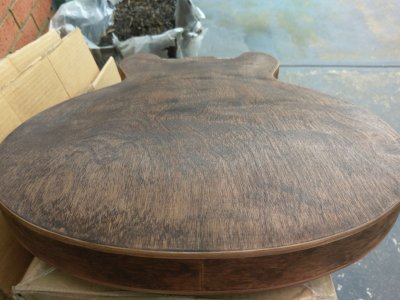
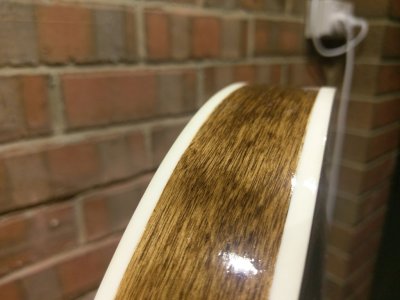
One coat only needed of highly diluted Black Japan for the filler phase on the back and sides. Sanded back with 600 wet and dry, smooth as your best girl's butt!

IMAG0950.jpg
 
Yeah Waz, in the style of a Duesenberg Starplayer.
The controls get mounted to a scratch-plate and drop into a cavity cut in the top.. all nicely hidden.
 
Last edited:
Another update time :D
Basically a visual diary.

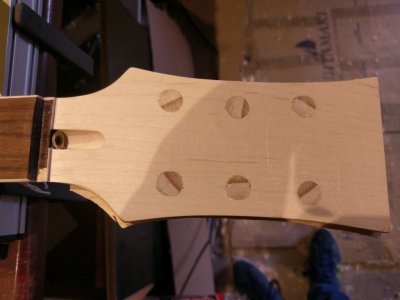
Plugged tuner holes.

IMAG0977.jpg


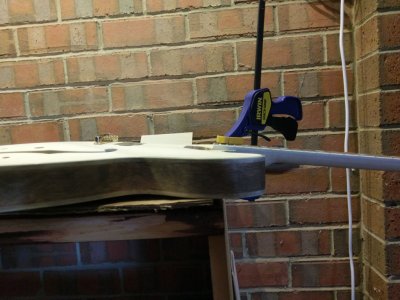
clamped veneer.

IMAG0978.jpg


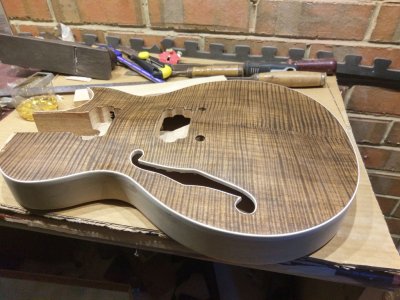
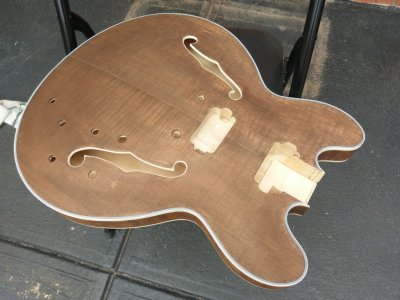
Starting top colouring wipe.

IMAG1032.jpg


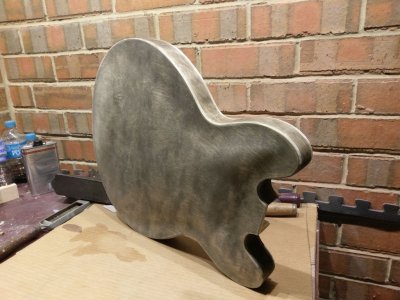
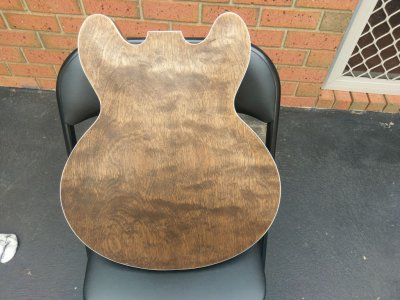
Back fully coloured.

IMAG1021.jpg
 
Back
Top