JB-4L (Jazz Bass Left Handed)

I received this a couple of weeks back but I've been down with the Flu, so I only really got started yesterday April 14.
All the bits were there, but straight out of the starting gate I ran into a major issue.
First thing you have to do is attach the neck of course. So I carefully masking-taped it into position, drilled four pilot holes and fitted the 4 screws. Everything was fine until I removed the screws again and tried to fit the backing plate.
(Which I'd left off to avoid scratching it). Unfortunately:
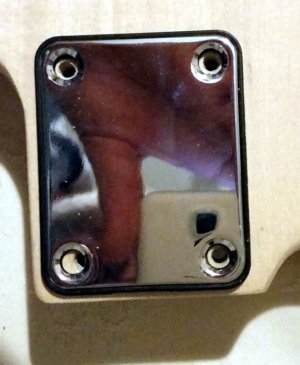
pitbull.jpg

I'm not sure I understand this. Those are the only holes that come pre-drilled, so you'd imagine that was because they're critical for fine adjustment of the neck angle.
Well anyway, I found some bamboo chopsticks that are exactly the right size to fill the hole, and when the glue dries I'll re-drill the hole in the correct place. Not a show-stopper, but bloody annoying....
 
Annoying, but as you say, not incurable. I'd drop Adam an email with the photo attached as it's all good feedback for the factory to improve their output.
 
OK, glue dried, dowels smoothed off; construction starts off tonight.
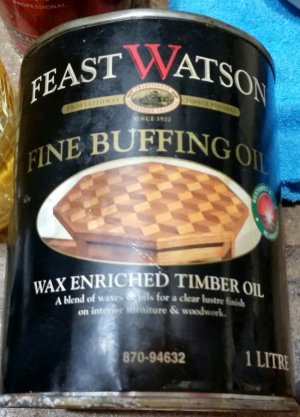
I'm also experimenting with some Feast and Watson Fine Buffering Oil for the finish.
F&W.jpg
I've used a lot of this stuff for restoring old furniture, and it gives first-class results; generally I strongly suspect the items never looked that good when they were brand new!
You apply it with steel wool, and polish with a soft cloth. Although the recommendation is just 2 coats, I've found that the more layers you apply, the better it looks. It takes a couple of weeks to harden completely, but I've found if you just put on one layer every evening after work, the job gets done in no time. It looks sort of like very-well-applied satin lacquer, but there's not a trace of brushmarks or drips.
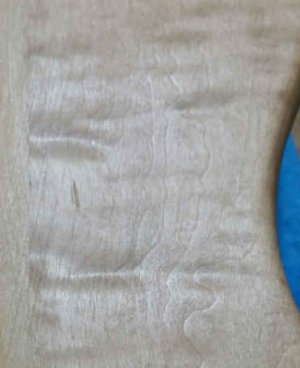
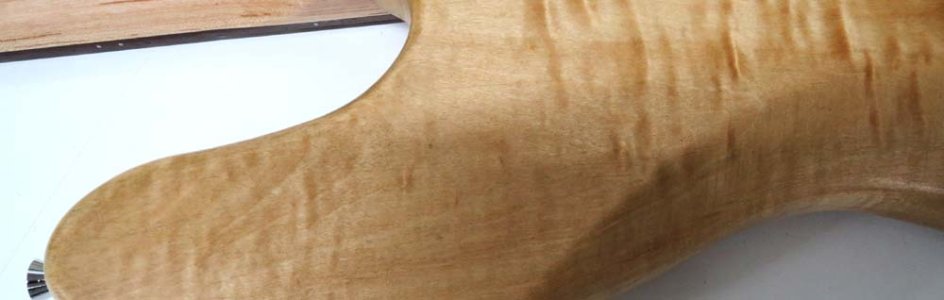
This is the best I can do for a photo, which doesn't do the 3-D grain effect justice:
grain.jpg
(This has only 2 layers).
 
I've got everything assembled except for the strings. Now I have to take it all apart again so I can get on with finishing the woodwork.
Not overly impressed with the quality of the small screws that hold the machine heads onto the headstock. Even with a really good quality screwdriver they still tend to strip. I don't really want to make the pilot holes any bigger, so I think I'll shoot across to Bunnings today and look for something a bit better quality, stainless steel perhaps.
 
Keith, the buffing oil looks great. With the tuner screws most people dip the screw in soap or a wax to lubricate it when you drive the screw in should make it easier. What size drill is your pilot hole ? I doubt Bunnings will have the correct screw for this, you may have to go to a screw/bolt specialist store or order online from a guitar parts store.
 
Last edited:
Not overly impressed with the quality of the small screws that hold the machine heads onto the headstock.

Yes they are garbage. I usually replace the machine heads anyway and get better quality screws with the better tuners. It is advisable to replace these screws if you can, there have been too many that have snapped to make them worth the risk.
 
I tried soap but it didn't really help. I drilled 2mm pilot holes, and don't really want to go any further
Bunnings have some self-tappers that are almost identical in size and are a lot higher in quality.
The heads are the "universal" type but nobody is ever going to see that and I doubt anybody would notice (or care).
Oddly they have two packets available, exact same brand and identical as far as I can see, but the pack of 50 is about $6 and the pack of 100 is about $4.50. Must be some new marketing strategy I don't know about. Mind you they also sell 5kg bags of cement, garden lime etc in the garden section for nearly twice the price of a 20kg bag of the same stuff in the building section....blink.png
 
well done Keith I didn't think they sold anything suitable. Can you please post a pic of the screw pack and how they look installed ?
 
I've already started taking it all apart and putting the hardware and requisite screws into ziplock bags in preparation for doing the woodwork, but I'll do some pictures when it's finished.
Not sure why you'd think Bunnings screws are not "suitable".
Most of the strain on the machine heads is borne sideways by the hole ferrules; the screws just basically hold them in position.
I can't see why the screw type would be particularly critical. The screw heads are well-finished and aren't easily chewed up by the screwdriver. Not exactly "dress" screws, but then neither are the ones supplied with the kit rolleyes.gif
 
It's all disassembled and I'm well into the timber finishing process. The grain on the back of the body is already looking pretty impressive and I've only got the one coat on. They recommend buffing with a soft dry cloth once the oil has hardened a bit, but I've found slightly moistening the rag with a bit of gum turpentine really brings up the gloss.
There appears to be a genuine Fender Jazz Bass version with a finish very much like the one I expect to get.
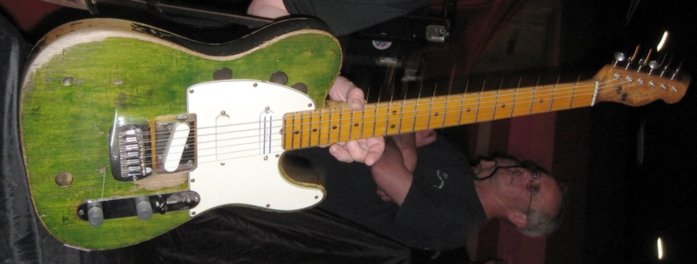
To be honest, I don't really care all that much about the finish, although I'm sure it will look pretty good. I mean, this is the Telecaster that Francis Rossi of Status Quo sold millions of dollars worth of albums using.....:
Francis RossiTele.jpg
 
I'm getting close to the final assembly. I'll try to do some photos tonight, but no matter what I do, the photos never seem to look as good as the actual product. I guess part of it is the "3D" effect of well-polished wood. The finish is still slightly "tacky", and will need more drying time, which is normal using natural finishes. Smells great though!
It might sound heretical but I don't believe in filling defects and scratches, at least, not on natural wood finishes.
I've done quite a bit of period furniture restoration, and for me, nothing looks quite as good as stripping off the old varnish and then spending a couple of hours each evening for a couple of weeks, rubbing the woodwork down with fine buffing oil (as above), and then finishing with 0000 steel wool and Gilly Stephensons cabinet makers wax, followed by a good buffing with a soft cloth.

When you do that, all the decades of scratches, knocks and cigarette burns etc get smoothed down and glossed over, so they become decorative rather than detracting from the appearance. Apart from that, unless you're really good, fully restoring a period piece is likely to lower its value, not increase it. My wife has some lovely old pieces that she picked up at auction quite cheaply, precisely because they were ruined by people using modern restoration materials.

Actually Bunnings used to sell sheets of really cheap 3-ply made from what most people thought was the most garbage knotty, crack-ey wood, but if you smoothed it off with steel wool and carefully lacquered it, it looked fantastic, and was vastly cheaper than buying veneers. But sadly, somebody appeared to think they should lift their 3-ply game, and they don't sell the "rubbishy" stuff any more!

It's a shame the body of my guitar isn't made from a single piece, but the three different grains still pretty impressive. It took a lot a rubbing to get the maple neck polished up but it also looks great now.
 
Last edited:
It's good that you know just the sort of finish you like, and how to get it. It is hard to capture the look of some finishes with a camera. Sometimes it's also the smell that's important as well.
 
I'm not against opaque painted finishes, but I know how much work is involved in getting them to look "professional". On the other hand, just about any old piece of scrap timber will come up looking great after a few evenings spent with steel wool and natural finishes. Also, if the finish does get damaged, it's very easy to repair!
I crashed before I could get any photos done last night, but it's looking damned good with the hardware on!
 
Looking forward to seeing the pics Keith - it's always great to see a finish you haven't seen before so you can add it to the kitbag of future ideas!
 
I was going to say that that the other good thing about using rubbing oil and natural waxes is that it's far less messy and not as time-critical as using lacquer. You could literally work on your project while watching TV!
Also, gum turpentine certainly smells better than the alternative.... :o
 
I'm still having a bit of a struggle getting photos that look anything like the actual finish! I've got it fully assembled apart from the strings and pickup wiring, and I've taken it into work where I can try it in their light box setup.
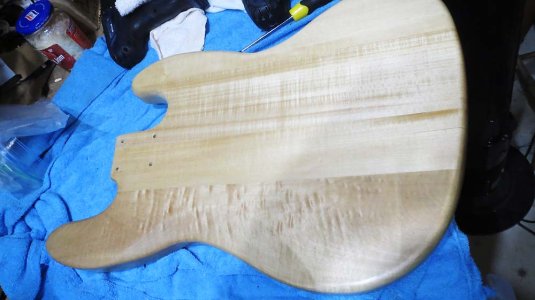
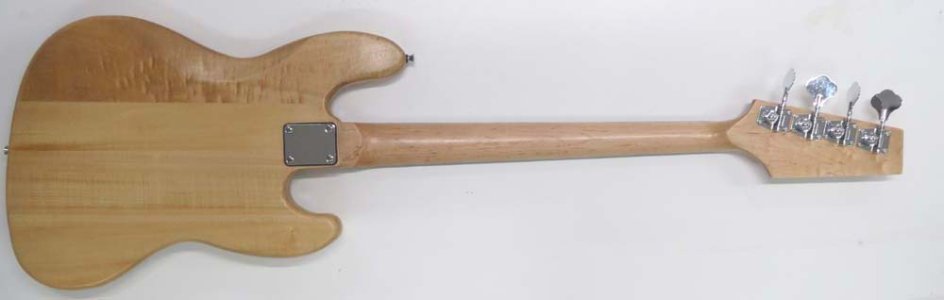
This picture of the back was one I snapped on the workbench, needless to say, the "proper" photos I subsequently took just don't look as good:(
JB_Body_Back.jpg
 
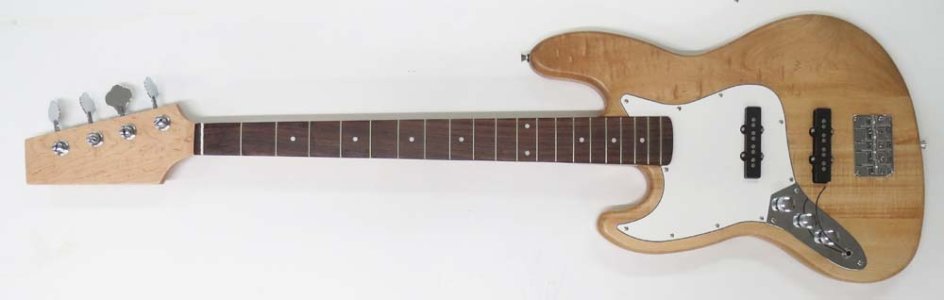
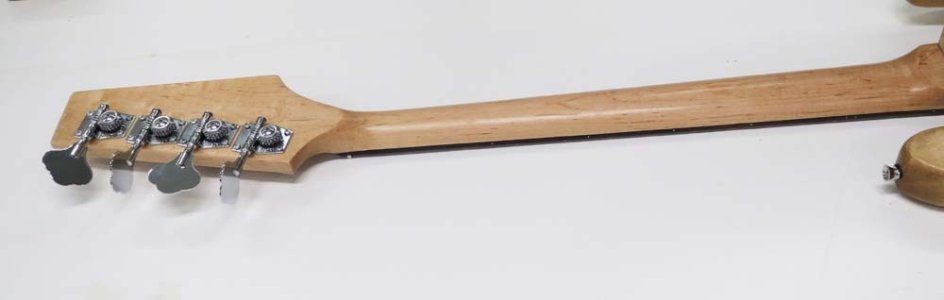
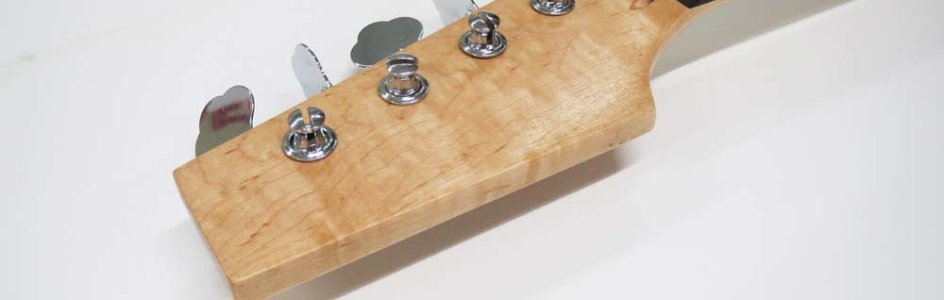
OK, here's some photos, with no strings attached rolleyes.gif
I've realized that the problem with photographing this finish is that, unlike clear lacquer, the wax finish only fills in very small gaps; you're basically looking at the grain. Close up, if you try to photograph it, the grain looks like brushmarks. I presume because your eyes see it as a 3-D image, your brain can work out what it actually is, but it can't looking at a flat still image from a camera.

JB_Entire_Front.jpg

JB_Entire_Back.jpg

JB_Neck_Back.jpg

JB_Headstock_Front.jpg
 
Last edited:
You can only attach 5 images per post, so here are the other two I took.

This is a closeup of the PK screws I bought at Bunnings to replace the original machine head screws. They may not look authentic, but I hardly think anybody will notice:

JB_MH_Screws.jpg

Here's a closeup of the woodgrain finish. It still looks better in real life:

JB_Wood_Closeup.jpg
 
Back
Top