I have BAS (GAS) now what - how Im building an A/B Box

Brendan

Well-known member
So,
Having worked out I have BAS - what to do with the Basses that I am now collecting.... - I know, I'll make me an A/B box and then I can bring 2 basses with me to a gig and look like a guitarist!

So....

Google, google, google... decided to go with this plan... https://www.generalguitargadgets.com/projects/15-boostersrouters/344-ab-switch-box
A couple of trips to Altronics later...

Ingredients list from left to right, top to bottom(where I can remember the price I've shown it):
1 x enclosure - go big(ish) - there's not too much to go in, but it's all in everything else's way - ~ $12
1 x 9v battery enclosure - eBay and ~ $1 not sure it'll be used - it's a big sucker...
1 x 9V battery - from a drawer couple of bucks...
1 x 9V DC insulated jack ~ .85 make sure it's insulated as I have some chrome ones that apparently will cause everything to short...
1 x 9V DC Battery snap - $0.30 (one of the reason for a couple of trips - kept forgetting them)
2 x LED in bezel - went for 3mm red and green ~ $1.85 @
1 x 3PDT heavy duty foot switch - eBayed it ~ say $2
1 x 390 ohm resistor (will be shared between the 2 LED's) ~ couple of cents
2 x mono jacks
1 x stereo jack
1 x instructions
Assorted wire and heatshrink

Total ~$20-$25. Could have got some stuff cheaper through eBay, but couldn't be bothered waiting.
yrtub-WP_20131221_005.jpg
 
Some cogitating later and dry setups (forgot to take a photo) and out comes the drill.... 8-).

Drilled holes for the LED's and mono jacks as I figured these would be the ones that would get in the way of each other...

Ended up bending the tines of the LED's - I'll trim them later when I get to solder, but for now need them out of the way.

Found I now need to go to the big green discount barn and get me an 11 and a 12 mm drill bit for the foot switch and DC jack... You never know Santa may be reading this as well :).


iun9x-WP_20131221_006.jpg

fui3v-WP_20131221_009.jpg


More when I get some more done...
 
If I remember I'll chase down part numbers for people tomorrow to save hassle at Altronics if you want to give it a spin.
 
Just had a look at the schematic and I reckon the connections on J1 are reversed. You want the TIP to go to Sw1c common, not the RING. Otherwise you will be sending your signal to the battery and not the outputs. Cool little project though.
 
/<\\/p>[]<\\/p>/Quote from lawry on December 22, 2013, 06:06
Just had a look at the schematic and I reckon the connections on J1 are reversed. You want the TIP to go to Sw1c common, not the RING. Otherwise you will be sending your signal to the battery and not the outputs. Cool little project though.

If in doubt send JD Sleep a message. He's a nice guy, he'll answer you.
 
@Lawry,
Thanks for that - I'll look into it.
@Frets - have you done a JD Sleep build before? How'd it go?
 
Bit of project bounce here - between a couple of guitars and an AB Box, but I've finally got all the hardware into the box. Not sure if I should spray it now or leave it permanently natural - bit dinged up and what have you - almost pre reliced :)...

Turns out I have had to offset the footswitch by a mm or two from dead centre to fit a battery box in - not sure if I will go that far, but don't want to eliminate it before I start.
94rad-WP_20140103_004.jpg

ywy8z-WP_20140103_005.jpg
 
/<\\/p>[]<\\/p>/Quote from Brendan on December 22, 2013, 19:38
@Lawry,
Thanks for that - I'll look into it.
@Frets - have you done a JD Sleep build before? How'd it go?

Sorry Brendan I missed your question.

All my pedal making attempts have been flops, apart from my A/B box. But I never used a kit, I think all my attempts at making PCBs were the problem as I could often get it to work on the breadboard. I did hang out on Aron Nelson's pedal message board for a year or so. Aron, JD, Zac Vex, Mike Fuller are all really nice guys who are more than happy to help. Just like the guys on this board.
 
Brendan, I've used a few boxes like this in the past for test and adapter boxes at work. I would clean the surface with a scotchbrite pad and cleaning solvent then apply any lettering and follow up with a clear laquer. Quick and easy brushed aluminium look.
 
Sounds like a great idea DJ - think I will go with that. So sanded body back last night (they come pretty dinged up) then went back up the grits to a finish I'm somewhat happy with - could go on further and get it shinier, but relatively happy with what I've got. Need to organise some stickers and some clear to go over the top, then a solderin' I'll go.
k5479-WP_20140108_001.jpg
 
Had another look - didn't feel I needed to add any lettering / decals as I'm hoping it'll be pretty self explanatory. May not even go with a clear coat - it'll get dinged up etc, but that's all character :).
 
Finally finished. Got it all wired up the other day and ... red light goes on, hit the foot switch - green light goes on, green light flickers and goes off. Hit switch - red light goes on and hit switch again and green light doesn't go on. Tap switch and green light goes on then off.... AARRRGHHH!! Out comes an hour or two of pfaffing around and turns out it's the foot switch - good 'ol eBay gave me a foot switch with one dud terminal out of nine... Bugger... Anyway couple of pics! No text / lettering - I figured if you need it then you need to be doing something different - the LED's are over the input jacks and the output jack is on the side of the box. If I end up giving it away to someone then I may review, but until then au natural it is. First one - no lights as there's nothing in the stereo (output) jack. Second - red light on, hit switch and third - green light on. All in all ~$25 (especially with the dud switch) a good couple of hours and I'm pretty happy.
vq5vv-WP_20140116_001.jpg

y15cw-WP_20140116_002.jpg

gdo9h-WP_20140116_003.jpg
 
send it/bring it to me with the designs of your choice and We can cnc engrave whatever you want on it! no charge mate!
"not made in china" somewhere !he he
cheers H
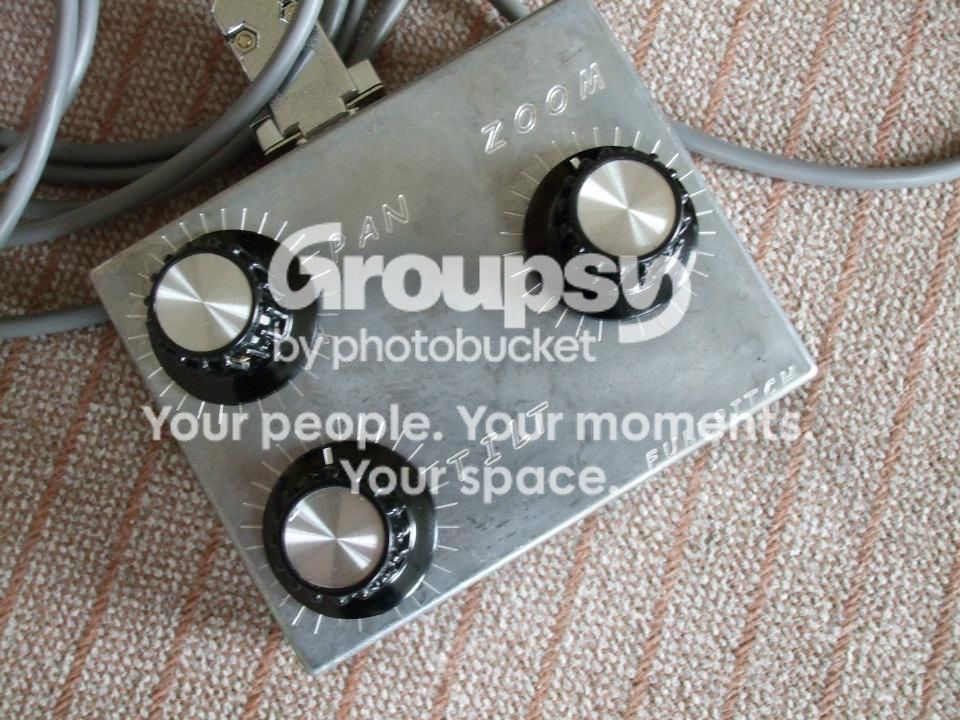
made this box for my uncle to control his wireless camera gimble setup
controlbox.jpg
[/URL]
 
Back
Top