HiddenGuitarist's TLA-1 and TLA-1R Builds

HiddenGuitarist

New member
Hi all

I thought that I would start to get my ideas for these builds up to initiate some early feedback. I have bought two kits, with the intention of building two complementary fraternal-twin guitars. One is a standard TLA-1 (maple fretboard), the other a TLA-1R (rosewood fretboard), both being solid ash bodies. The intention is to finish them in the same Dingotone Black Stump stain/oil, use the same hardware (bridge, machine heads, control plate, etc), varying only a few aesthetics, choice of pickups and the switching/controls configuration.

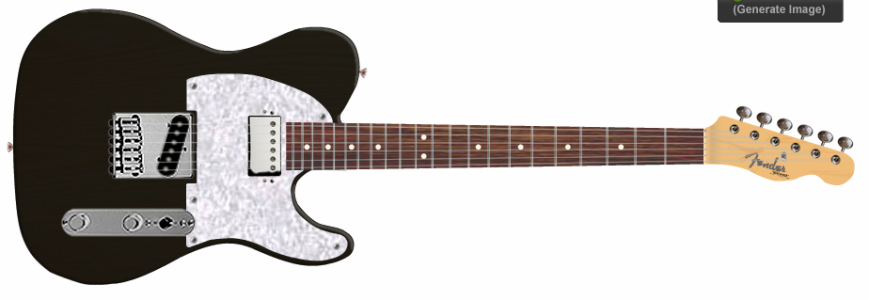
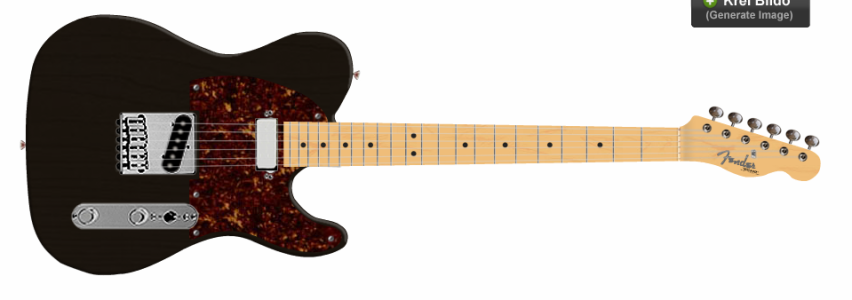
Here's a mock up of what I have in mind generated using the Kisekae guitar modelling website:
TLA-1:
Mock Up.png
TLA-1R:
Mock Up 2.PNG

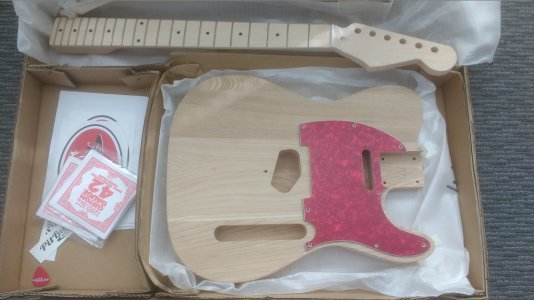
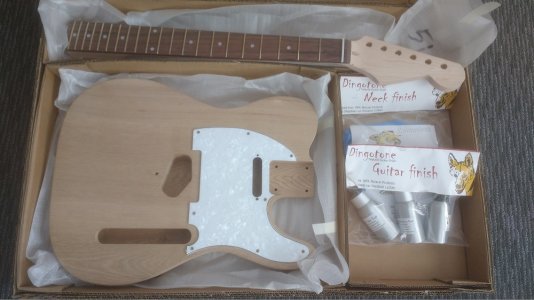
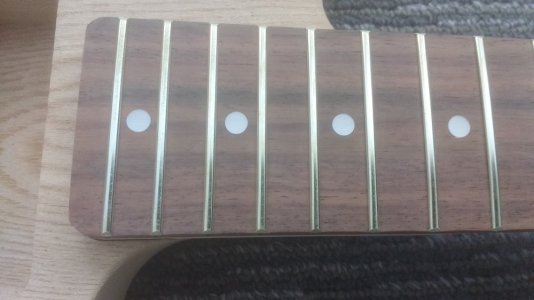
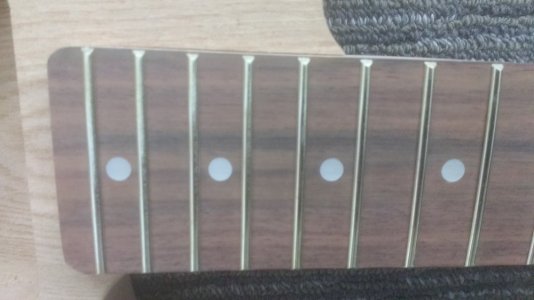
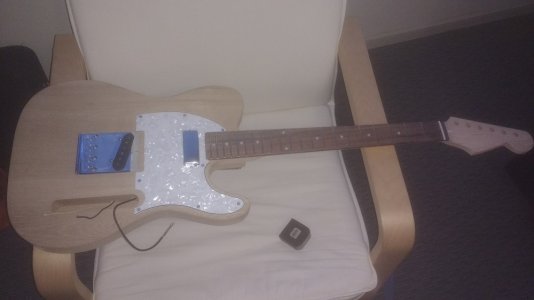
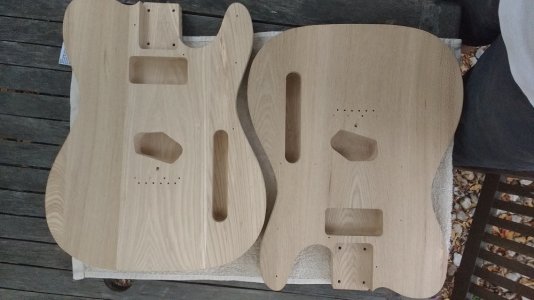
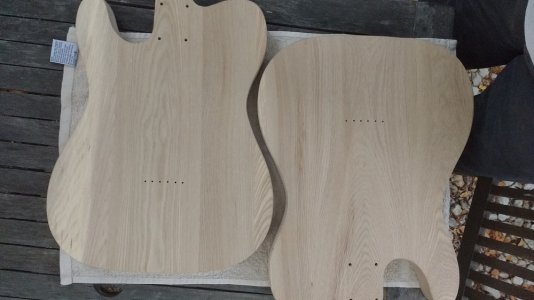
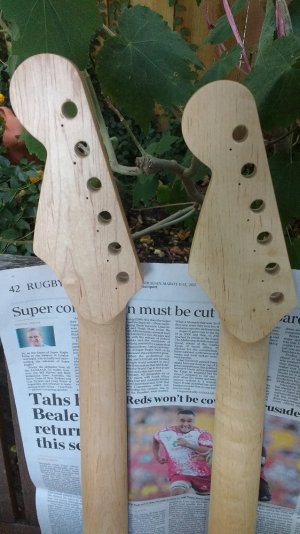
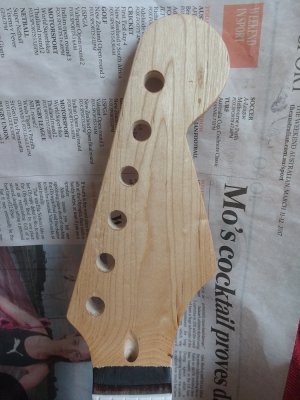
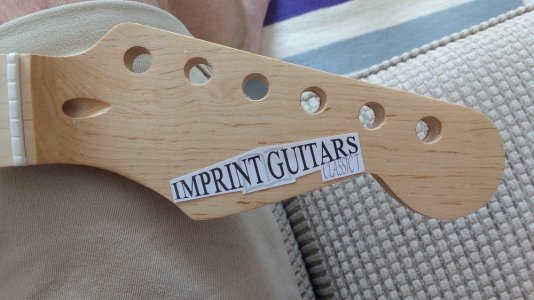
Here's what I currently have:
TLA-1:
IMG_20160814_110231491_reduced.jpg
TLA-1R:
IMG_20160814_110106592_reduced.jpg
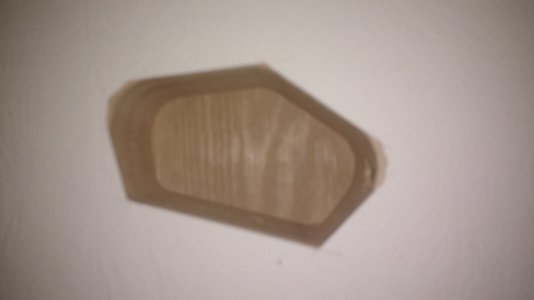
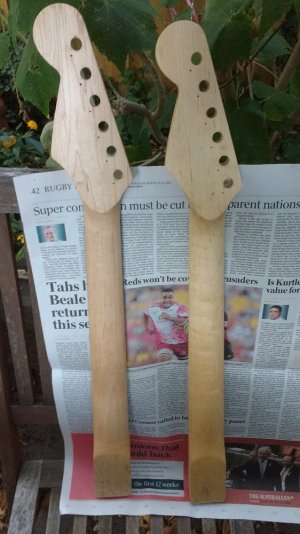
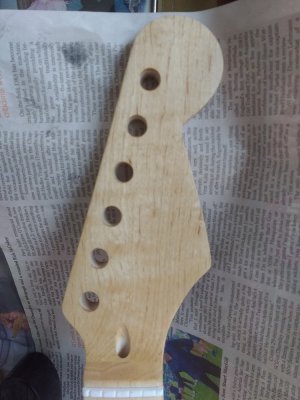
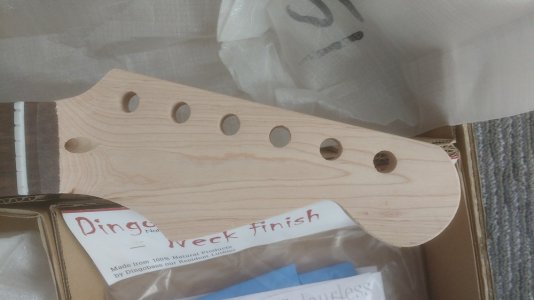
The headstocks have been shaped by the boys at PBG using their Luthier Headstock Shaping service (look under Extras>Services on the website) to my design; not highly original, granted, but I think a nice blend of the two classic Fender shapes. Here's a close up:
IMG_20160814_111630854_reduced.jpg

I've yet to purchase the rest of the parts, but here's my shopping list:
Bridge: Gotoh GC201
Machine heads: Gotoh SG381
Everything else will be generally stock parts from Real Parts, nothing flash or unnecessarily complicated: pots, caps, control plate, jack, neck plate, etc. I'm intending to replace the nuts from the standard factory-issue plastic.

Regarding the machine heads, the manufacturer's dimensions show 10 mm diameter hole required for the shaft and bushings, but the holes in the kit are 10.5 mm (or the next imperial equivalent). Has any one encountered any issues with fitting standard metric sizes in their kits, or will this still fit comfortably?

The main decision still to make is regarding pickups. I want to do something a bit different, and given that the neck route on these kits is cut for a humbucker size, I was thinking of a mini humbucker (Firebird) pickup in one guitar and a gold foil-type pick up in the other (bridge pickups by necessity will be standard TC pickups to avoid having to make substantial mods beyond those typically required to accommodate the correct scale length). My current thinking is something like:
Guitar 1: bridge - Tonerider Vintage Plus, and neck - Kent Armstrong Mini Humbucker; 4-way switching (N only, N/B parallel, B only, N/B series) with standard master treble cut tone control and volume
Guitar 2: bridge - Tonerider Vintage Plus, and neck - Eastwood Airline Argyle; standard 3-way switching (N only, N/B parallel, B only) with standard master treble cut tone control and volume

Does anyone have any comments regarding these individual pickups and/or pairings, or suggestions on alternatives that I might consider? I'm struggling to find an 'affordable' gold foil pick up: they all seem to be made by boutique manufacturers in the US or UK with the price tag to match, so any suggestions welcomed. The Eastwood pickups are individually 'affordable' but the shipping and exchange rate add substantially to the cost.

That's all for now, I hope to have the planning wrapped up in the next couple of weeks so that I can start moving these builds forward once Spring arrives.

Rich
 
Interesting plans and like the look of the Kent Armstrong Mini Humbucker. Never heard of the other one before?

For tuning peg holes most aftermarket tuners seem to require 10.5mm holes anyway and on the one axe where such were fitted I had to gently drill out the extra diameter. This was done with the drill rotating in reverse to prevent it grabbing and tearing out more than required part way through the job.
 
I'm a big fan of Mike Brieley pickups from Adelade, there nor expensive and they sound great in my TL build.
I went for a five way switch, Gotoh tuners.
...
 
Okay, so decisions have been made and some initial purchases made to let me get started on these builds. First off the blocks, I have decided on the following pickups:
Guitar 1: bridge - Tonerider Hot Classic, and neck - Kent Armstrong Mini Humbucker; and
Guitar 2: bridge - Tonerider Vintage Plus, and neck - GFS Gold Foil single coil with ferrite magnet in humbucker format, details here. For those interested in finding out more about this pickup and its sisters in the range, there is a forensic discussion at the Offset Guitars forum.

I've also bought one bridge and one set of machine heads (both as spec'ed above), as well as a neck plate and set of bushings, to check for fit to determine what, if any, mods I need to make, and to set the position of the bridge so that I can drill all of the required holes before getting started on the finishing.

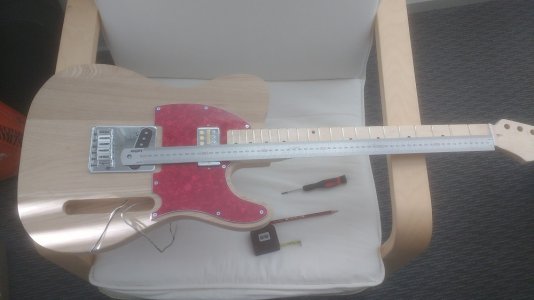
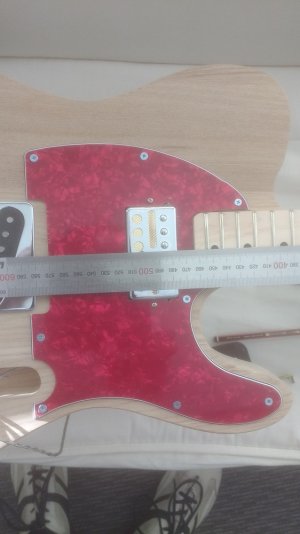
First up, the bridge pick up rout is slightly too small (along the main diagonal) to accommodate the bridge pickup. There's only a few millimetres in it, so no major work required, but I'm not sure how best to tackle this. I don't have a router, so some combination of drills and files, and possibly a chisle, are likely to be the favoured approach, but any suggestions welcome. Below left image has a route template over the existing route; below right shows the bridge and pickup over the rout.
IMG_20160913_220024688_reduced.jpg IMG_20160913_220727101_reduced.jpg

Initial indication is that the position of the bridge pickup route seems to be correct, but I;ll do a more refined measurement once I have the rout widened and can get the pickup in.

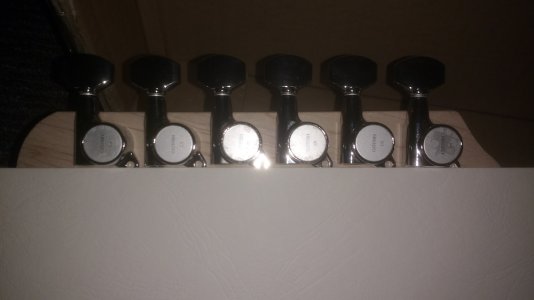
Machine heads are a good fit in the factory holes, so no issues, and the alignment is pretty good, with only a millimetre or so difference between positions of the E, B and e strings, and A, D and G strings.
IMG_20160913_220253671_reduced.jpg
 
I think most people have the tele bridge pick up won't fit issue. I used a small sanding drum in a cordless drill, it's not aggressive and a set of them isn't too expensive.
I like the sound of this and thanks for the links to the GF info
 
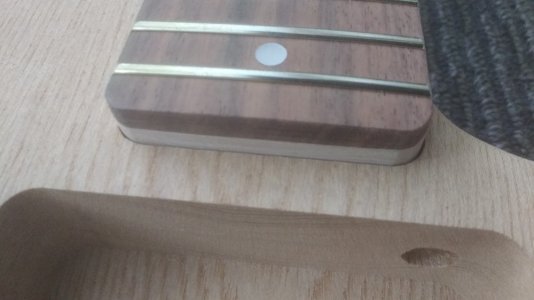
Thanks for the tip Dedman, with a newly-acquired Dremel rotary tool I was able to expand the routes in next to no time. I have also today round filed the corners of the neck to get a better fit in the neck pocket, and drilled pilot holes for the machine head fixings and the neck bolts in the neck.

Next weekend, I will hopefully have the time to measure the bridge set out, drill the fixing and string through holes, and maybe modify the pickguards to accommodate the larger neck pickups that I will be using. Then with all of the body mods out of the way, we can get into the fun part and start on the sanding and finishing :).

I'll post some more pictures next weekend, hopefully including a test fit of all of the main parts.
 
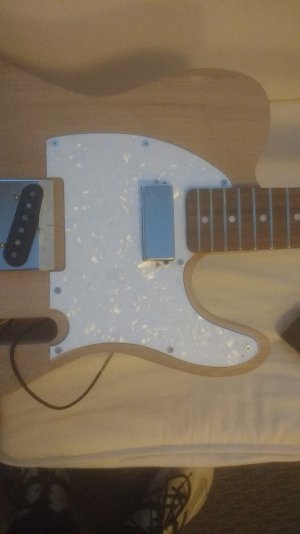
So, a little more work completed this weekend. I've modified the pickguards to suit the larger neck pickups being used in both guitars, and opened out the openings around the neck pocket where the profile wasn't quite right. Pilot holes for the pickguards fixing holes have been drilled, as have strap pin pilot holes. Bridge alignment has been checked and, thankfully, no further adjustment needed for bridge pickup placement. Bridge fixing screw hole positions have been marked out... but then, snookered. My drill press is not large enough to allow me to drill these and the string thru holes. If there's anyone out there in inner Melbourne with a suitable drill that you're willing to give me access to for an hour or so, please let me know ;).

Latest progress shots:
Neck pocket 1:
IMG_20161016_145905569_reduced.jpg
IMG_20161016_145926823_reduced.jpg
Neck pocket 2:
IMG_20161016_150141750_reduced.jpg
IMG_20161016_150154093_reduced.jpg
IMG_20161016_150226615_reduced.jpg

[More in next post]
 
Damn HG...just out of reach. If you don't find anyone to help, check out my TLA-1R build diary to see my home remedy for drilling my string through. lots of practice makes it less scary.
 
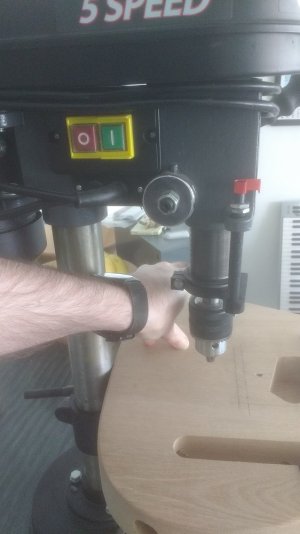
So, after several months of enforced idleness with this build, I have finally been able to get past the above obstacle. I'm taking a course in guitar building this year (I'll post details in a separate response for those who may be interested) and consequently have access to all of the requisite tools of the requisite size, and was able to take these in to make use of the pedestal drills there.

Additionally, one very useful tip I picked up doing this that will probably of use to others: when drilling your string through holes, in order to get the the best possible alignment on both sides, drill only the outside two holes all the way through from the top; drill the others only half way through. Then flip the guitar over, and using your outside holes as markers, align the centres of the other holes on the back, then drill these from the back to the mid point. In this way, if there is any deviation of the drill from vertical, it will not be apparent from the faces, and there should still be plenty of clear passage where the holes meet to allow the string to pass through. Given the short length of 2.5/3 mm drill bits, this also makes it easier to drill than trying to get sufficient working length of bit outside of the chuck.

I still have to do the widening of the holes on the back to accommodate the ferrules, but I will wait until later to do this so that I can at least get moving with the next stage.

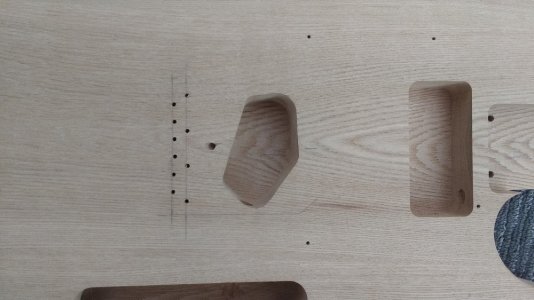
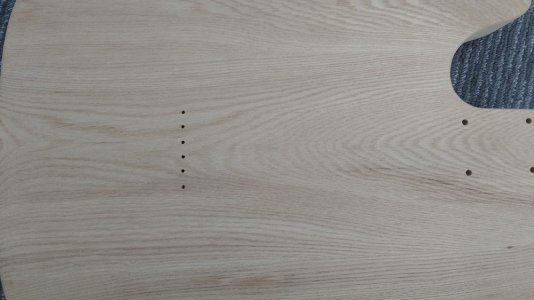
Here are the front and back holes for one of the guitars:
Front
IMG_20170311_115940421_reduced.jpg
Back
IMG_20170311_115952582_reduced.jpg

If anything, the alignment on the back is actually slightly better than the front (the G string is slightly off relative to the others), but better that way round since the holes on the top will be covered by the bridge plate.

With these holes now drilled, I can make a start on sanding and first stage of finishing. In order to give greater depth of colour to the grain, I'm going to apply a very dark black stain first, then sand this back to reveal the natural wood again, while hopefully leaving a darker grain line, then set to work with the DingoTone Black Stump. Perfectly timed to coincide with the long weekend :D.
 
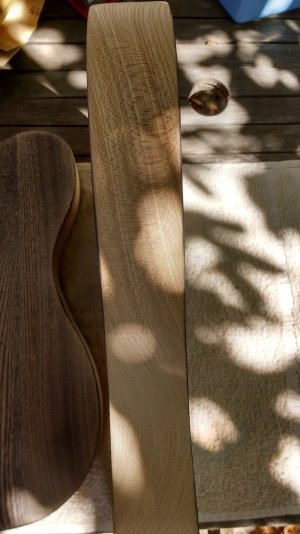
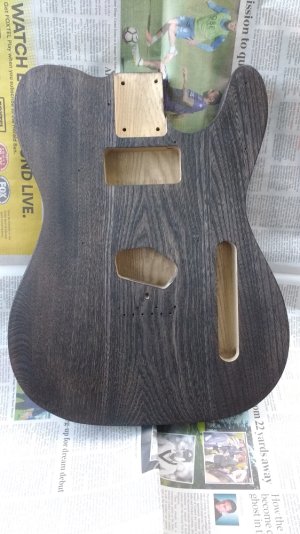
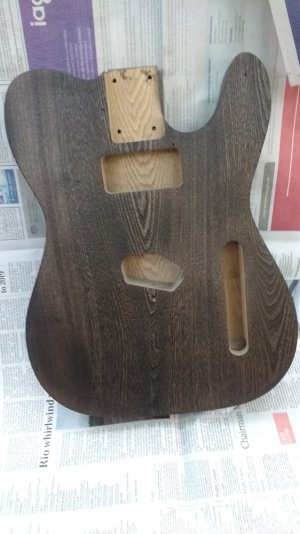
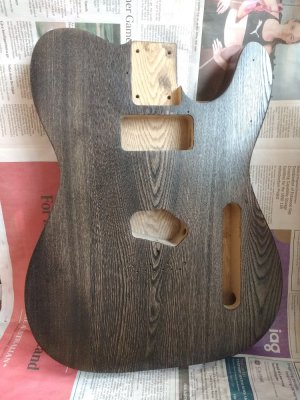
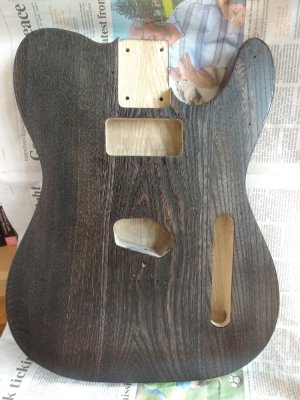
Thanks guys. After several hours of sanding in the last couple of days, here's where I've gotten to. Front and back have been taken to 180 grit and then black stain applied. Tomorrow I'm aiming to work through to 320 grit on back and sides, taking back the heavy stain and preparing the whole body for the first round of the Black Stump. There's some really nice figure, almost holographic under bright light, in both guitars, and even some medullary rays in one.

IMG_20170312_190605882_reduced.jpgIMG_20170312_190643398_reduced.jpg

IMG_20170312_192210508_reduced.jpgIMG_20170312_194122743_reduced.jpg
 
A little more sanding progress. Fronts and backs taken back towards the natural wood colour and sides of one guitar prepared, all to 320 grit. Sides to complete on second guitar, then I can start on the body finish proper. Necks to follow.

IMG_20170313_150501610_HDR_reduced.jpgIMG_20170313_150546450_HDR_reduced.jpg
IMG_20170313_150617156_HDR_reduced.jpg
 
Thanks Andy. Actually, rather than using the DingoTone, I started off with a basic wood stain (Feast and Wilson?). Thinking was two fold: different stain and therefore a bit of a different shade of black, and also avoid having to work over the oil/wax base of the DT.

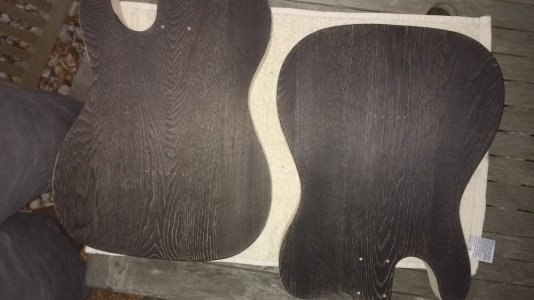
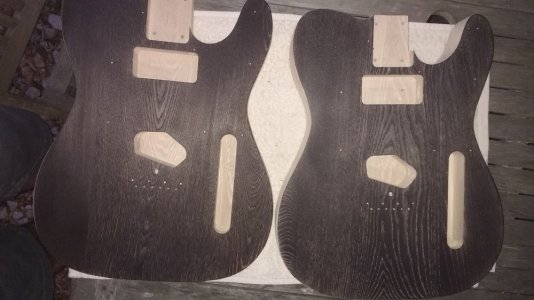
A lot more sanding this weekend to get the necks ready for their first coats; and applications of the first coats of DT all round. Here's how things are looking after that first application. Black stump has been applied very sparingly to the bodies in order to preserve the grain pop, scarcely a third of the bottle for the two of them:
IMG_20170318_183310794_reduced.jpgIMG_20170318_183332866_reduced.jpgIMG_20170318_183426628_reduced.jpgIMG_20170318_183438917_reduced.jpg

I think I'll probably go for another application of base stain on both bodies and necks before I move on to the intensifiers and top coats, but I'll see how things are looking next weekend before making the final call on that.
 
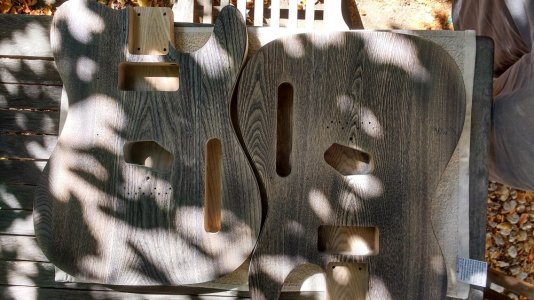
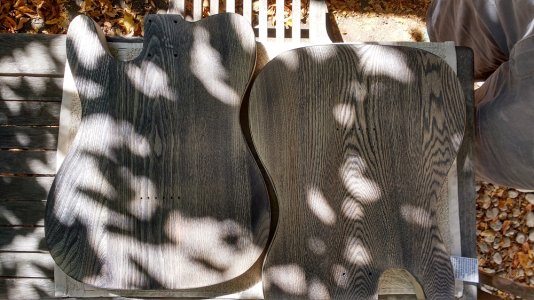
Another couple of coats of DT applied in the last 10 days. A bit an oopsy: I accidentally left a partial handprint on one of the necks when forced for carry the parts in from the garden when it started to rain. Some careful work with 2000 grit wet and dry and I was able to just about get rid of it. Here's the latest progress:
IMG_20170330_174619287_reduced.jpgIMG_20170330_174640704_reduced.jpgIMG_20170330_174705502_reduced.jpgIMG_20170330_174716336_reduced.jpg

Also working on a decal for the headstock, here's the prototype:
IMG_20170326_114602175_reduced.jpg
I also intend to attach the PBG decals to the back of the headstocks to indicate their provenance.
 
builds look great Rich ! Thought I was seeing double with 2 bodies and 2 necks then went back to the start and realised your doing 2 builds side by side. Love the grain in the headstocks looks tops. The logo should look great. Keep boxing on. Don't you hate it when rain forces you to rush and grab an uncured neck or body to get it out of the rain !
 
Thanks Wokka. Yes, I'm pleased with how they're coming up, and yes, always an annoyance! Hopefully, all of the finishing will be done by the latter part of the month before autumn/winter sets in here in earnest.
 
Back
Top