December 2015 Guitar of the MOnth Competition

adam

Well-known member
Enter your finished guitar here to be judged for Pit Bull Guitars December 2015 Guitar of the Month.

Please remember:


  • One guitar per member per month
  • It must be a Pit Bull Guitars kit (mods and upgrades acceptable)


We need at least 4 photos:


  1. full guitar shot from the front;
  2. close up of the body finish;
  3. shot of the back of the guitar; and
  4. close up of the headstock (please, no brand name logos)


Please post your photos in this thread. If you are having issues posting photos on the forum, please email them to adam (at) pitbullguitars (dot) com

Please note: This competition is open to amateur guitar builders only. If you are making and selling guitars for profit, you are ineligible.

Competition for December closes 30 November 2015.

Winner will be judged by the Pit Bull Guitars Judging Panel, including the winner of the November GOTM.
​
 
Hi

Might as well throw this in here...

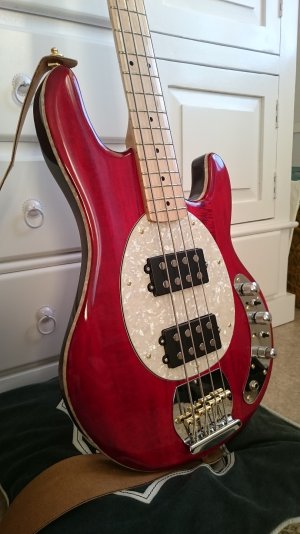
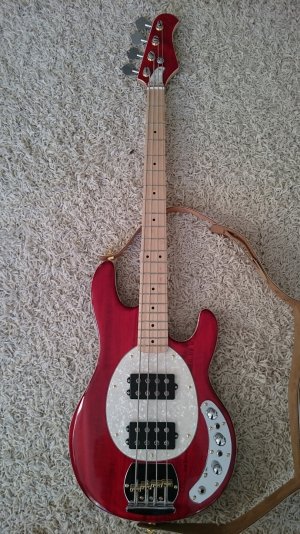
The name of the bass is "Medic Man" named after my job :)

The kit is PBG MMB-4 with following specs:

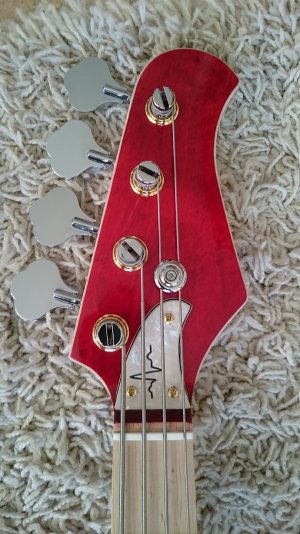
Neck and headstock:
- custom order for the maple fretboard
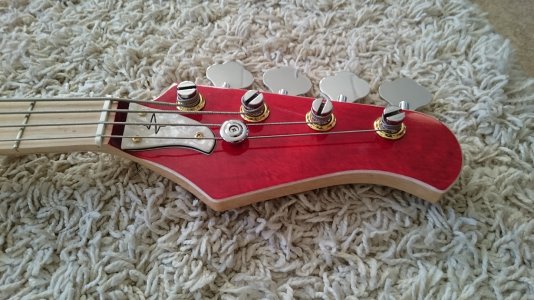
- golden ferrules for the stock tuners
- golden screws for the tuners
- binding on the headstock done by routing the channel freehand with a dremel and made a paste by melting pearl white binding in acetone - applying it in the channel and sanding it.
- bone nut filed to liking
- trussrod cover from scratchplate sheet, shaped with Dremel, ekg-decor done by engraving with a dremel until the middle layer of three-ply plate came visible. Golden screws.
- headstock finish done with Tru Oil and polished with car products ( poilishing compound and wax)

Body:
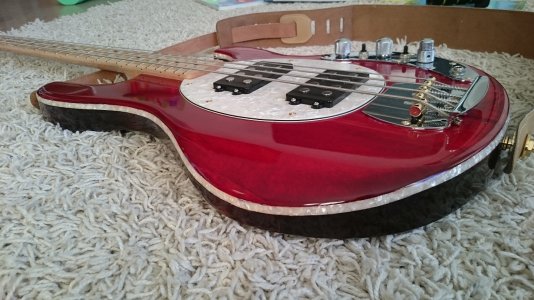
- color on the body done by mixing Bolger´s basic red water based stain and hint of Keda Dye "cole black". Same on the top of headstock. 3 coats total with slight sanding between coats.
- Binding done by freehanding the channel with Dremel (can´t recommend to anyone...) to hight of 9mm. Then putting a 6mm pearl white binding in by heating it in form first with a hair dryer, glued and rounding the top edges so that it gives a "fat" look on the top. Few visible minor cracks between binding and the wood filled with a paste done by melting bits of binding to acetone and then sanded smooth.
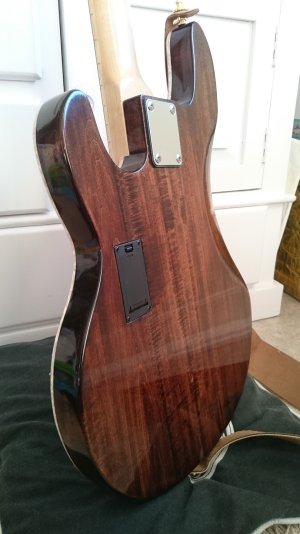
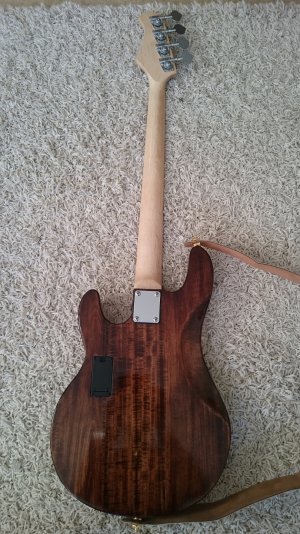
- color on the back and sides done with water based stain "victorian walnut" by a dealer in ebay UK - can´t find the label anymore. 3 coats total.
- Pearl white scratchplate
- Golden screws
- Stock bridge with golden saddles
- finish done with Tru Oil and polished with car products (polishing compound and wax)

Electronics:
- Artec SE-2A 2-band EQ preamp with concentric bass/treble pot and blend+volume controls
- added another humbucker (chinese). Stock humbucker was hotter than the one I ordered so ordered another one to match. These are both 6,34 Ohms per coil - totalling to some over 12 Ohms Humbucking. Cost about 13 AUS$ each :)
- added a on/on/on miniswitch for both humbuckers splitting the coils front/parallel/rear. Might try some other configuration later on but these are quite versatile at the moment.
- stereo jack for the "wake up" current whent plugging in
- had to make the stock cavity about 1mm wider in the jack end to fit the electronics
- pickup cavities and electronics cavity shielded with conducting aluminium tape

Intonates great. The G-string saddle is at the far most location at the moment but I have longer screws if necessary - still spot on at this point. Leveled the frets using a G&W notched fret ruler and self made leveling beam with sanding paper, crowned with a fret file and polished with wet sanding paper + polishing rubber.

String hight is at 2,5mm at the 12:th fret with the E-string and lower with the others.

Put on D´Addario´s 50-105 half rounds which are pretty nice to play after round wounds on my other basses and still give some more clarity than basic flats.

Here are some pics for you:

1.JPG

2.JPG

3.JPG

4.JPG

5.JPG

Continues...
 
beautiful build Arzi, well done you had some issues to sort out along the way and got them sorted. The colours you chose and upgrades really set this build apart
 
This entry from Janet, who was having issues uploading pics. Janet, if you see this, your images were way too big. You need to get them down to under 1000px on the longest edge.

Here's what Janet says about this build:

"Hi everyone
Have finished my RC-1 and my homage to John Lennon.
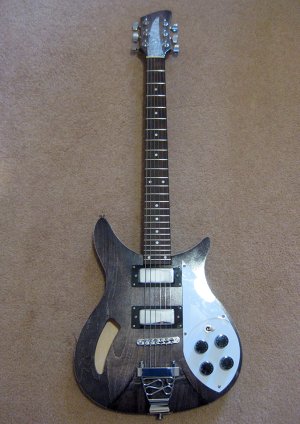
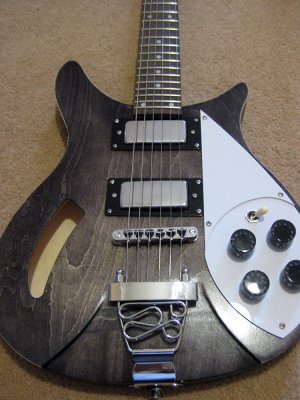
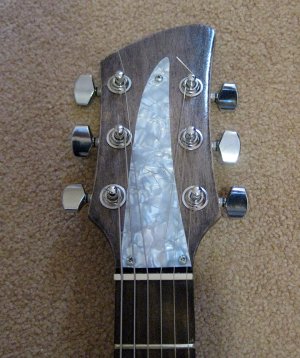
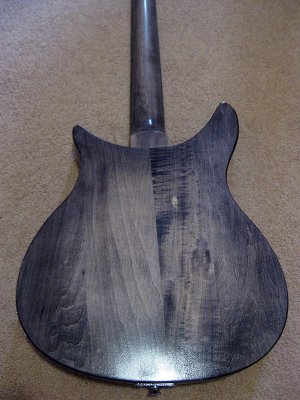
I finished my Pitbull RC-1 in Black Burst with custom made Truss Rod Cover.
Replaced the nut for a lower action and replaced the switch with a Gibson switch and it plays really well.
Did the set-up and sounds great with a Capo now. It has a lot of scope in the sound.
A special mention to my hubby Glenn who taught me to solder... was a lot of fun...

I think I'll be doing another guitar at some stage...:)
Ciao Janet"

Janet RC-1 01.jpg
Janet RC-1 02.jpg
Janet RC-1 03.jpg
Janet RC-1 04.jpg
 
well done Janet this is a cool looking RC-1, I'm sure Lennon would have been more than happy to play it
@ Ads you finally updated your avatar !
 
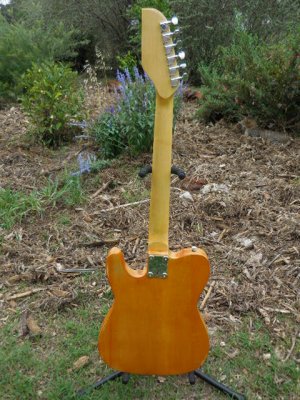
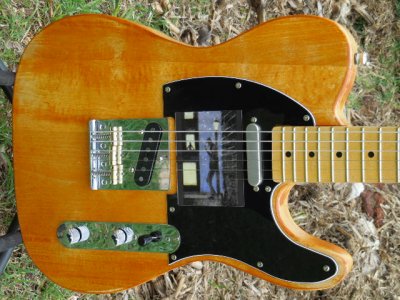
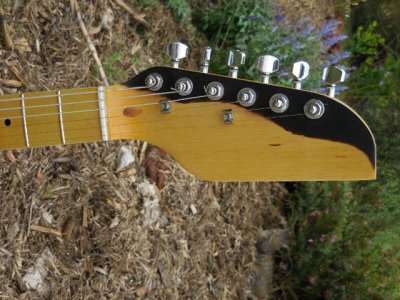
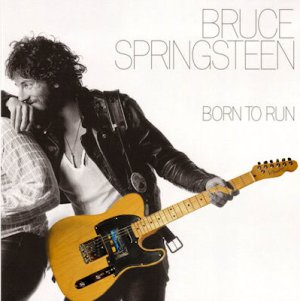
OK here I go again - 2 from 2. This months entry I call "The Boss". It's my tribute to Bruce Springsteens' guitar (see Born to Run). It has Mick Brierly flat wound late 50's pick ups and MUTSL or Man Under The Street Light. The version I used was the original, before Bruce upgraded his pickguard. His btw, is all black leather and carved and painted. I don't have that kind of $$ so I used a 1:1 scale sticker of it :) It has the usual swan headstock, so let see how divisive it is this month ;) I honestly don't mind the 'love it' or 'hate it' thing. That tells me I'm doing something new and unique. And that's what I want to do. Otherwise I'd buy a factory made one. And it supposed to look a little bit used. see close up pic, top half.
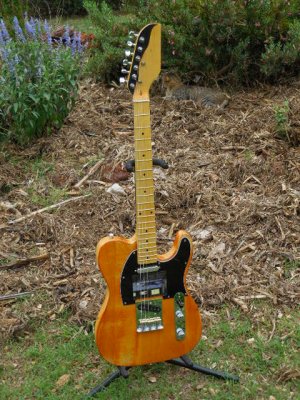
Front.JPGRear.JPGClose up.JPGHeadstock.JPG
 
Here is a colourised version of the guitar on the album "Born to Run" that I wanted to create a tribute of. BornToRun.jpeg
 
nice tele Ndroid and a cool tribute to the boss. The swan headstock is original looks cool.

What colour stain have you used ?
 
Thanks Wokka. What I did was spray 3 light mists of lacquer over the raw top, then sand with 0000 steel wire. Then I used a dilution of Butterscotch and Metho. I just went with a light colour dilution and kept on rubbing it on till it looked right. Then I applied just over 12 coats of lacquer. Sanded down, but not buffed or polished. That way it went with a matt look, adding to the slightly used appeal of it.
 
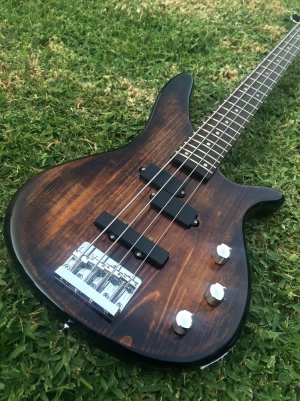
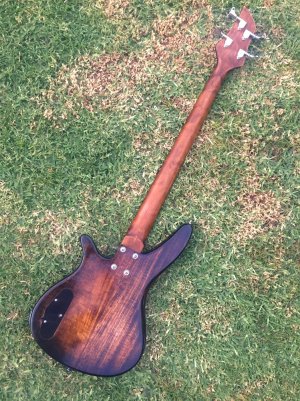
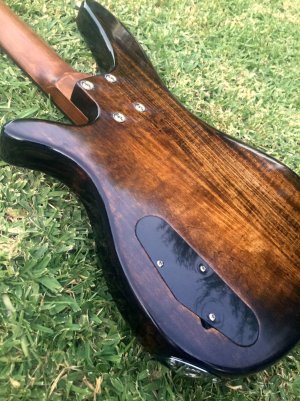
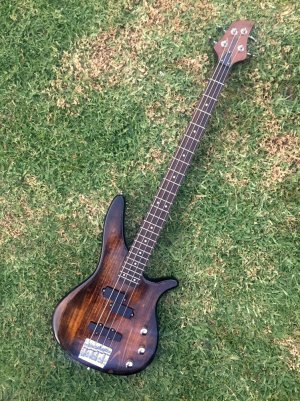
Here is my YB-4 kit.

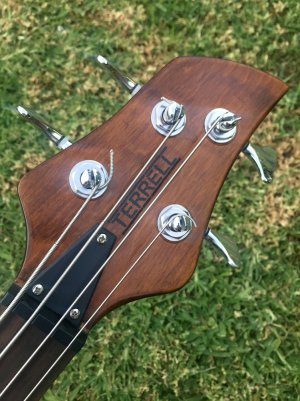
I used Japan black and Walnut stains in different layers and sanded them back to get the "rustic" burst. Top coat is clear enamel ( takes ages to cure if you spray too think.) All hardware is stock. Some mods i have done are subtle belly/forearm sculpting. i ditched the neck backplate and used recessed chrome ferrules, Looking back I wish i had sculpted the heel and actually redrilled the neck bolts. live an learn. As fares the neck goes i have stained it, i wanted a blackwood type colour. I'm happy with the stain. I shortened the headstock and printed up a waterslide decal with my dodgy logo. I fully shielded the body cavities with copper tape.

Im really quite surprised by the action and playability. i haven't even adjusted the truss rod, or levelled the frets or anything but it actually plays pretty well. yes it could play better but I'm just giving the thing a while to really settle. previous kits i have used had "dried out" after a couple months and changed quite a bit.

FullSizeRender-1.jpg

FullSizeRender-2.jpg

FullSizeRender-3.jpg

FullSizeRender-4.jpg

FullSizeRender.jpg
 
Back
Top