Page 1 of 20 1 2 3 11 ... LastLast
Results 1 to 10 of 196

Thread: Simon's Super Strat Scratch Build.

  1. #1

    Simon's Super Strat Scratch Build.

    *EDIT*
    If you want to check out my video build diary, please go here:
    .
    Do remember to "like" and subscribe to my channel because I'll be updating frequently.

    Try saying the title 10x together.

    Hi guys, I've decided to build my own strat-style guitar from scratch. Also, I'm not sure if this is the right place to post because it's still a build diary but not a PitBull kit. Moderators please move it if it's not in the right place. Thanks!

    I've built a few kits in the past, refinished some guitars and also built two EVH tribute guitars with all the relic work. My latest project was the Kramer 5150, in which I had to do extensive modifications to the body to get it to the right shape. Hence, I have some experience with guitar building, especially with finishing and wiring.

    So I decided to take a leap of faith and build a guitar from scratch. The plan will be to do a natural finish with a 22 fret HSH, strat-style guitar.

    My choice of wood:

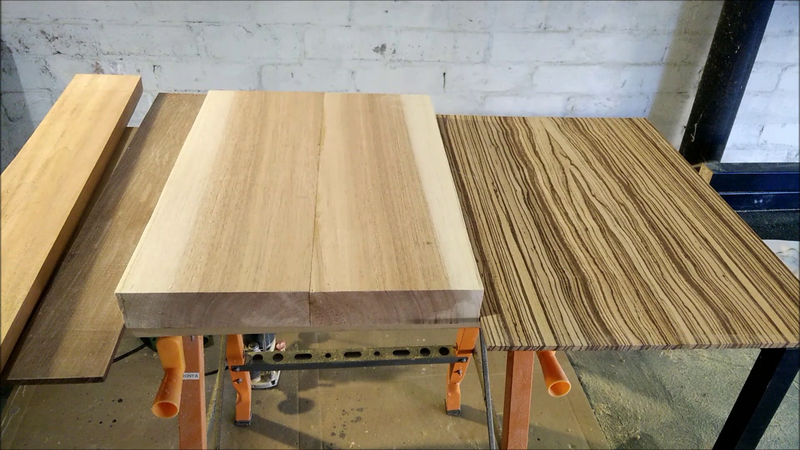
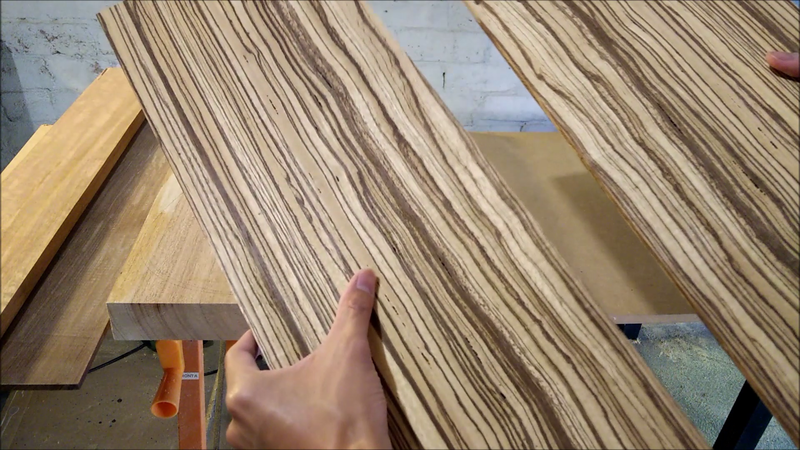
    From left to right: QLD maple neck blank, QLD forrest rosewood, two-piece QLD maple body blank, and 7mm bookmatched zebrano for a drop top.


    The figuring on this zebrano is insane! I got it from Anagote Timbers in Marrickville, NSW for only $40. I recommend Sydneysiders to check them out if you want to source local timber.


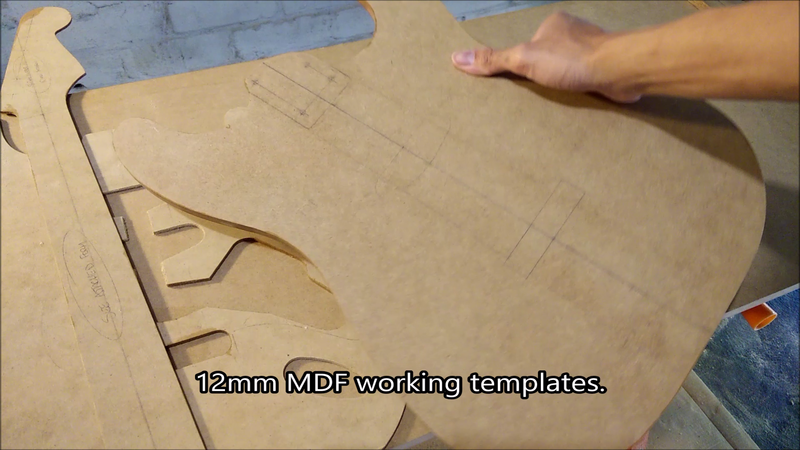
    These are the working templates made of 12mm MDF. I modified the heel joint for better access to upper frets.
    Last edited by SIMpleONe89; 30-04-2016 at 05:30 PM.

  2. #2
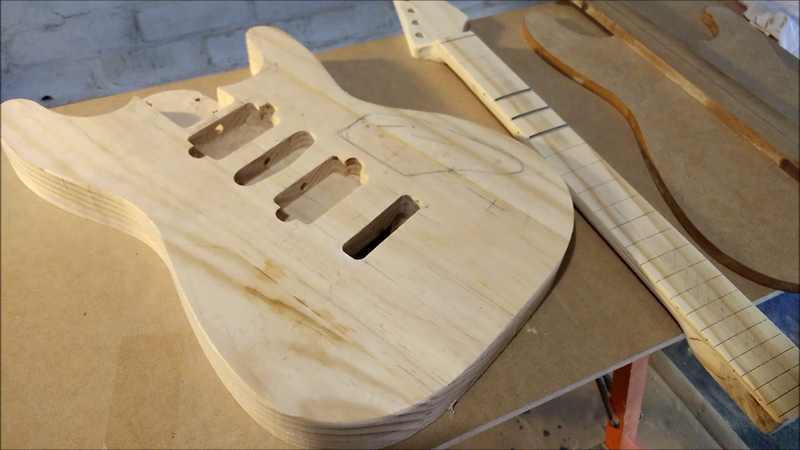
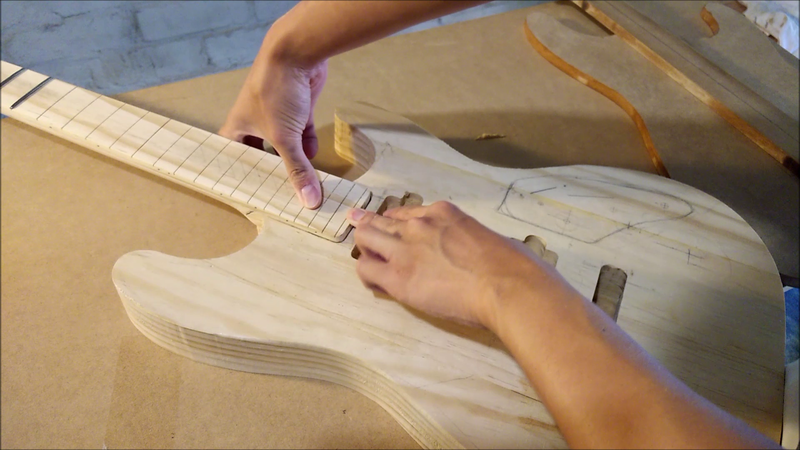
    To make sure I didn't ruin the beautiful timber, I practised on some pine bought from Bunnings. The total cost of all the pine wood was about $60, 5x less than the actual timber.


    Pine is really soft and easy to work but that's why they aren't used in guitars, especially in necks.


    The neck and body together.

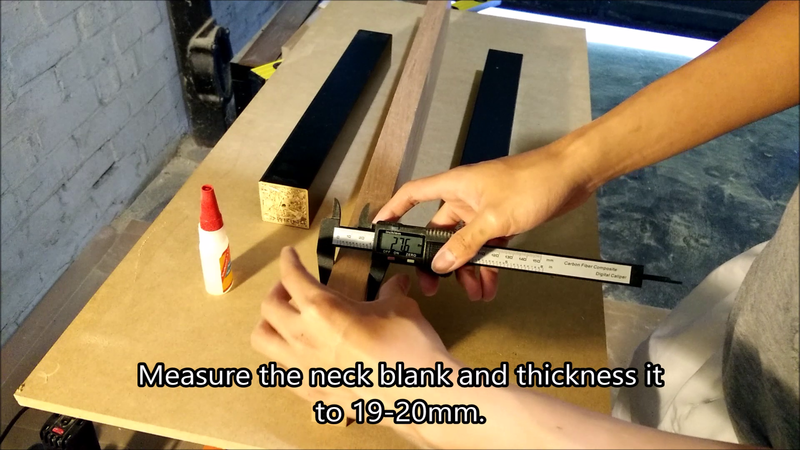
    And now we can begin working on the proper guitar. First off, I had to thickness the neck blank down to the standard 19mm.

  3. #3
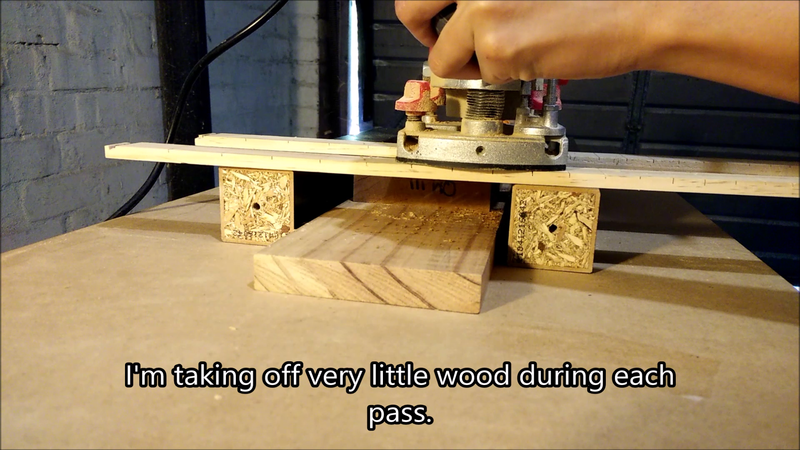
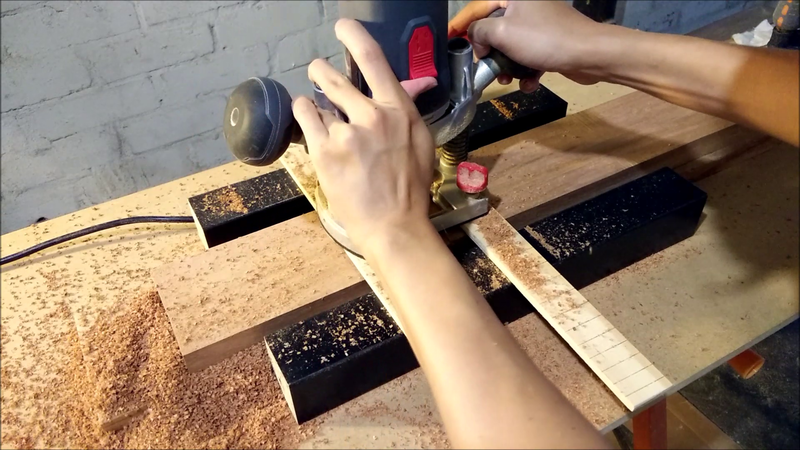
    Since I don't have a drum sander or thicknesser, I used a router sled to take off the excess wood, from about 28mm to 19mm. This took three passes in all.


    I had to keep checking with a level beam that it is flat.

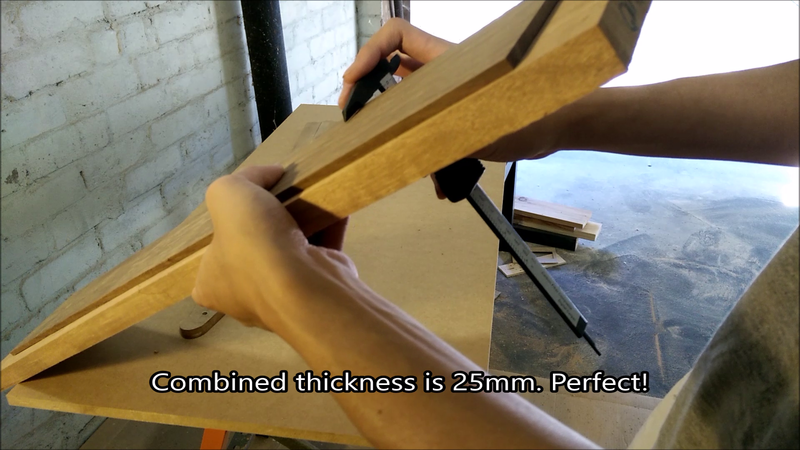
    I also thicknessed the fretboard to 6mm. I need to get a combined thickness of 25mm.

    I check that there are no gaps in between. Both pieces are totally flat.

  4. #4
    Once I'm happy with the thickness of the neck blank, it's time to route the truss rod channel.

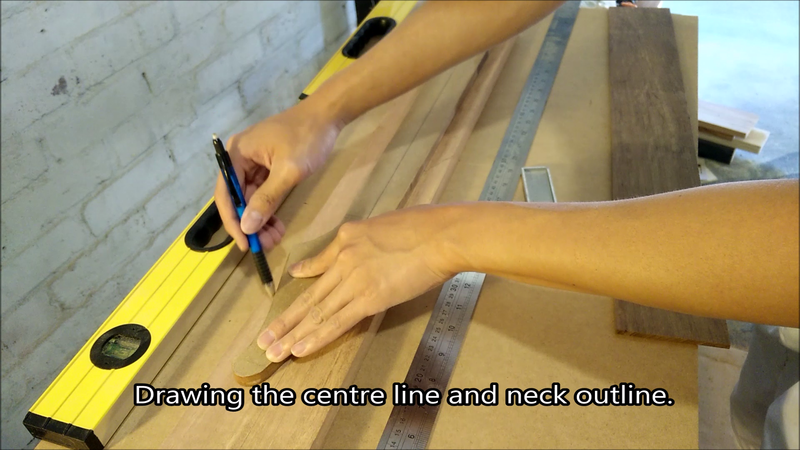
    I started by drawing a centre line, which is perhaps the most crucial line in guitar building ever. Then I traced the outline of the neck template, after making sure the centre lines matched up.


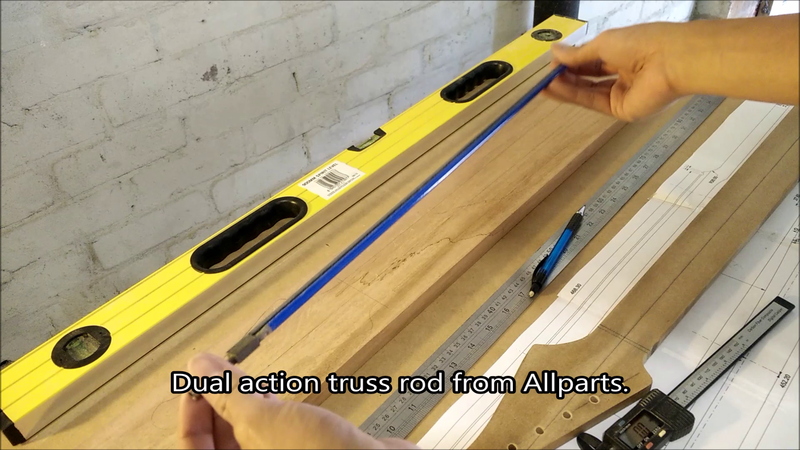
    This is the truss rod I'm using. I got it from RealParts.com.au and it's an Allparts truss rod. Really nice, slim profile unlike the ones FEnder use.


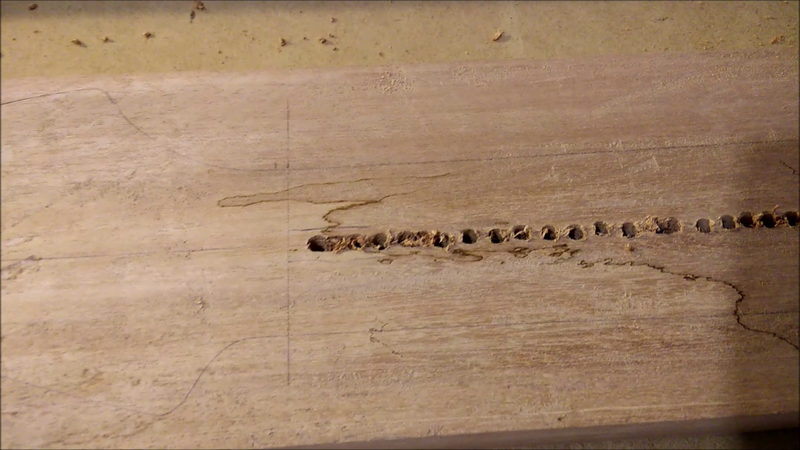
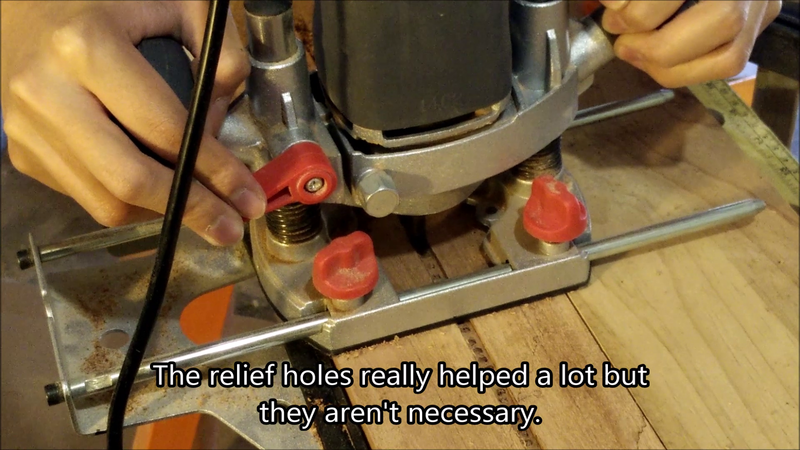
    I then drilled some relief holes along the truss rod channel. These will help with the routing.

  5. #5
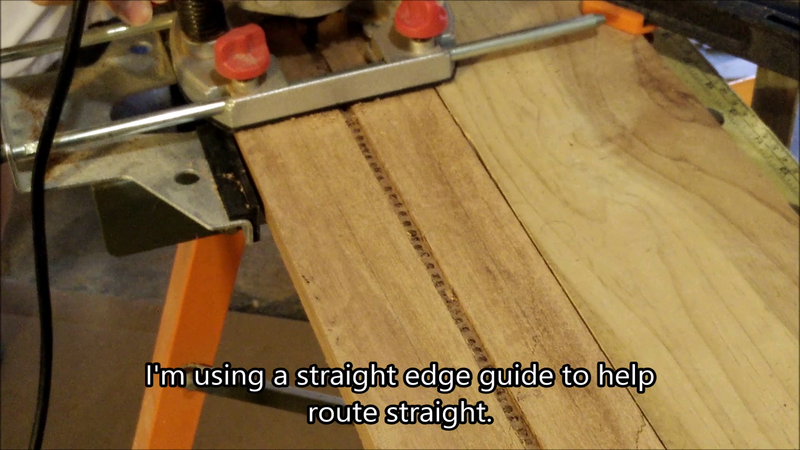
    Using a straight edge guide, I then routed the channel with a 1/4" router bit. The depth of the truss rod had to be just above 9mm.


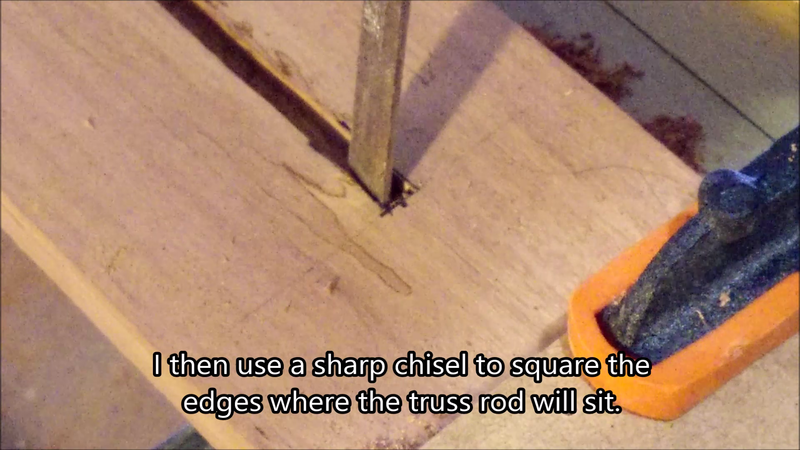
    I then used a sharp chisel to square the ends where the truss rod tips will sit.


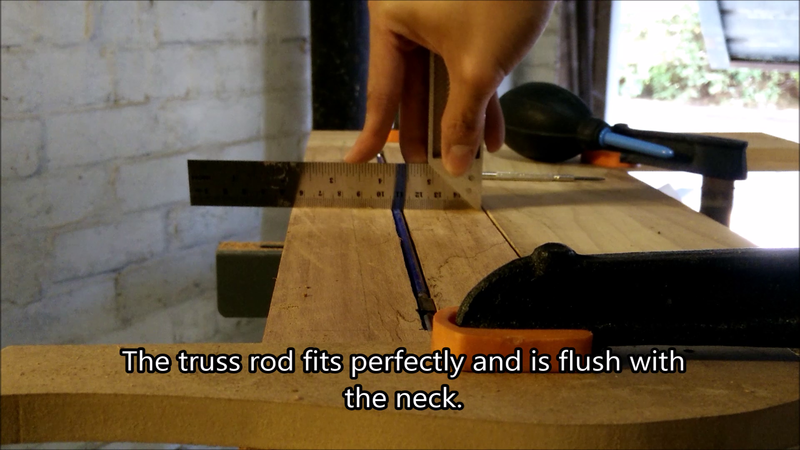
    Then I test fit the truss rod and it's snug as a bug.

  6. #6
    Overlord of Music andrewdosborne's Avatar
    Join Date
    May 2014
    Location
    Sydney, NSW
    Posts
    2,751
    Nice project Simon. I'll be watching this one closely and like the proposed timbers for this build. I'll be taking the leap of faith soon into a scratch build. I have the plans. Now need to make the templates...
    Current Projects
    #Planning 5 String Bass

  7. #7
    Quote Originally Posted by andrewdosborne View Post
    Nice project Simon. I'll be watching this one closely and like the proposed timbers for this build. I'll be taking the leap of faith soon into a scratch build. I have the plans. Now need to make the templates...
    Go for it! It isn't as scary as you think!

  8. #8
    Member DaveyCustom's Avatar
    Join Date
    Feb 2016
    Location
    Boston, MA
    Posts
    184
    Very nice! I love that wood youre using as a top.. never seen anything like it..

  9. #9
    Moderator dingobass's Avatar
    Join Date
    Sep 2012
    Location
    Perth
    Posts
    4,491
    Great stuff!
    Glad to see you do a dummy run first... Always nice to be certain the templates are correct before attacking nice chunks of tree..
    Really nice choices of timbers too, QLD Maple is always a nice timber, especially when you score some quarter cut chunks

    One pro tip though, make sure the top timber and body timber are matched for moisture content.
    Last thing you need is for the top to be different to body as it can do some funky things as the two timbers balance out... I have seen centre joins open, tops split and also de lamination occour through mis matched timbers.
    (You can get a moisture meter for around the $50 mark)

    There is always a workaround for glitches, mistakes and other Guitar building gremlins.....

  10. #10
    Quote Originally Posted by dingobass View Post
    Great stuff!
    Glad to see you do a dummy run first... Always nice to be certain the templates are correct before attacking nice chunks of tree..
    Really nice choices of timbers too, QLD Maple is always a nice timber, especially when you score some quarter cut chunks

    One pro tip though, make sure the top timber and body timber are matched for moisture content.
    Last thing you need is for the top to be different to body as it can do some funky things as the two timbers balance out... I have seen centre joins open, tops split and also de lamination occour through mis matched timbers.
    (You can get a moisture meter for around the $50 mark)
    Wow that would be terrible! Thanks for the tip DB!

Page 1 of 20 1 2 3 11 ... LastLast

Posting Permissions

  • You may not post new threads
  • You may not post replies
  • You may not post attachments
  • You may not edit your posts
  •