Page 1 of 3 1 2 3 LastLast
Results 1 to 10 of 21

Thread: Tele -style headstock

  1. #1
    Got around to doing the headstock today, after clearing some gutters. I swear, the previous owners of this place never did any maintenance. I filled my barrow three times with all the dead leaves, dirt and matted fibrous matter from just one side of the house. But I digress.

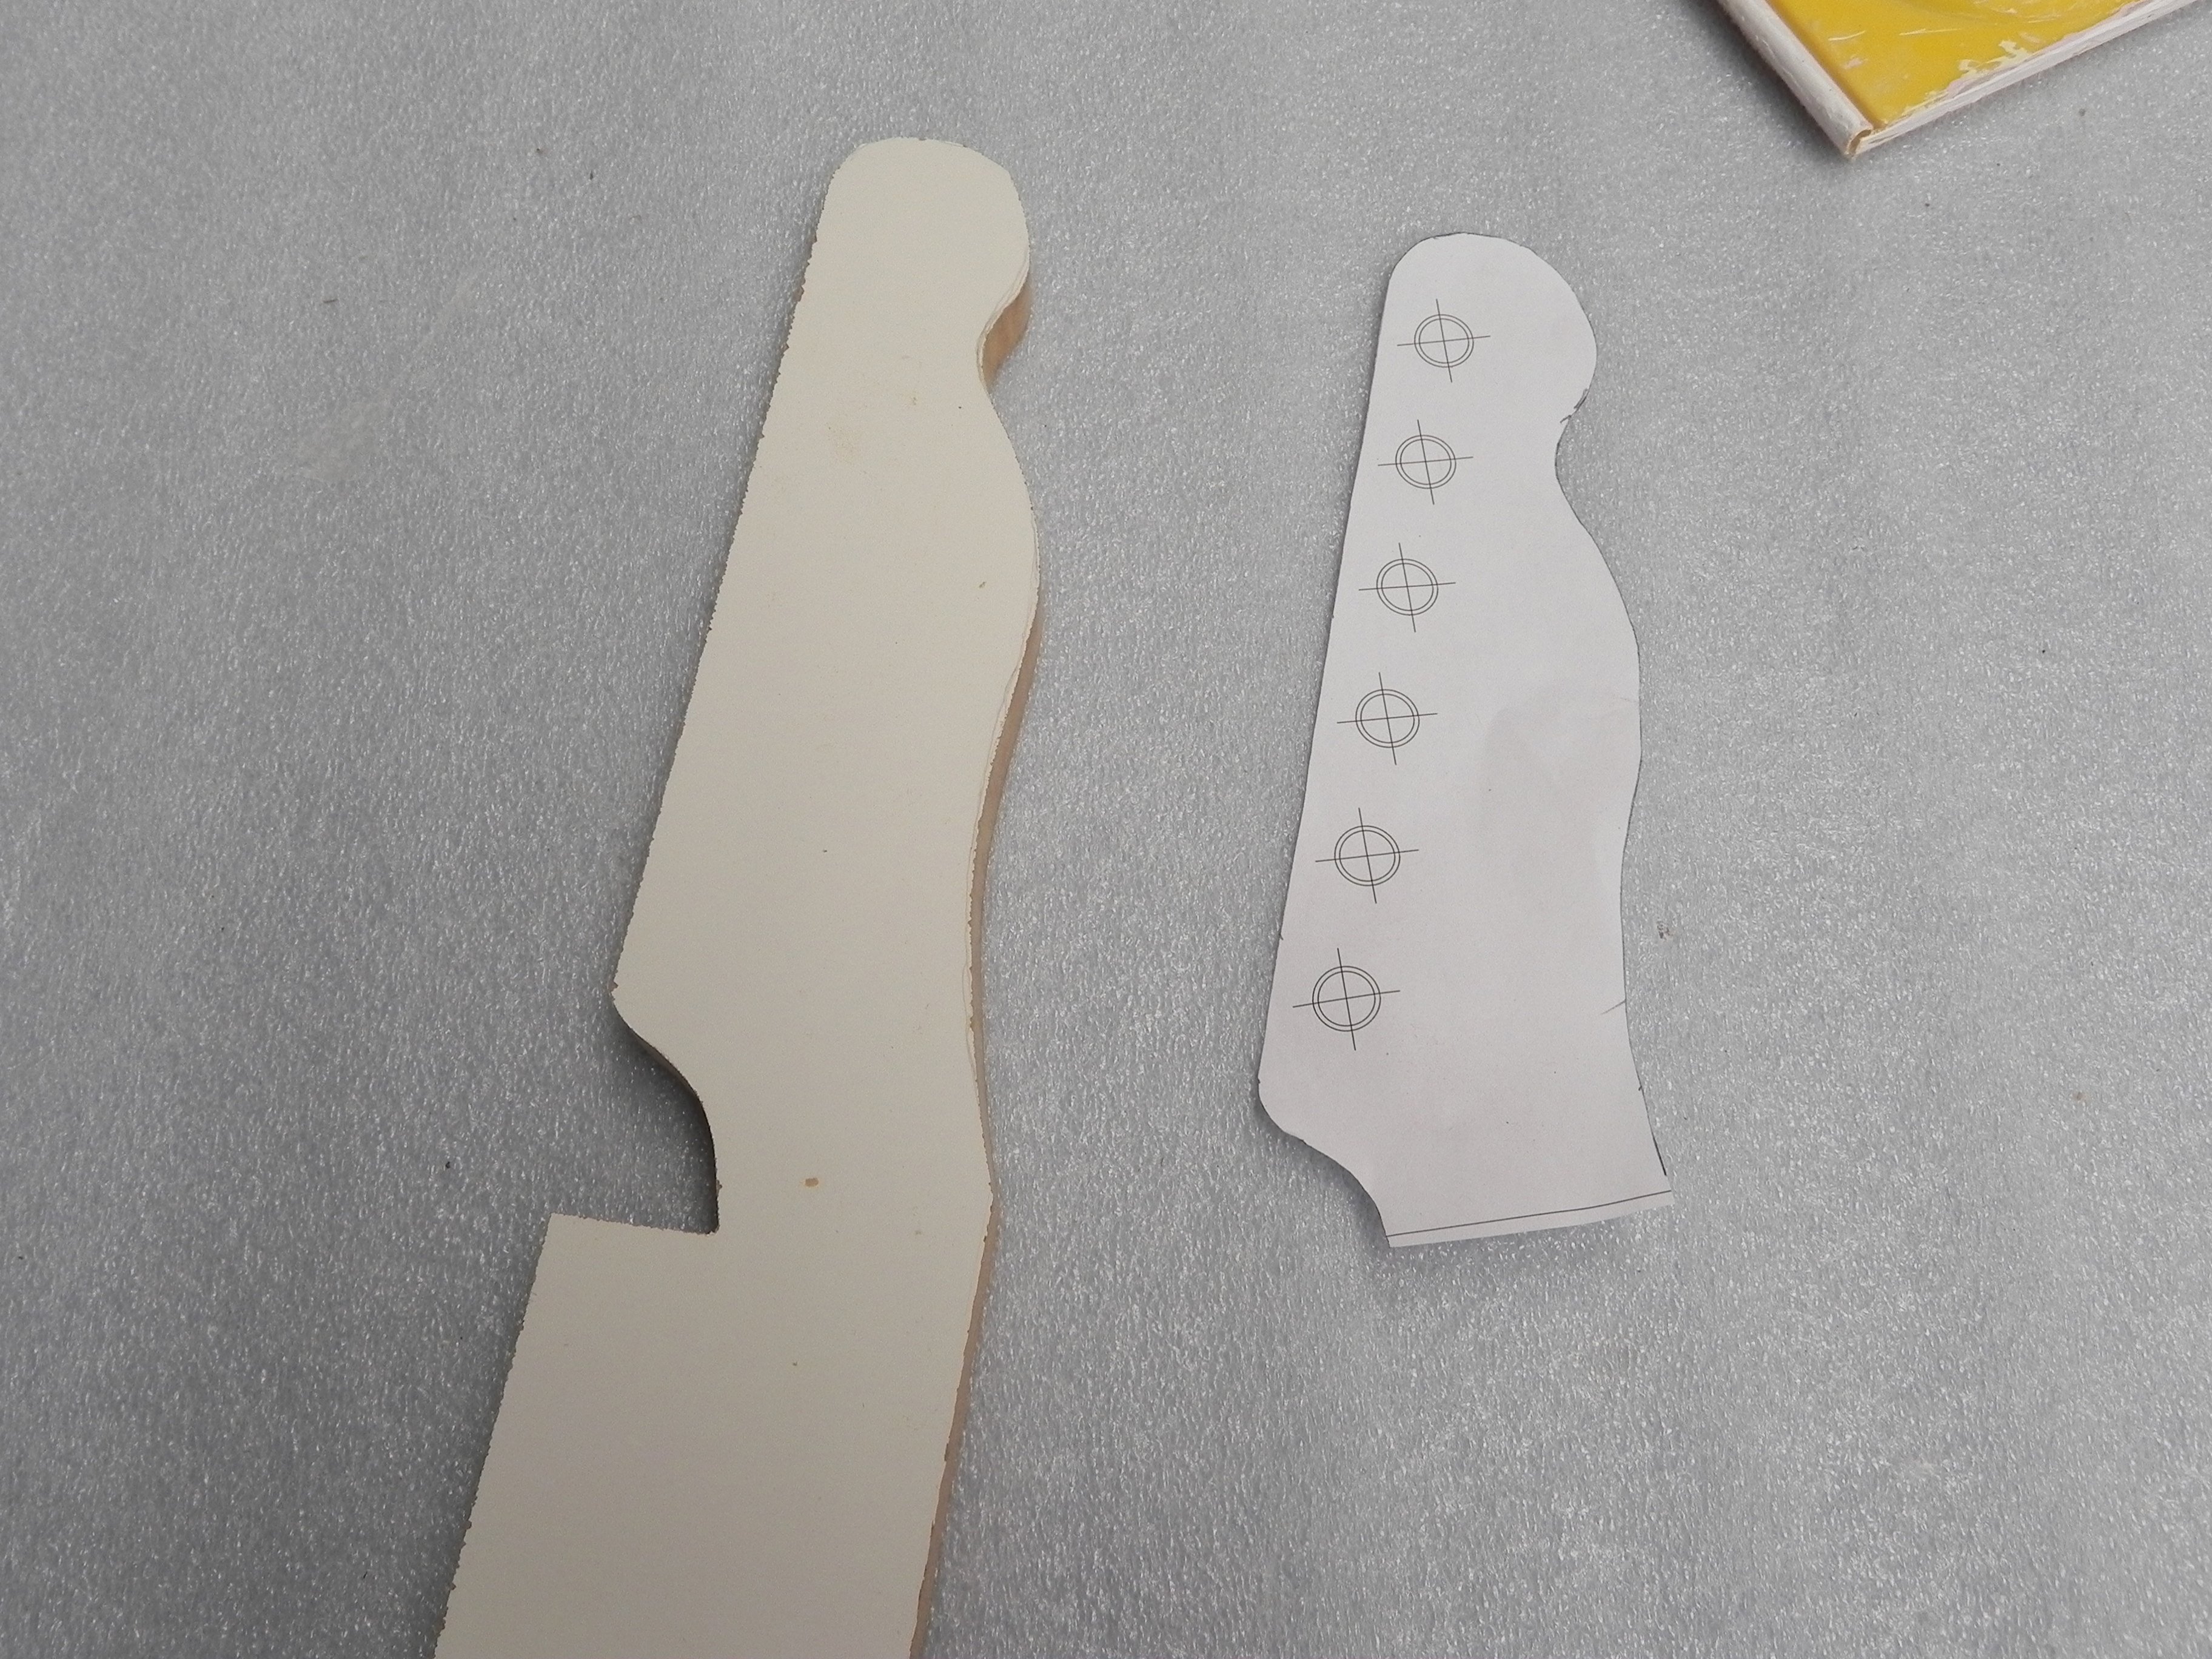
    Having never shaped a headstock before (and with some advice from this forum) I did a practice cut on some laminated wood stuff I had sitting around. This was informative, in that it taught me the benefit of sawing a number of straightish lines to make a curve, instead of trying to force a jigsaw around too tight a turn.


  2. #2
    I got the template off the interwebs - in fact, from the pdf that Pablo put up on the "Fender style" thread. I chose the particular shape because it had the shallowest curves. Trying to keep it simple, here! Okay, it would've been simpler to do something with straight lines, but I also wanted something authentic.

    So I traced the shape onto the kit headstock and we're ready to rock.


    What the trained eye will see here, but I didn't until I got there with the power-tool running in a hot slot, is that the guide plate on a jigsaw won't allow you to finish the cut on the bottom edge, because of the transition curve up to the nut. Once I worked out what was going on I backed up and took a left turn, to the edge, and finished the cut by coming in from the nut end with a little hand saw.

  3. #3
    Moderator dingobass's Avatar
    Join Date
    Sep 2012
    Location
    Perth
    Posts
    4,491
    Looking good Glenn

    There is always a workaround for glitches, mistakes and other Guitar building gremlins.....

  4. #4
    Moderator Gavin1393's Avatar
    Join Date
    Sep 2012
    Location
    Mindarie, Western Australia
    Posts
    3,152
    Looking forward to seeing it all shaped up! Always good todoa practice run, builds confidence! You will stil likely be as nervous when you cut into your headstock for real except now you have the expectation of the (good) result!
    http://www.buildyourownguitar.com.au/forum/image.php?type=sigpic&userid=1258&dateline=1443806  448Gavmeister

  5. #5
    Steady fellas, you're gonna love what comes next ...

    Also, I still had to cut the indented curve a bit shallow, because the jigsaw blade just wouldn't make the turn.


    So, from this point I got out the rasps and sandpaper, to bring the shape right in to the template.

    The template also came with the reverse shape, including the transition shape, and I decided to take that on too.

  6. #6
    Moderator dingobass's Avatar
    Join Date
    Sep 2012
    Location
    Perth
    Posts
    4,491
    Wow, Glenn Is going right off!

    Great work Mate, good to see you have the confidence to go the whole hog with your head stock.

    There is always a workaround for glitches, mistakes and other Guitar building gremlins.....

  7. #7
    Here you can see the reverse side of the headstock, and at the left hand end, you can see the difference between the template and the original transition. I'd already started with the rasp when I took this pic, as you can see.


  8. #8
    Here's a close up of the worked reverse of the headstock, prior to sanding. I think I have a bit to learn about using rasps, there were a couple of really deep grooves in this work that took a lot of sanding to remove! However, I got the shape I was looking for.


    ... and it did clean up nicely.


  9. #9
    So, the finished product, ready for Wudtone:


  10. #10
    Quote from GlennGP on January 27, 2013, 14:23
    So, the finished product, ready for Wudtone:


    Looks fantastic Glenn! Kudos for going the whole hog on the design, you're a braver man than me!

Page 1 of 3 1 2 3 LastLast

Posting Permissions

  • You may not post new threads
  • You may not post replies
  • You may not post attachments
  • You may not edit your posts
  •