Was able to *mostly* make the pickup rings today. This was my 2nd attempt. The first was a failure that emphasized why, of all my tools, I fear the routers the most. I screwed my template to a piece of maple. The rout is for a lipstick tube that is about 5/8" wide. So I used a 1/2" forstner bit to clear out wood from the center of the template, to make it easier for the router...
...but not enough material. My router bit is on the large size (1/2") which was too close to the same size as the fortner bit I used to remove material. Add that my piece of maple was quite thick (3/4"). All I heard was "wham!" You can see the result. It actually bent the screws that were holding the template in place.
2nd go round went much better. First, I drilled two starter holes at each end of the template that were 5/8", the removed most of the rest with the 1/2" forstner bit. Had to be really careful because the template is only a hair wider than 5/8. I started the router in one of the 5/8" holes, and then removed material VERY slowly being careful not to let the router bind.
This time it went smoothly, and I got a good rout. Man maple is hard!
Next step was stand the maple board on one end and remove 5/16" of the material out of the middle of the 3/4" side of the maple chunk. That was slow and smoky on my cheap little table saw. After that I just cut the four sides to the right dimensions.
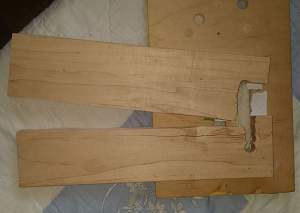
I still need to sand the bottoms of the rings to fit the curved top of the guitar, here's more or less how they'll fit:

Keeping fingers crossed that I don't break anything during the sanding phase!


 Reply With Quote


