I will post some pics of my routing jig tomorrow, that will help you flatten the sawn surfaces and machine the scarf angles as well 😉


I will post some pics of my routing jig tomorrow, that will help you flatten the sawn surfaces and machine the scarf angles as well 😉
There is always a workaround for glitches, mistakes and other Guitar building gremlins.....

Oh I think I know what jig you're referring to. The scarf joint jig with 2 triangles and a flat base. Thanks!Originally Posted by dingobass


Holy carp!(who did I steal that from?) This is going to be schmick! (Is that right?) Im trying here! Cant wait to watch this unfold!
Dave Henry
Davey Custom Guitars
PBG kits
#1) RCA-4 "Kilmister One" April 2016 GOTM winner

Simon... you're making us mere mortals feel VERY inadequate!
first build PRS-1TS in progress...
http://www.buildyourownguitar.com.au...ead.php?t=4937
second build PRS-1Q in progress...
http://www.buildyourownguitar.com.au...ead.php?t=4956
Not forgotten pics, Simon.. Editing them now so stay tuned 😜
There is always a workaround for glitches, mistakes and other Guitar building gremlins.....
Quite a simple device made from 12mm MDF.
Key points are the top edges need to be square and parallel.
As you can see, I cut two openings for clamps and two blocks that fit snugly inside.
The blocks allow you to set the depth of timber.
Also, as the blocks can be set and clamped at any angle you can fix the blank so as to be able to machine a nice neat scarf or to dress the face of the headstock.
Also, after you have glued your laminate you can machine the uneven side flat.
Flip it over and repeat.
Like I said, a simple jig that can be modified easily to do a heap of jobs.
Last edited by dingobass; 05-05-2016 at 02:42 PM.
There is always a workaround for glitches, mistakes and other Guitar building gremlins.....
Thanks DB! Wow that jig is even simpler than I imagined. No need to measure any angles, just straight pieces. I like it!
Thanks guys. No Muzza that's not the idea!
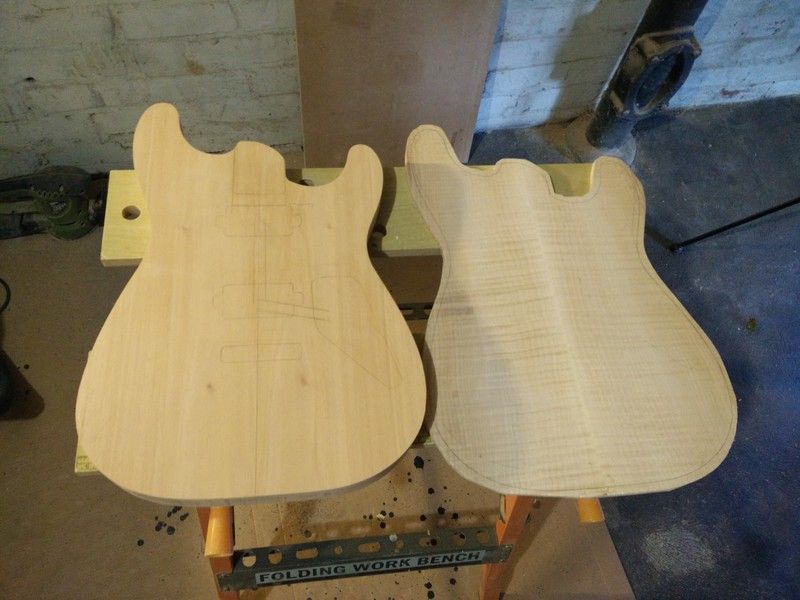
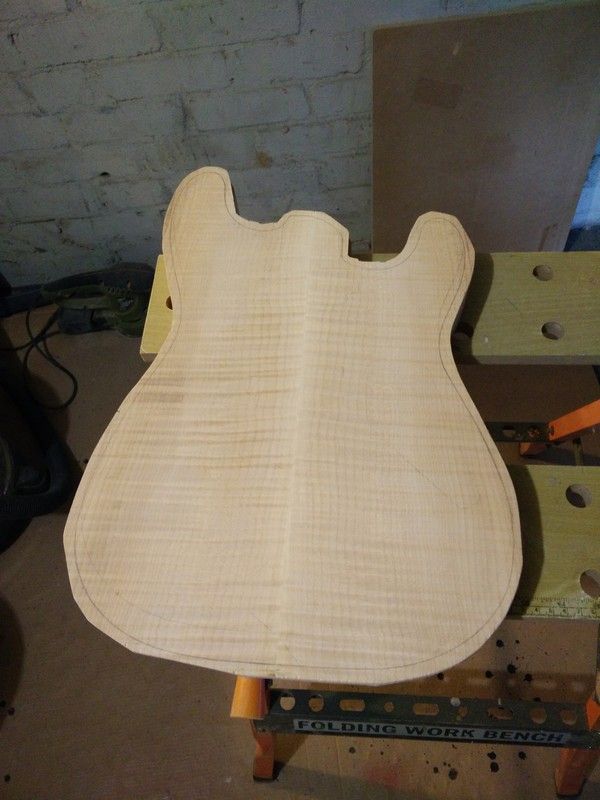
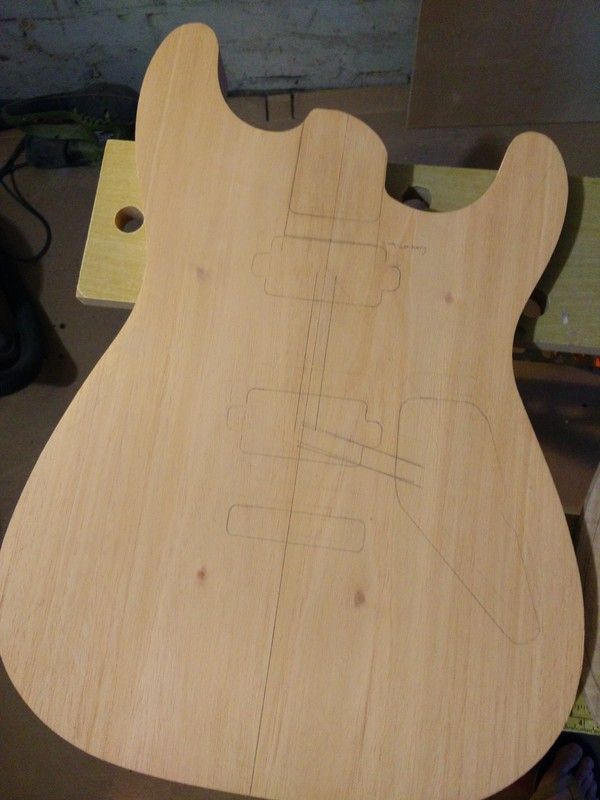
More progress. Managed to route the body to shape and cut out the maple top. I left a lot of meat for the top because I want to make sure it doesn't slide off centre like last time. I'll be using alignment screws, one in the neck pocket and one in the tremolo cavity.
I'm still thinking if I should route the channels for the pickup wires. I'm still thinking if I should do a 22 or 24 fret neck and I haven't received my truss rod yet so the neck has to wait.
Meanwhile, I've let the top rest after cutting it. And I'll get more clamps so I won't get an ugly glue line.
Progressing nicely ☺
Now, with your next build there are a few things you could do differently to make life easier.
First, make a template with neck and pup routs.
Then rout everything into the body blank before slapping the top on. This gives some wriggle room if the template or top moves (been there, done that, filled three swear jars in one session of tourettes)
Then it is a simple matter of dropping a few holes in the top and routing.
With the wire channels all you need to do is cut a couple of small blocks that fit so you can block the ends so the bottom bearing on the router doesnt follow the groove and cause even more swearing and chucking of bodies, tools, mobile phone and cat at the neighbours roof. (Wrap the block in grease proof paper so you can remove it later, otherwise this can have the same effect)
Now you can cut the shape and all will be good.
His method is also highly recommended if you are going to do a carved top..
Last edited by dingobass; 05-05-2016 at 04:29 PM. Reason: Stupid fat fingers....
There is always a workaround for glitches, mistakes and other Guitar building gremlins.....
Haha I saw the reason for your edit! Fat fingers?
Thanks for that DB. I already have my templates ready to go. Would it be a good idea to do the control cavity too? I'll probably hold off routing the pickups first because I may do a 24 fret and I'll have to re-measure the neck pup cavity.
 Posting Permissions


 Reply With Quote