That bought back some memories..
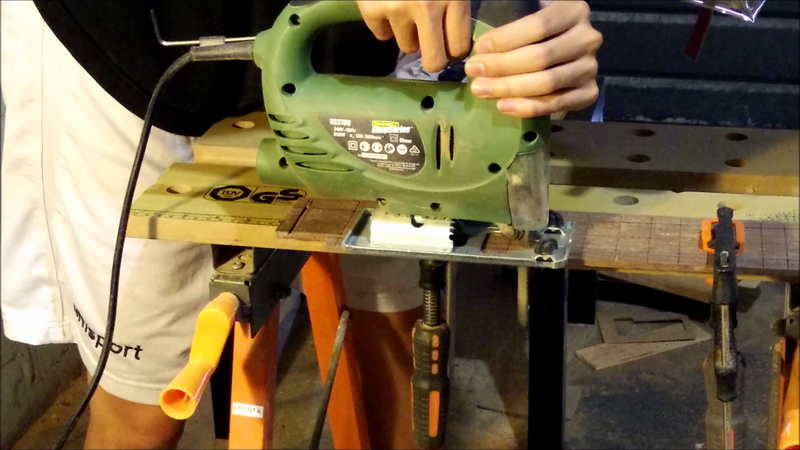
The very first build I did was with a jigsaw, munted old chisel, a few rasps and an ancient router that had a mind of its own.....
Still got that Bass and some days I think it is one of the best I ever built.. A lot can be said for doing stuff the old fashioned way, it brings you closer to the build and more of your self comes out as a result.
No CNC machine will ever build passion into a Guitar.


 Reply With Quote