Hey Everyone, Im Ollie, starting my first build and I couldnt be more excited to get stuck into it in iso! Got a little bit of background knowledge being an apprentice chippy, but definitely thrown myself into the deep end by doing my own guitar. Read and watched a few things around the web to understand the basics but got a few queries a bit more specific to my build. Anyway, Im in set up and sanding processes.
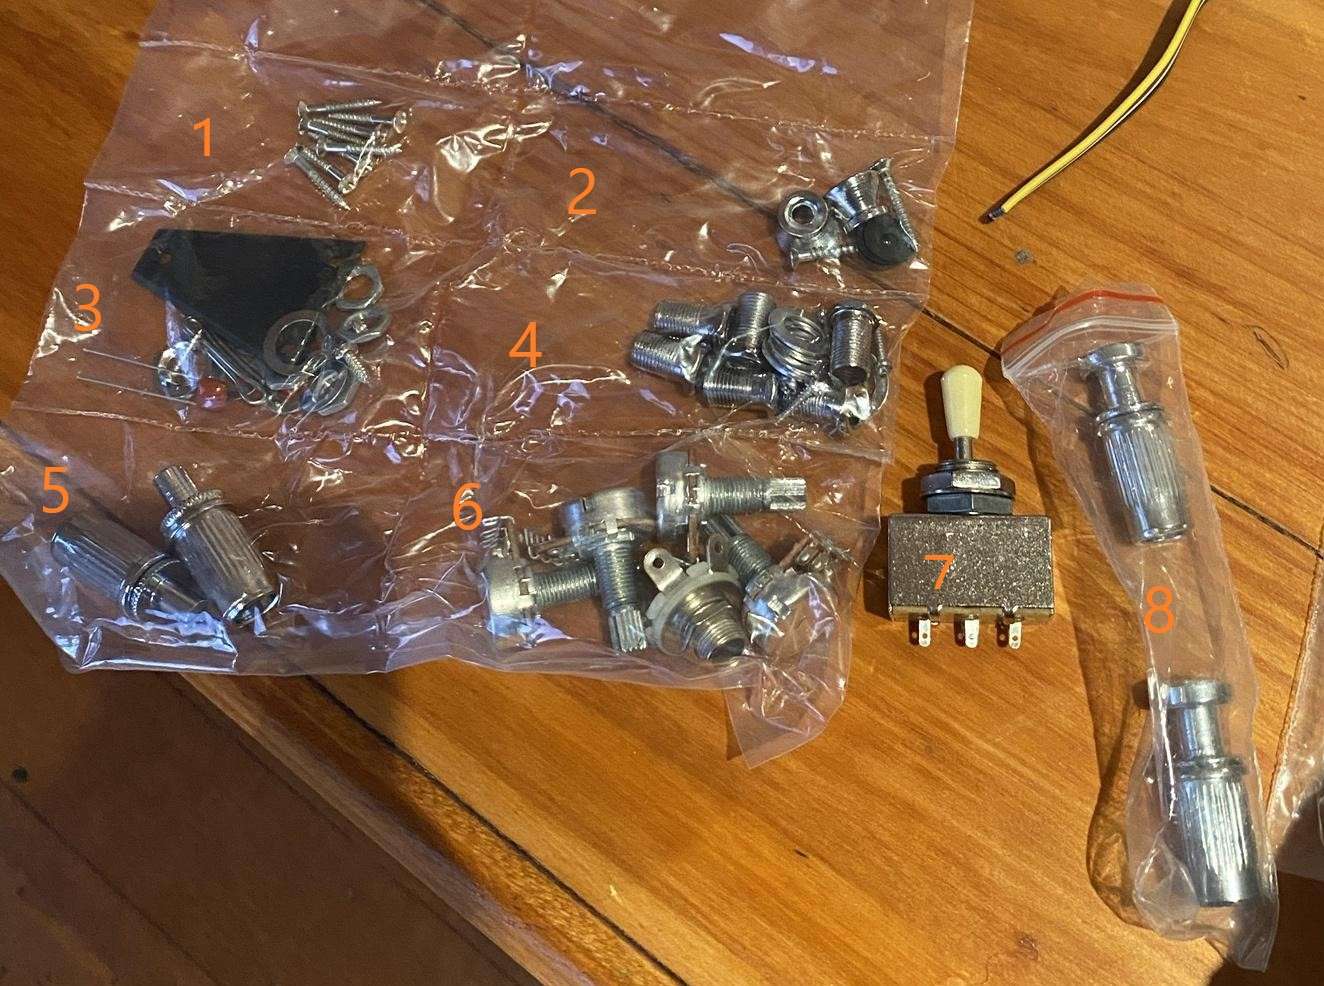
Roughly lined everything up on the body in the dry fit. Would love a bit of input on where things go and which way, seems like theres a spare hole after lining up the knobs and having a spot for the switch. Not sure what its for and also would like it if someone could give me a hand just identifying some of the bits and bobs. Got an idea what most the parts are but if someone could just label the bag that would be heaps easier for me
Testing the neck out and having a closer look at it, looks like there has been some timber flake off in the routing process. Upon fitting, my rough sight notices that the angle isnt affected but there is a small gap on the left side more so under the last fret so Im not sure if its something to worry about now or just keep in mind later on for something. I understand that the pocket also needs a little tidy up too.
On the back of the neck at the join, Im not sure whats going on here but I can see that theres a layer between back of neck and the light outside edge of body(term for that?). It looks like its sort of just flaked a bit. Will many coats of oil fill in that or is there like a type of bog to go in there that can be oiled or something?
Signs of glue around the openings in the body but its a spalted maple top so Ive read that sanding the veneer is a big no no. I thought maybe a high grit like 1500- 2000 could get it but would like to check on with other people. Theres also some sort of machining line from the opening to the edge that I feel like might show up more after an oil so Im not sure whether or not its worth trying to get out.
Read and watched a lot on oiling the body but havent heard much about the neck in regards to the fretboard. Its already smooth and what I think is finished. The back obviously needs a touch up but not sure if the actually fret board is something that gets a coat or not. Was planning on just matching the amount of coatings I put on with the neck so down the sides of the neck theres no difference in tone
With the gluing and joining, is it easier to oil the neck seperate to the body and then glue it in? Not sure how the glue fares on oiled timber. Also got a bone but to put in. if I put that in before I oil, Is that going to absorb oil?
https://imgur.com/gallery/s7fcXwL
https://imgur.com/gallery/tzOcm5L
Cheers to anyone that can chime in with any info and thanks for having me!


 Reply With Quote