That bridge plate is also a string through from on top so no need to re-drill string through if you don't want to.


That bridge plate is also a string through from on top so no need to re-drill string through if you don't want to.
# 1 - EX-5 https://goo.gl/fQJMqh
# 2 - EX-1 https://goo.gl/KSY9W9
# 3 - Non PBG Tele https://goo.gl/W14G5g
# 4 - Non PBG J Bass https://goo.gl/FbBaFy
# 5 - TL-1AR GOTM Aug 2017 https://goo.gl/sUh14s
# 6 - MMB-4 Runner-up GOTM Oct 2018https://goo.gl/gvrPkp
# 7 - ES-1 Runner-up GOTM Aug 2018https://goo.gl/T9BEY8

Though it won't sound quite like a Tele without them.
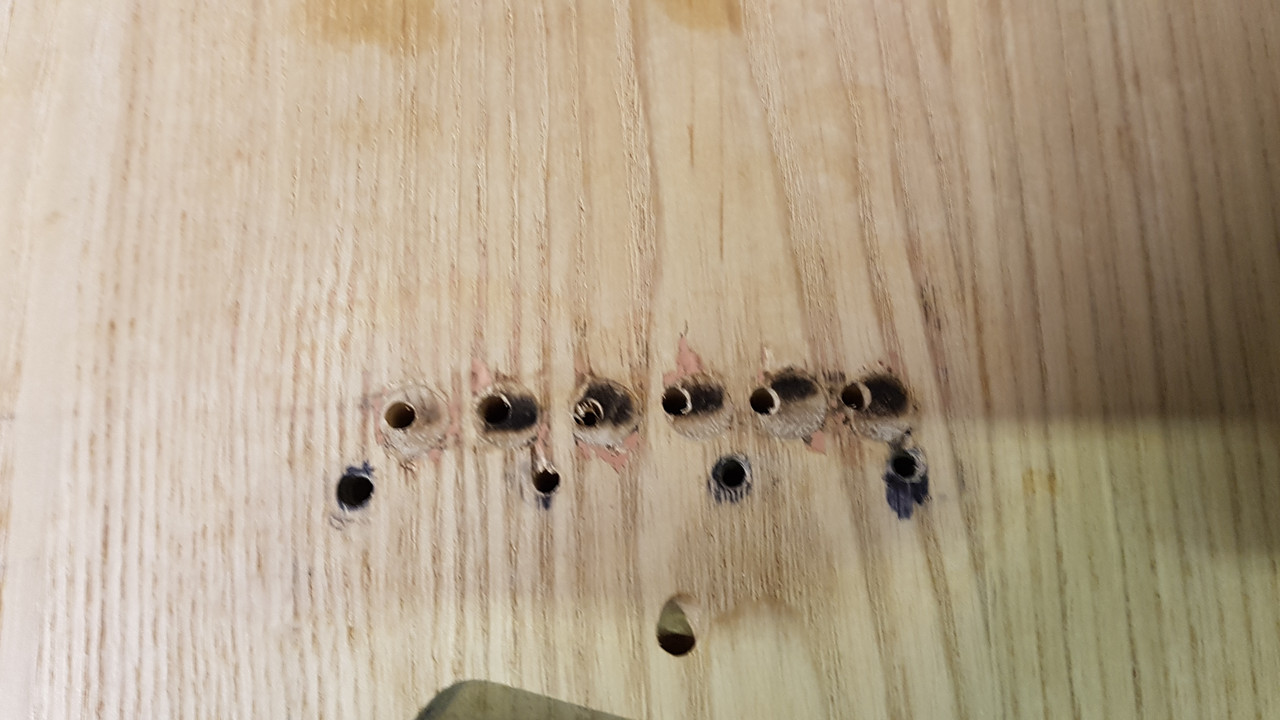
For a nice neat line of string ferrules on the rear of the body, you really need to drill from both sides.
Start by getting the bridge positioned correctly on the top of the body, then mark the position of the six string holes.
Ideally using a drill press, or else a drill stand to keep the drill vertical, drill the two outer holes all the way through the body, but the four inner ones only 2/3 of the way through (mark the drill bit with tape to stop going too far.
Turn the guitar body over and using the bridge as a template, position the two outer string holes over the holes in the body and mark the position of the four inner string holes.
Now drill these string holes, again going about 2/3 the way through the body (so dont remove the tape from the drill until youve done this).
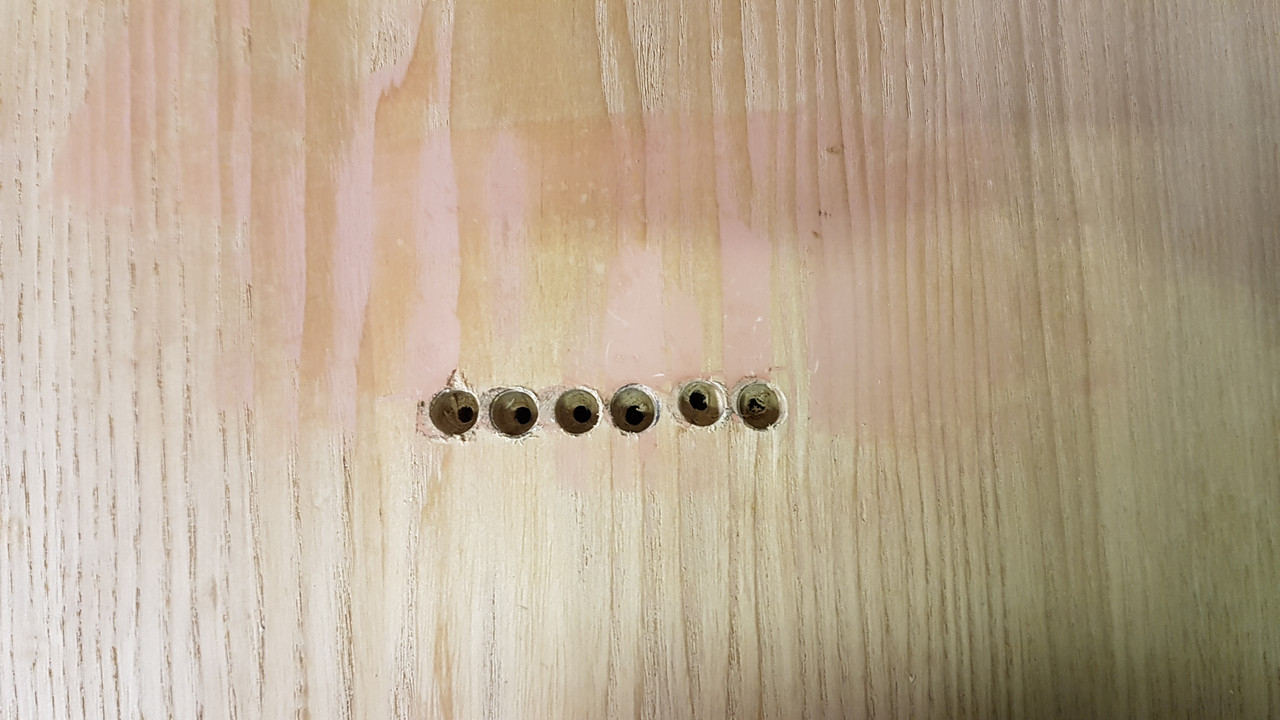
Now you should have a nice neat row of string holes on the back, all ready for widening to fit the ferrules in.
Thanks for that Simon, I will ask the mechanic to do it like that, but haven't seen his press yetOriginally Posted by Simon Barden

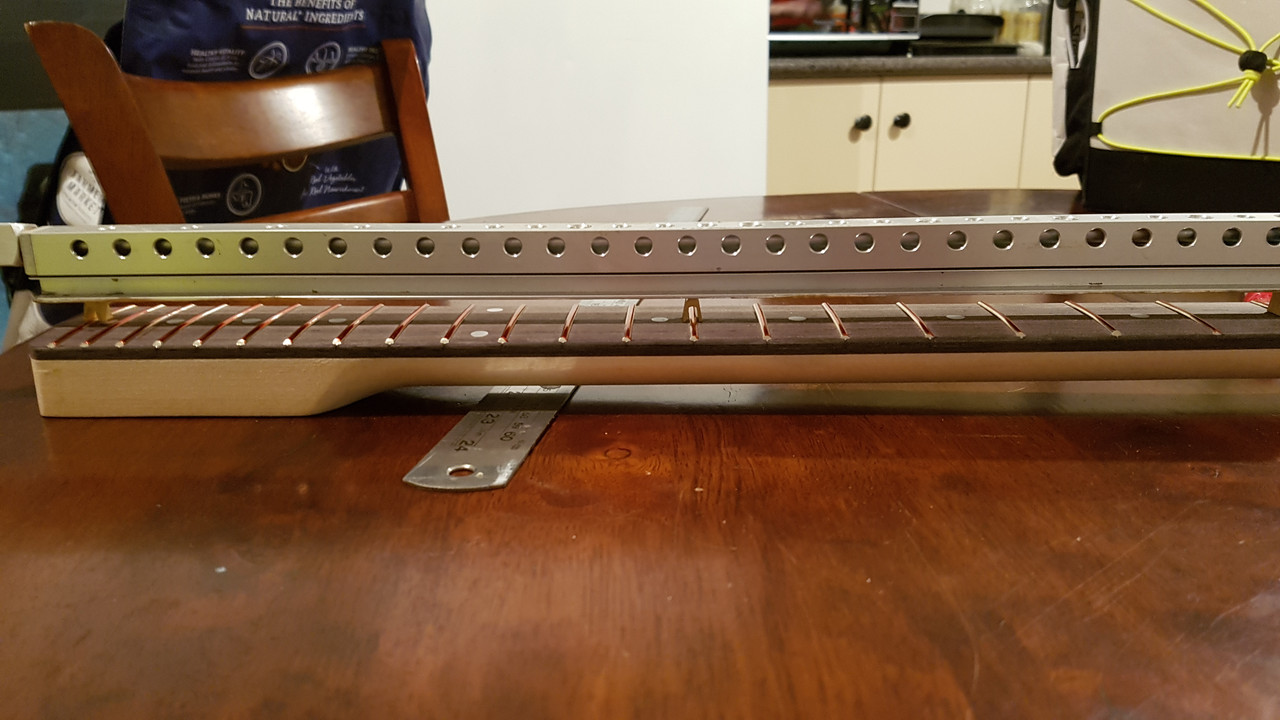
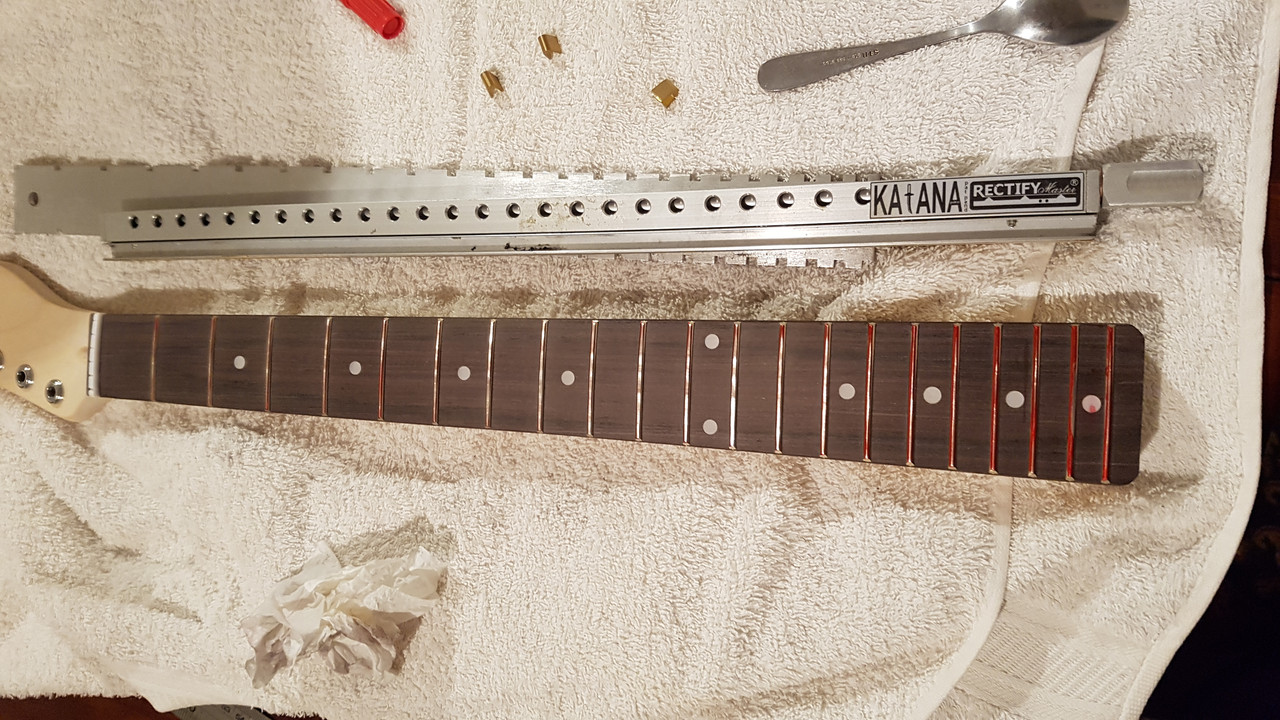
Whilst waiting for second lot of filler to dry, I did a bit of levelling:
Last try:
I think this will be OK:
I put it together again, but this time tuned to pitch (top load configuration only, no electronics). I am happy to report everything fine and quite loud acousticallyI still need to drill holes for the PG, but it is too cold and damp for painting ATM, anyway.

Looks good.
On my phone the scratch plate looks pale mint green?
Sent from my SM-A520F using Tapatalk
# 1 - EX-5 https://goo.gl/fQJMqh
# 2 - EX-1 https://goo.gl/KSY9W9
# 3 - Non PBG Tele https://goo.gl/W14G5g
# 4 - Non PBG J Bass https://goo.gl/FbBaFy
# 5 - TL-1AR GOTM Aug 2017 https://goo.gl/sUh14s
# 6 - MMB-4 Runner-up GOTM Oct 2018https://goo.gl/gvrPkp
# 7 - ES-1 Runner-up GOTM Aug 2018https://goo.gl/T9BEY8

Lovely work Tbird!
FrankenLab:
Turning tone wood into expensive sawdust since 2016!
It is mint green but I can't remember if it was pale or not, Waz. I took it off my old sunburst Monterey Tele for test purposes, will probably opt for white or pearl white (subject to change without notice).
The mint looks cool and cannot remember what you had in mind for colour scheme?
# 1 - EX-5 https://goo.gl/fQJMqh
# 2 - EX-1 https://goo.gl/KSY9W9
# 3 - Non PBG Tele https://goo.gl/W14G5g
# 4 - Non PBG J Bass https://goo.gl/FbBaFy
# 5 - TL-1AR GOTM Aug 2017 https://goo.gl/sUh14s
# 6 - MMB-4 Runner-up GOTM Oct 2018https://goo.gl/gvrPkp
# 7 - ES-1 Runner-up GOTM Aug 2018https://goo.gl/T9BEY8
Ocean Mist
 Posting Permissions

 Reply With Quote