Page 5 of 7 FirstFirst ... 3 4 5 6 7 LastLast
Results 41 to 50 of 66

Thread: Build Diary of an MMB-5

  1. #41
    Overlord of Music Sonic Mountain's Avatar
    Join Date
    Jul 2017
    Location
    Toowoomba, Qld.
    Posts
    3,261
    Quote Originally Posted by RalphH View Post
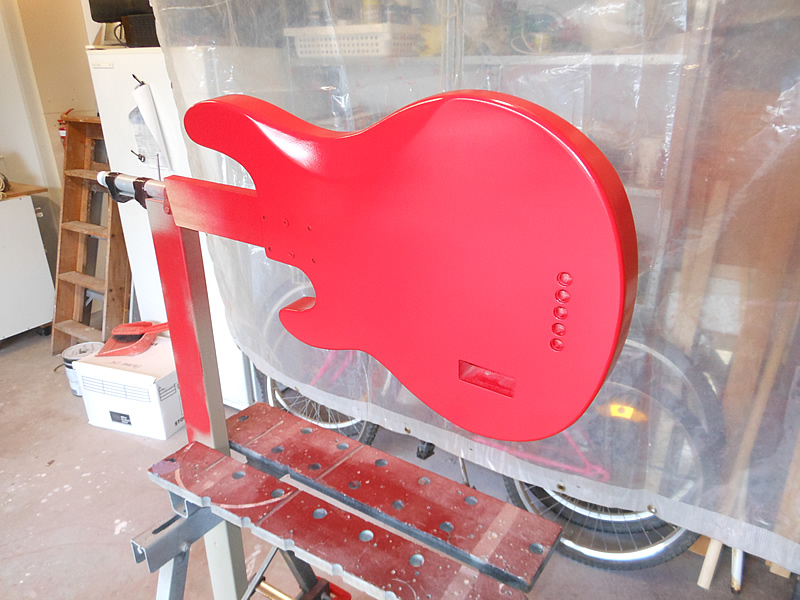
    During the initial phases of construction, I was still undecided about the colour scheme; my wife favouring an antique cream with tortoise shell scratch plate, but I gravitated to the Chilli red with white perloid scratch pate and black headstock of the 2004 limited edition Stingray 4. There was no 5 string version of this, so even as a replica, this MMB 5 is not going to get mistaken for the real thing.

    One thing I decided right from the beginning was that I was not going to hang the guitar up to paint as many people do. This is inefficient and in my experience makes it hard to get an even coverage easily as it is in a fixed position.
    My solution was to use a 360 degree rotisserie type system similar to that used by engine builders.
    It was really easy to make, and holds the guitar rock solid in any position you want. This is particularly good for angling the instrument in to the light so you can see how much you are overlapping each coat etc.

    I created a mini spray booth with a curtain of clear plastic sheeting on 3 sides of the spray zone. Plenty of light was coming in from all sides and the top.

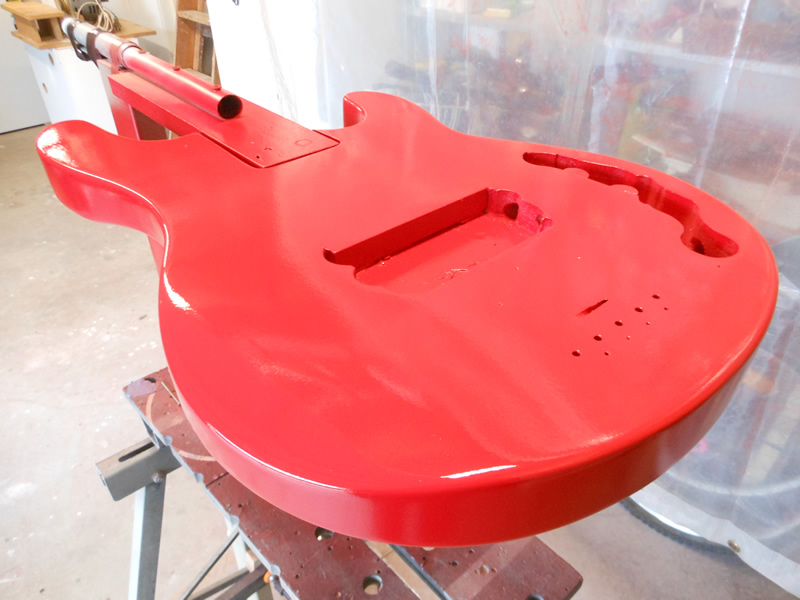
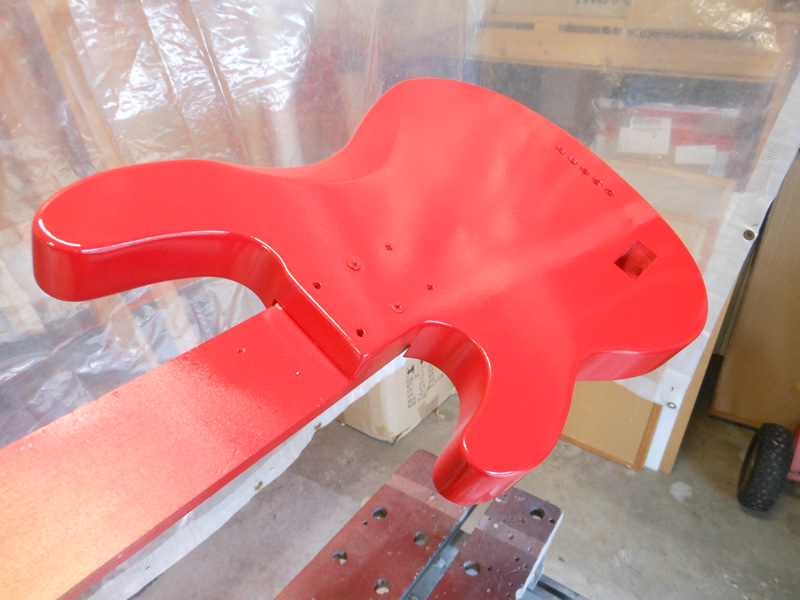
    After standard prep, I sprayed 5 coats beginning with all the edges first and allowing it to tack off before building up each subsequent light, full body coat about 15 minutes apart. The edges were sprayed with the body in the horizontal position, and the front and back in the vertical position. The beauty of this is that the aerosol can of paint is always in the upright position and delivering an even pressure pattern. Each coat was applied at 90 degrees to the previous, (vertical/horizontal using the adjustable nozzle arrangement) ensuring even coverage.

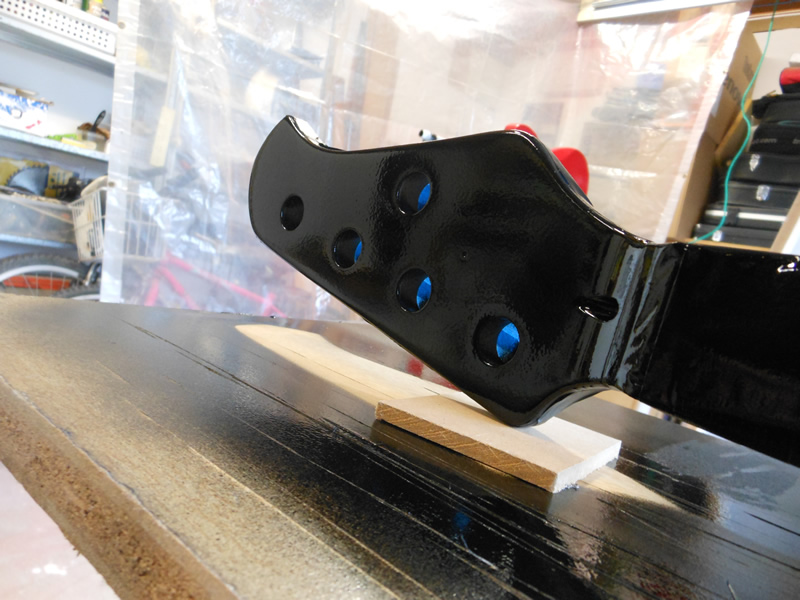
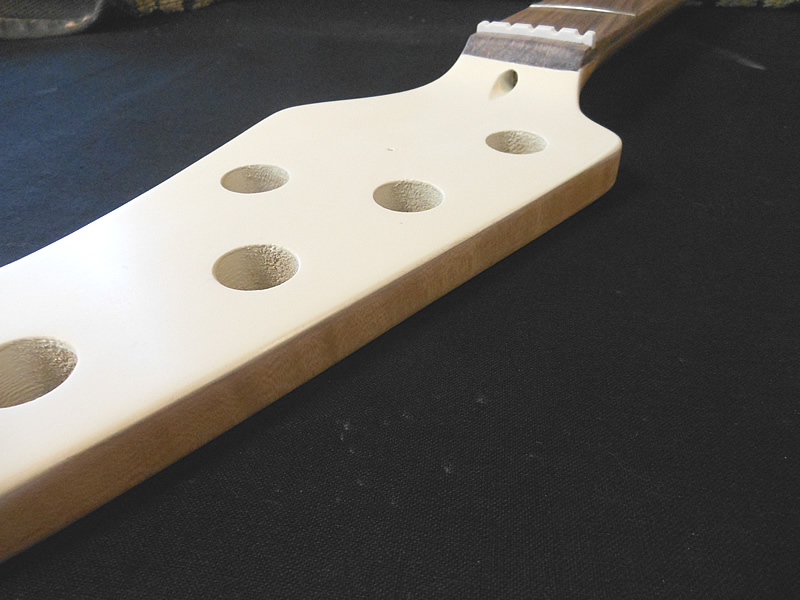
    Headstock was prepared the same way as the body. After the satin polyurathane on the back/sides of the headstock and neck were fully cured and masked, two coats of British paints 4-in-1 were applied to the face, hand sanded with 800G followed by 2 more coats of Septone Primer Filler. Final coat was wet sanded with 1500G before the black lacquer was applied.

    The same spraying procedure was used with the clear coats, with 4 coats being applied. For the final clear coat the body was in the horizontal position, allowing slightly thicker coats without the fear of runs and drips. The technique still has you constantly moving the spray head, but just a little slower.

    I’m going to leave the body to fully dry until next weekend before I start the polishing process.
    Starting to look good.


    Neat Jig, I might have to steal that idea. Looks like you know what you are doing with the paint, look forward to seeing it buffed. I don't know about you but resisting the urge to fiddle with it while its hardening is pretty hard
    Last edited by Sonic Mountain; 04-09-2017 at 02:16 PM.

  2. #42
    Member RalphH's Avatar
    Join Date
    Jul 2017
    Location
    Orewa, New Zealand
    Posts
    71

    Headstock decal

    Dare I spray clear lacquer over it?.....

    Click image for larger version. 

Name:	Headstock-stinger.jpg 
Views:	243 
Size:	47.5 KB 
ID:	22092

  3. #43
    Member RalphH's Avatar
    Join Date
    Jul 2017
    Location
    Orewa, New Zealand
    Posts
    71
    Quote Originally Posted by Sonic Mountain View Post
    Neat Jig, I might have to steal that idea. Looks like you know what you are doing with the paint, look forward to seeing it buffed. I don't know about you but resisting the urge to fiddle with it while its hardening is pretty hard
    Had a bit of practice learning how to spray paint when renovating my kitchen.. 16 doors and 10 drawers.

  4. #44
    Overlord of Music Sonic Mountain's Avatar
    Join Date
    Jul 2017
    Location
    Toowoomba, Qld.
    Posts
    3,261
    Quote Originally Posted by RalphH View Post
    Dare I spray clear lacquer over it?.....
    Yep! Several light coats should do the trick. Looks nice.

    Quote Originally Posted by RalphH View Post
    Had a bit of practice learning how to spray paint when renovating my kitchen.. 16 doors and 10 drawers.
    Heh, I grew up sanding, some of my earliest memories are doing body work on old cars. Its all these natural wood finishes I need to look into.....

  5. #45
    Member RalphH's Avatar
    Join Date
    Jul 2017
    Location
    Orewa, New Zealand
    Posts
    71

    Day Nine: Polishing and body assembly

    I was under no delusion I was going to achieve a factory like finish with aerosol cans of paint sprayed in a garage, but was encouraged of getting a good amateur finish with a bit of elbow grease. Saying that, I was cautious about too much polishing and going through the clear coat, so it was all done carefully by hand.

    I was fortunate that the painted surface was reasonably shiny and only suffered from the “orange peel” appearance common on cars last century. I started polishing methodically in 100mm square sections with standard SCA cutting compound until I had achieved the best I could while being “safe”, and then switched to a much finer polish made by Planet waves.
    In all I spent about 3 1/2 hours on the polishing. It could probably benefit from more, but my hands were getting tired and I’ll save further polishing for another time. Photos show the various stages of getting the gloss.

    Next was the fit of all the components in the body; starting with the string ferrules, battery compartment and jack plate. Pickup and scratch plate followed, with just the control plate to “plug n play" to install.

    I’m replacing the plastic nut with a custom unit made from a Nubone blank, so I won’t finish the final stages of micro-sanding the fretboard (1000G) and treating it with Nomad oil until the Nubone blank and a nice set of Ernie Ball Flatwounds arrive.

    On the home straight now. Neck prep and Setup next.

    Click image for larger version. 

Name:	polish-1.jpg 
Views:	240 
Size:	94.4 KB 
ID:	22190Click image for larger version. 

Name:	polish-2.jpg 
Views:	239 
Size:	79.4 KB 
ID:	22191Click image for larger version. 

Name:	back-end.jpg 
Views:	237 
Size:	80.2 KB 
ID:	22192Click image for larger version. 

Name:	wire-up.jpg 
Views:	250 
Size:	203.3 KB 
ID:	22193Click image for larger version. 

Name:	pre-setup.jpg 
Views:	239 
Size:	87.5 KB 
ID:	22194

  6. #46
    Overlord of Music Sonic Mountain's Avatar
    Join Date
    Jul 2017
    Location
    Toowoomba, Qld.
    Posts
    3,261
    Looks really nice - classic colour combo. Finish looks really respectable in the pics, you'd have to be happy with that.

  7. #47
    Member RalphH's Avatar
    Join Date
    Jul 2017
    Location
    Orewa, New Zealand
    Posts
    71
    Quote Originally Posted by Sonic Mountain View Post
    Looks really nice - classic colour combo. Finish looks really respectable in the pics, you'd have to be happy with that.
    Thanks for that. Yea I'm pretty happy so far.
    Most of my instruments are last century, so the "Classic look" fits right in...

  8. #48
    Overlord of Music andrewdosborne's Avatar
    Join Date
    May 2014
    Location
    Sydney, NSW
    Posts
    2,751
    Nice job finish looks great


    Sent from my iPhone using Tapatalk
    Current Projects
    #Planning 5 String Bass

  9. #49
    Member Thigg88's Avatar
    Join Date
    Nov 2016
    Location
    Inverell nsw
    Posts
    55
    Looking good ralph. How did you make the white decal? Its going to be good to see the finished product

  10. #50
    GAStronomist wokkaboy's Avatar
    Join Date
    Dec 2012
    Location
    Perth WA
    Posts
    13,555
    nice job Ralph. Love your wiring just connect the plugs, very neat. Look forward to hearing how it sounds. Is it the stock soap bar pup ?
    Current Builds and status
    scratch end grain pine tele - first clear coat on !
    JBA-4 - assembled - final tweaks
    Telemonster double scale tele - finish tobacco burst on body and sand neck

    Completed builds
    scratch oak.rose gum Jazzmaster - assembled needs setup
    MK-2 Mosrite - assembled - play in
    Ash tele with Baritone neck - neck pup wiring tweaks and play in

Page 5 of 7 FirstFirst ... 3 4 5 6 7 LastLast

Posting Permissions

  • You may not post new threads
  • You may not post replies
  • You may not post attachments
  • You may not edit your posts
  •