
Here are some better pics of the body. The control cover looks very high in these pics. I laser cut it from 3mm acrylic. Might have to do something about it..... otherwise pleased!


Here are some better pics of the body. The control cover looks very high in these pics. I laser cut it from 3mm acrylic. Might have to do something about it..... otherwise pleased!

GOM contender for sure. A beautiful build.
cheers,
Gav.
--
Build #01: BC-1
Build #02: ST-1
Build #03: JR-1DC
Build #04: ES-2V
Build #05: ESB-4 (GOTM July 2014)
Build #06: RC-1
Build #07: MK-2
Build #08: TLA-1
Build #09: JR-1DC
Build #0A: LPA-1
Build #0B: STA-1 (GOTM April 2015)
Build #0C: MKA-2
Build #0D: LP-1M
Build #0E: JB-1
Build #0F: FS-1
Find me:
https://www.facebook.com/firescreek.guitars/
http://www.guitarkitbuilder.blogspot.com.au/

Looks amazing. I love the contrast between the classic retro lines of the Rick, the natural timber and the ultra modern look of the black hardware/acrylic/pickup covers. You must be stoked that you came back and gave it another crack.
Thank you for the kind words fellas! Yes I'm very happy, and it is really starting to play in as the relief in the neck settles. A few more things to finish off, truss rod cover in black also as a little bit more polishing as well as messing around with the setup. Looking forward to trying it through the Ampeg!
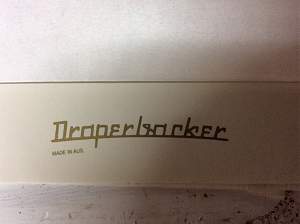
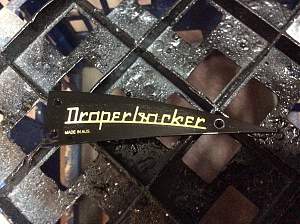
The headstock decal has arrived... marvellous!
Very nice decal! Is there enough room on the headstock for that many letters?? Can't wait to see it in place.
cheers,
Gav.
--
Build #01: BC-1
Build #02: ST-1
Build #03: JR-1DC
Build #04: ES-2V
Build #05: ESB-4 (GOTM July 2014)
Build #06: RC-1
Build #07: MK-2
Build #08: TLA-1
Build #09: JR-1DC
Build #0A: LPA-1
Build #0B: STA-1 (GOTM April 2015)
Build #0C: MKA-2
Build #0D: LP-1M
Build #0E: JB-1
Build #0F: FS-1
Find me:
https://www.facebook.com/firescreek.guitars/
http://www.guitarkitbuilder.blogspot.com.au/

No more letters than 'Rickenbacker', so it should do.
Badge on. Looks ok but could use another coat of clear...
Ok at setup stage. Have approx 0.7mm under the first fret when fretted at 3rd for the e and a, but 1mm for d and g. I'm thinking I need to lower just those two, I guess by lowering the slots a little. I'm loathe to remove the nut right now and file down as I think I'll mess up the other two.
Neck relief 0.2mm at 8 and 9 fret.
String heights a little high on the d and g, will need to make a small mod on the bridge to get them lower.
Otherwise plays nice! Has a lovely thin fast neck.
Setup done, at least the first round. Tomorrow night I'll stretch its legs through the Ampeg and see how it rolls.
Headstock decal on now truss rod adjusted

 Posting Permissions

 Reply With Quote