Page 11 of 20 FirstFirst ... 9 10 11 12 13 ... LastLast
Results 101 to 110 of 196

Thread: Simon's Super Strat Scratch Build.

  1. #101
    Almost there...


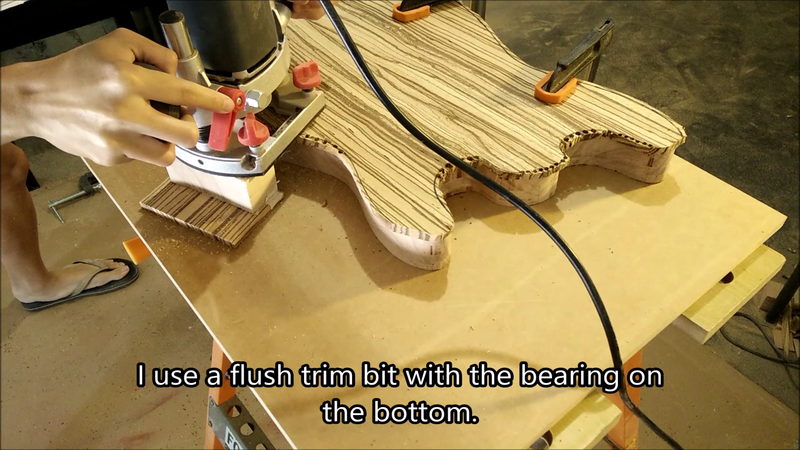
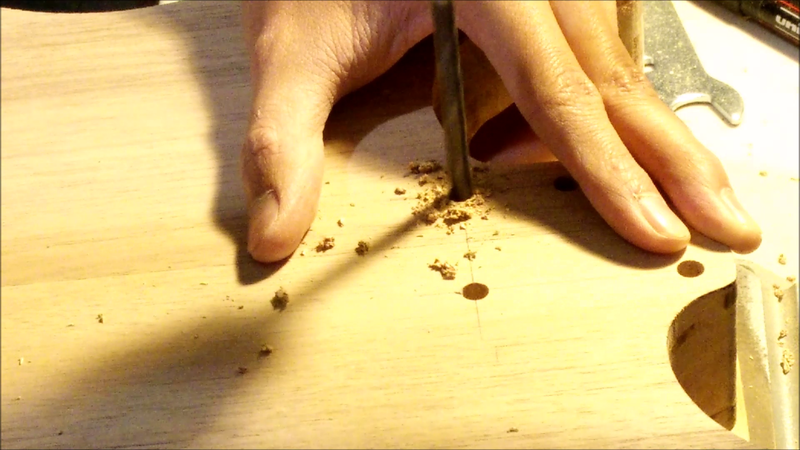
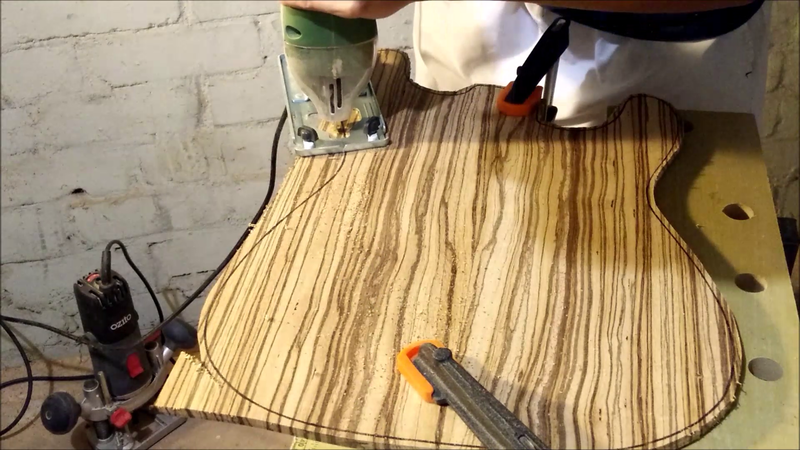
    I always stay clear of the line, at least 5mm away, because you don't know if the blade will wander underneath. You can always remove wood but not add wood back.

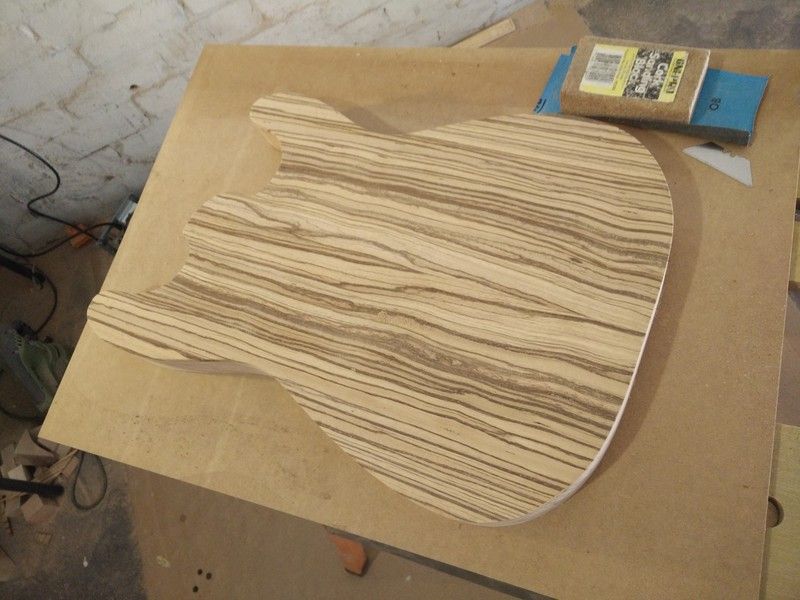
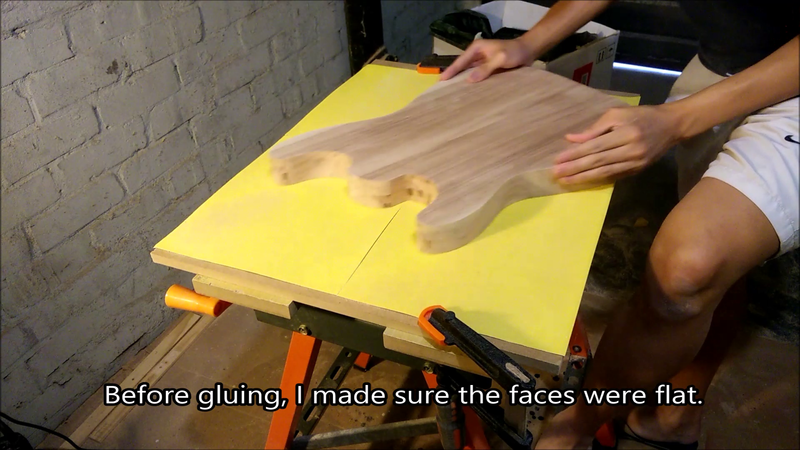
    Then I made sure the surfaces were flat before gluing. I stuck 4 pieces of 60 grit sandpaper to large piece of mdf as a huge sanding block. Got to make do without expensive tools!


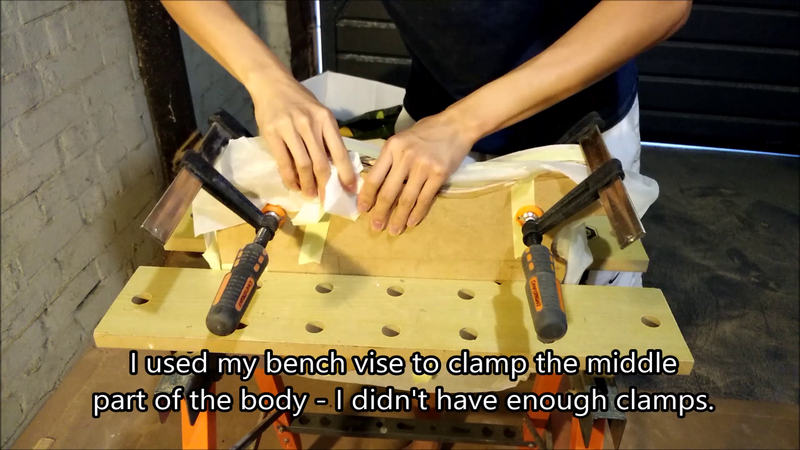
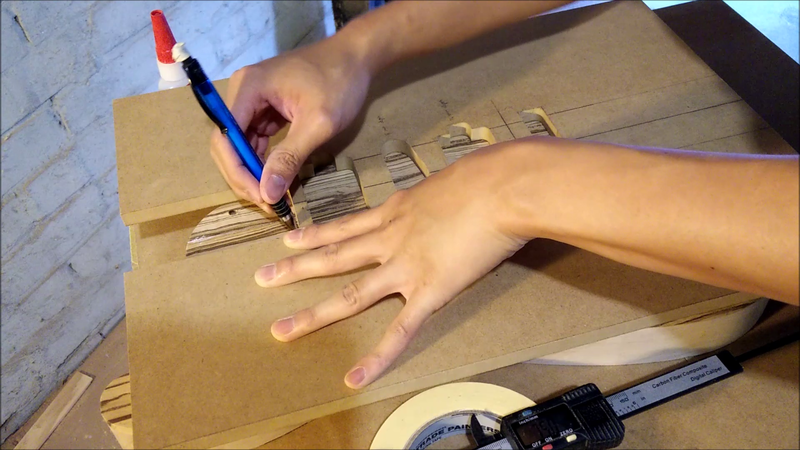
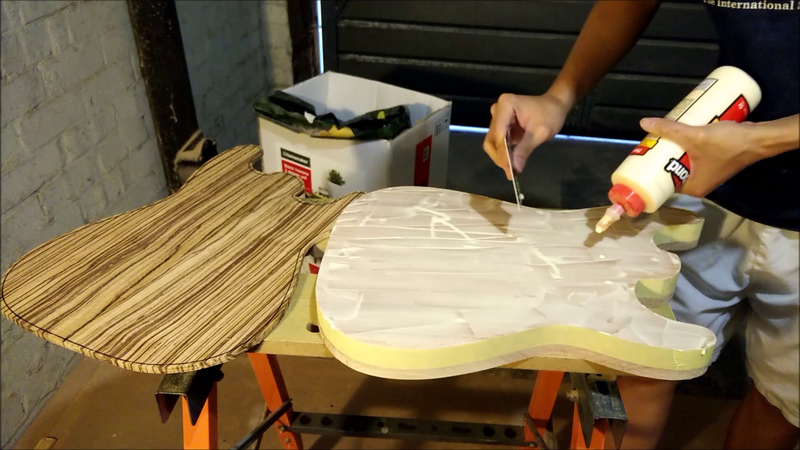
    Spam as much glues as you can! The glue gets soaked in real fast and if you don't work quickly it can solidify and you'll be in trouble. Looking back, I wish I had put more glue!

  2. #102
    Because I don't have a huge number of clamps (only have 4 F clamps, 2 G clamps, 2 quick clamps and 1 spring clamp), and because clamp collection occurs throughout the years, I decided to use my bench vise as a huge clamp. I figured out that the middle section of the body will get the least amount of pressure so the bench vise will be useful too.

    Looking back, I should've put some screws in the pickup/trem/neck pocket cavities to align the top and the body, because the glue acted as a lubricant and it was hard to position the top in the centre line. My centre line was just 1mm off, but it wasn't that bad because I had a perfect glue joint for the top so it was hard to spot the centre line.

    And I didn't put enough glue so I wasn't able to get uniform squeeze out. This may also be due to lack of clamps.

    The body in this weird contraption.

    I left it clamped and to dry for another 24hours and then proceeded to route the top flush with the body.


    Fortunately, I left enough excess wood because the bottom end of the top moved during the gluing process. I drilled holes around the excess wood later on to help with routing.

    And the final result

  3. #103
    Banned
    Join Date
    Dec 2015
    Posts
    1,171
    Nice tutorial Simon and good work around.

  4. #104
    GAStronomist wokkaboy's Avatar
    Join Date
    Dec 2012
    Location
    Perth WA
    Posts
    13,555
    excellent tutorial Simon, great results from the limited tools/machinery you have, glad you got the 3 plugger safety boots in one of the photos hahah
    Current Builds and status
    scratch end grain pine tele - first clear coat on !
    JBA-4 - assembled - final tweaks
    Telemonster double scale tele - finish tobacco burst on body and sand neck

    Completed builds
    scratch oak.rose gum Jazzmaster - assembled needs setup
    MK-2 Mosrite - assembled - play in
    Ash tele with Baritone neck - neck pup wiring tweaks and play in

  5. #105
    Overlord of Music andrewdosborne's Avatar
    Join Date
    May 2014
    Location
    Sydney, NSW
    Posts
    2,751
    Looks fantastic! You'll need to wear some socks with the 3 plugger safety boots now the weathers cooling down a bit

    Sent from my SM-T700 using Tapatalk
    Current Projects
    #Planning 5 String Bass

  6. #106
    Haha yes socks with sandals! Now that's fashion!

  7. #107
    Before I started routing the cavities, I drilled the neck screw holes. I drew a centre line on the neck plate and aligned it, positioned it and marked the holes out.


    Then drilled 4 clean holes.


    Next, I used my template to mark out the neck pocket, pickup and tremolo cavities.


    And drilled out a bunch of relief holes.

  8. #108
    For the neck pocket, I had to route to 14mm deep. I applied 3 layers of masking tape so that the neck will have a tight fit.

    I later on put some shims underneath the template and routed with the longer bit because I couldn't get low enough with the shorter bit, and the longer bit was too long for it.

    And I managed to get a perfect, tight fit.


    Fortunately the neck is also aligned with the centre line of the body.

    Ideally, the neck pocket should be so tight that you can pick the guitar up by its neck without any screws. Success!


    With a tight neck pocket, you supposedly get as much contact and hence more sustain and tone.

  9. #109
    Then it was time for the pickups. I routed to 18mm deep but got 19mm in the end. Close enough!


    I'll be going for direct mount pickups so it doesn't hurt to get a little deeper. I can always shim it up with foam and springs.

    As for the tremolo cavity, I routed as far as I could with the long 1/2" bit.


    Then flipped the body over to finish up with the flush trim bit.

  10. #110
    Once the tremolo cavity is done, I follow a printed blueprint and measured out the spring cavity. I then used scrap MDFs with straight edges to form rectangles.


    This is a quick and easy way to create templates without having to make it.


Page 11 of 20 FirstFirst ... 9 10 11 12 13 ... LastLast

Posting Permissions

  • You may not post new threads
  • You may not post replies
  • You may not post attachments
  • You may not edit your posts
  •