Simon you need a pair of these !


Simon you need a pair of these !
Current Builds and status
scratch end grain pine tele - first clear coat on !
JBA-4 - assembled - final tweaks
Telemonster double scale tele - finish tobacco burst on body and sand neck
Completed builds
scratch oak.rose gum Jazzmaster - assembled needs setup
MK-2 Mosrite - assembled - play in
Ash tele with Baritone neck - neck pup wiring tweaks and play in

Haha where can I get those?
Try China, compulsory on construction sites over thereOriginally Posted by SIMpleONe89


hhahaha not sure Simon, think Tony is on the money so check the ebay stores !
Current Builds and status
scratch end grain pine tele - first clear coat on !
JBA-4 - assembled - final tweaks
Telemonster double scale tele - finish tobacco burst on body and sand neck
Completed builds
scratch oak.rose gum Jazzmaster - assembled needs setup
MK-2 Mosrite - assembled - play in
Ash tele with Baritone neck - neck pup wiring tweaks and play in
Haha I'll look for proper work shoes anyway.
I managed to get some work done before the long weekend. I'm going away so will only resume work when I'm back on Monday.
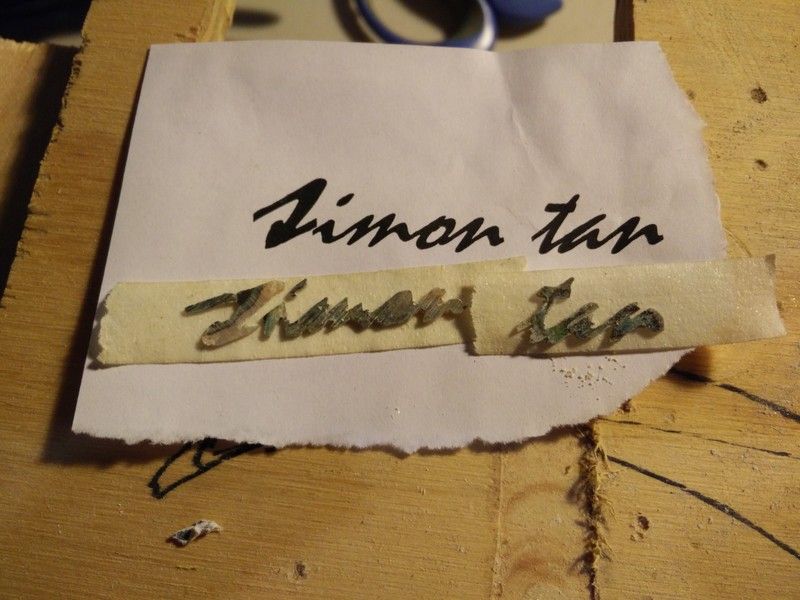
Anyway I managed to cut out my headstock logo. It took quite a while and it was challenging trying to cut out small abalone letters, but with some patience I managed to do it. It doesn't look like much now because it's still rough from the factory.
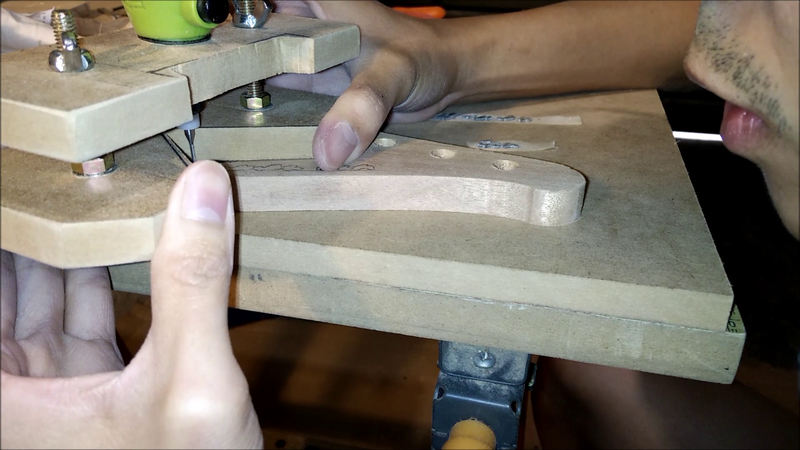
I took out my "dremel" copy from SuperCheapAuto (which works very well for the price!) and routed with my new 1mm CNC bits I bought from eBay. Fortunately they didn't break while I was routing out quite a fair bit of wood.
The final result:
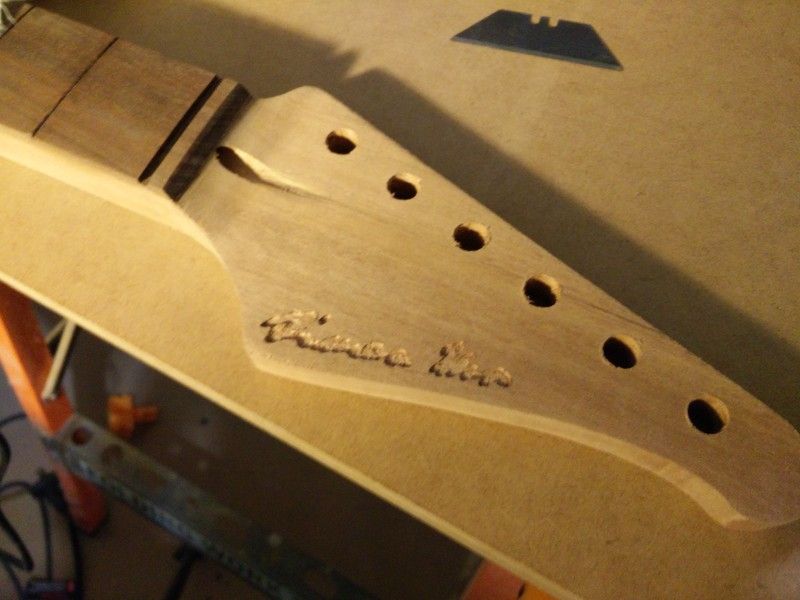
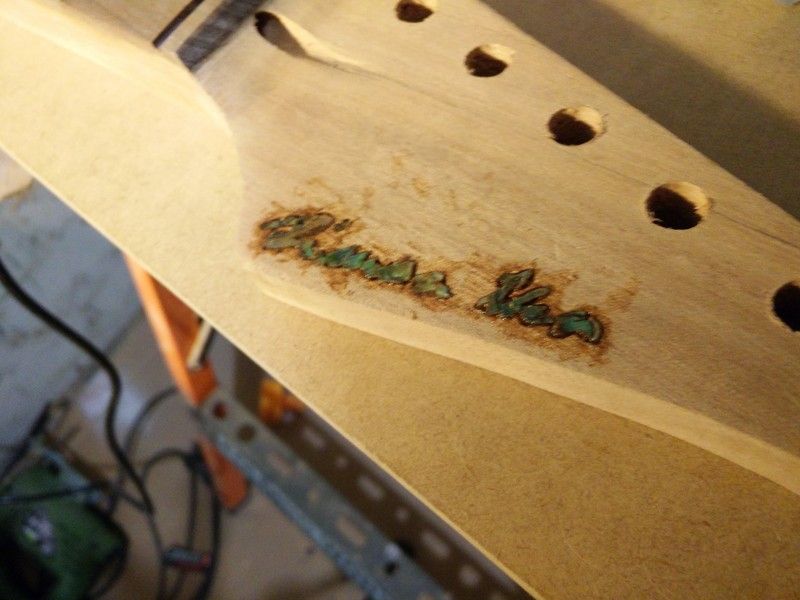
After gluing the inlays in:
Doesn't look very pretty because I filled in the spaces with sanding dust and super glue.
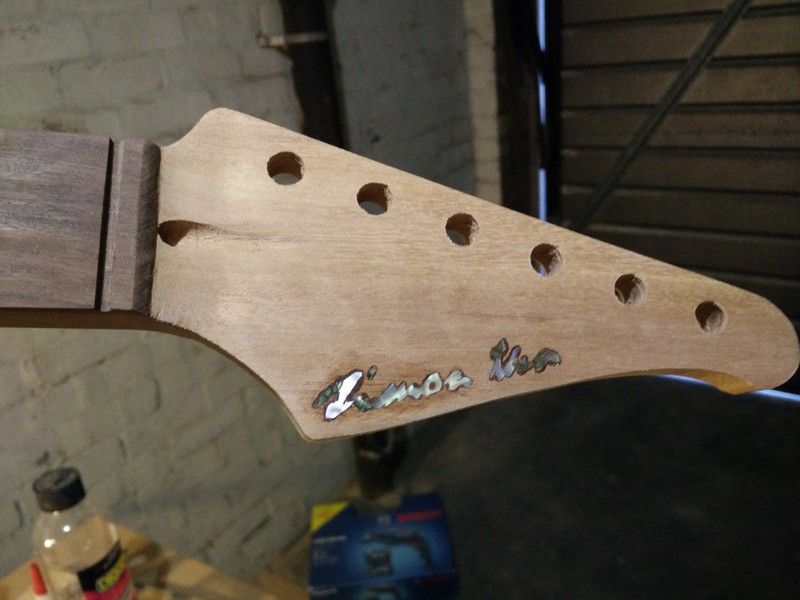
After sanding:
Unfortunately I removed a fair bit of the nice green patterns that I wanted during the sanding process. I thought I left as little abalone sticking out but turns out that sanding even less than 0.5mm of abalone can remove the nice parts. Oh well, but I'm sure they will look nice under some finish.
Then it came to the most dreaded part of the build - cutting out the body.
I had to first thickness the body down to 38mm, because the top is 7mm and I want a total of 45mm. Since I don't have a planer or drum sander, I had to use my router to plane it down. Unfortunately I could never get a totally flat surface, possibly due to the setup. I ended up spending an entire afternoon sanding it flat with a large MDF sheet with 4 pieces of 60 grit sandpaper. I could've brought it down to the local timber yard but I could only do so next week, so I might as well try to do as much as I can. In the end I got it near perfect, but will still level it out once the body is shaped.
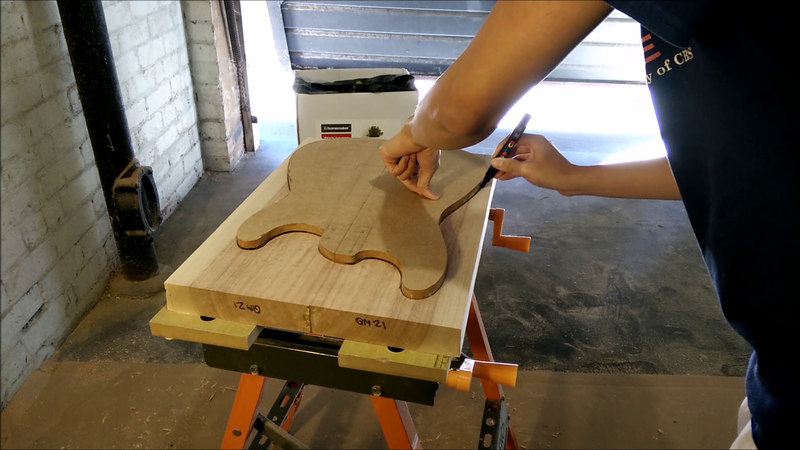
I first traced the outline with my template.
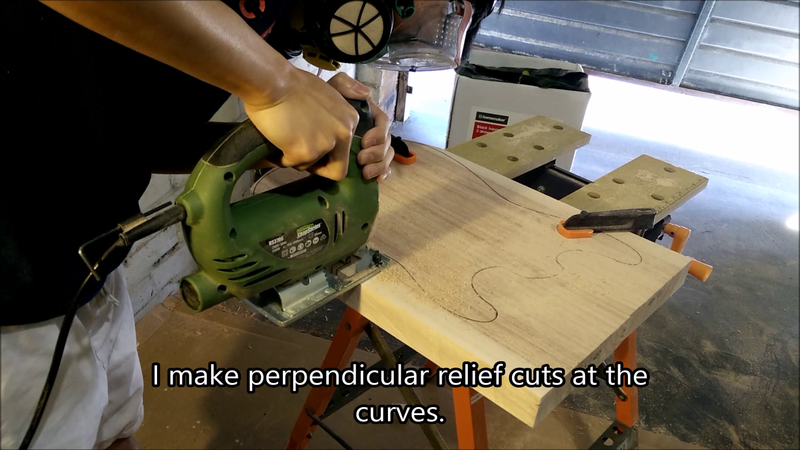
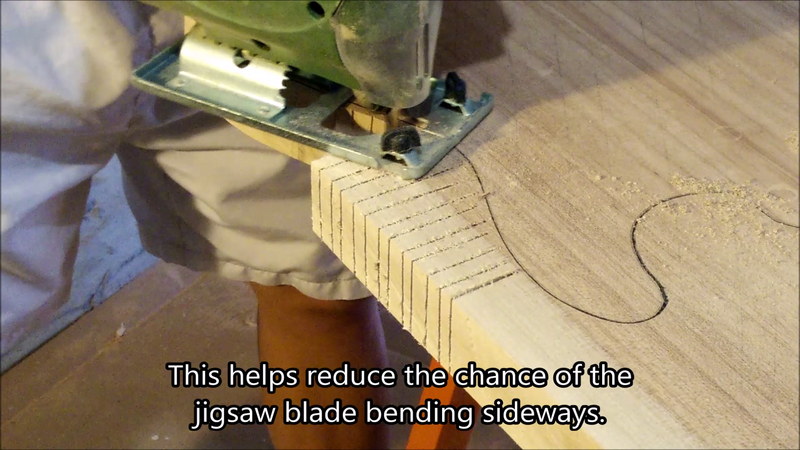
And I took my time with the jigsaw, staying at least 5mm clear of the line. For the curves, I made relief cuts perpendicularly to help prevent "fish-tailing" of the blade (curving at the bottom).
During this painful process, I had to use a handsaw to cut out straight parts so as to give the jigsaw a rest once it became too hot. I haven't broken a blade (and fingers/toes) and I want to keep it that way!
As you can see I would've benefited from a bandsaw and other machines like a planer/jointer/drum sander/drill press/router table/ROSS etc, but I managed to do it with what I have at the moment, although it takes much more effort.
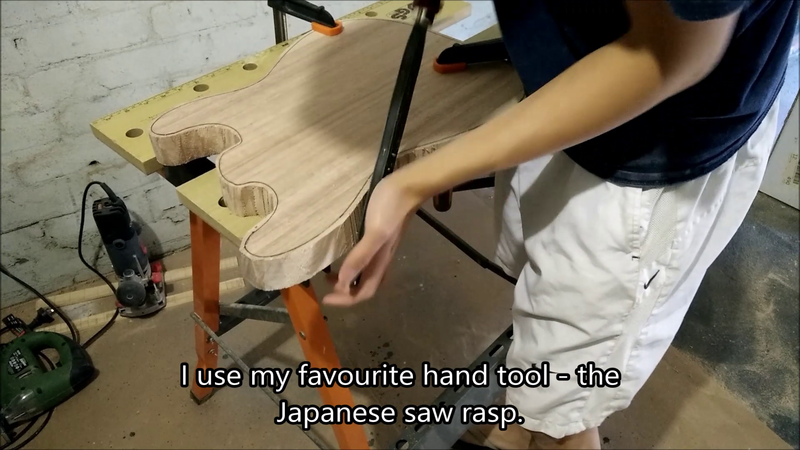
After cutting out the body with the jigsaw and handsaw, I had to clean up the edges with some hand tools. I use my favourite Japanese shinto rasp.
This is the body as of today. I may try to file away some more of the excess wood before routing next week, or I could just go straight to routing but bearing in mind to take off little wood in each pass.
Have a great Easter weekend and I hope I get more progress next week. Can't wait to see things progressing. Once the body is shaped and the top glued, things will go much faster from then on. I'm still waiting on my frets so hopefully I can also fret and shape the neck next week.

Awesome work Simon. Love the inlay.
Tony
wicked work Simon that inlay looks very difficult but you have done well !
keep up the good work
Current Builds and status
scratch end grain pine tele - first clear coat on !
JBA-4 - assembled - final tweaks
Telemonster double scale tele - finish tobacco burst on body and sand neck
Completed builds
scratch oak.rose gum Jazzmaster - assembled needs setup
MK-2 Mosrite - assembled - play in
Ash tele with Baritone neck - neck pup wiring tweaks and play in
 Posting Permissions


 Reply With Quote