Results 1 to 6 of 6

Thread: drilling neck & alignment

  1. #1
    Member Benderson's Avatar
    Join Date
    Jan 2019
    Location
    victoria
    Posts
    33

    drilling neck & alignment

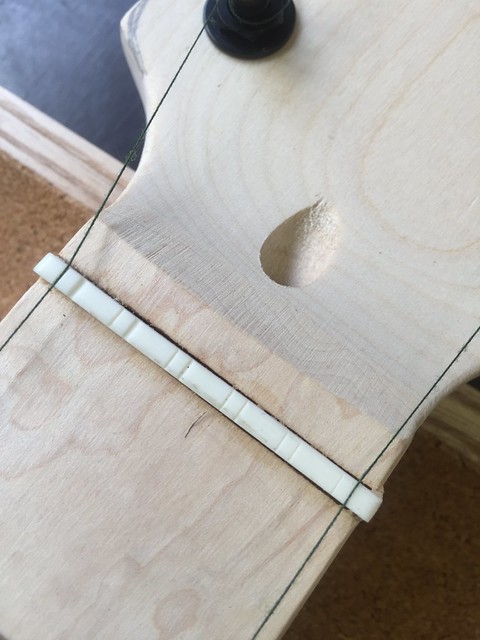
    So I think i'm on the right track, it feels like a guessing game a bit for me because i have no idea about wood work or electronics ( more to come).
    I read through this post with some great tips:
    https://www.buildyourownguitar.com.a...l=1#post177325

    Please reply in my diary:
    https://www.buildyourownguitar.com.a...l=1#post178960

    I'll get some pictures up later on.

    thanks in advance.

  2. #2
    Member Benderson's Avatar
    Join Date
    Jan 2019
    Location
    victoria
    Posts
    33
    Here are some images, please reply in my diary:
    https://www.buildyourownguitar.com.a...l=1#post178960


    Last edited by Benderson; 22-02-2019 at 05:33 PM.

  3. #3
    Overlord of Music Sonic Mountain's Avatar
    Join Date
    Jul 2017
    Location
    Toowoomba, Qld.
    Posts
    3,261
    Hey mate, just post all of this in your diary, there is no need to keep making new threads. Most of us browse by 'new posts' so we will see it regardless of where it's posted, but keeping it all in the same place is handy for reference later.

    This looks fine as a method. I usually just use the strings - although I use thicker white ones as its easier to see. If the strings run true down the fret board to the bridge, with even gaps both sides, and the scale length is correct you should be fine. There is no need to find the exact centre line.

    The gap from bridge to pickguard can be taken up by enlarging the bridge PU cavity slightly and moving it forward. Just be careful you have enough adjustment for intonation on the bridge.
    Build 1 - Shoegazer MK1 JMA-1
    Build 2 - The Relliecaster TL-1
    Build 3 - The Black Cherry SG AG-1
    Build 4 - The Sonicaster TL-1ish
    Build 5 - The Steampunker Bass YB-4
    Build 6 - The Howling Gowing ST-1

    "What I lack in talent I make up for with enthusiasm"

  4. Liked by: Benderson

  5. #4
    Member Benderson's Avatar
    Join Date
    Jan 2019
    Location
    victoria
    Posts
    33
    Quote Originally Posted by Sonic Mountain View Post
    Hey mate, just post all of this in your diary, there is no need to keep making new threads. Most of us browse by 'new posts' so we will see it regardless of where it's posted, but keeping it all in the same place is handy for reference later.

    This looks fine as a method. I usually just use the strings - although I use thicker white ones as its easier to see. If the strings run true down the fret board to the bridge, with even gaps both sides, and the scale length is correct you should be fine. There is no need to find the exact centre line.

    The gap from bridge to pickguard can be taken up by enlarging the bridge PU cavity slightly and moving it forward. Just be careful you have enough adjustment for intonation on the bridge.
    Thanks for pointing that out Sonic there's lots of thing i'm new to & its not just building guitars??

  6. #5
    Overlord of Music Sonic Mountain's Avatar
    Join Date
    Jul 2017
    Location
    Toowoomba, Qld.
    Posts
    3,261
    All good man . You’ll be an old hand in no time
    Build 1 - Shoegazer MK1 JMA-1
    Build 2 - The Relliecaster TL-1
    Build 3 - The Black Cherry SG AG-1
    Build 4 - The Sonicaster TL-1ish
    Build 5 - The Steampunker Bass YB-4
    Build 6 - The Howling Gowing ST-1

    "What I lack in talent I make up for with enthusiasm"

  7. Liked by: Benderson

  8. #6
    Member Benderson's Avatar
    Join Date
    Jan 2019
    Location
    victoria
    Posts
    33
    I am having a bit of a giggle about it as long as o don’t stuff up the guitar I’m good!


    Sent from my iPhone using Tapatalk

Posting Permissions

  • You may not post new threads
  • You may not post replies
  • You may not post attachments
  • You may not edit your posts
  •