
That's the second most '80s guitar ever, a hair behind this classic:Originally Posted by Fretworn

Sent from my SM-G955F using Tapatalk


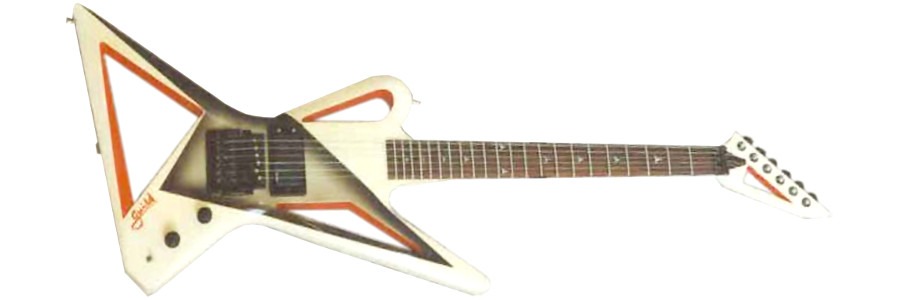
That's the second most '80s guitar ever, a hair behind this classic:
Sent from my SM-G955F using Tapatalk
__________________________
#4 - Zero Budget
#3 - Semi-Scratch Baritone w. PBG 30" Tele neck
#2 - EX-1
#1 - ST-1M
Some more (slow) progress. The arm rest is assembled, pending a whole bunch of shaping, and I'm starting to sand the upper wings. Best of all, I'm at a point where I can throw it all together and get a feel for it.
The low frets are pretty accessible (but very wide) because I've set the bridge a long way back in the design, but the strum is slightly awkward for the same reason. My natural arm position would have me strumming over the neck pickup and I have to consciously push it back toward the bridge. But we'll get the arm rest shaped and see how it feels.
Sent from my SM-G955F using Tapatalk
__________________________
#4 - Zero Budget
#3 - Semi-Scratch Baritone w. PBG 30" Tele neck
#2 - EX-1
#1 - ST-1M
Lots more progress. With the bones of it assembled, I've been able to get a sense of the ergonomics. Because of the long neck, I've found that it's most comfortable in a pseudo classical pose (ie neck pointing up at 45 degrees rather than parallel to the floor), so the tail got reshaped:
Now it sits comfortably, like Reed Rothchild's Flying V:
I've also given it a belly cut of sorts by contouring the rear top wing, and shaped the ply that makes up the arm contour.
So now I've got all the wing parts shaped, so I've stained the wooden bits and starred oiling them. Contrary to my previous plan, I've sanded back the black stain altogether and I'm just going with the FW Jarrah, neat.
The blotchy sides won't be visible under the wings, so it's all about the striping in the end grain.
I've also started on the control cavity, but the router bit I bought for the neck pocket isn't quite long enough.
Looks like another Carbatec order will be needed. I'm still waiting on my back-ordered bridge, so no rush.
I have to say that I'm loving the stain and tru-oil approach to finishing. It's a lot more forgiving than rattlecans for one, but it's also quite tactile rubbing the oil in by hand. I've even got a pretty solid clean up routine going:
- Rinse hands with turps
- Wash with mechanics' soap
- Wash with regular hand wash
- Wash with wife's fancy hand wash
- Moisturise with matching fancy hand balm
My to-do list is getting ever shorter, and even better, my list of things to buy is down to a small handful of items. I'm really looking forward to getting the bridge and putting it on so I can reveal the anodized matt black under the protective film on the aluminium.
Sent from my SM-G955F using Tapatalk

Ooh seeek not carbatech, that way lies expenditure! I do love that place though. The Auburn store has all sorts of odds and ends bits of exotic wood that can be turned to luthiery.
Just need to make sure I stay away from the machinery section.....
FrankenLab
Hand crafting guitars, because Death Rays are expensive.

this build is nucking futs, I love it!
Build 19 PSH-1 Kustom
Build 18 HB-4S Kustom
Build 17 WL-1 Kustom
Build 16 TL-1TB Kustom
Build 15 PBG-2-
Build 14 FTD-1
Build 13 RD-1 Kustom
Build 12 DM-1S
Build 11 MKA-2 -
Build 10 Basic strat
Build 9 JM Kustom
Build 8 FV-1G
Build 7 ES-2V
Build 6- Community prototype
Build 5 LP-1LQ
Build 4 ES-5V
Build 3 JR-1
Build 2 GD-1
Build 1 TLA-1

I concur, this is a great one.
Build 1 - Shoegazer MK1 JMA-1
Build 2 - The Relliecaster TL-1
Build 3 - The Black Cherry SG AG-1
Build 4 - The Sonicaster TL-1ish
Build 5 - The Steampunker Bass YB-4
Build 6 - The Howling Gowing ST-1
"What I lack in talent I make up for with enthusiasm"
Still haven't made it to the green shed to get that longer flush trim bit, but I did call in to Jaycar and grab a locking jack socket and test fit it into a bit of scrap:
I've also got confirmation that my back-ordered bridge has finally shipped from Germany, so I'll be able to finish off the body core soonish and start oiling it.
Sent from my SM-G955F using Tapatalk
__________________________
#4 - Zero Budget
#3 - Semi-Scratch Baritone w. PBG 30" Tele neck
#2 - EX-1
#1 - ST-1M
Wiring plan!
Very simple for this one. Single volume, single tone - both push-push toggles, when pushed in, the corresponding pickup is in the mix. When pushed out, that pickup is excluded. A three-way switch would be simpler and more effective, but this keeps the controls super minimal. I also have some scope in future to add a three-way switch and rewire these as coil splitters - particularly if I'm not happy with the long baritone scale and want to convert it to a bass VI.
For 6 weeks I've been asking myself:
Ah, excuse me
Oh, will ya excuse me
I'm just trying to find the bridge
Has anybody seen the bridge?
Please
Have you seen the bridge?
I ain't seen the bridge!
Where's that confounded bridge?
Today it finally arrived!
And it appears to mean business. Through body mounting screws with their own bushings and a 6 way ferrule thing that I'll need to ground because the saddles themselves are plastic.
Plus, I did this stuff last weekend before everything went downhill in a hurry:
Getting very close to a point where I can do a test build which is very exciting.
Sent from my SM-G955F using Tapatalk
__________________________
#4 - Zero Budget
#3 - Semi-Scratch Baritone w. PBG 30" Tele neck
#2 - EX-1
#1 - ST-1M
Ive used this Hannes 6 on my TLA, its a reall nice bridge
FrankenLab
Hand crafting guitars, because Death Rays are expensive.
 Posting Permissions


 Reply With Quote


