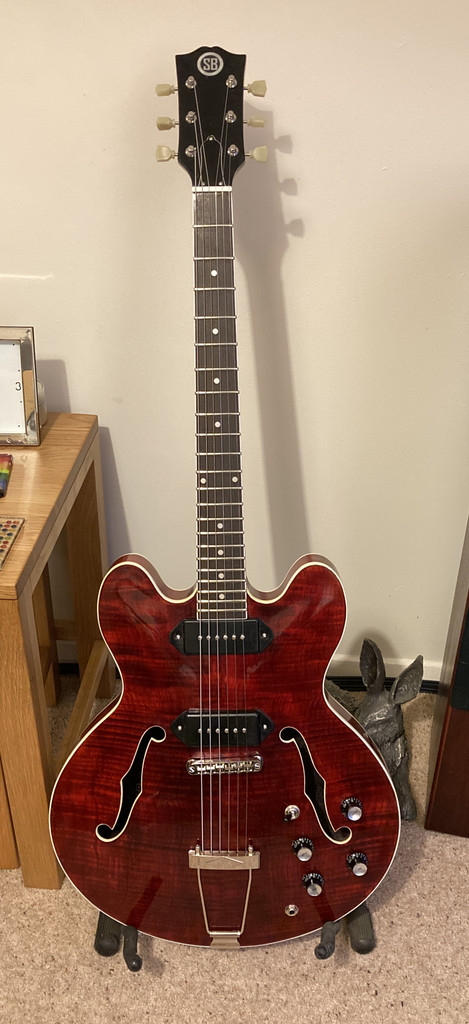
Very nice Simon. I do agree with your cosmetic changes of the knobs and pickup covers though. Sometimes it's those little things that make a big difference.
Are they ever? Most of mine seem to be perpetual works in progress.And it's not finished. Assembled, but not finished.


 Reply With Quote