Page 3 of 13 FirstFirst 1 2 3 4 5 ... LastLast
Results 21 to 30 of 124

Thread: Andrews sta1

  1. #21
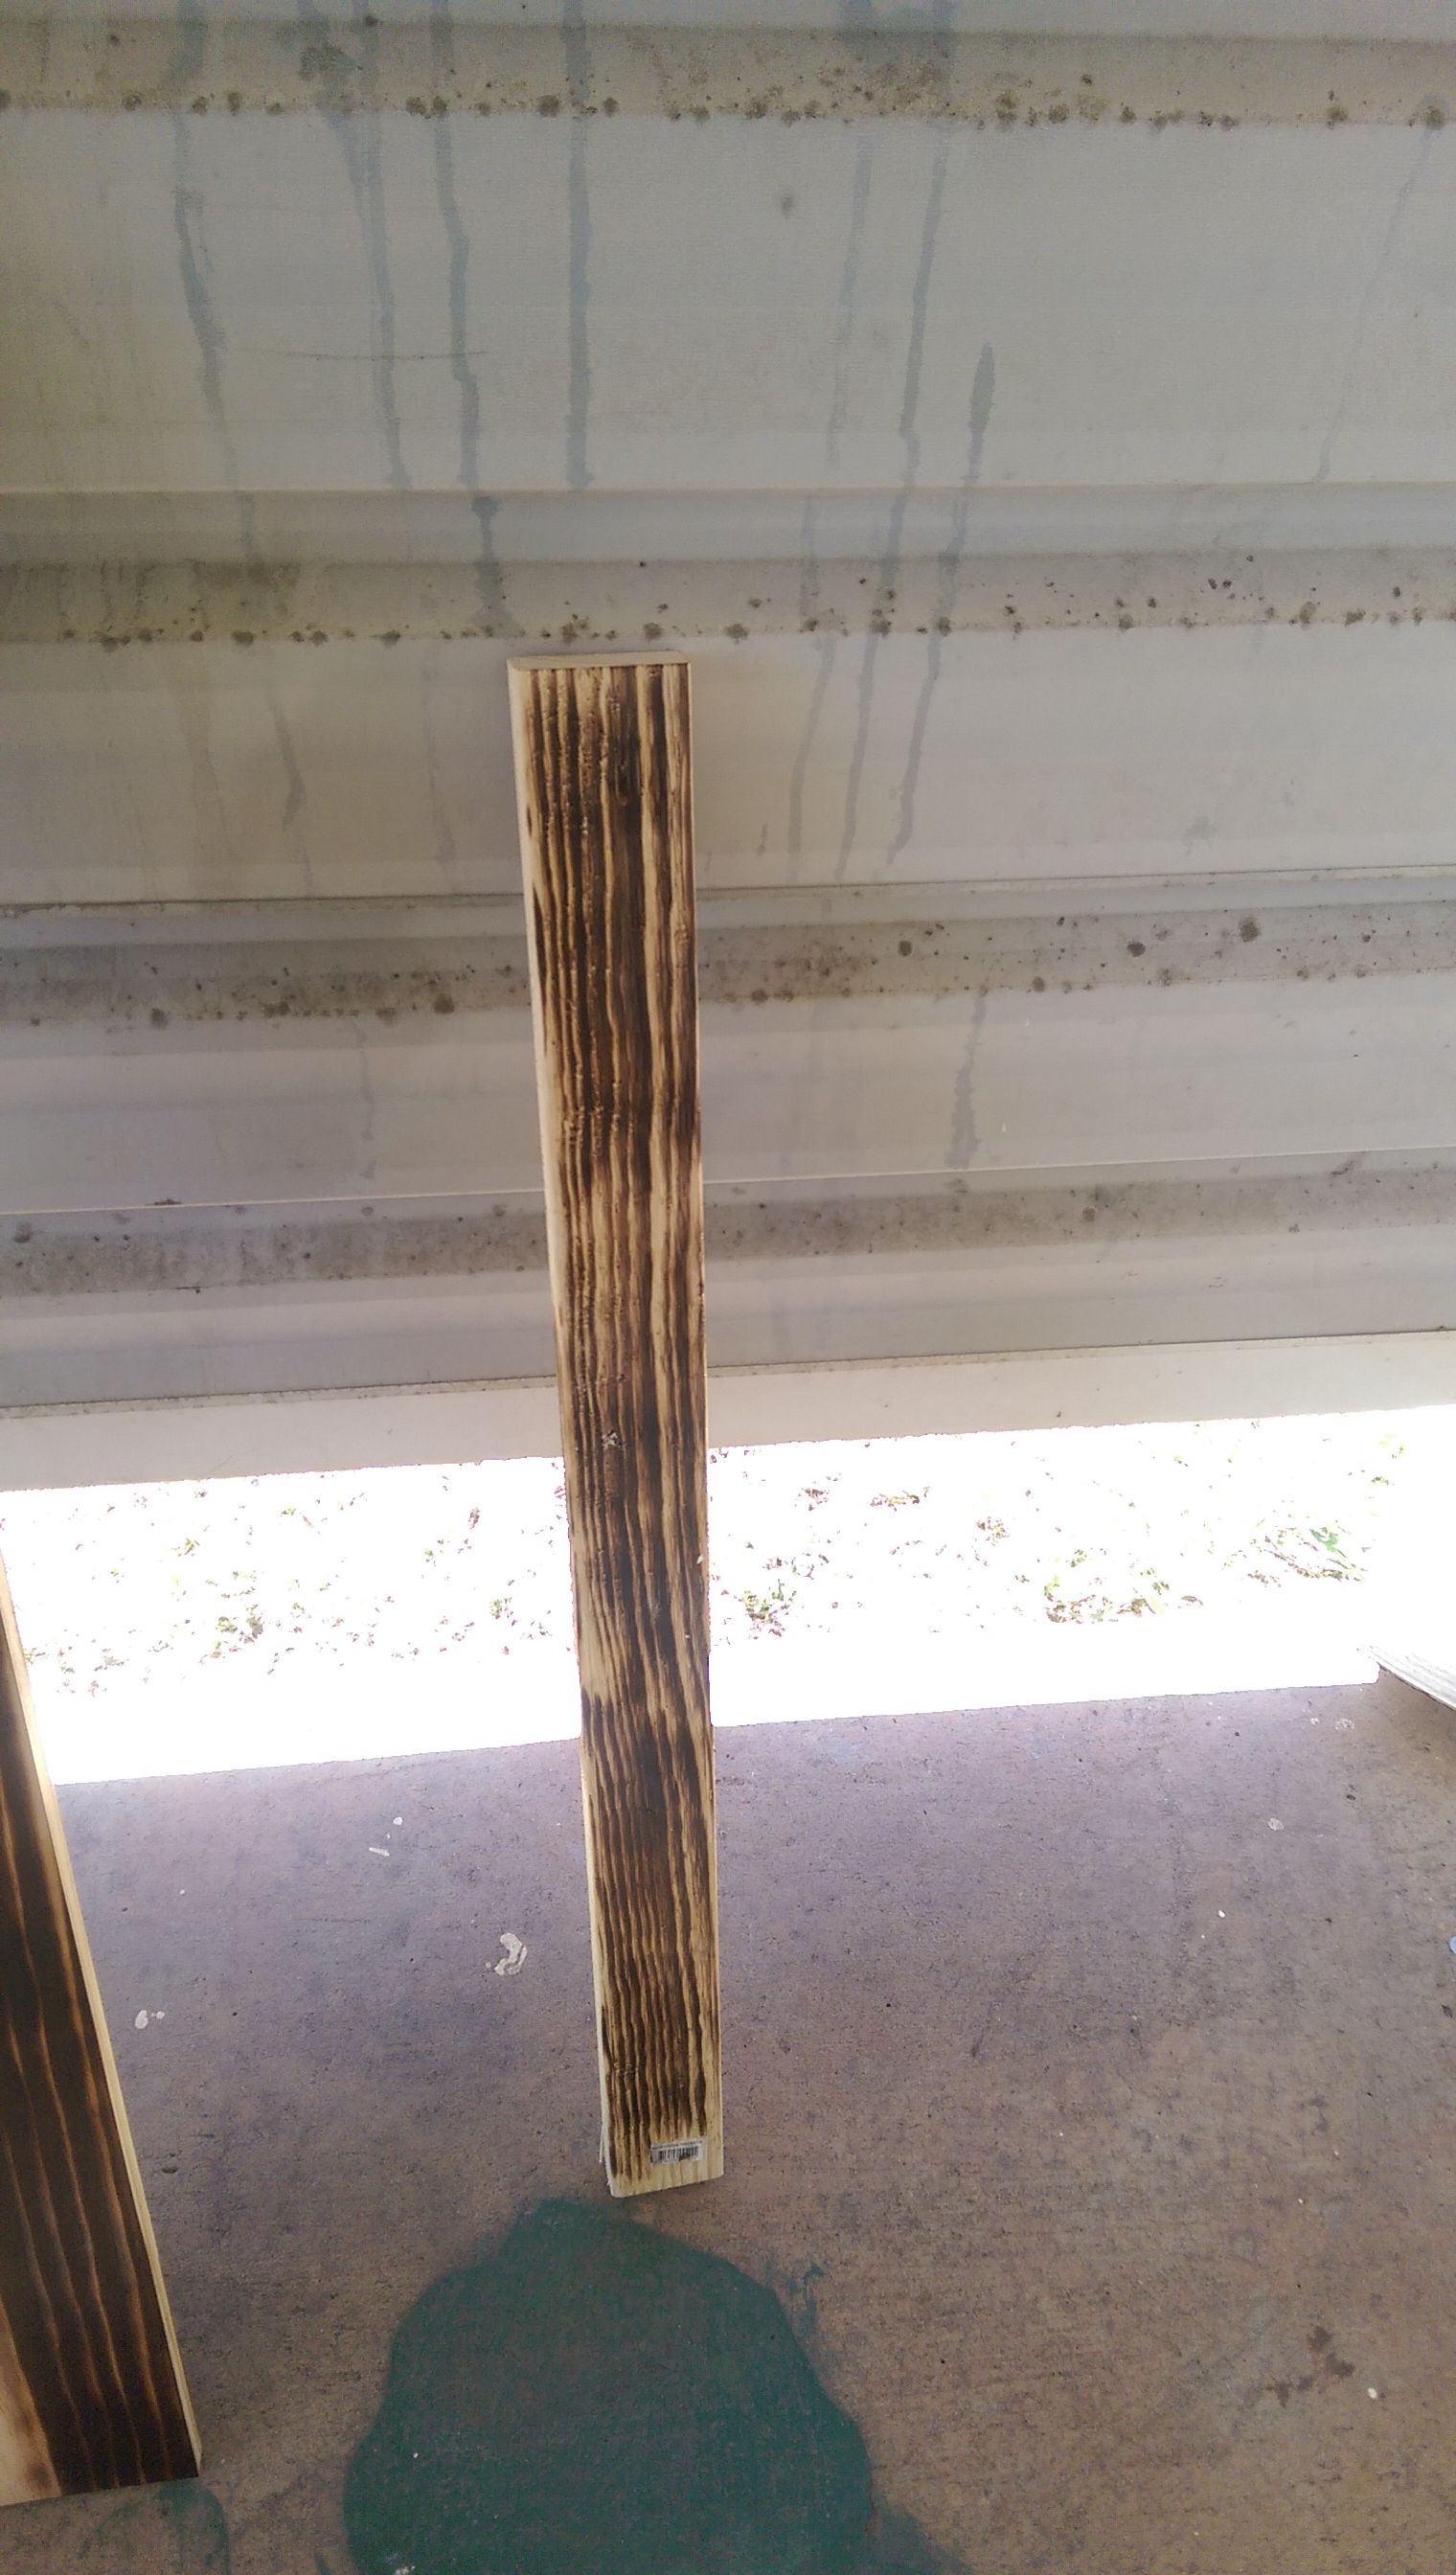
    Just thought I'd throw this up. From left to right is the finish test run, left with just tru oil going in varying shades of fw stain. All patches have Just the one coat of to.

    Also, anyone know if it's ok to put the acrylic sprayed k go on or under to?


  2. #22
    Overlord of Music gavinturner's Avatar
    Join Date
    May 2013
    Location
    HOLGATE NSW
    Posts
    3,057
    Hey Andrew, I have had bad experiences spraying lacquer over TO. In general I would have to say it's a bad, bad idea. On my scratchy project for instance the TO really brings out the grain initially, but the lacquer I sprayed over it didn't stick properly to the surface of the wood. Any little bump, screw or whatever is enough to cause a bubble under the lacquer. The TO gives it nothing to grab on to. Got a ruined project to teach me that little lesson!

    cheers,
    Gav.
    --
    Build #01: BC-1
    Build #02: ST-1
    Build #03: JR-1DC
    Build #04: ES-2V
    Build #05: ESB-4 (GOTM July 2014)
    Build #06: RC-1
    Build #07: MK-2
    Build #08: TLA-1
    Build #09: JR-1DC
    Build #0A: LPA-1
    Build #0B: STA-1 (GOTM April 2015)
    Build #0C: MKA-2
    Build #0D: LP-1M
    Build #0E: JB-1
    Build #0F: FS-1

    Find me:
    https://www.facebook.com/firescreek.guitars/
    http://www.guitarkitbuilder.blogspot.com.au/

  3. #23
    What about sanding sealer, acrylic logo, another coat of sealer just over the logo then to? That way the acrylic is completely isolated from the oil.

  4. #24
    Overlord of Music gavinturner's Avatar
    Join Date
    May 2013
    Location
    HOLGATE NSW
    Posts
    3,057
    Will probably be fine if it's just a small patch.

    cheers,
    Gav.
    --
    Build #01: BC-1
    Build #02: ST-1
    Build #03: JR-1DC
    Build #04: ES-2V
    Build #05: ESB-4 (GOTM July 2014)
    Build #06: RC-1
    Build #07: MK-2
    Build #08: TLA-1
    Build #09: JR-1DC
    Build #0A: LPA-1
    Build #0B: STA-1 (GOTM April 2015)
    Build #0C: MKA-2
    Build #0D: LP-1M
    Build #0E: JB-1
    Build #0F: FS-1

    Find me:
    https://www.facebook.com/firescreek.guitars/
    http://www.guitarkitbuilder.blogspot.com.au/

  5. #25
    Sanded back with wax and grease remover. Looks so good I just wanna clear her! Did a few more test runs on pine, but now it's show time.


  6. #26

  7. #27
    GAStronomist stan's Avatar
    Join Date
    Aug 2013
    Location
    Geelong, Vic
    Posts
    5,290
    this is looking really interesting!

    I see you put nail polish on for the second shot - nice touch

  8. #28

  9. #29
    Took it off in time to do the front though haha

  10. #30
    GAStronomist wokkaboy's Avatar
    Join Date
    Dec 2012
    Location
    Perth WA
    Posts
    13,555
    Andrew how did you get that effect of the dark grain ? did you stain it black and rub it back or use some burning technique you talked about ? looks awesome and glad you removed the nail polish haha
    Current Builds and status
    scratch end grain pine tele - first clear coat on !
    JBA-4 - assembled - final tweaks
    Telemonster double scale tele - finish tobacco burst on body and sand neck

    Completed builds
    scratch oak.rose gum Jazzmaster - assembled needs setup
    MK-2 Mosrite - assembled - play in
    Ash tele with Baritone neck - neck pup wiring tweaks and play in

Page 3 of 13 FirstFirst 1 2 3 4 5 ... LastLast

Tags for this Thread

Posting Permissions

  • You may not post new threads
  • You may not post replies
  • You may not post attachments
  • You may not edit your posts
  •