Results 1 to 4 of 4

Thread: Bridge placement on a bass

  1. #1
    Moderator Brendan's Avatar
    Join Date
    Apr 2013
    Location
    Perth, WA
    Posts
    3,444
    Taken from DB's tute on how to set a bridge on a bass. Original posts here:http://www.buildyourownguitar.com.au...ead.php?t=1895 - All credit to DingoBass for this - I've just put it here to make it easier to find.

    Read this after http://www.buildyourownguitar.com.au...ead.php?t=1873 - this is only a quick primer on how to align your bridge on a bass.

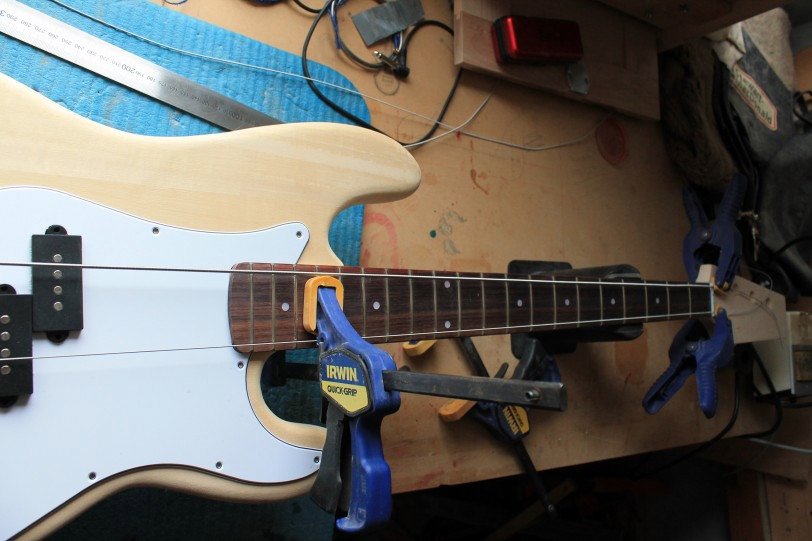
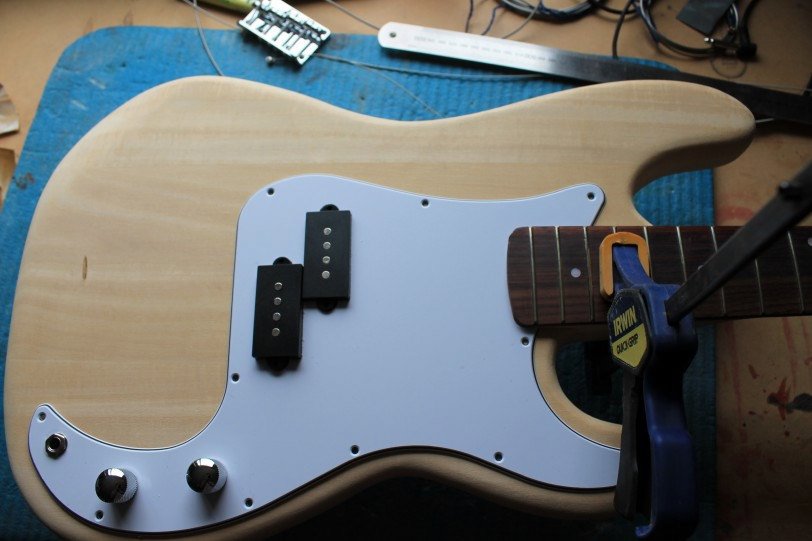
    First, jam the neck in as far as it will go, clamp it and then drop the scratch plate on.(make sure your clamp is clear of the holes, as you may as well drill these when everything is set up)
    This should have a fairly tight fit around the neck heel, mine did.

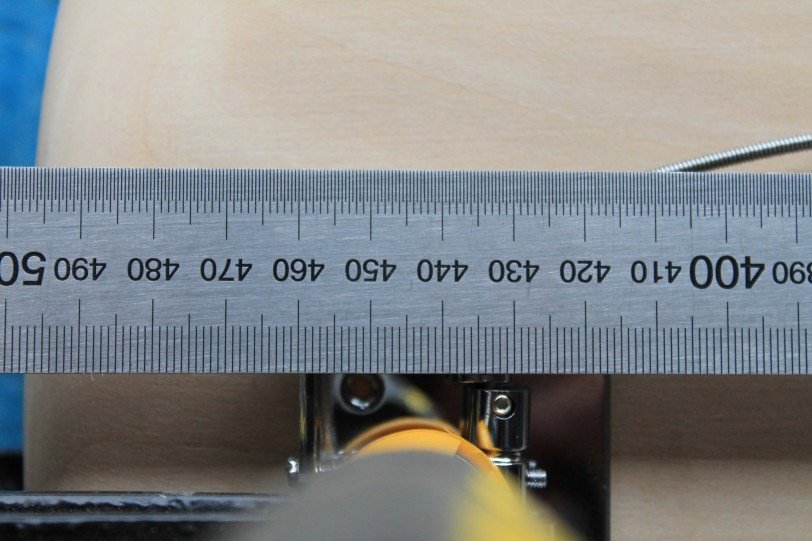
    Then grab your bridge and trusty rule or tape measure, you will notice that I have got a measurement of 460mm to the out side edge of the bridge plate (measuring from the middle of the 12th fret wire). This gives you a good scale length with plenty of wiggle room and adjustment for intonation. [EDIT - lengths may vary from guitar to guitar - check that the length between the nut and the top of the 12th fret is about the same as the top of the 12th fret to about the middle of the saddles on the bridge - see http://www.buildyourownguitar.com.au...ead.php?t=1873

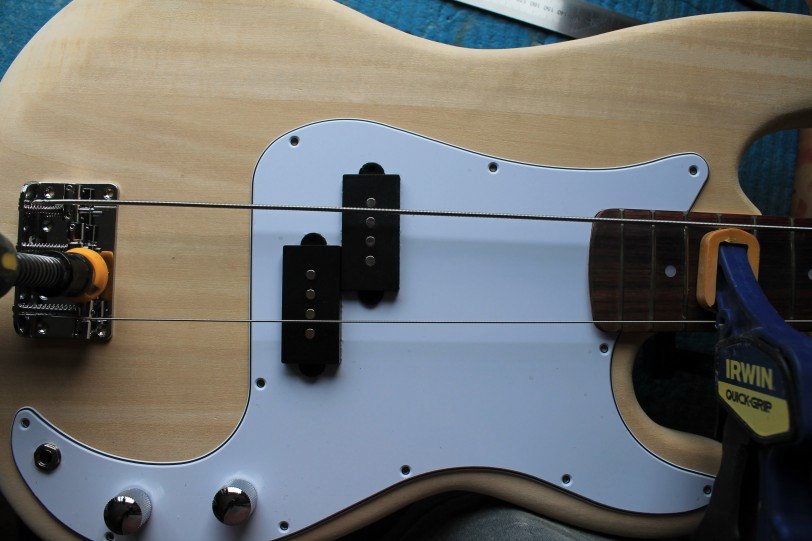
    Clamp the bridge lightly and run the E and G strings through and clamp them on the headstock


    When you have got this sorted, you will be able to move the bridge side to side until you have the strings equally spaced along the neck.
    Last edited by Brendan; 04-05-2017 at 07:00 PM.

  2. #2
    Moderator Brendan's Avatar
    Join Date
    Apr 2013
    Location
    Perth, WA
    Posts
    3,444
    Now have a look to see how well the strings are placed over the pups. You will be able to move the scratch plate enough to get these lined up perfectly.

    If you have problems getting the strings and pup alignment right, you will notice that with some careful work with a half round file at the neck you will be able to rectify this.


    Once you are satisfied, check everything again and then once more!
    Drill the bridge mount holes, pick guard holes and finally the neck holes.
    Now it is time to go fully sick with sanding and finishing!

  3. #3
    GAStronomist Simon Barden's Avatar
    Join Date
    Oct 2016
    Location
    Reading, UK
    Posts
    10,547
    If your neck has pre-drilled holes, you could simply screw the neck on rather than clamp it. If the holes are pre-drilled (I know not all of them are) then clamping may give the wrong neck placement. Not by a lot, but sometimes enough to make a difference.

    And Brendan, the last link in the first post doesn't link correctly - takes you to a "forums have moved" page.

  4. #4
    Moderator Brendan's Avatar
    Join Date
    Apr 2013
    Location
    Perth, WA
    Posts
    3,444
    Quote Originally Posted by Simon Barden View Post
    And Brendan, the last link in the first post doesn't link correctly - takes you to a "forums have moved" page.
    Fixed!
    Thanks

Posting Permissions

  • You may not post new threads
  • You may not post replies
  • You may not post attachments
  • You may not edit your posts
  •