


Third or fourth attempt at replacing fret dots and thought I'd put up a little how to for anyone who's interested. While the technique may not be totally correct - it fits the tools, skill level and time I have and achieves the outcome I'm looking for.
Estimated time ~ 3 - 4 hours depending on how accurate / lucky you are in getting the fret dots in.
Level of difficulty: Beginner (ish). i.e., not too hard, but it is possible to stuff things up and you have to drill the dot out again. I am only on my 3rd, 4th and 5th build and have no woodworking experience to draw on, so if I can do it, it must be at the hardest beginner. NOTE - it is also possible to damage the fretboard with some dings, etc, so you do need to be careful.
Overall cost: Dots ~$.15 add $7 for delivery to Aus. Tools wear and tear, bit of sandpaper and some superglue. So for one guitar call it ~$8, cheaper if you order enough dots for a couple of guitars.
Ingredients:
Drill with sharp 2.5 - 3mm bit
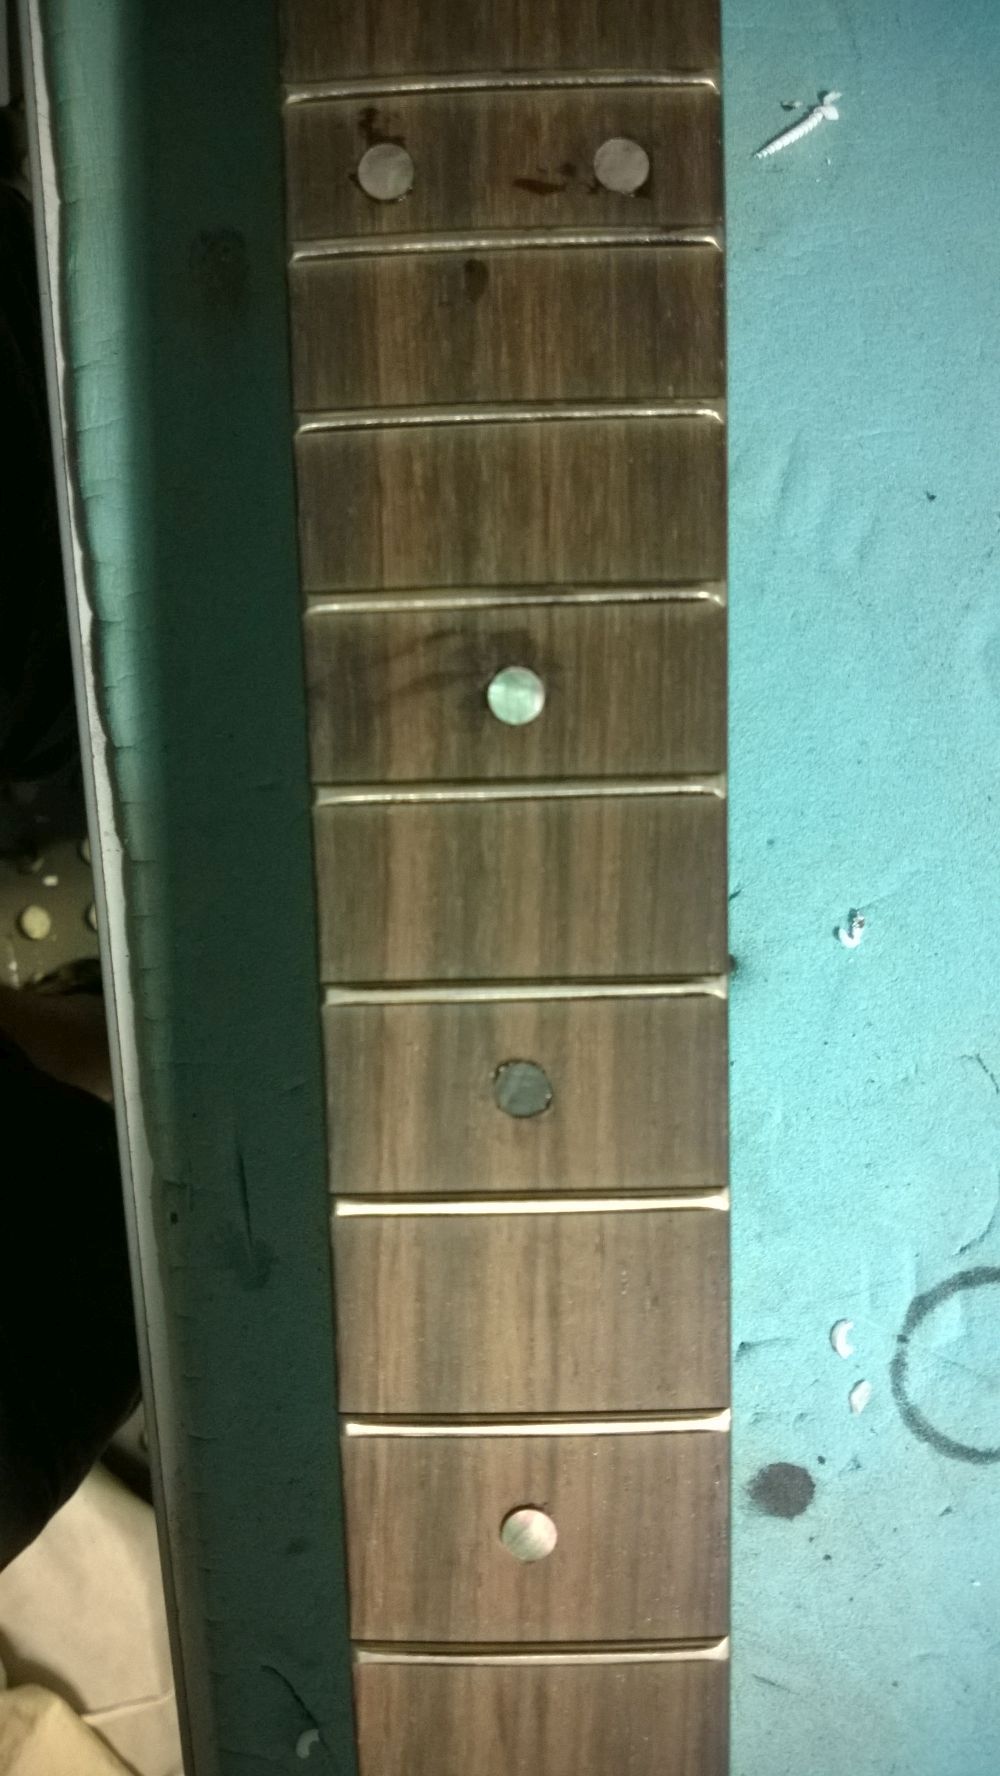
Fret dots - PBG fret dots are apparently 6mm, so go for those - mine were sourced from: http://orders.mopsupplies.com/. Australian company and quick to turn around. Only ordered from them once so currently have 100% success rate for me! Other than that eBay???
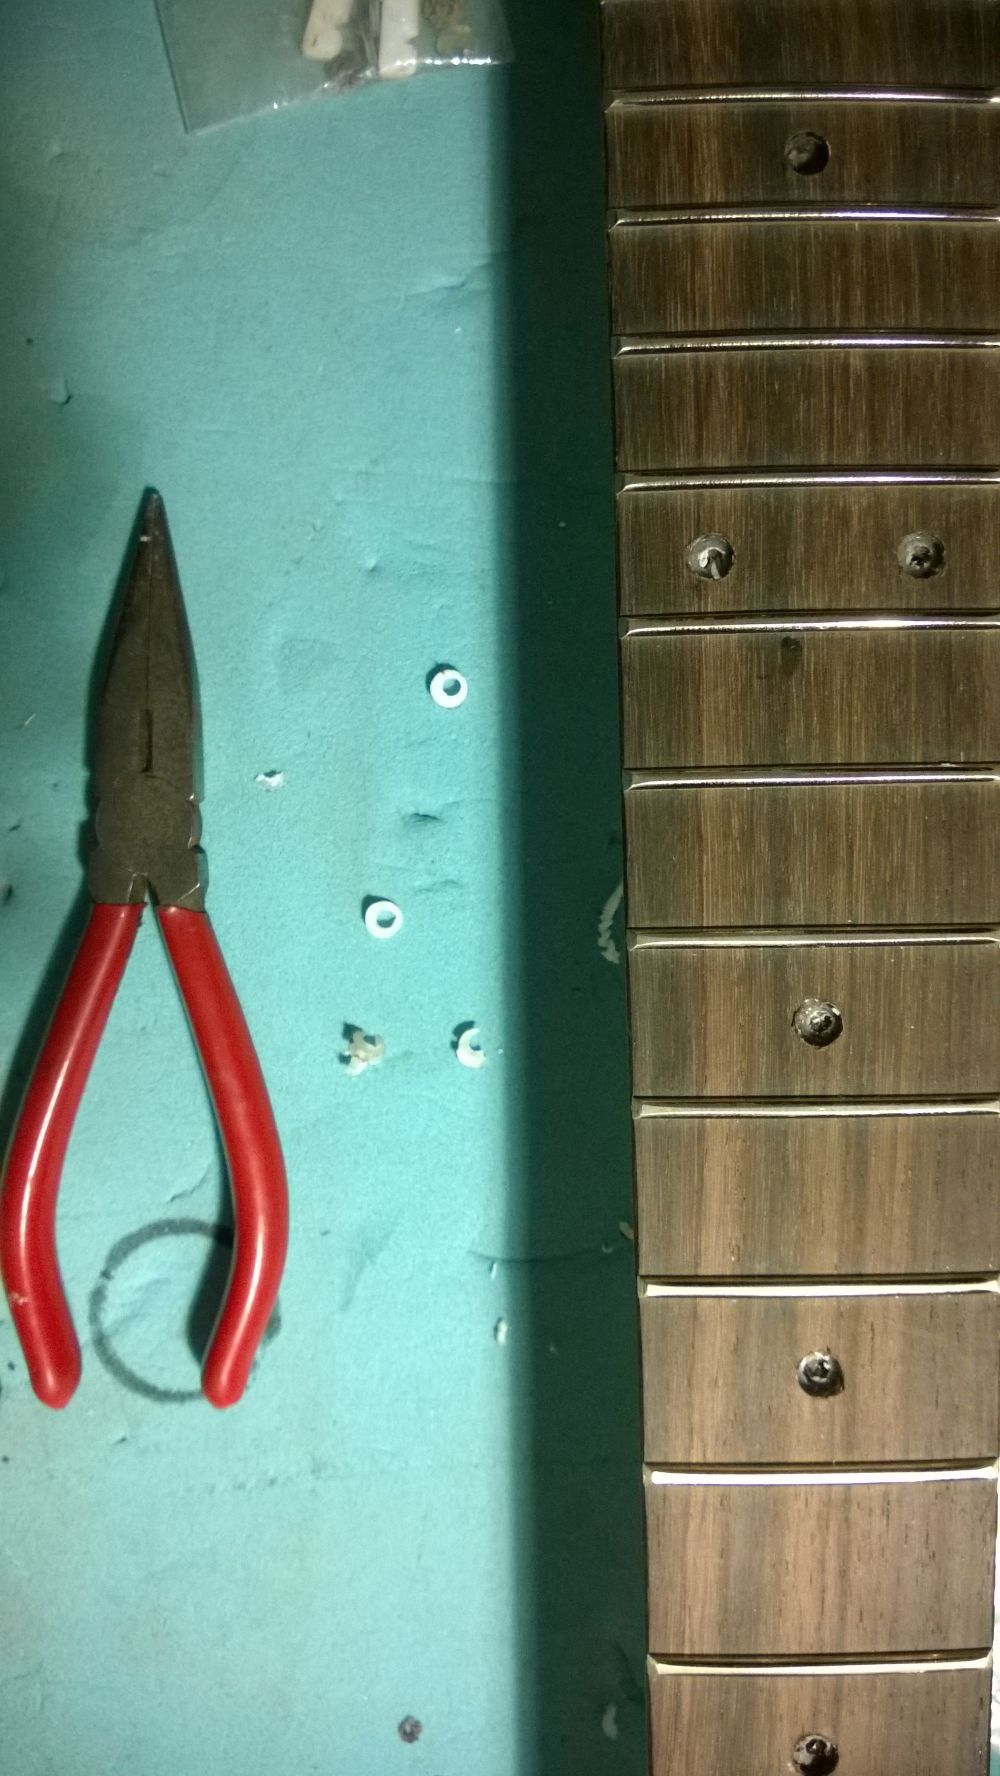
Needle nose pliers.
Stanley knife.
Safety glasses.
Small file.
Couple of grits of sandpaper and some steel wool (180, 240, 400, 800, 1200 and 0000).
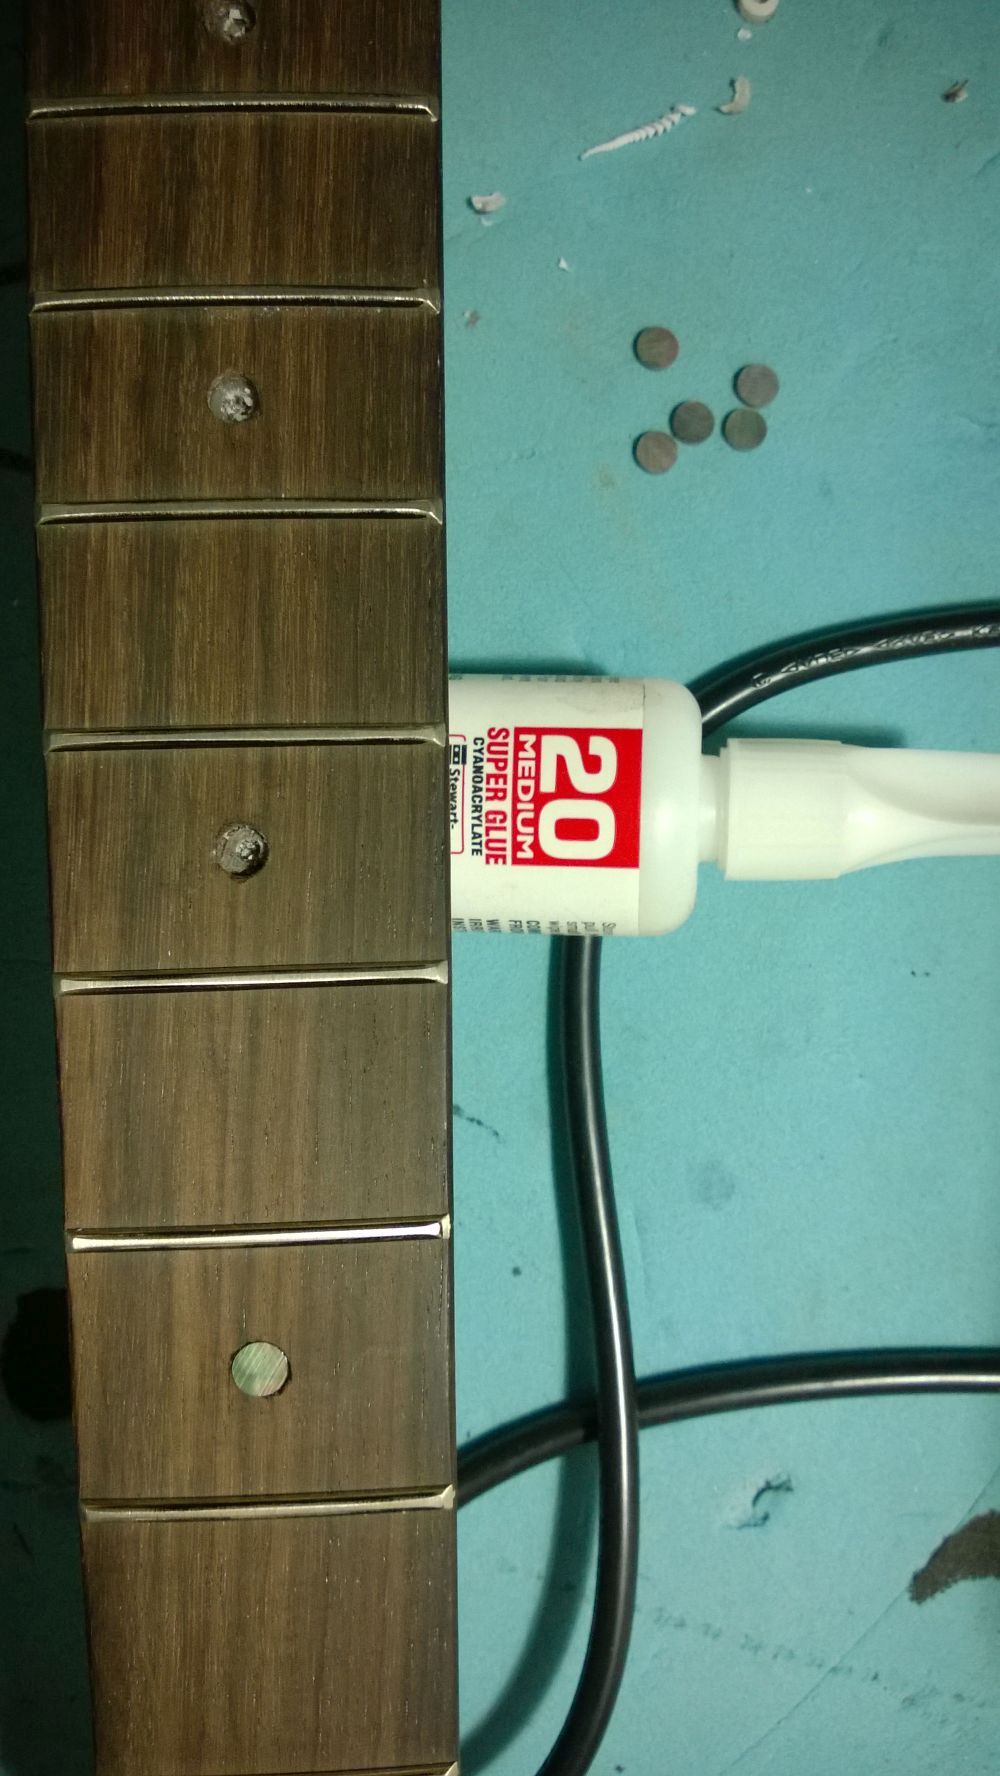
Superglue - StewMac #10 or #20 is spot on for the job.
Dremel (handy if you order dots that are too big - but shouldn't be required if you don't). Could also be substituted with a drill press and 1/4" brad point drill bit.
Tip: Throughout the steps below, the word Gently will make a regular appearance. If you are not gentle, you can chip the fretboard, drill a whole lot deeper than you want, etc. So, don't rush and be gentle.
(being a beginner I've put in everything so sorry if it's a touch simple / dry):
Also forgot to take a photo of the tools, though did take photos of most of the key steps... May do a vid at some point - need some more dots and another neck first though.


 Reply With Quote
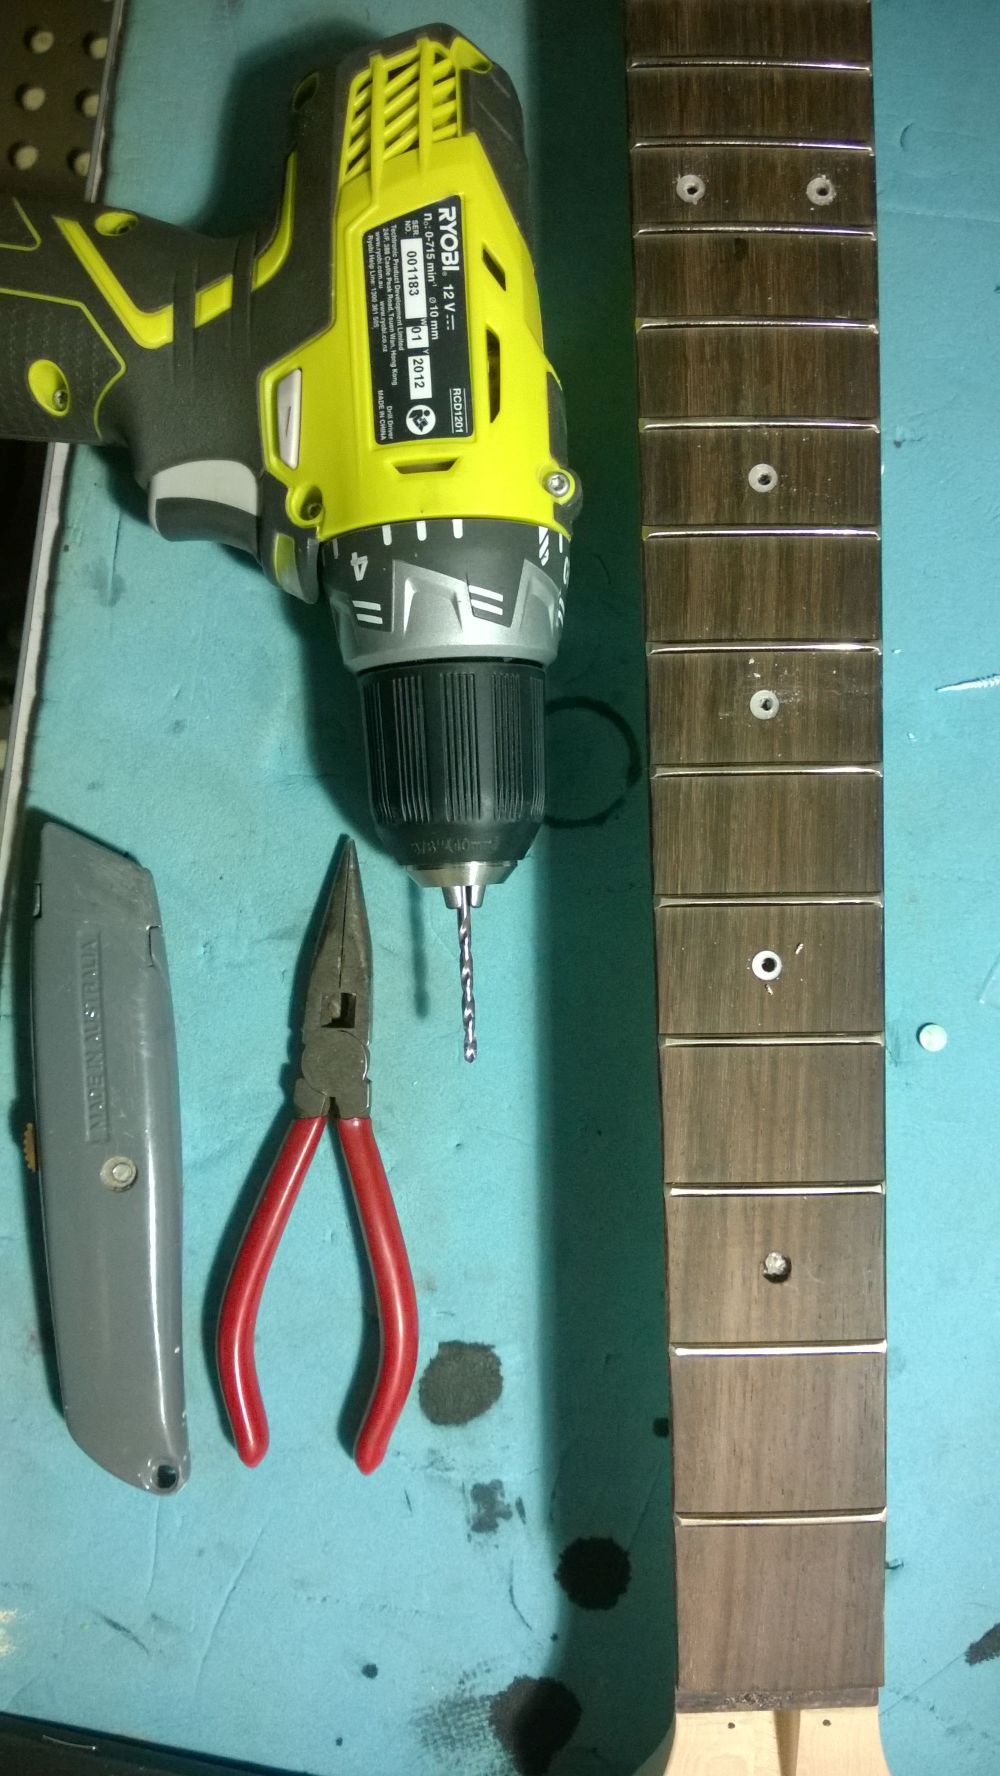


 Gavmeister


