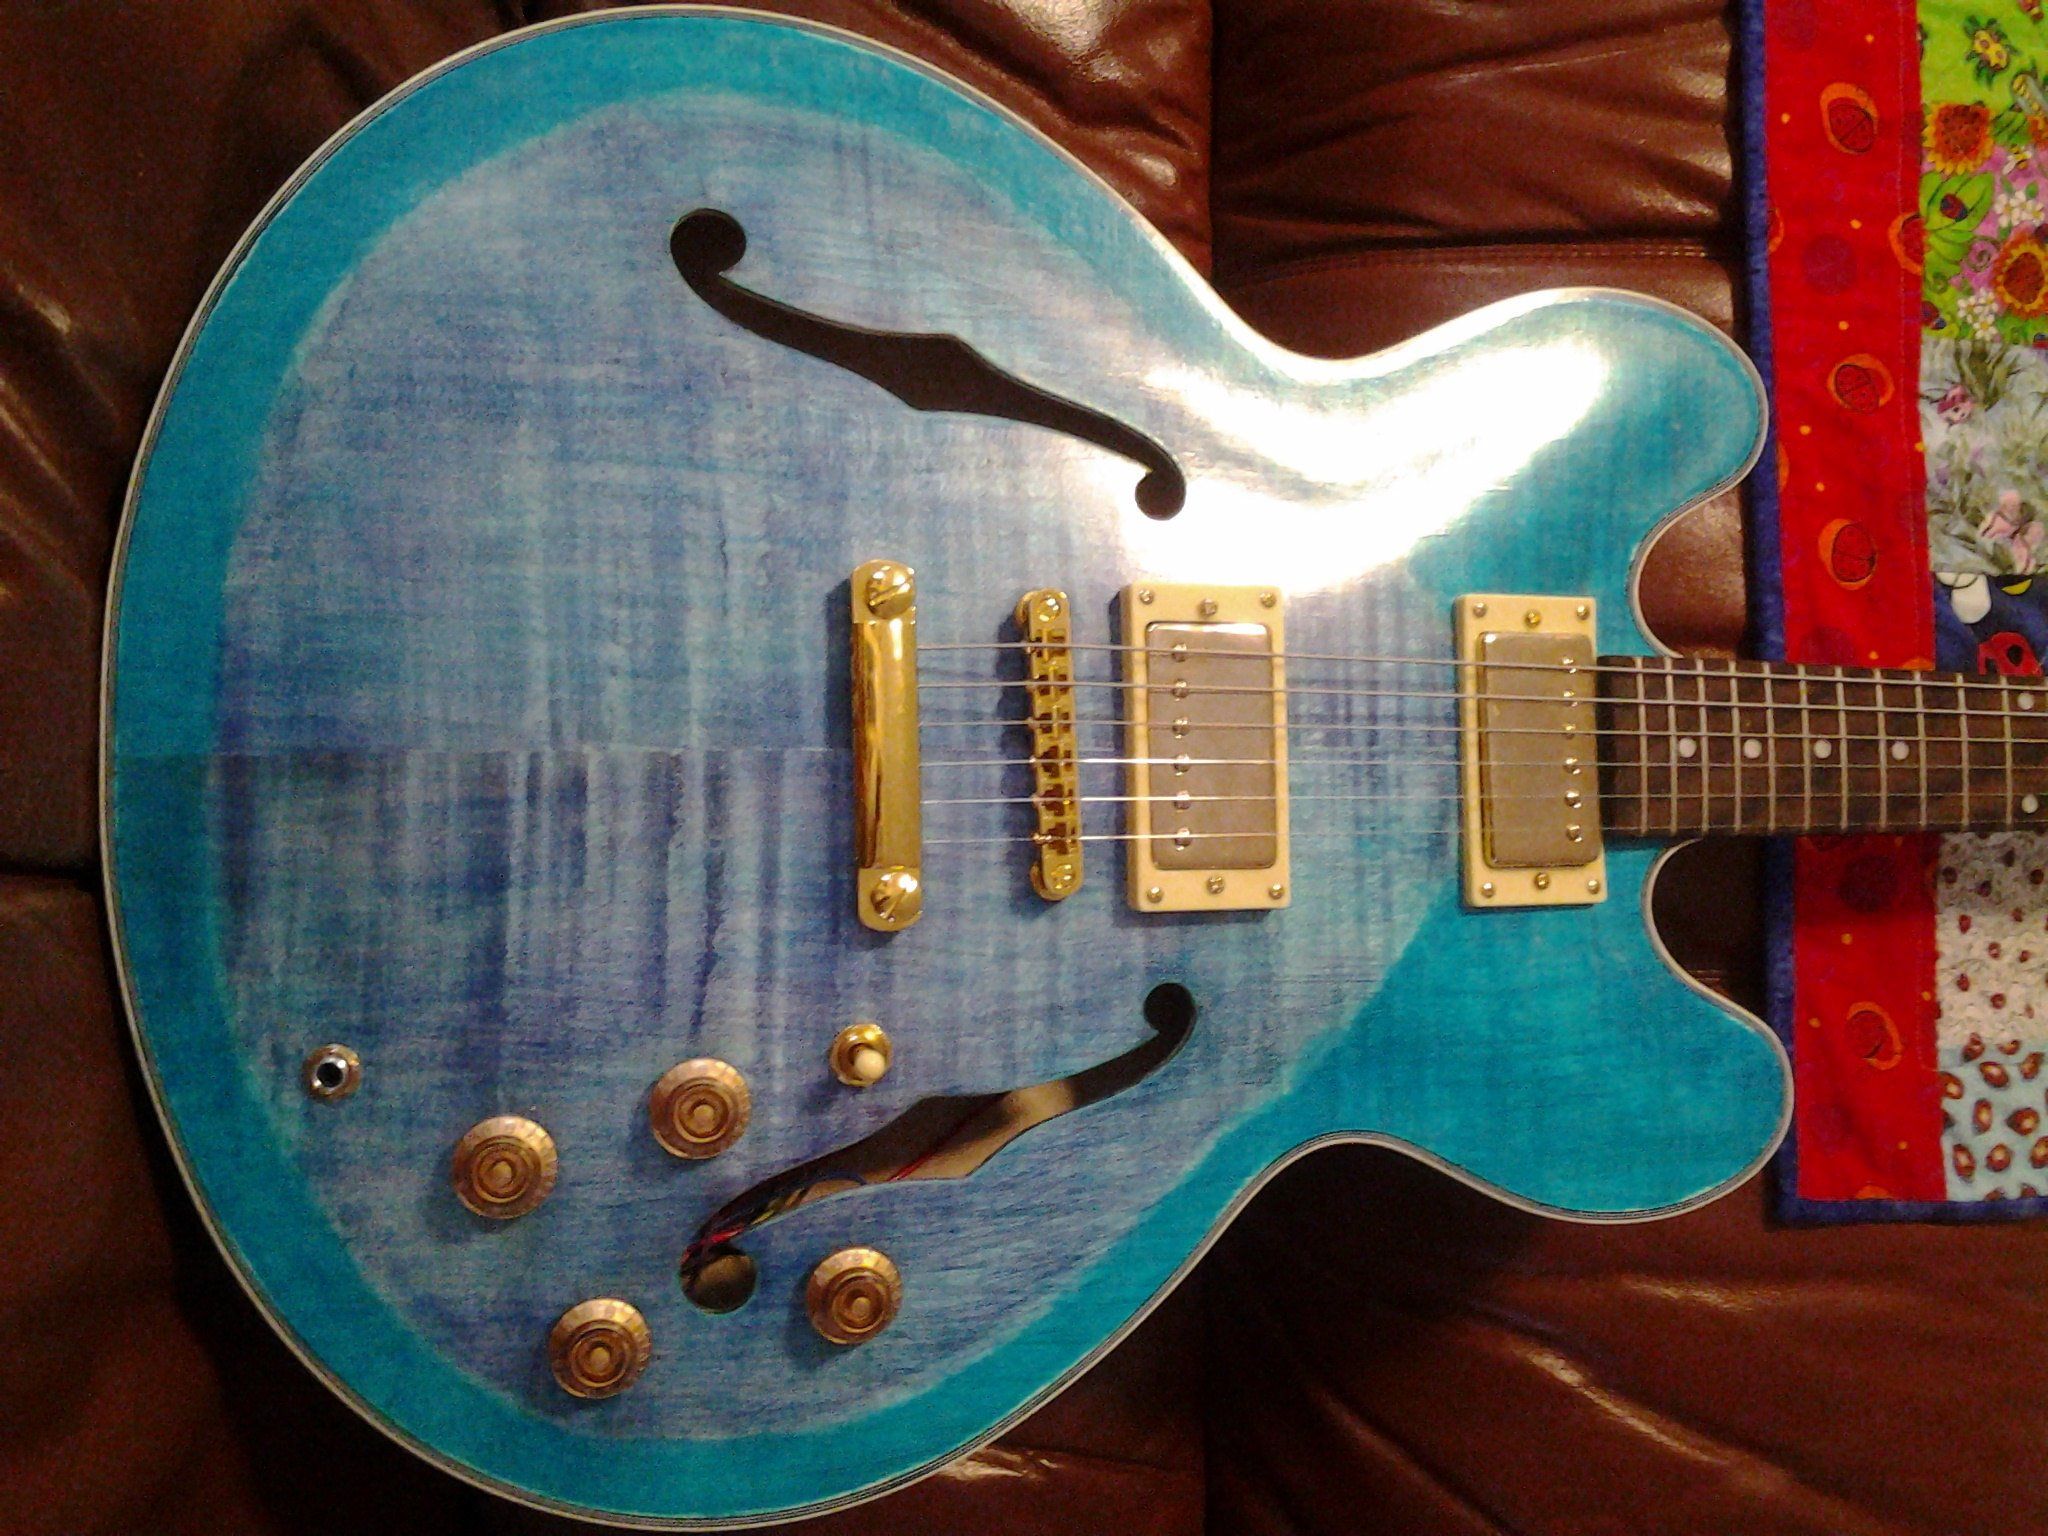
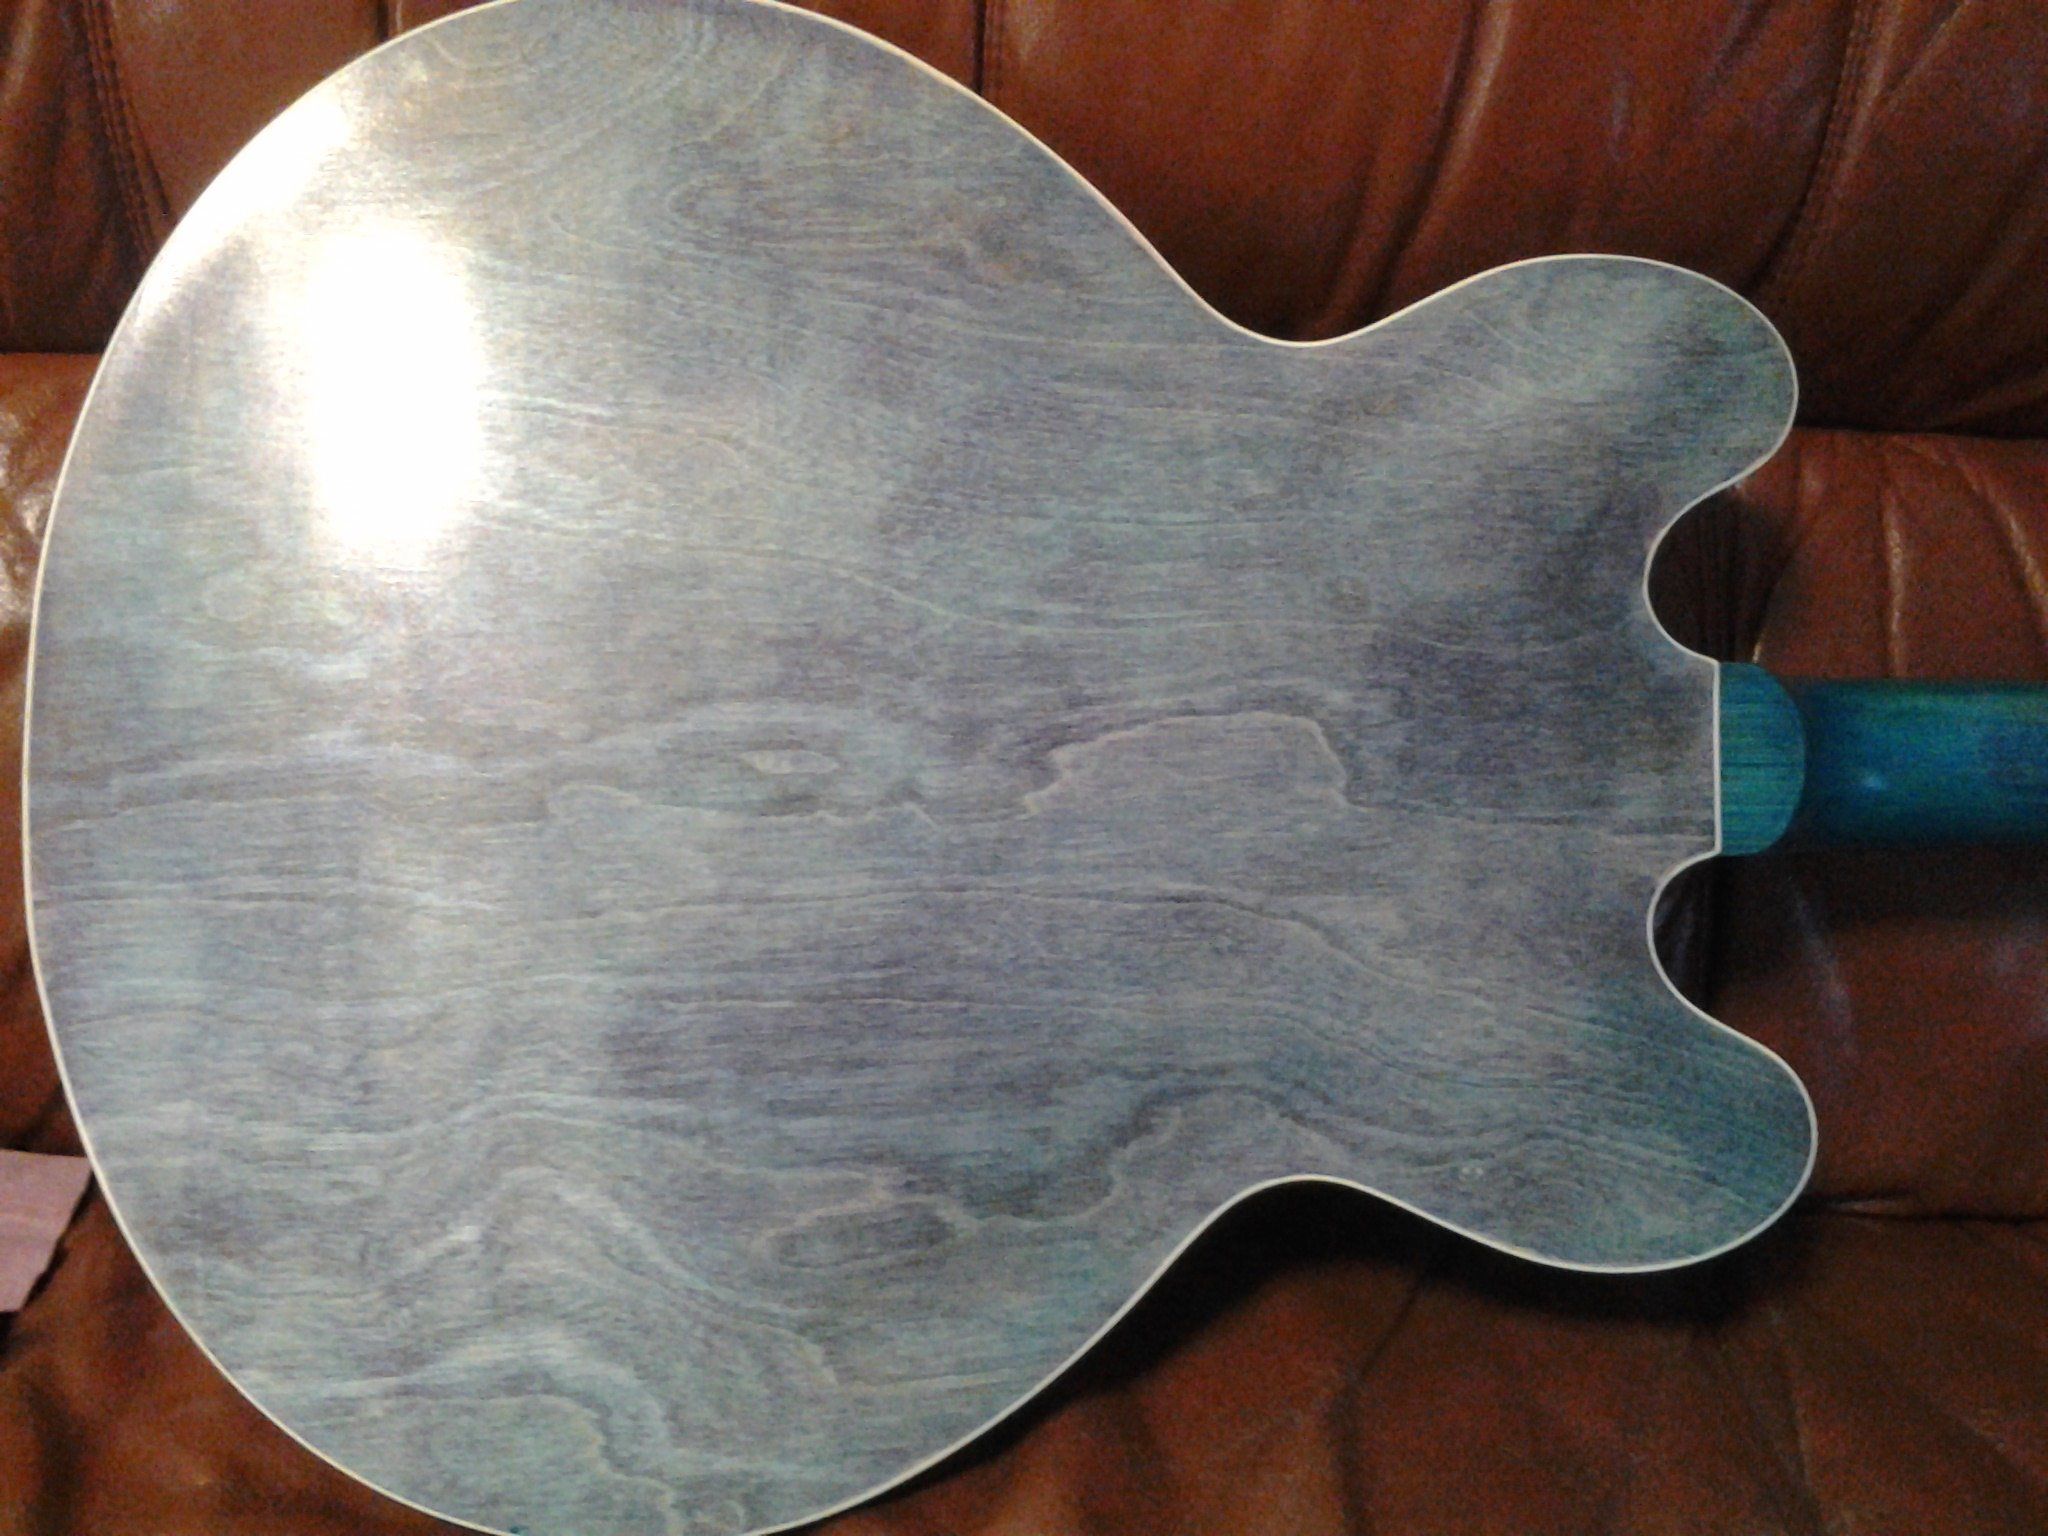
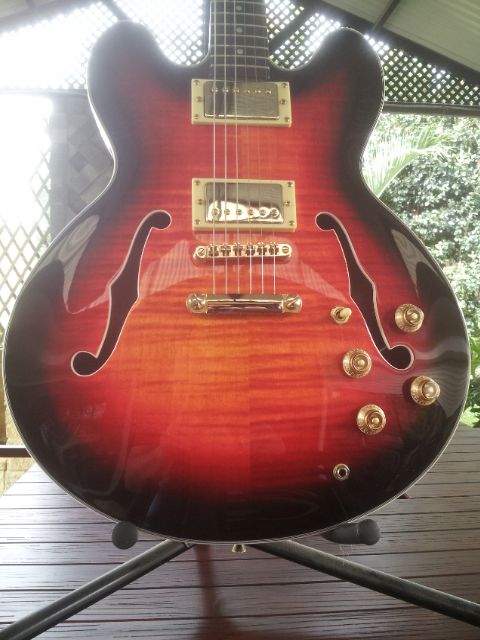
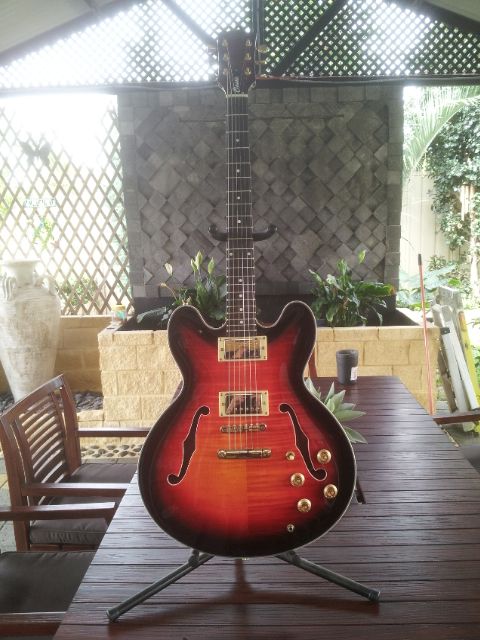
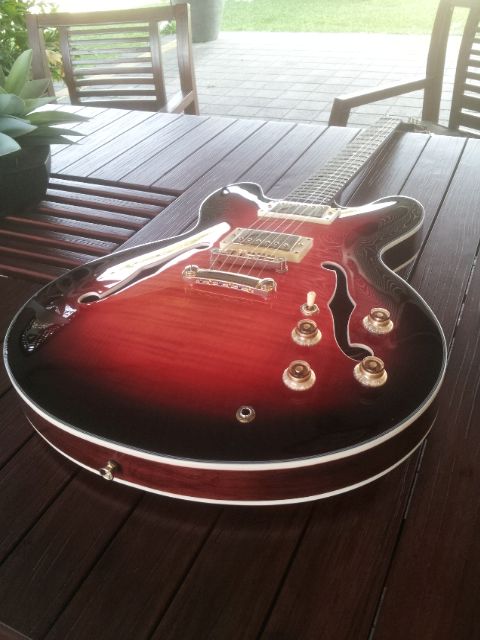
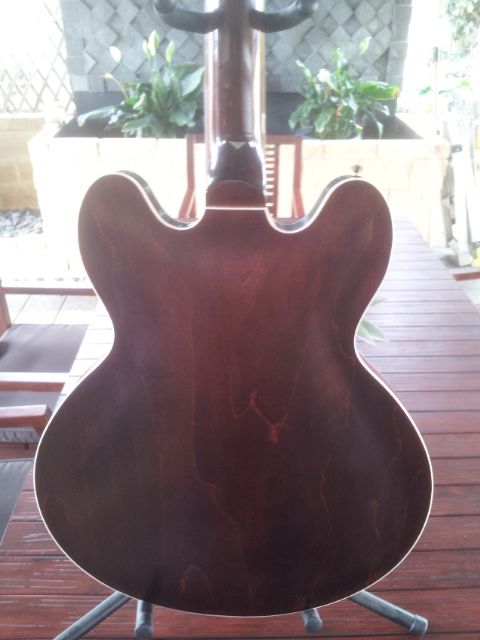
Results 1 to 10 of 10

Thread: ES-1G

  1. #1
    ES-1G Kit

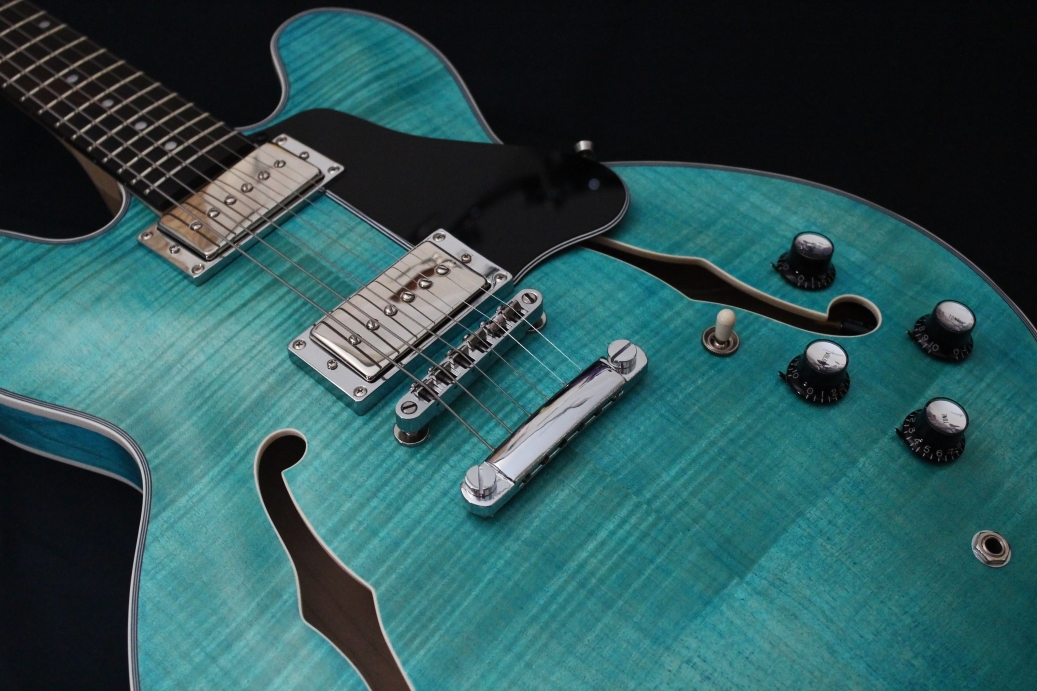
    Azure Lagoon and Dark Onyx custom colour
    Colourless Neck and Satin Black Headstock

    Upgrades to the kit are as follows;

    - Tonerider P90 pickups in a Humbucker case
    - Nickel surrounds
    - Switchcraft 3 way switch and jack
    - CTS audio taper pots all round
    - Black Bee Oil-in-Paper tone caps
    - 3 ply pick guard and ES335 pick guard bracket
    - Tusq nut
    - Shielded "vintage" wiring
    - Set of D'Addario Jazz "Light" strings


  2. Liked by: Marcus V, TimC

  3. #2
    First attempt at applying sunburst colouring. Thought the back came out great.


  4. #3
    Mentor jarrod's Avatar
    Join Date
    Nov 2013
    Location
    Perth
    Posts
    921

    Es-1g

    Done in sunburst amber to red to mahogany all standard parts except the pots and switch and caps. Pups will be changed out to rocksongs.
    Acrylic clear and satin clear on the back,
    Thanks for looking


  5. #4
    Mentor jarrod's Avatar
    Join Date
    Nov 2013
    Location
    Perth
    Posts
    921

    Es-1g

    And some more


  6. #5
    Overlord of Music andrewdosborne's Avatar
    Join Date
    May 2014
    Location
    Sydney, NSW
    Posts
    2,751

    Es-1g

    All stock apart from truss rod cover, pots, gold vintage speed knobs, orange drop caps and input jack.

    Finish - all Colortone w/Tru Oil.

    Click image for larger version. 

Name:	IMG_0352-w800-h600.jpg 
Views:	483 
Size:	17.7 KB 
ID:	3118
    Click image for larger version. 

Name:	IMG_0353-w800-h600.jpg 
Views:	341 
Size:	23.3 KB 
ID:	3119
    Click image for larger version. 

Name:	IMG_0357-w800-h600.jpg 
Views:	396 
Size:	30.0 KB 
ID:	3120
    Click image for larger version. 

Name:	IMG_0358-w800-h600.jpg 
Views:	323 
Size:	27.8 KB 
ID:	3121
    Click image for larger version. 

Name:	IMG_0359-w800-h600.jpg 
Views:	401 
Size:	26.6 KB 
ID:	3122


    Last edited by andrewdosborne; 09-05-2015 at 08:15 PM.
    Current Projects
    #Planning 5 String Bass

  7. Liked by: Marcus V, TimC, Wisdom

  8. #6
    Member
    Join Date
    Jan 2016
    Location
    Eatons Hill QLD
    Posts
    14

    Wink Cherry Red ES1

    Finally finished and setup ES1. Still fiddling with my setup & action hight. But I'm very pleased.intonation is perfect, & it's lovely to play.
    My first ever!
    Attached Thumbnails Attached Thumbnails Click image for larger version. 

Name:	image.jpeg 
Views:	522 
Size:	176.6 KB 
ID:	11070   Click image for larger version. 

Name:	image.jpeg 
Views:	349 
Size:	320.0 KB 
ID:	11071   Click image for larger version. 

Name:	image.jpeg 
Views:	383 
Size:	131.3 KB 
ID:	11072   Click image for larger version. 

Name:	image.jpeg 
Views:	336 
Size:	241.8 KB 
ID:	11073   Click image for larger version. 

Name:	image.jpeg 
Views:	335 
Size:	128.7 KB 
ID:	11074  


  9. #7
    Member
    Join Date
    Oct 2017
    Location
    Townsville
    Posts
    22
    Hi guys just finished this , my first Pit Bull build

    Click image for larger version. 

Name:	Webp.net-resizeimage (7).jpg 
Views:	304 
Size:	677.0 KB 
ID:	24136
    Click image for larger version. 

Name:	Webp.net-resizeimage (9).jpg 
Views:	267 
Size:	313.2 KB 
ID:	24137
    Click image for larger version. 

Name:	Webp.net-resizeimage (8).jpg 
Views:	247 
Size:	300.0 KB 
ID:	24138
    Click image for larger version. 

Name:	Webp.net-resizeimage (7).jpg 
Views:	304 
Size:	677.0 KB 
ID:	24136
    Click image for larger version. 

Name:	Webp.net-resizeimage (11).jpg 
Views:	293 
Size:	597.4 KB 
ID:	24135

  10. #8
    GAStronomist wazkelly's Avatar
    Join Date
    Aug 2015
    Location
    Caloundra West, Sunshine Coast Qld
    Posts
    6,631
    The Adopted ES-1.....finished in 10 weeks. http://www.buildyourownguitar.com.au...845#post169845

    A big thank you to Tony aka VH2580 for offering this kit up for adoption as I had always wanted to do a semi hollow body guitar.

    The kit gave me many challenges along the way. First up was stripping back the green stain which turned out impossible to save the micro thin maple veneer. Surprisingly the ply wood veneer underneath had some interesting grain to work with. Downside was the drop in top deck thickness which required a very delicate application of timbermate filler under the section where fret board overhang joins the body. This meant the body and neck had to be joined just after initial stain coats, with a bit more stain required to colour the natural timbermate filler used.

    Timber on the back had the weirdest grain structure and was very stringy along the grain and opened up after applying water based ink & dye stain with a bit of swelling in a few places that also required some timbermate filler to disguise.

    Next up was the awesome challenge of finishing a whole guitar, not just a separate body & neck, and to try and keep the finish being applied evenly all over whilst avoiding any dreaded runs. Thankfully these are very lightweight with body & neck joined thus making things a little bit easier to handle.

    Initially this was going to be a guitar for myself but part of the way in my wife thought it would be a good birthday present for our eldest son who currently lives in NZ. Not a problem as that is mid August except that he was coming over this week for a business trip which cut the time line back considerably. This required a whole different approach to doing the finish, all experimental but with a fair amount of prior knowledge dialled in.

    This is the 7th build where I have used Tru Oil for doing top coats and normally would do a handful of full strength, wet sand, then do some 50;50 diluted with turps, etc..... which takes quite a bit longer to get just right. On this occasion it was full strength up to about coat # 6, then 50;50 applied with 1200 grit W & D paper with surplus wiped off for a couple of coats, followed by a few more full strength then same 50;50 wet sand application with 1500 grit W & D paper. This really helped to level the finish back in on itself with excess gently wiped off....very important step as this preserved the level of thickness that was gradually building up. After doing a couple of robust 2000 grit W & D sessions it was back to full strength TO for a few more coats and then a couple more with just a few drops of turps to slightly thin it out which worked better that 50;50 as that ends up rather watery and prone to runs. In the end this was lucky to have about 36 hours curing time from last coat to first final polish, with a second one done the following night. All up, around 20 - 25 coats of TO.

    Standard kit hardware used with Bone Nut, Alpha 500k mini pots, real parts 0.022 mini ceramic caps, switchcraft jack, real parts gotoh style 3 way switch, strap locks, push back vintage wire cloth, traditional bell shaped one ply truss rod cover, custom vinyl headstock front & rear logos, ernie ball 10-46 strings. Tony provided me with PUP's that came with his Korean PRS kit and they sound great.
    Attached Thumbnails Attached Thumbnails Click image for larger version. 

Name:	Headstock close up.jpg 
Views:	233 
Size:	150.9 KB 
ID:	27445   Click image for larger version. 

Name:	Full length front.jpg 
Views:	237 
Size:	171.1 KB 
ID:	27446   Click image for larger version. 

Name:	Full length back 3.jpg 
Views:	245 
Size:	127.9 KB 
ID:	27447   Click image for larger version. 

Name:	Headstock rear 1.jpg 
Views:	227 
Size:	156.4 KB 
ID:	27448   Click image for larger version. 

Name:	Guitar in case 2.jpg 
Views:	238 
Size:	212.0 KB 
ID:	27449  

    # 1 - EX-5 https://goo.gl/fQJMqh
    # 2 - EX-1 https://goo.gl/KSY9W9
    # 3 - Non PBG Tele https://goo.gl/W14G5g
    # 4 - Non PBG J Bass https://goo.gl/FbBaFy
    # 5 - TL-1AR GOTM Aug 2017 https://goo.gl/sUh14s
    # 6 - MMB-4 Runner-up GOTM Oct 2018https://goo.gl/gvrPkp
    # 7 - ES-1 Runner-up GOTM Aug 2018https://goo.gl/T9BEY8

  11. #9
    Member
    Join Date
    Nov 2019
    Location
    Northern Ireland
    Posts
    62

    ES-1G Irish Celtic Copper Top

    - Top was plated in copper leaf before the patina was added using a mix of household chemicals.
    - Input jack repositioned on the side of the guitar rather than top mount
    - Vanson pickups - P90 in neck / 59 special in bridge with coil split option accessed through DPDT tone pot
    Attached Thumbnails Attached Thumbnails Click image for larger version. 

Name:	DSC_8762.JPG 
Views:	191 
Size:	140.5 KB 
ID:	33938   Click image for larger version. 

Name:	DSC_8770.JPG 
Views:	210 
Size:	158.0 KB 
ID:	33937   Click image for larger version. 

Name:	DSC_8793.JPG 
Views:	213 
Size:	265.4 KB 
ID:	33936   Click image for larger version. 

Name:	DSC_8786.JPG 
Views:	215 
Size:	241.2 KB 
ID:	33935   Click image for larger version. 

Name:	DSC_8764.JPG 
Views:	212 
Size:	202.9 KB 
ID:	33939  


  12. Liked by: HarmonIser

  13. #10
    Member
    Join Date
    Sep 2019
    Location
    Gold Coast
    Posts
    2
    My first set neck build. Body and headstock hand painted with acrylic paints, including bird, knot and snake patterns. Body edge and neck stained cedar. Finished with multi-layer gunstock oil, satin to body, matt to neck and gloss to headstock face. Pots upgraded to full-size. Fitting these was difficult, using threads to pull shafts through, and extended wiring for easier fitting.
    Attached Thumbnails Attached Thumbnails Click image for larger version. 

Name:	ES Fire side view.jpg 
Views:	94 
Size:	925.9 KB 
ID:	42756   Click image for larger version. 

Name:	ES Fire Bird Headstock.jpg 
Views:	94 
Size:	706.1 KB 
ID:	42757   Click image for larger version. 

Name:	ES Fire front.jpg 
Views:	100 
Size:	951.1 KB 
ID:	42758   Click image for larger version. 

Name:	ES Fire back.jpg 
Views:	101 
Size:	730.3 KB 
ID:	42759  

Posting Permissions

  • You may not post new threads
  • You may not post replies
  • You may not post attachments
  • You may not edit your posts
  •