Page 2 of 10 FirstFirst 1 2 3 4 ... LastLast
Results 11 to 20 of 96

Thread: 335 - installing Pots, switches and Output jacks

  1. #11
    Moderator Gavin1393's Avatar
    Join Date
    Sep 2012
    Location
    Mindarie, Western Australia
    Posts
    3,151
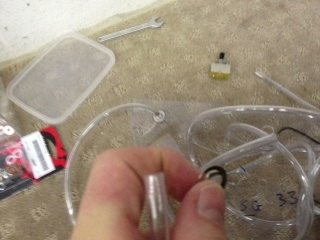
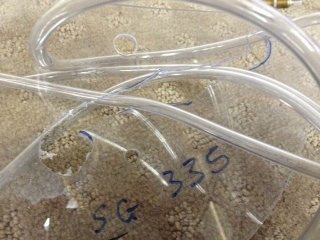
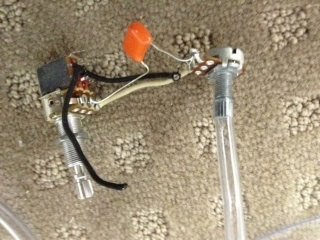
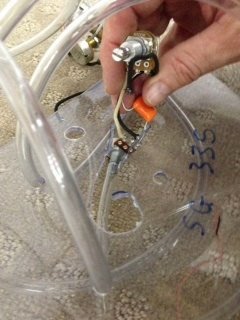
    All the tubing drawn through the holes and finally through the 'f' hole.
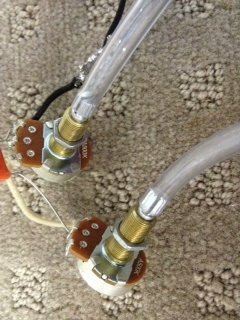
    The switch and the pot closest to the 'f' hole can be inserted into place with the fingers and hence do not need to be 'tubed' up!
    http://www.buildyourownguitar.com.au/forum/image.php?type=sigpic&userid=1258&dateline=1443806  448Gavmeister

  2. #12
    Moderator Gavin1393's Avatar
    Join Date
    Sep 2012
    Location
    Mindarie, Western Australia
    Posts
    3,151
    The 'bottom tone and volume pot' will be the next in line after the Jack. Both pots are 'tubed' and drawn into position together.
    http://www.buildyourownguitar.com.au/forum/image.php?type=sigpic&userid=1258&dateline=1443806  448Gavmeister

  3. #13
    Moderator Gavin1393's Avatar
    Join Date
    Sep 2012
    Location
    Mindarie, Western Australia
    Posts
    3,151
    Only one pot of the second set of 'tone and volume controls' needs to be tubed. The pot closest to the 'f' hole can be inserted with your fingers.
    http://www.buildyourownguitar.com.au/forum/image.php?type=sigpic&userid=1258&dateline=1443806  448Gavmeister

  4. #14
    Moderator Gavin1393's Avatar
    Join Date
    Sep 2012
    Location
    Mindarie, Western Australia
    Posts
    3,151
    Drawing the tubed pots through the 'f' hole.
    http://www.buildyourownguitar.com.au/forum/image.php?type=sigpic&userid=1258&dateline=1443806  448Gavmeister

  5. #15
    Moderator Gavin1393's Avatar
    Join Date
    Sep 2012
    Location
    Mindarie, Western Australia
    Posts
    3,151
    Returning to the Jack, the jack is pulled into position through the drilled hole.
    http://www.buildyourownguitar.com.au/forum/image.php?type=sigpic&userid=1258&dateline=1443806  448Gavmeister

  6. #16
    Moderator Gavin1393's Avatar
    Join Date
    Sep 2012
    Location
    Mindarie, Western Australia
    Posts
    3,151
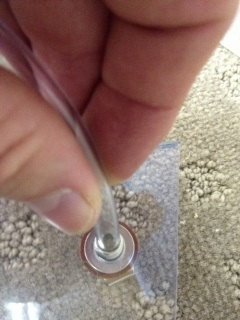
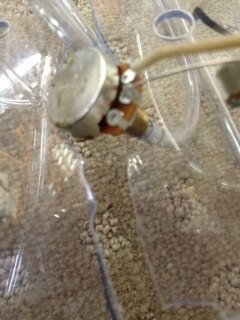
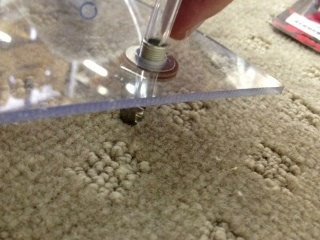
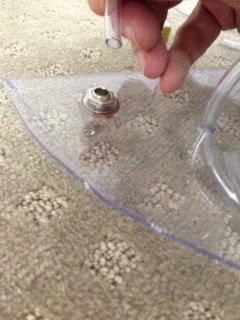
    An added advantage of the tubing is that with the Jack in place, the washer and nut can be slipped over the tube and will slid down the tube to the Jack. The nut and washer can be tightened without worrying about the Jack falling back into the body and you having to restart that part of the process.

    http://www.buildyourownguitar.com.au/forum/image.php?type=sigpic&userid=1258&dateline=1443806  448Gavmeister

  7. #17
    Moderator Gavin1393's Avatar
    Join Date
    Sep 2012
    Location
    Mindarie, Western Australia
    Posts
    3,151
    Sliding the washers for the Jack over the tubing!

    http://www.buildyourownguitar.com.au/forum/image.php?type=sigpic&userid=1258&dateline=1443806  448Gavmeister

  8. #18
    Moderator Gavin1393's Avatar
    Join Date
    Sep 2012
    Location
    Mindarie, Western Australia
    Posts
    3,151
    Tighten the jack nut in place
    http://www.buildyourownguitar.com.au/forum/image.php?type=sigpic&userid=1258&dateline=1443806  448Gavmeister

  9. #19
    Moderator Gavin1393's Avatar
    Join Date
    Sep 2012
    Location
    Mindarie, Western Australia
    Posts
    3,151
    Once tightened up you can remove the tubing.
    http://www.buildyourownguitar.com.au/forum/image.php?type=sigpic&userid=1258&dateline=1443806  448Gavmeister

  10. #20
    Moderator Gavin1393's Avatar
    Join Date
    Sep 2012
    Location
    Mindarie, Western Australia
    Posts
    3,151
    With the Jack in place, insert the Volume and Tone pots through the 'f' hole.
    http://www.buildyourownguitar.com.au/forum/image.php?type=sigpic&userid=1258&dateline=1443806  448Gavmeister

Page 2 of 10 FirstFirst 1 2 3 4 ... LastLast

Posting Permissions

  • You may not post new threads
  • You may not post replies
  • You may not post attachments
  • You may not edit your posts
  •