This is the way I do it. I'm not saying that it is the right way. I get good results and the way I go about levelling my frets is exactly the same whether I am working on an electric guitar or an acoustic.
Start to finish it takes me about half and hour.
First step in the process is to make sure the neck is dead straight, otherwise its a pointless exercise. Use a straight edge or naked eye if you dont!
Sight down the length of the neck to check and tighten or loosen the truss rod if necessary.
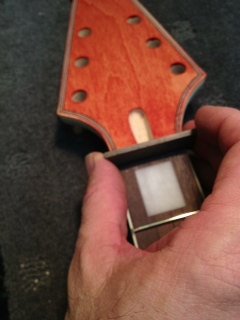
Whack off that plastic nut and send it to DB,he just loves 'em. The nut is going to be in the way of the work you need to do so it can't be there, so remove it even if you plan on keeping it.
Clean the glue, etc.from the spot previously occupied by the nut with a file.
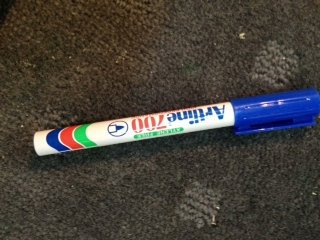
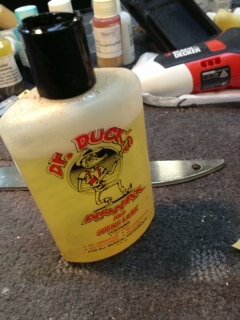
Next grab yourself a permanent marker such as the one shown here.
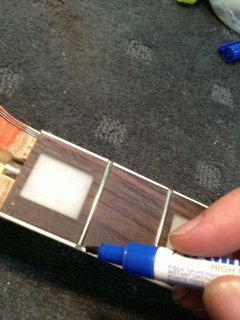
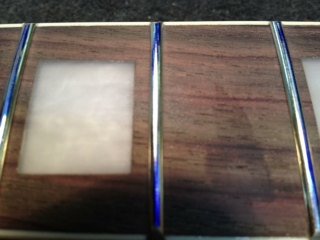
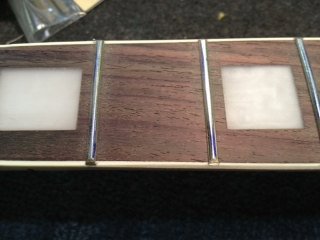
You should mark each of the frets with the markerby drawing a line accross the fret from left to right, right down the centre of the fret as shown below.
The blue marker that I have used will mark each fret. When I begin to level the frets the process will remove the colour where the frets are too high. Too high frets equals lots of ugly fret buzz. Where the colour remains the frets are too low... Whenall the colour is removed your frets will be level!
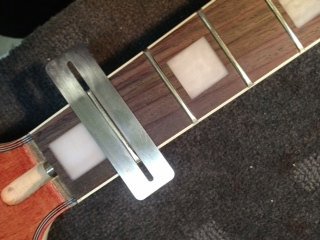
Now that you have marked the Frets its time to begin the levelling process. However,one important detail. You need to know the radius of your fret board. Most electrics will be around 12! If you get this wrong your frets and your fretboard will look rather silly and so will you!
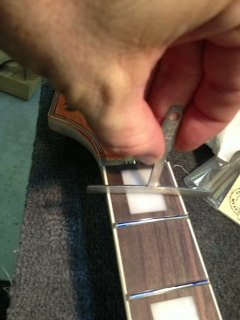
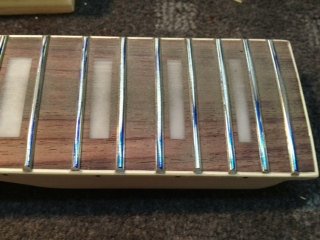
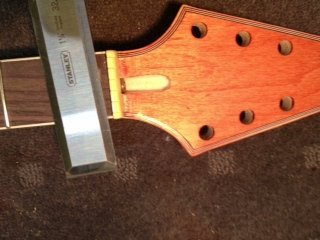
Now that I know I am working with a 12 foot radius fretboard I can grab my (12 foot radiussed) 20cm sanding block with 220 grit Stewmac Sandpaper (as compared to Bunnings - Don't use their stuff for important things)and begin to gently 'sand' the frets fromthe first fret to the last fret. I check constantly to see where I need to focus my attention. Where the frets are still blue is where most of the work is needed.
You can see how the 'middle' fret must have been higher than the frets around it. It would have gotten DB's fret rocker 'a-rocking' that's for sure! So,the process of gently and evenly sanding the frets will give a better playing action and generally better experience for theplayer.
Now that we have destroyed the crowns of the frets in our bid to get them level, the next step is to re-crown them!
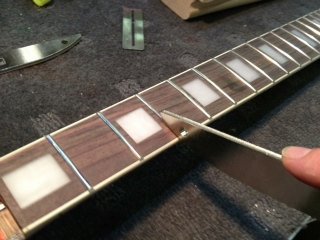
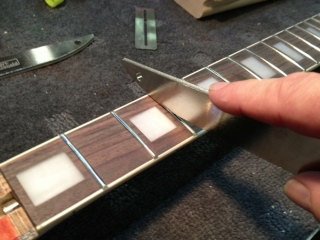
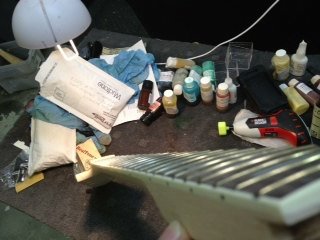
I use these very fancy diamond crowning files. A 150 and a 300 grit. About 20 strokes across the frets with first the 150 and then the 300 usually does the job. To re-crown the frets,you have to be careful to protect the fretboard from sharp tools. This is why the crowning tools I use are worth their price. They do the job in quick time and there is almost no risk of stabbing the fretboard to death as you go!
Use the tool from bottom to top of the fretboard in even strokes.
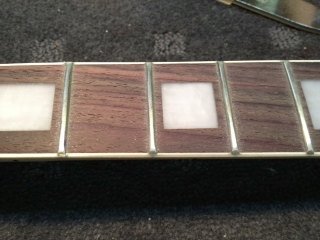
..and if you do it right it should end up looking something like this. :P
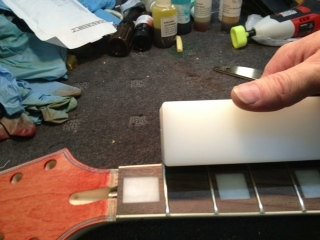
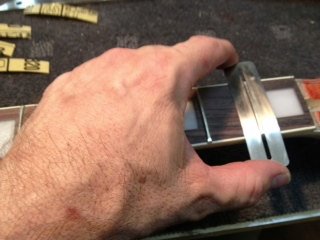
One thing that guitarist's hate is feeling the Frets biteinto their fingers as they move their hand upand down the fretboard. This fretboard is no exception and needs work! Another tool with a 30 degree file to give that perfect uniform bevelled fret look! However, before allowing it to sothe work it was designed for I use it vertically as shown the ensure there are no sharp edges that the bevelling procedure might miss.
Here it is in the verticle position being run up and down the edge of the fretboard.
And here, same procedure but flat on the frets... it doesnt scratch the frets as it has a plastic base.
Grab your fretboard protector. These as a few bucks at SM, well worth the price and something perhaps the lad's might soon stock?
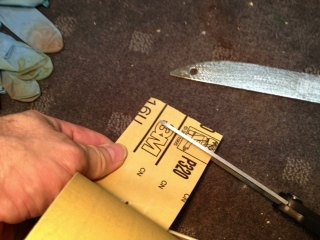
Holding the fret protector in one hand, and using the stronger hand to do the polishing; run your finger with the sandpaper attached to your finger(it needs to be adhesive)up and down each fret until it no longer has any visable scratches. Usually around 15 runs will do it! Use each strip of sandpaper economically as it has a top, middle and bottom section in this application.Do notdo morethan 2 frets before shifting finger position on the sandpaper.
And what would Fret Levelling be without the obligatory 0000 (Super fine) steel wool?
Proceed exactly as you did with the 320 grit sandpaper and finger exercise. Rub those frets until you are happy that they shine. This isthe final step for the frets so make it count.
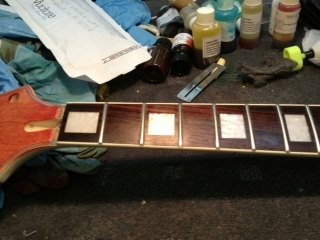
Now because I have binding on this neck I have proceded to finish the fretboard.If I didn't have binding and hence a barrier between the neck and the fretboard I would have stopped at this point. Reason being that I'm going to add wax to the Fretboard which would wind up in an argument with Wudtone without the barrier...
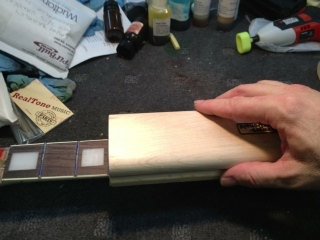
But barrier willing, a little application of Ax Wax.....
...and 30 minutes since starting out we have a completed Fretboard!!


 Gavmeister
 Reply With Quote