Page 3 of 4 FirstFirst 1 2 3 4 LastLast
Results 21 to 30 of 38

Thread: Pick-up Winder

  1. #21
    Moderator dingobass's Avatar
    Join Date
    Sep 2012
    Location
    Perth
    Posts
    4,491
    Quote from dmac on December 31, 2012, 14:56
    Quote from Gavin1393 on December 31, 2012, 13:51
    Quote from dmac on December 31, 2012, 13:45
    Quote from Gavin1393 on December 31, 2012, 12:42The Luthier's Lair is finally operational!
    *8 Acoustics, a Uke, 2 x LP's, a Strat and a Tele on the go!
    Gavin, are you working for profit/as a business?
    I'm wondering why you are asking?
    In a nutshell, if you are doing it for money, you are my competitor, even if you are banging kits together.

    Hey Guys,

    Maybe we could form a network or alliance between us to foster our endeavours?

    dMac is a brilliant technician and Electric Guitar builder and pedal Guru.

    Gavin is an Acoustic builder who is spreading his wings and starting to build Electrics.

    I build Basses and would love to get into building Acoustics, as well as making my own pickups...

    Just a thought...

    Have a great New Year guys!

    There is always a workaround for glitches, mistakes and other Guitar building gremlins.....

  2. #22
    Moderator Gavin1393's Avatar
    Join Date
    Sep 2012
    Location
    Mindarie, Western Australia
    Posts
    3,151
    I am a hobbyist when it comes to guitars, electric and acoustic and hence what I present here is my take on the Stewmac winder that people like but find expensive at the price.

    The parts list has been provided above. This is what I paid for the items, not what I'm trying to sell them for. I show it merely as a guide to anyone wanting to build a Pickup Winder such as the one I built and which I share freely and without royalty because basically it was shared with me on the same basis!

    So I cut up the wood from bunnings after making some measurements that I figured would make a nice looking box. Sturdy enough and heavy enough so that when the motor got going it wouldn't bounce off the table and need to be held down. This of course is important since I'll be needing my hands to feed the pickup wire and to provide some tension while winding by hand.

    Since my wood is only 19mm thick I'm thinking that I need to make a bracket to clamp the motor securely in place and so this becomes my first initiative in the design.

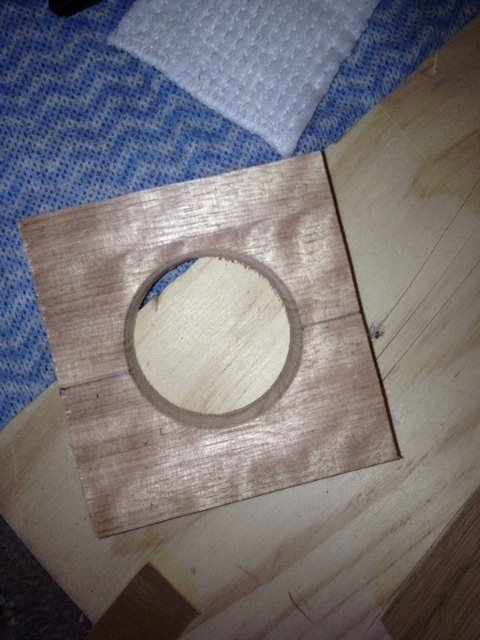
    I basically drilled a 32mm hole in a spare piece of wood. Cut the hole in half on the band saw and then drilled two small holes to 'clamp' the two halves together. This ensured a tight secure fit.
    http://www.buildyourownguitar.com.au/forum/image.php?type=sigpic&userid=1258&dateline=1443806  448Gavmeister

  3. #23
    Moderator Gavin1393's Avatar
    Join Date
    Sep 2012
    Location
    Mindarie, Western Australia
    Posts
    3,151
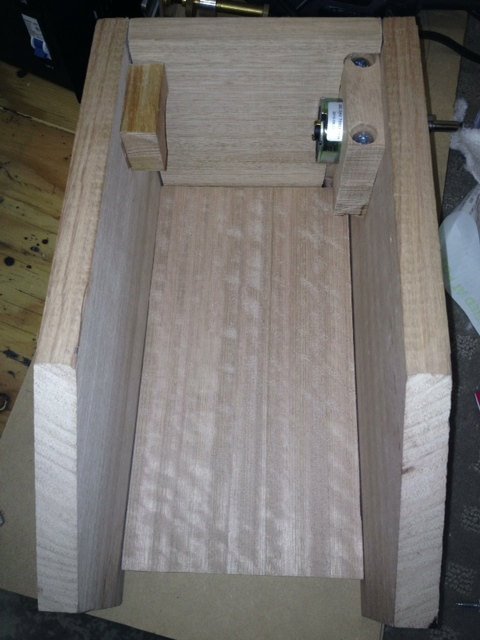
    I have already drilled a hole in the box where the 'Clamp' will go. I have also only glued one side of the clamp to the side of the box so that I can tighten or loosen the clamp should this be necessary.
    Here is a picture of the motor in the clamp in position in the as yet unglued box.
    http://www.buildyourownguitar.com.au/forum/image.php?type=sigpic&userid=1258&dateline=1443806  448Gavmeister

  4. #24
    Moderator Gavin1393's Avatar
    Join Date
    Sep 2012
    Location
    Mindarie, Western Australia
    Posts
    3,151
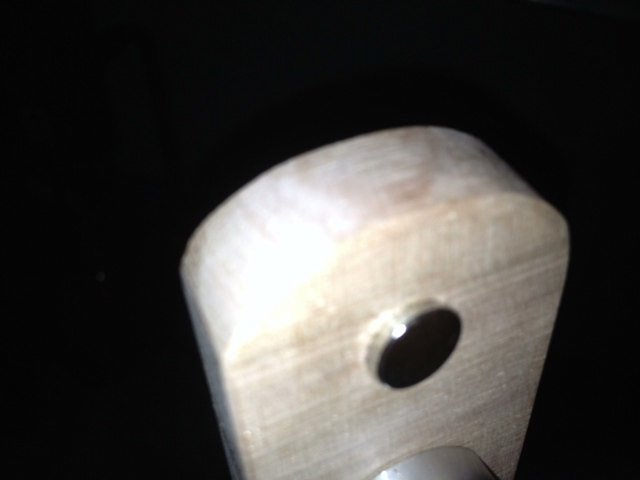
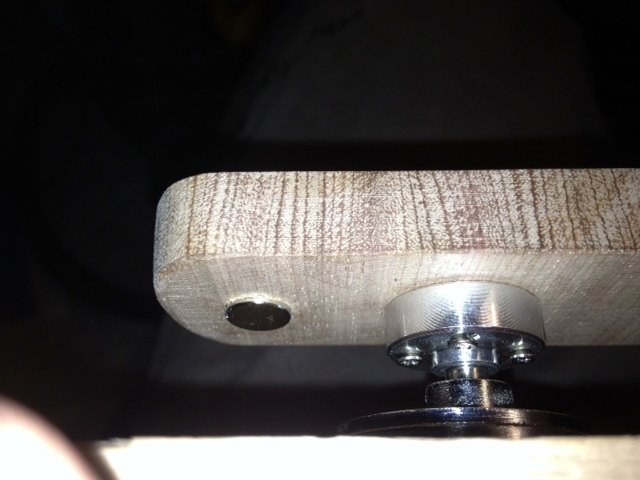
    Of course, one of the critical parts of the build is the attachment of the pickup holder to the motor. In some respects, the holder is going to be thrown slightly out of balance when I insert the rare-earth magnet in the one end. Since I am aiming at having a sturdy and stable winding mechanism I chose to used an aluminum bracket which is designed to attach to the motor with a screw that locks into the side of the bracket and fastens to the motor shaft. There are 4 screws that attach the wood pickup holder to the bracket. Drilled a hole in the pickup holder for the rare-earth magnet and tested it out for fit....now it refuses to come back out of the drilled hole so I figure I have saved on some glue! The magnet is going to be used to trigger the reed switch which in turn will count the number of revolutions and hence the number of winds going on to the pickup. Counting to 10,000 in one's head is never fun when you forget the last number that you were counting!

    http://www.buildyourownguitar.com.au/forum/image.php?type=sigpic&userid=1258&dateline=1443806  448Gavmeister

  5. #25
    Moderator Gavin1393's Avatar
    Join Date
    Sep 2012
    Location
    Mindarie, Western Australia
    Posts
    3,151
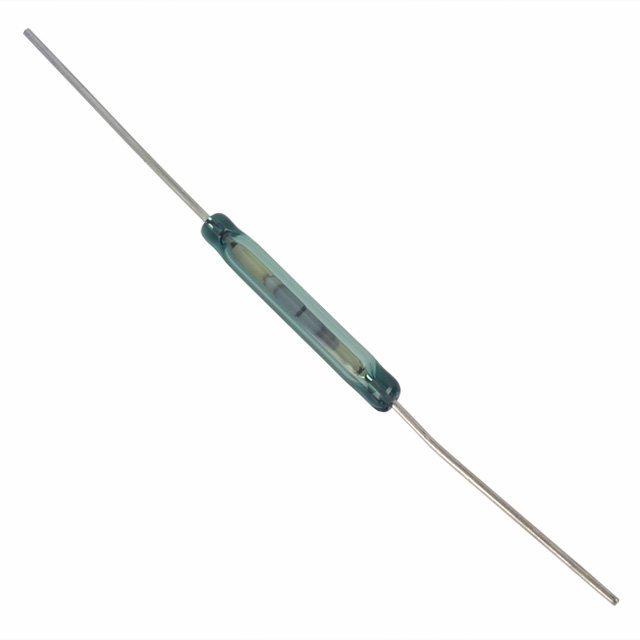
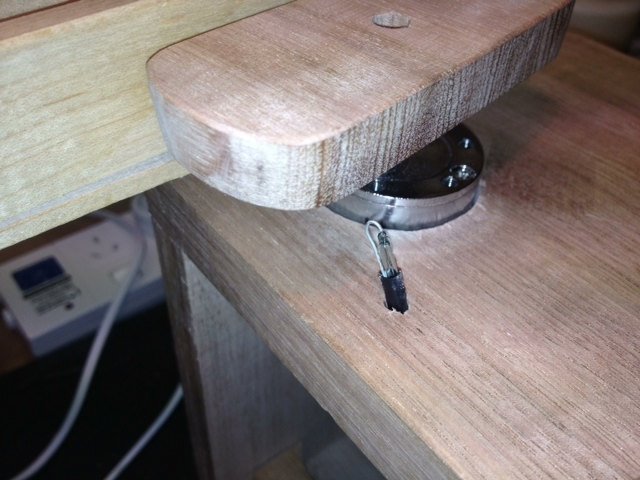
    Next is a relatively eazy job of drilling a hole to accept the Reed switch. I used a glass reed switch shown below. To get it to count correctly it needs to be 'folded', placed inside some heat-shrink and inserted into the drilled hole. A colleague placed the whole reed switch 'flat' outside of his unit and discovered that he could wind 10,000 winds in half the time since the Reed Swich effectively measured to passes when only one revolution was happening. The hard part is bending the Reed Switch without breaking the glass! Care is needed, and despite the warnings of my colleague I managed to break mine....off to Jaycar to get another one...make it three in case I still havent mastered being careful!
    The reed switch does not need to be too close to the magnet since it is a rare-earth magnet and is plenty powerful enough to trigger the counting mechanism!

    http://www.buildyourownguitar.com.au/forum/image.php?type=sigpic&userid=1258&dateline=1443806  448Gavmeister

  6. #26
    Moderator Gavin1393's Avatar
    Join Date
    Sep 2012
    Location
    Mindarie, Western Australia
    Posts
    3,151
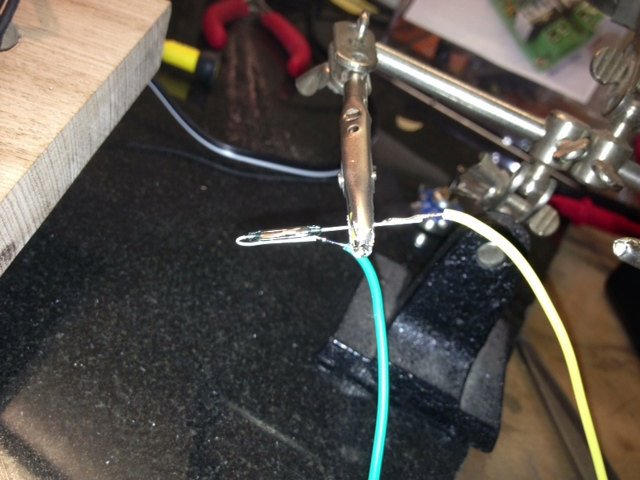
    Better view of the "Folded" Reed switch!
    http://www.buildyourownguitar.com.au/forum/image.php?type=sigpic&userid=1258&dateline=1443806  448Gavmeister

  7. #27
    Moderator Gavin1393's Avatar
    Join Date
    Sep 2012
    Location
    Mindarie, Western Australia
    Posts
    3,151
    Next Phase is to design roughly the 'face' of the unit, in other words, where the digital counter, reset switch, pot for the motor controller and the on/off switch will fit!

    These positions will either be routed out, scroll sawed or simply drilled to provide a snug fit for each of the parts it will hold.

    Not shown here, but I did add a power supply female jack to the unit. This is a 24v unit and I figured it would be a nice touch to have the power supply movable.
    http://www.buildyourownguitar.com.au/forum/image.php?type=sigpic&userid=1258&dateline=1443806  448Gavmeister

  8. #28
    Moderator Gavin1393's Avatar
    Join Date
    Sep 2012
    Location
    Mindarie, Western Australia
    Posts
    3,151
    While I wait for the pencil to dry....

    I decided to get to work on the motor controller. Out with my Mandarin to English Dictionary!

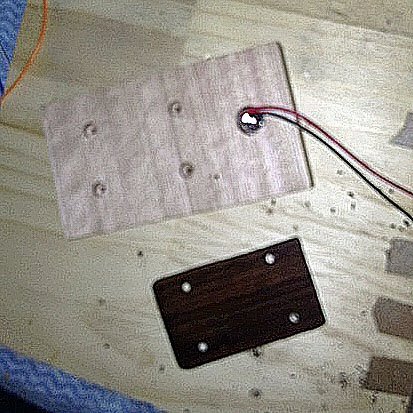
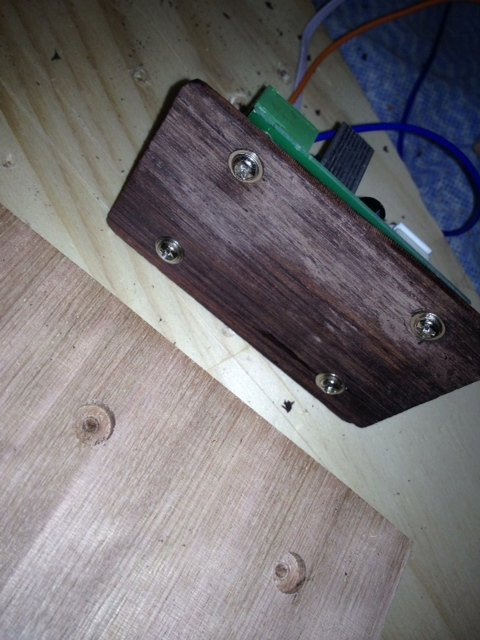
    The motor controller is basically an electronic circuit with some heatsinks and a Pot to control the speed of the motor through varying the current. I have decided to place the motor controller in the panel eneath the display panel and alongside the power input mentioned in the previous post.

    The underside of the PCB (that's the green board for those wondering) has all the soldering exposed so Ithought I'd provide some added protection by raising the PCB away from the oak sides. Essentially installed some bolts upside down in the brown rosewood panel, and attached the PCB to the bolts...simple as that!


    http://www.buildyourownguitar.com.au/forum/image.php?type=sigpic&userid=1258&dateline=1443806  448Gavmeister

  9. #29
    Moderator Gavin1393's Avatar
    Join Date
    Sep 2012
    Location
    Mindarie, Western Australia
    Posts
    3,151
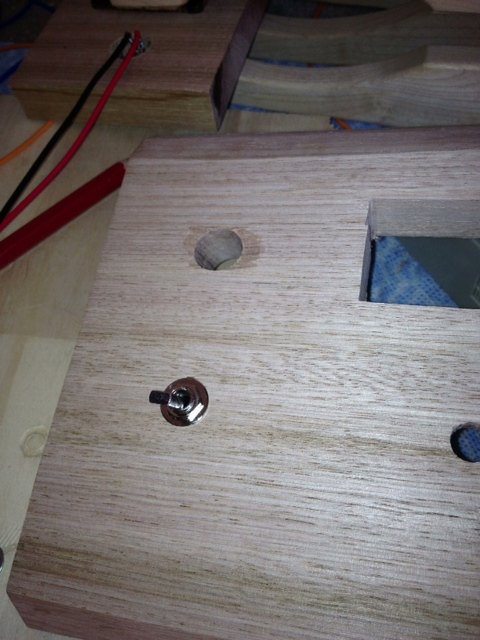
    Some cutting, scrolling and drilling and a whol bunch of dust later....quick check..still got 10 fingers so all's good!

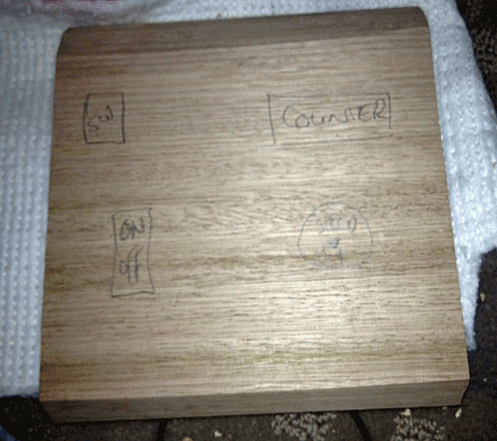
    Here is the result, namely a picture of the display panel.

    The On / Off toggle switch is on the bottom left. Above it the reset switch will be positioned. The rectangular spot is for the Counter and below that the Pot for the motor controller.
    http://www.buildyourownguitar.com.au/forum/image.php?type=sigpic&userid=1258&dateline=1443806  448Gavmeister

  10. #30
    Moderator Gavin1393's Avatar
    Join Date
    Sep 2012
    Location
    Mindarie, Western Australia
    Posts
    3,151
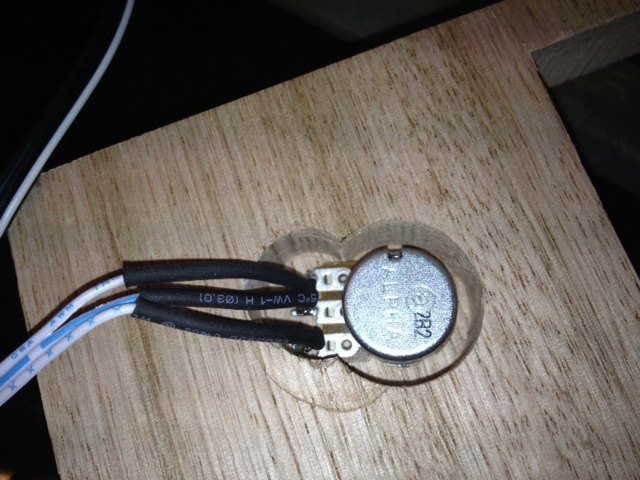
    Now for some wiring....I know I put my soldering iron somewhere on my desk....how the hell does something that big go missing? Ah! under this pile of offcuts....and numerous discarded paged from the Mandarin Dictionary...

    Wired up the Pot first (didn't like the flimsy chinese one, so swopped it for a Jaycar one which was probably made in China too?


    http://www.buildyourownguitar.com.au/forum/image.php?type=sigpic&userid=1258&dateline=1443806  448Gavmeister

Page 3 of 4 FirstFirst 1 2 3 4 LastLast

Posting Permissions

  • You may not post new threads
  • You may not post replies
  • You may not post attachments
  • You may not edit your posts
  •