Filing this for future reference!Originally Posted by robsmith


Filing this for future reference!
First (proper) build: http://www.buildyourownguitar.com.au...ead.php?t=8546
Second build: http://www.buildyourownguitar.com.au...ad.php?t=10229

No, scrape, not file!
I held off on the extra clear coats yesterday as there were a couple of runs that I needed to let harden before sanding flat. Off seeing friends over from Sydney shortly until Monday, so work should recommence on Tuesday.
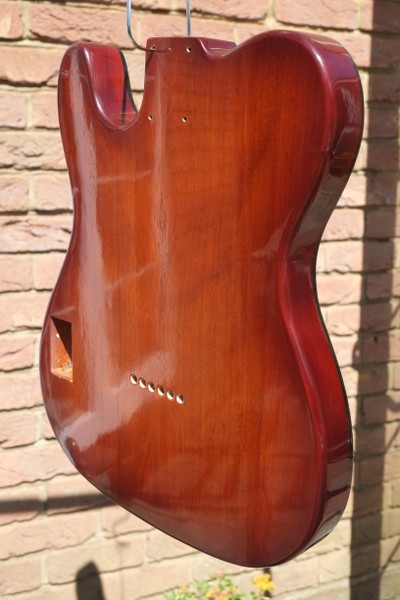
Well, probably a bit too soon but after sanding the body back flat 9 days ago I've given the body its first polish and it's come up pretty shiny. I'll give it another one in a week or so.
Now back working on the neck. I wasn't happy with the patchiness of the amber lacquer due to runs that I hadn't managed to remove evenly, so today I stripped it back to bare wood everywhere apart from the fretboard and headstock face and have started respraying it with amber before doing clear coats.
Typical that the first coat with the neck hanging vertically ran (I think I used a high volume nozzle on the aerosol can I was using by mistake). So that has been sanded back again and another first coat has been applied (with the neck lying flat). This one is fine and I'm going very easy with the spray.
They are forecasting 9-10 days of good weather in a row (some will be a bit hot for guitar work), so should be able to progress this well over the next few days.
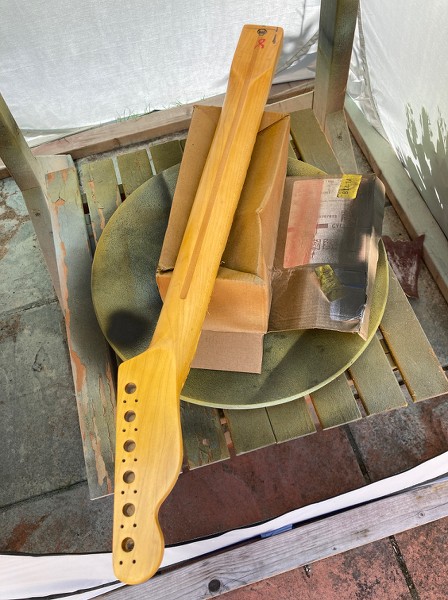
Here's the neck after two coats of amber tint. The top is a bit darker, so at least one more coat to go.
Note that the fretboard and headstock are masked off to prevent them getting even darker.

Looking good.
Making the world a better place; one guitar at a time...
The top is going to need more lacquer on. Far too many grain pits showing, mainly due to sinkage with time I think, as it was flat a while ago. It was always the plan to spray three more coats on the top but I thought I might get away with it. The polishing had also shown up a few areas that need more levelling. I dont want to hit the amber layers when sanding, so three more coats it is.
As Im still in the process of lacquering the neck, it wont hold up the overall build time.
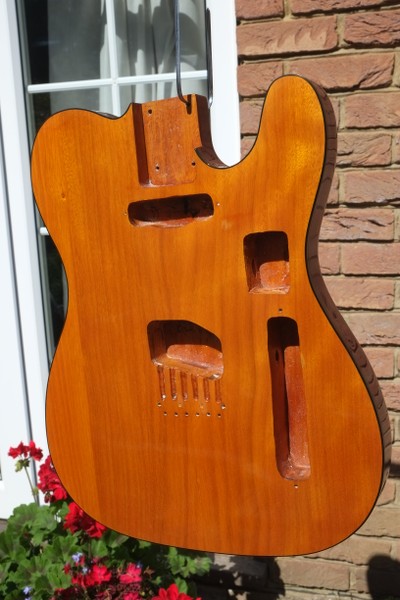
I also found that I need to enlarge the neck pickup rout sideways a bit. A Strat pickup fits in on its own (as thats whats going in the neck), but when fitted to the pickguard, the squashed springs (or rubber as Ive tried both) stick out more and catch. So out with the Dremel before spraying, and then there will be lacquer over the newly cut edges. Its not going to be seen, but I like to know its done properly.
Had a bit of trouble matching the tint on the back to the headstock face, but remembered I had some dark amber lacquer, and now they match.
Tomorrow, a few coats of clear to bind it all together.
The top and sides of the body have had three coats of clear, so all should be good to sand flat in a few days time, before polishing a couple of weeks after that.
Now gone well over 30°C in the back garden, so too hot to do anything apart from eat ice creams and sit around.
Top tip. Don't open up the small ventilation flap in the back of the tent to allow some cross-breeze as the sun will then come round and shine on a portion of the body, causing the newly sprayed finish to bubble and blister in that area.
One step forward, one step back (well maybe two back as I have to sand and then respray once it's hard enough).
Grrrrr.
Grrrr again.
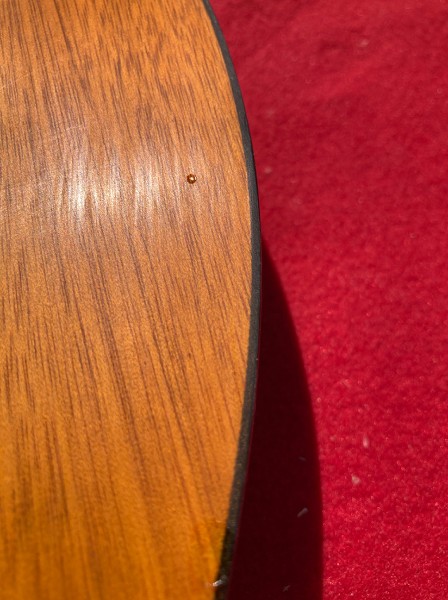
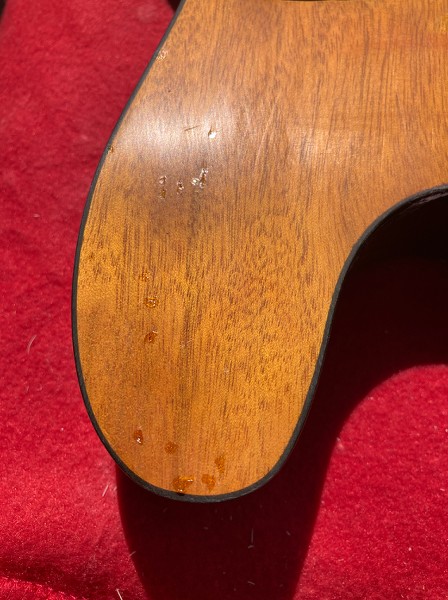
Not just the top layer that bubbled but the whole bundle of tinted+clear lacquer layers, so once the bubbles were removed, there were much lighter patches left behind. Some will be hidden by the pickguard, but quite a few will be exposed.
So out came the small paintbrush and some amber tint lacquer to hopefully touch up the holes to match. Difficult to say how well until it dries and I can sand back to remove the extra amber lacquer sitting on the top. Also difficult to say because the top is dull from sanding and the new lacquer has a shiny surface.
Remember kids, don't do strong summer sunlight!
 Posting Permissions

 Reply With Quote