Page 3 of 5 FirstFirst 1 2 3 4 5 LastLast
Results 21 to 30 of 47

Thread: 3rd Kit- YB-4 Mean Gene

  1. #21
    Quote Originally Posted by McCreed View Post
    Why not do the inlay, then clear over it?
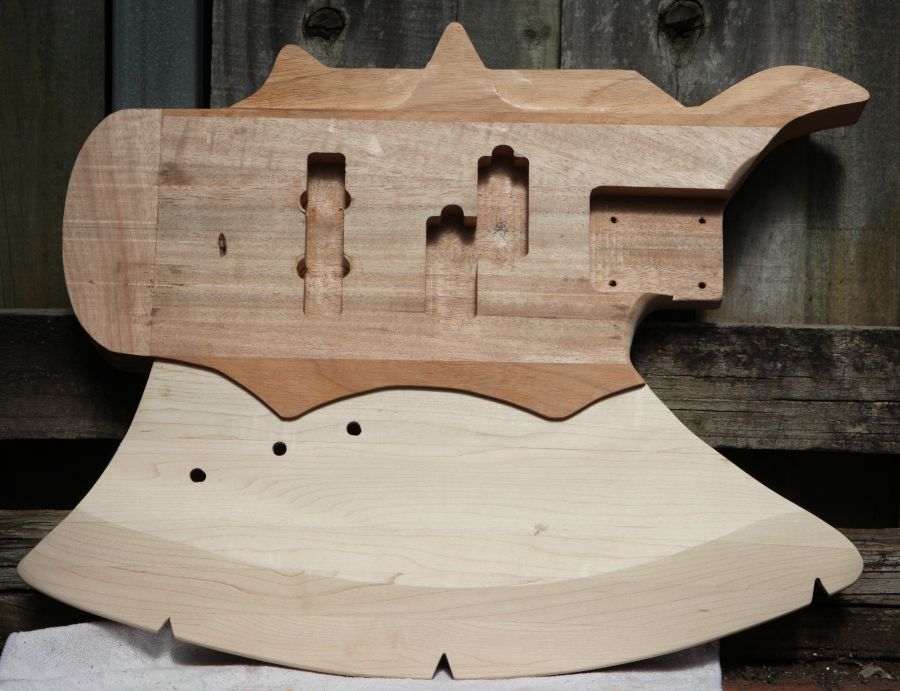
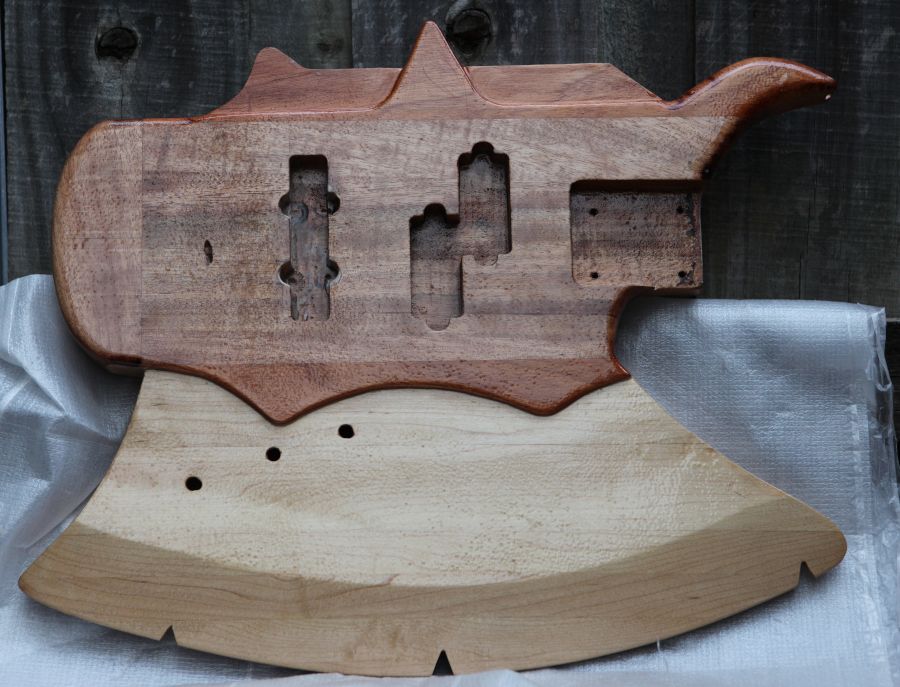
    the back ground must be solid black. there has to be enough clear so that when the epoxy is sanded flush with the surface the base coat doesn't get sanded off. the headstock would then get some extra coats of clear on the front

  2. #22
    Mentor Trevor Davies's Avatar
    Join Date
    May 2020
    Location
    Perth
    Posts
    1,378
    Did you consider spray painting your logo on? Your spray painting on Dora the Explorer was great!
    PitBull Builds: FVB-4, LP-1SS, FBM-1, AG-2, TB-4, SSCM-1, TLA-1, TL-1TB, STA-1HT, DSCM-1 Truckster, ST-1, STA-1, MBM-1.

    Scratch Builds: Pine Explorer, Axe Bass, Mr Scary, Scratchy Tele's.

    The little voices in my head keep telling me "build more guitars"

  3. #23
    Quote Originally Posted by Trevor Davies View Post
    Did you consider spray painting your logo on? Your spray painting on Dora the Explorer was great!
    Yes I did think about it. That requires making a stencil which is tricky with the thin lines. If I had a cutter I could create them with the computer. The alternative is I try to see if I can convince someone at the shed to help me with the CNC router and use it to do the logo on some veneer and fill it with epoxy.

  4. #24
    More progress. I finished sanding the blade, routed the control cavity, and made a cover for the control cavity from some scrap maple. I used the planing jig to route it flush with the blade before doing some light contouring on the blade with the flap disk before finishing the sanding. I made sure to pre droll the holes for the pickups and bridge earth *before* glueing on the blade to the body. After gluing it on to the body I then had to re-shape the curve between the bevel of the blade and the body at the neck end.


    Changing the shape of the curve is not without precedent as some of the Kramer blades have a different profile to the production model. I also added "chips" alt6hough they are more like chips than the ones in the Kramer blades. Being maple, I'm not worried about the edge being fragile.

  5. #25
    Overlord of Music McCreed's Avatar
    Join Date
    Oct 2018
    Location
    AUS
    Posts
    3,552
    Nice work rabbit. Kiss was never my thing, but I appreciate the craftsmanship going into this.

    However, it looks really heavy, is it?
    Making the world a better place; one guitar at a time...

  6. #26
    Quote Originally Posted by McCreed View Post
    However, it looks really heavy, is it?
    Considering the blade is rock maple I was expecting it to be, but no, it's surprising light. The core of the body, the original kit is meranti, only a smidge heavier than basswood. Once you remove the material making up the rest of the body which was genuine mahogany, and shape the blade which is about 30mm thick, there's less heavy timber than you would think.

  7. #27
    Mentor Trevor Davies's Avatar
    Join Date
    May 2020
    Location
    Perth
    Posts
    1,378
    Looking good and mean. Great work.
    PitBull Builds: FVB-4, LP-1SS, FBM-1, AG-2, TB-4, SSCM-1, TLA-1, TL-1TB, STA-1HT, DSCM-1 Truckster, ST-1, STA-1, MBM-1.

    Scratch Builds: Pine Explorer, Axe Bass, Mr Scary, Scratchy Tele's.

    The little voices in my head keep telling me "build more guitars"

  8. #28
    It's been a little while since my last update . I have finished the filling (I hope) , shaping (I did some rounding) and gave it two coats of epoxy.


    Apologies for the dim lighting.The first coat of epoxy has a timber preservative in it which also thins the epoxy so there is some penetration of the timber. The second coat went wet on tacky for a better bond. It was coated about a week ago. I'll give it another week ans then I will sand it smooth. Almost all of the second coat except anything it filled will be sanded off in the process and a large chunk of the first coat so it should be stable and smooth after sanding. Before the epoxy I could feel the joints of the maple. I would sand smooth, but the next day I could feel the joints again. The epoxy sealing should stop that. Hopefully in a weeks time I can start spraying primer and get an idea if there is any more filling to do.

  9. #29
    Mentor dozymuppet's Avatar
    Join Date
    Jun 2020
    Location
    Perth, WA
    Posts
    842
    Looking good.

    Sent from my Pixel 4 using Tapatalk

  10. #30
    I've pretty much got the body sanded ready for primer, but I figured while it was still timberish and pencil writable I should put the neck on temporarily, throw on a couple of tuners and locate the bridge:


    And yes, after extensive research I came to the conclusion that Gene Simmons favours fluro yellow nylon strings, because we all know how well plastic strings work with magnetic pickups......

    Ok, ya got me. There is bugger all that I could find about his string choice, and my only lead was a picture of a poster for ghs Boomers that was during Kiss's unmasked period (KISS just isn't KISS without the makup). What I did find out was that prior to the deal with Cort, he liked active EMG pups ( I don't like active so went with the Geezer's), and badass bridges. The bridge in the pic is a Leo Quan Basdass II.

Page 3 of 5 FirstFirst 1 2 3 4 5 LastLast

Posting Permissions

  • You may not post new threads
  • You may not post replies
  • You may not post attachments
  • You may not edit your posts
  •