Page 2 of 2 FirstFirst 1 2
Results 11 to 20 of 20

Thread: First Build, TL style

  1. #11
    GAStronomist Simon Barden's Avatar
    Join Date
    Oct 2016
    Location
    Reading, UK
    Posts
    10,547
    Quote Originally Posted by Jackson O'Neill View Post
    Seeing yours though m0j0 reassures that I want that slim look to mine and I didn't know about the size relating to the sustain that's cool!
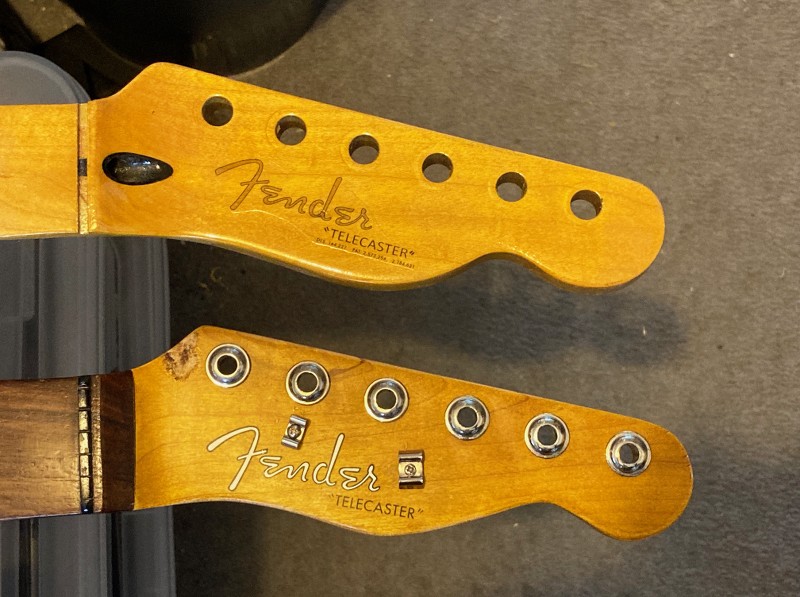
    As ILRGuitars said, it is 'one train of thought'. I can't see any mechanism as to how that could work. I've seen videos where people fitted a metal 'fat finger' clamp to a headstock, to see if it increased sustain. The idea is it adds mass, like a large headstock does, and the theory behind it is that more mass = more sustain. But their measured tests didn't show any increase in sustain.

    There's a lot of confirmation bias behind these things, when the real reason for one guitar sustaining better than another one is down to something completely different, and which is probably different in every case.

    If you like big headstocks then go big, but I wouldn't expect any sonic benefits as a result.

  2. #12
    GAStronomist Simon Barden's Avatar
    Join Date
    Oct 2016
    Location
    Reading, UK
    Posts
    10,547
    I think you can go too thin with a tele-style headstock.

    The top neck here is a Mexican fender neck. The bottom one is a cheap used tele-style neck I bought off eBay (the seller had added the decals) and it has always looked wrong to me (which is partly why I removed it and no longer have it on a guitar).


    Putting the thin headstock on top of the other one, you can see how much smaller it is.


    Also, if you compare the nut positions and the overall headstock length, you can see that the copy is probably around 1cm longer overall, which couples with the narrowness of the headstock, all adds up to give it an overstretched look in my eyes (though the oversized tuner ferrules don't help).

    The kit necks tend to have a greater distance between the nut and first tuner than the originals, so adding to a stretched look if you thin out the headstock too much.

  3. #13
    Overlord of Music McCreed's Avatar
    Join Date
    Oct 2018
    Location
    AUS
    Posts
    3,552
    There's a lot of confirmation bias behind these things, when the real reason for one guitar sustaining better than another one is down to something completely different, and which is probably different in every case.
    Amen!!!
    And sometimes there is no explicable reason for why this or that guitar sounds great or is a tone turd.

    As an online friend of mine has said "Sometimes tone just happens".
    Making the world a better place; one guitar at a time...

  4. #14
    Mentor Andyxlh's Avatar
    Join Date
    Nov 2016
    Location
    Sydney
    Posts
    1,206
    Tone turd is my new favourite phrase. Awesome

  5. #15
    Member
    Join Date
    Sep 2021
    Location
    N.S.W. Australia
    Posts
    7
    Progress update on the Tele.

    I did a more precise mock build and ran both the e strings up to check the placement of the Bridge. Happy with the scale length and positioning I drilled the 3 holes using a 2.5mm drill bit.
    Click image for larger version. 

Name:	IMG_13092021_195322_(1500_x_729_pixel).jpg 
Views:	70 
Size:	256.9 KB 
ID:	41599
    Click image for larger version. 

Name:	IMG_13092021_195425_(1500_x_729_pixel).jpg 
Views:	70 
Size:	226.4 KB 
ID:	41600

    From there I coated the screws with some beeswax and threaded them half way in, then removed them to place the bridge and thread the rest of the way
    Click image for larger version. 

Name:	IMG_13092021_195736_(1500_x_729_pixel).jpg 
Views:	72 
Size:	296.3 KB 
ID:	41601
    Click image for larger version. 

Name:	IMG_13092021_194934_(1500_x_729_pixel).jpg 
Views:	77 
Size:	291.0 KB 
ID:	41602
    Click image for larger version. 

Name:	IMG_13092021_195033_(1500_x_729_pixel).jpg 
Views:	82 
Size:	303.3 KB 
ID:	41603

    A bit of the body is exposed where the bridge pickup will sit so next step will be to rout/sand it back.

  6. #16
    Member
    Join Date
    Sep 2021
    Location
    N.S.W. Australia
    Posts
    7
    Sorry guys didn't see the other responses I'm still pretty new to this.

    I see why IRLGuitars mentioned that it's a controversial topic. Good to know that they have tested it and it doesn't take away from it or anything. Since we are talking about it, do string through ferrules improve the sustain? I have some ferrules on order but nervous about drilling through the body.

    Hmm seeing the two side by side you can really tell the difference in quality and look, and looking back at m0j0s and Andyxlhs they do have that nice curve. Might not hurt me to have another sketch before I cut, last thing I want is too regret what I've done.

    Can't wait untill I can plug in and discover if I have created a great sounding guitar or if it's a good ol tone turd.

  7. #17
    GAStronomist Simon Barden's Avatar
    Join Date
    Oct 2016
    Location
    Reading, UK
    Posts
    10,547
    String-through affects the tone more than sustain. Top-loading is supposed to give a slightly brighter more janglier tone, whereas standard rear-loading has a bit more in the mids. But you can change the tone far more by changing the saddle material.


    There may be slight differences in sustain, but not enough to worry about e.g. 22 seconds vs 23 seconds.

    Put the ferrules in and you can string both ways and see what you like the best.

    To drill the string holes, use the bridge plate as a guide.

    Ideally use a drill press, but you can also use a drill stand or a drill guide to keep the drill as vertical and straight as possible.

    Drill the two E string holes all the way through, and the other four 2/3 the way through.

    Turn the body over, and again, using the baseplate string holes, use the two outer holes to mark the position of the four inner holes so you get them in a nice straight line, and then drill those about 1/2 way through. They should line up in the middle. You can then drill all the way through from one end to ensure a straight string path through.

    Avoid drilling these holes a larger diameter than the holes in the base plate, otherwise the strings will keep catching on the underside of the baseplate when restringing. You can live with it as they will poke through eventually, but it's easier (especially if a string breaks mid-gig) if they match up and the string goes through first go.

    If you have the flush-mounting ferrule type, then you need to be very accurate in drilling the ferrule holes the right depth, or you'll end up with them proud or sunken rather than flush. So a drill press is ideal here to get them the same depth. String tension will pull the ferrules in as far as they can go, so just knocking them in flush isn't enough if there's still a gap underneath.

    Lipped ferrules don't look quite as nice (IMO) and obviously stand proud of the body, but you don't need to be as precise with the ferrule hole depth as the lip takes care of that issue.

    The alternative is to get a ferrule plate, which allows your holes in the rear to be a bit less tidy (obviously neatly lined-up is still best from a re-stringing point of view).

  8. #18
    Overlord of Music McCreed's Avatar
    Join Date
    Oct 2018
    Location
    AUS
    Posts
    3,552
    A bit of the body is exposed where the bridge pickup will sit so next step will be to rout/sand it back.
    Looking at the amount of thread remaining on intonation screw of the B & E saddle, you may have been able to move the bridge ahead enough to avoid that clash with the routing. That said, I don't know where your scale length mark fell in relation to that saddle position, but better to have more adjustment than you need than not enough.

    The TL kits have historically had issues with the scale length/bridge position. IIRC, some too long, some too short.
    Yours is a minor adjustment, and should fine with the small bit of routing at the top of the cavity.
    If you don't have a router, that little bit can be neatly and adequately fixed up with a sanding drum on a rotary tool (eg: Dremel).

    Since we are talking about it, do string through ferrules improve the sustain? I have some ferrules on order but nervous about drilling through the body.
    I can't offer any scientific evidence (maybe Simon???) but as an owner of 3 teles (2 string-through, 1 top-loader) I don't notice a difference. I know I'm biased because I built them, but all of them play and sound great IMO, and do not lack sustain. I've found a reason to A/B test them anyway.

    One thing I do find different between string-through and top-load, is the feel of the strings. To me they feel stretchier. Similar to the difference between a 24-3/4" scale and 25-1/2" scale, but maybe more subtle. I think it has something to do with the anchor point of the string and where the string passes over the saddle. Dunno, just a guess.
    Making the world a better place; one guitar at a time...

  9. #19
    Quote Originally Posted by Jackson O'Neill View Post

    Hmm seeing the two side by side you can really tell the difference in quality and look, and looking back at m0j0s and Andyxlhs they do have that nice curve. Might not hurt me to have another sketch before I cut, last thing I want is too regret what I've done.
    To be fair, my final result was a bit of an accident. Did it all with a coping saw and started at the top. By the time I was getting near the neck, my arm was burning and I just wanted to be done. I got a bit over-enthusiastic and went a bit too far on a cut. Where it cuts in and back out again right towards the neck was not by design. When I realised what I'd done, I swore a little, composed myself and just had to make it work. If I could do it again, I wouldn't do that again. Don't be like me - take your time and don't make stupid mistakes through impatience.

  10. #20
    Member
    Join Date
    Sep 2021
    Location
    N.S.W. Australia
    Posts
    7
    String-through affects the tone more than sustain. Top-loading is supposed to give a slightly brighter more janglier tone, whereas standard rear-loading has a bit more in the mids. But you can change the tone far more by changing the saddle material.
    Good to know as I am unsure when the ferrules will arrive so may have to stick with top loading if I finish before then.
    Watching the video I don't mind the slight pop the Graphite sadles have to them, although I'm a bit typically where I did like the "Twang" the brass provided.

    Avoid drilling these holes a larger diameter than the holes in the base plate, otherwise the strings will keep catching on the underside of the baseplate when restringing.
    Im glad you mentioned as I was going to use a size pretty flush to the bridge plate holes as my other bits arnt long enough to go through. Will have to get one so I can line it up with the plate like you said, that's a really good idea

    Looking at the amount of thread remaining on intonation screw of the B & E saddle, you may have been able to move the bridge ahead enough to avoid that clash with the routing. That said, I don't know where your scale length mark fell in relation to that saddle position, but better to have more adjustment than you need than not enough.
    I think you are right on that one, I had it so the saddle was about half way and got it pretty bang on to scale length but could have moved it back and adjusted the saddle. Thought it would be better to keep it pretty even either way in case I did get it wrong haha
    I've been needing a dremil for a while now so good excuse to get one right haha

    Your reaction to your mistake of swearing, composing and compromising sounds alot like me when I make mistakes haha good to know I'm not alone. I was planning on using a jigsaw but do you guys find that over aggressive?

    Speaking of mistakes, when I previously got too enthusiastic and coated & gave a light sand I eventually started to get wear marks and I lost some of the grain.. Has anyone experienced this and or have a solution?
    I'm thinking a finer grit sandpaper maybe like 220 but don't want to make the surface too glossy as I want the stain to take
    Click image for larger version. 

Name:	IMG_14092021_180324_(1500_x_729_pixel).jpg 
Views:	72 
Size:	240.8 KB 
ID:	41608

    When I run a damp rag over it its not as bad but still worried it will stain solid. I am going for the slight relic look but want to make it natural wear not obvious ive hit it with sandpaper
    Sorry for the bombardment of questions I've had but you guys have been very helpful along my journey

Page 2 of 2 FirstFirst 1 2

Posting Permissions

  • You may not post new threads
  • You may not post replies
  • You may not post attachments
  • You may not edit your posts
  •