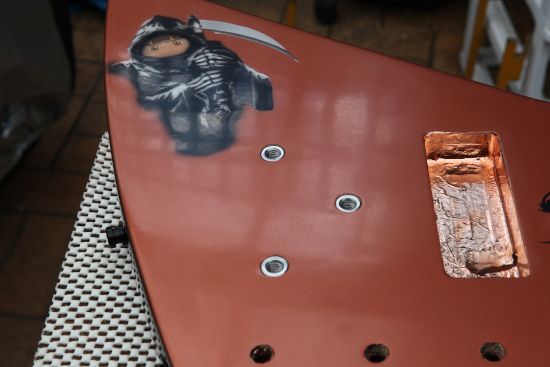
Whoohoo! <bouncehopspinnnnnn!!!!!!!!> My pickups finaly arrived! Dora is done!
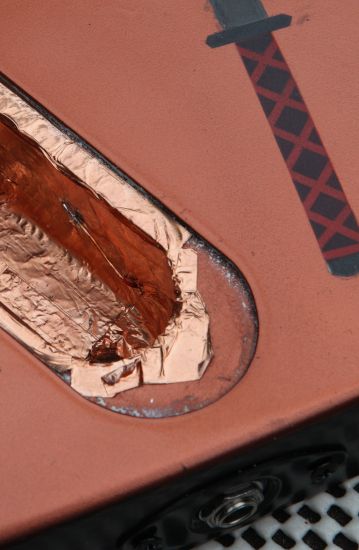
I installed the pickups with some neoprene foam (eg strips cut from an old mouse pad) under them. After wiring them up and the tone pot, I strung it up and plugged it in, pulled a string, aaaaaand!!!! MOS (Mid Out Sound). I got bupkiss out of the speaker. After checking everything again with the multi meter I pulled the jack out and discovered some copper tape had come away (probably from when I re-established the hole for the jack inside the control cavity) and was shorting between the poles of the jack.
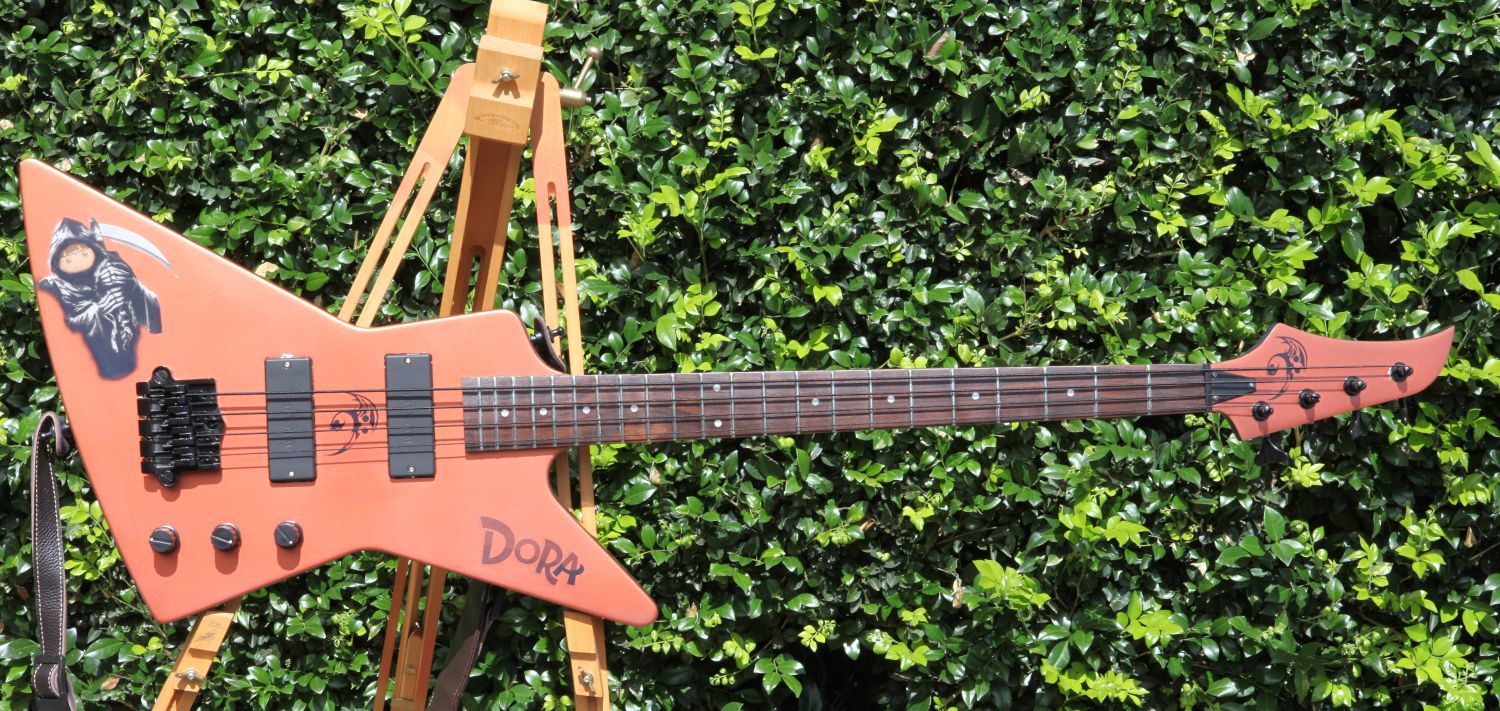
After fixing that , plunged in again and ....it lives! But I was expecting a better sound. I had spent a lot of money on Bartolini CF4CBCs and after waiting since the beginning of January for them I was disappointed

. I lowered them a bit and BANG! They sounded so much better.
The action was somewhat high...ok... bloody ridiculous, but luckily the saddles on the Babicz weren't down all the way. The design of the bridge made adjusting and intonating very easy. So next... on to getting timber for Mean Gene, Bomber and Precipice.


Originally Posted by FrankenWashie

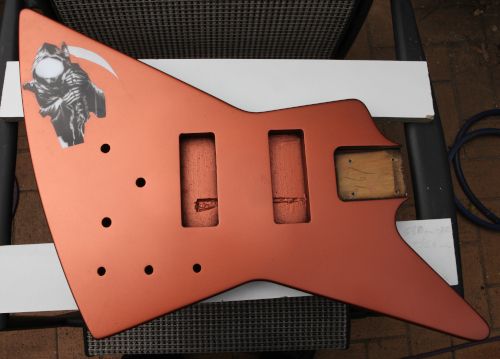
. Lets see... the body is Basswood, which is only one step up from Paulownia. There are a couple of minor dings on edges. In addition, base coat is very fragile. It cot scraped a few times, both the base, and the primordial graphics. I tried to touch up with the air brush, but the colour from the same paint came out lighter, it was just too obvious


 Reply With Quote

 . The clear was accumulating on the nozzle and then landing on the body as dried chunks. then after a few coats of reasonable smoothness, I managed to get runs on the side because on that coat, I put it on too wet
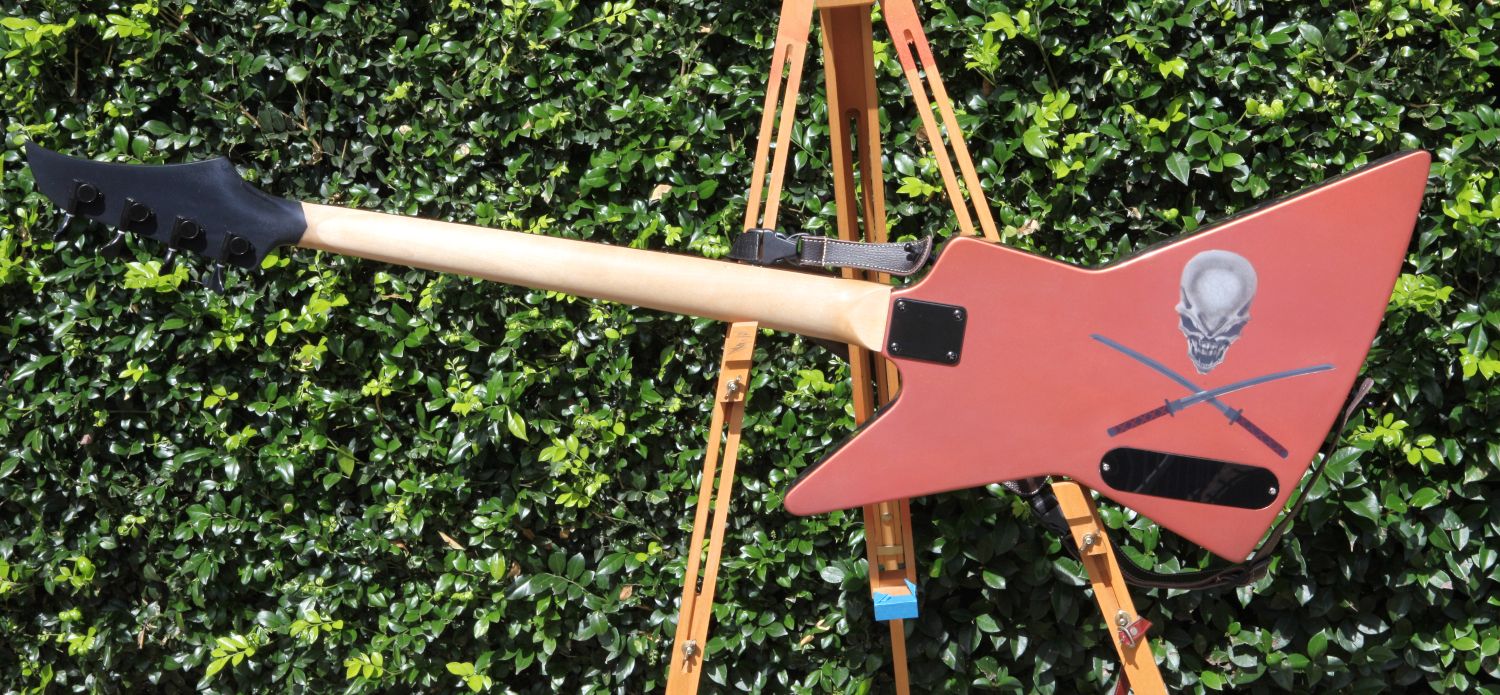
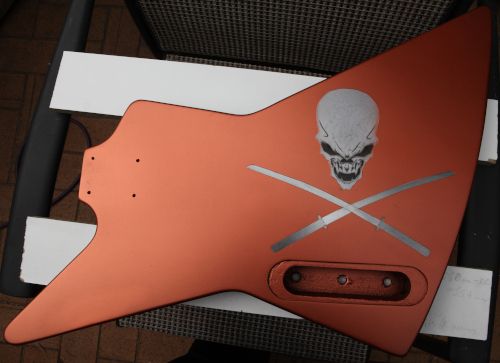
  . With air brush stencils, this is not the case. Good ones give you a scaffolding of the basic form, and a few lines to indicate where some shading might be to give the art work definition. Then there are places where you need to join things up because things don't just hang there on a reusable stencil like they can do with a vinyl, plotter cut, one off stencil. Separating teeth on a small scale can be a bit harrowing! So here's what I ended up with for the back:
 . :
. :