Page 1 of 19 1 2 3 11 ... LastLast
Results 1 to 10 of 183

Thread: Dual Build: GSJ-1 and GSM-1

  1. #1
    GAStronomist Simon Barden's Avatar
    Join Date
    Oct 2016
    Location
    Reading, UK
    Posts
    10,547

    Dual Build: GSJ-1 and GSM-1

    I'll be building these two SG style kits, an GSM-1 and a GSJ-1 together and in parallel with identical finishes, so there didn't seem any point doing two build diaries. The GSM-1 is for me, and the GSJ-1 for a friend.

    The kits have just arrived today (I forgot they were coming so it was a nice surprise!).
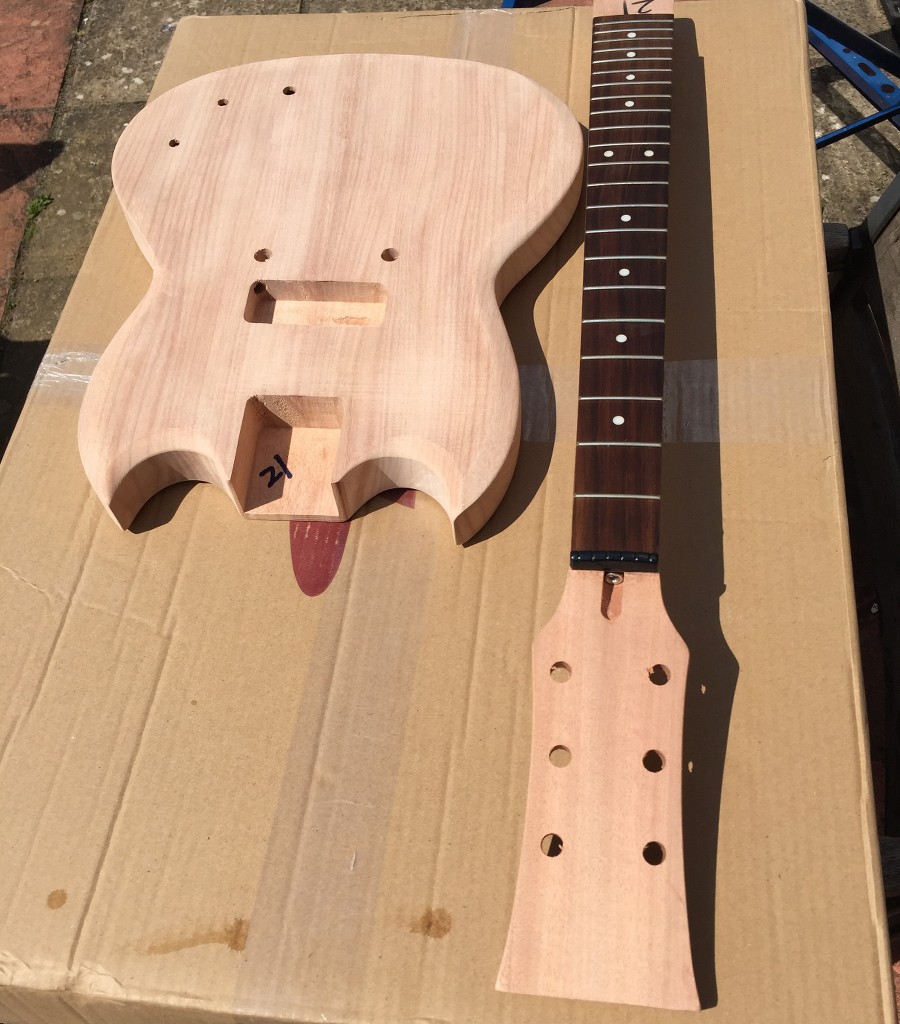
    GSM-1:

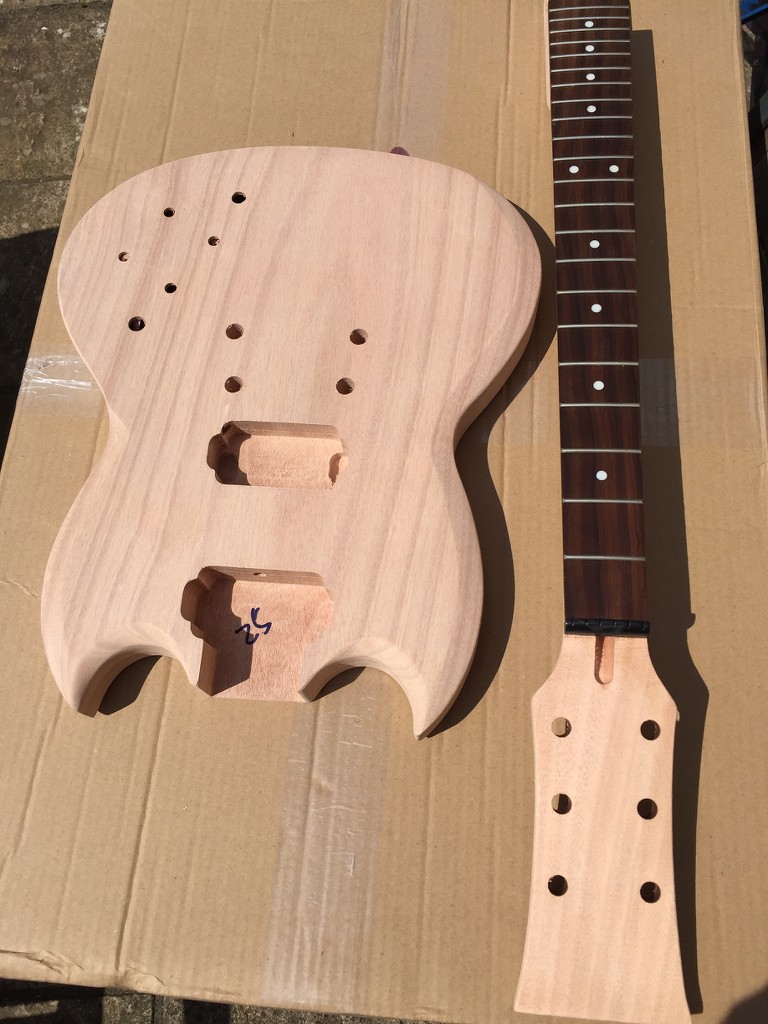
    The kit looks lovely. I have been lucky and scored a one-piece body. It's also pretty light. The neck is nice and straight. The neck is a very tight fit in the pocket, but this fit should relax after a few days acclimatising
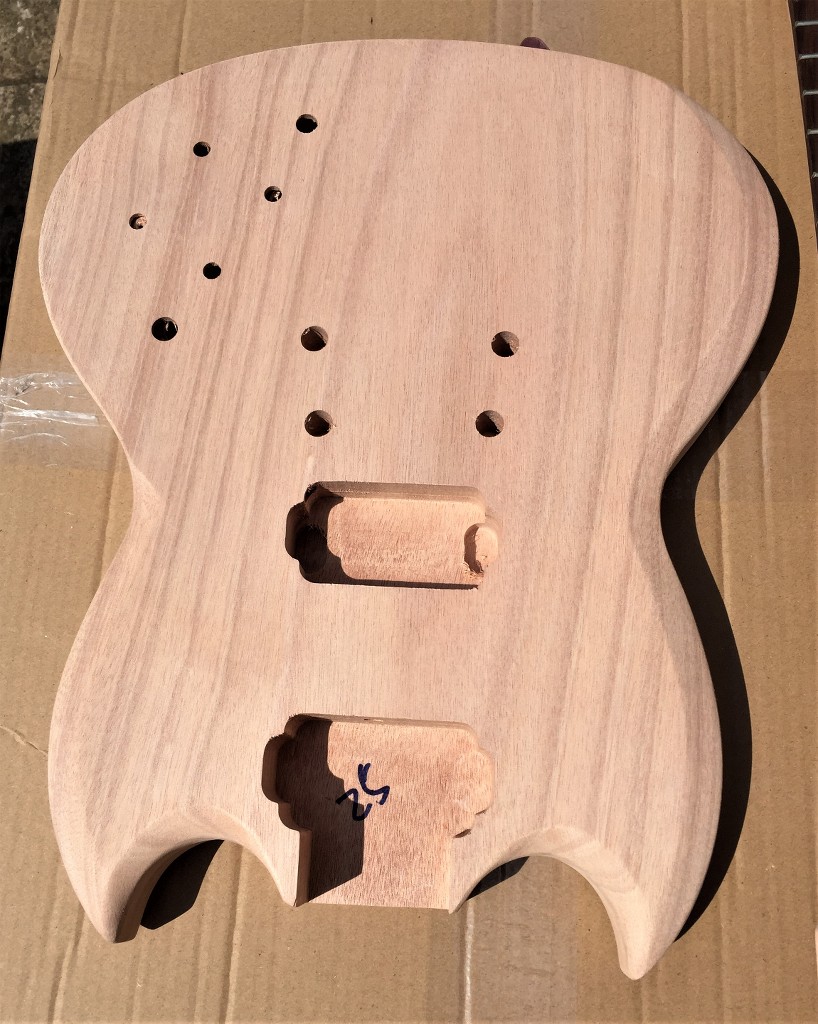
    GSM-1 body:


    GSM-1 body and neck:


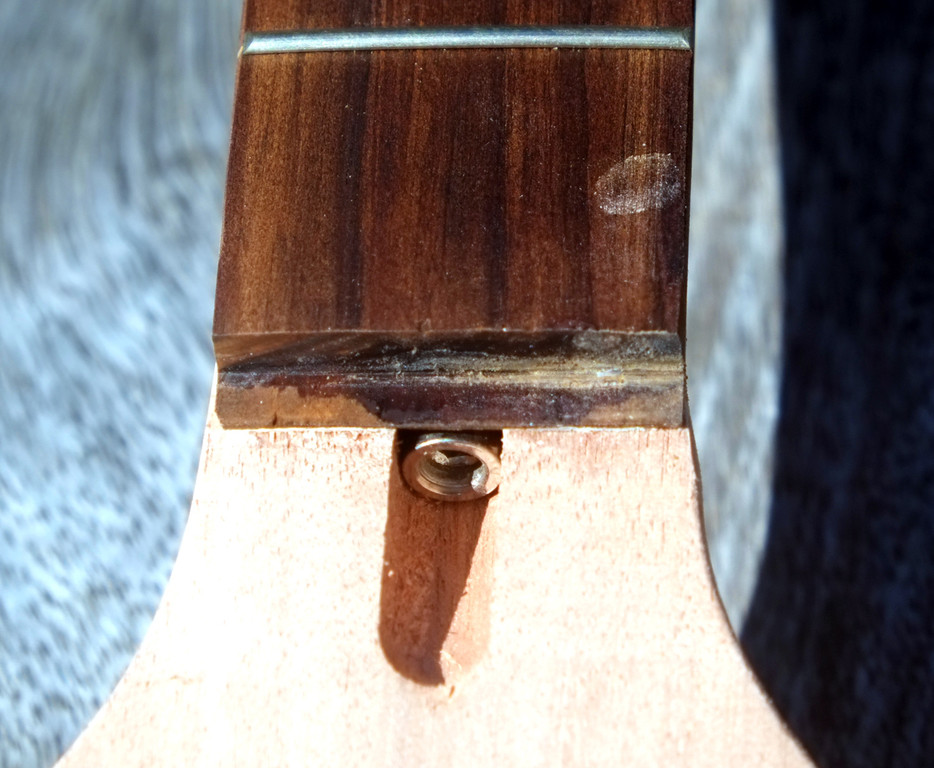
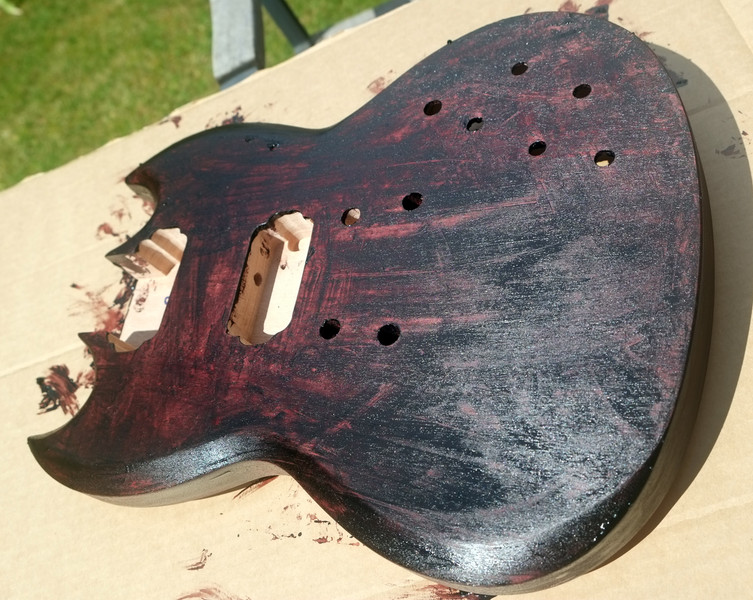
    GSM-1 rear view. The factory look like they are in dire need of some sharper drill bits, but it's nothing that can't be patched up and any repairs will be hidden under copper shielding tape anyway.


    GSJ-1:

    This is a two piece body, but made from very similar pieces of mahogany. Again, the neck is a real squeeze to fit in the pocket, but should fit better in a week or so.

    I had a look at the P-90 and it appears to be of a different construction to the one supplied with BlindDrew's ES5-V, as it has the proper dog-eared backing plate for fixing the bobbin, rather than it being of a soapbar-type construction with the bobbin being stuck to the plastic cover. But the two bar magnets used are definitely shorter than standard. I suppose magnets are relatively expensive,even ceramic ones, and if you can make 10 pickups from a ceramic bar that would normally make 9, then it's all money saved.
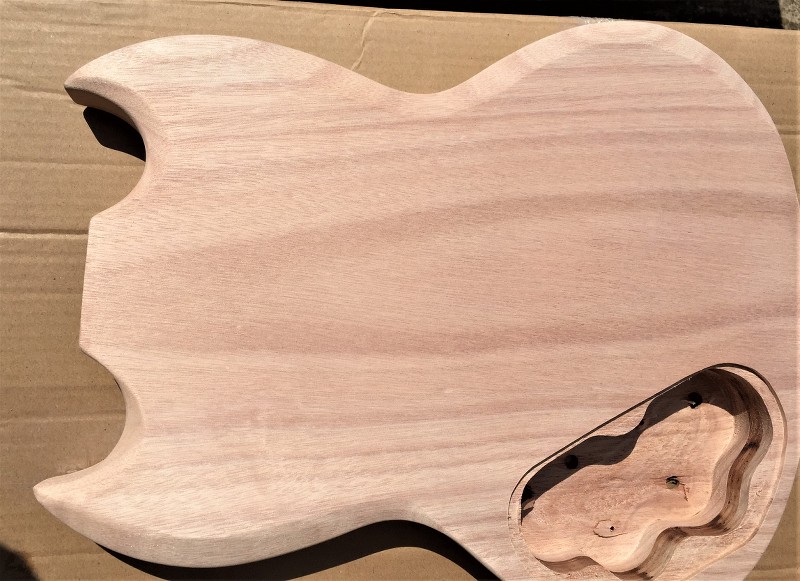
    GSJ-1 body:


    GSJ-1 Body and neck:


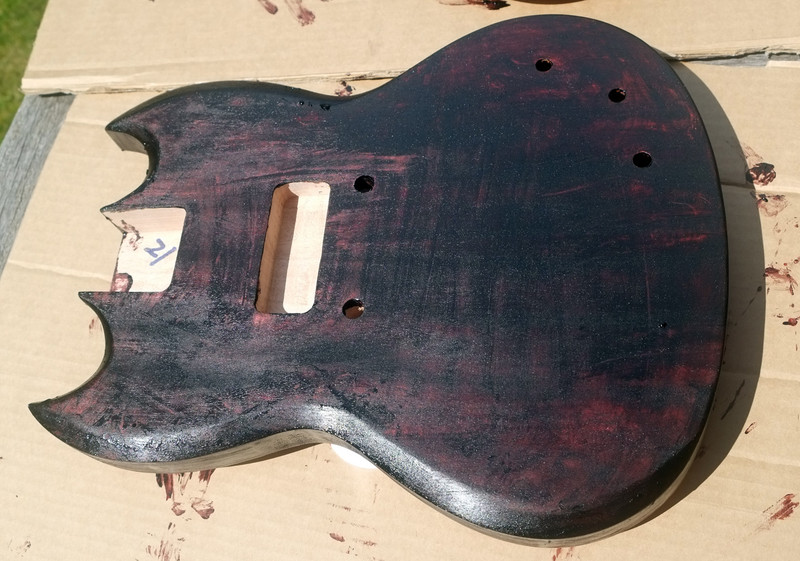
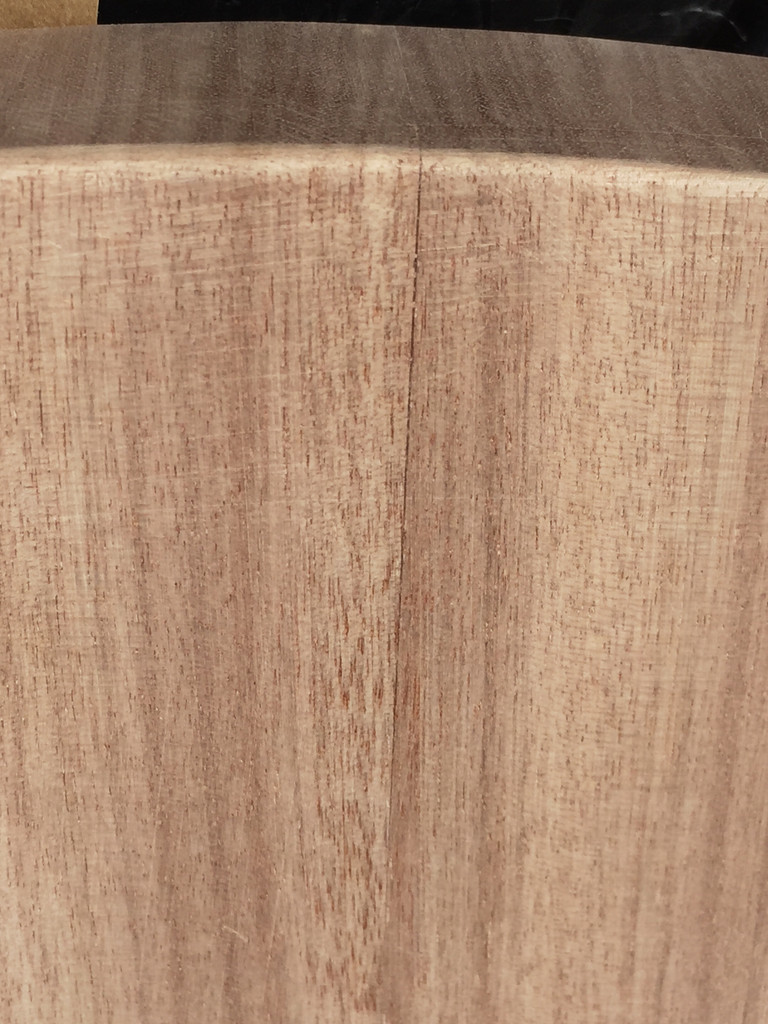
    GSJ-1: Body join. The back of the body looks fine, but there is a slight glue line at the rear of the top where the two halves of the body weren't quite cut square to each other. No crack in the finish as such, as it's filled with glue. Obviously it would be nicer if it wasn't there but I can live with it. Going Heritage Cherry for the finish on both guitars, and as well as a red stain, I'll be using some Heritage Cherry nitro lacquer on it before the clear coats are applied, so that should hide most of that.


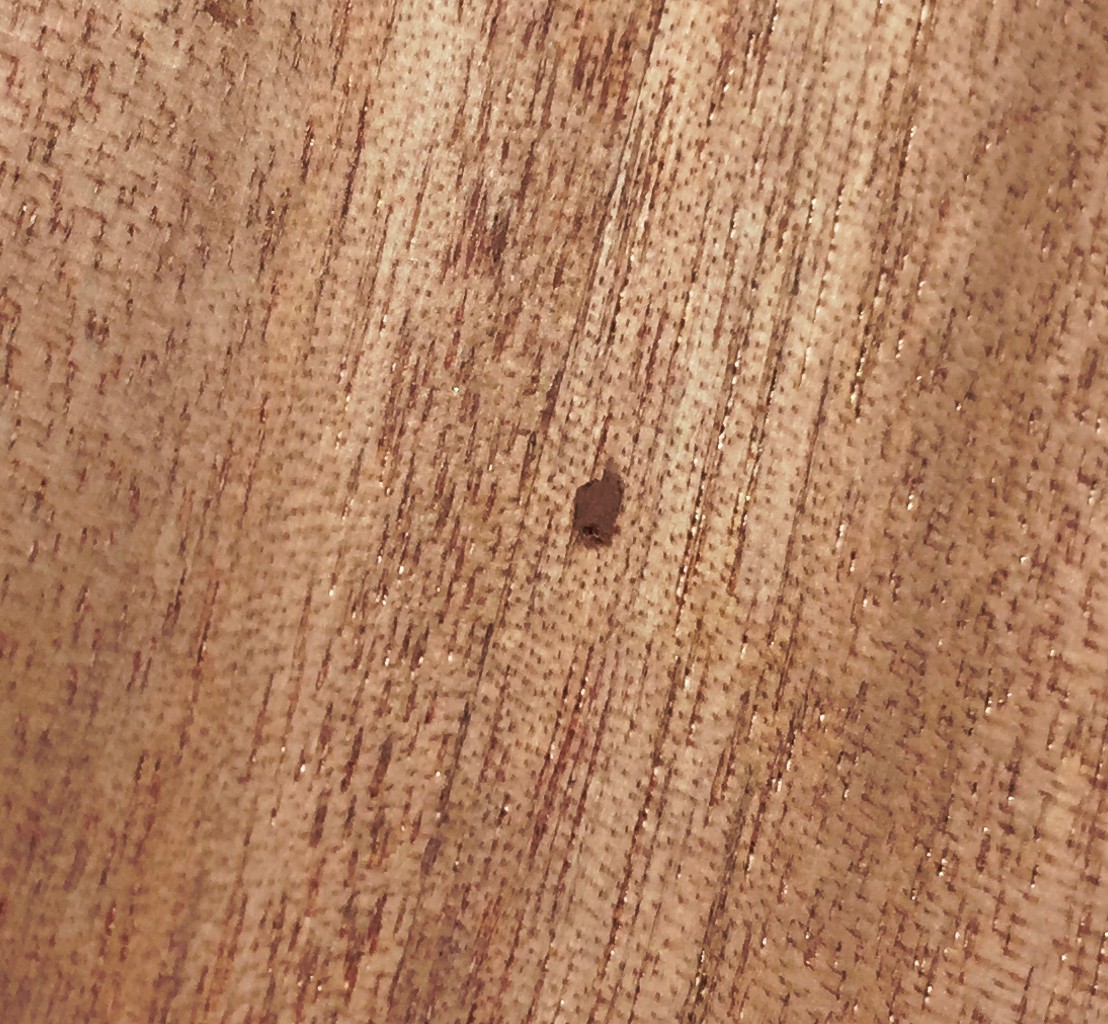
    There's also a small annoying ding in the top that's been filled with mahogany-coloured filler. But it's not that big and it should be near-invisible once finished.


    Got a couple of other projects on the go as well, but we've got a spell of good weather, and my plan is to get them all ready for spraying at the same time.

  2. #2
    Member
    Join Date
    Apr 2020
    Location
    Uk
    Posts
    13
    Some stunning bits their mate can’t wait to see the finished results

  3. #3
    Mentor jugglindan's Avatar
    Join Date
    Sep 2019
    Location
    Canberra
    Posts
    1,181
    Gotta be happy with scoring a one-piece body!
    Mantra: No more pedals, must finish BlueyCaster...
    Disclaimer: I haven't done woodwork since high school, and wasn't really paying attention at the time ...

  4. #4
    GAStronomist Simon Barden's Avatar
    Join Date
    Oct 2016
    Location
    Reading, UK
    Posts
    10,547
    I've been doing some initial tidying work whilst waiting for the body woods to settle and acclimatise.

    Tidied up the control cavities and enlarging the pot holes to fit CTS pots. Glued some of the splintered wood back in place.

    I removed the two plastic nuts, ready for bone replacements. One (the GSM) was definitely fitted with a gap between it and the end of the fingerboard and I found out why:


    You can clearly see a metal pin sticking out of the end. These are used to hold the fretboard in place whilst its glued and clamped to the neck, but it really shouldn't have been fitted so close to the end of the board. It was sticking out quite a bit and prevented the nut from fitting against the end of the fretboard. A few moments with a Dremel and a grinding wheel and it was gone.

    Then I removed the nut from the GSJ, and what did I find?


    Yes, a very small part of another pin in exactly the same place, which was preventing the replacement nut from sitting quite flush. So a bit more grinding to fix that.

  5. #5
    GAStronomist Simon Barden's Avatar
    Join Date
    Oct 2016
    Location
    Reading, UK
    Posts
    10,547
    Marked up the headstocks after tracing an outline from a LP.

    Here's the SG Jr after initial excess wood removal prior to going in with the Dremel drum sander and sandpaper:


    And here's both the Jr (L) and SG (R) completed:


    I discovered that the shaping on my LP isn't quite symmetrical, so neither are my shapes. That's hand-built for you!

  6. #6
    Quote Originally Posted by Simon Barden View Post
    Marked up the headstocks after tracing an outline from a LP.

    Here's the SG Jr after initial excess wood removal prior to going in with the Dremel drum sander and sandpaper:


    And here's both the Jr (L) and SG (R) completed:


    I discovered that the shaping on my LP isn't quite symmetrical, so neither are my shapes. That's hand-built for you!
    Awesome, they are both going to have a story to tell. Hand built for the win.

  7. #7
    GAStronomist Simon Barden's Avatar
    Join Date
    Oct 2016
    Location
    Reading, UK
    Posts
    10,547
    The latter part of yesterday and this morning were spent sanding down the bodies and necks. The neck heel start quite a way from the body, so I reshaped the necks to give a more gradual transition and easier upper fret access. I used a drum sander on a Dremel to increase the size and sharpness of the edge bevels, after which it was all sanding the bodies down again. So they are all ready for grain filling. It turned rather windy and cold outside by lunchtime, so I didn't do any more today.

    Plus, I have some very sore back muscles at present and I overdid it by working all day yesterday, so much so that I could only get comfortable by lying down. So today, I went a bit easier on the bending over etc.

    Yesterday I tested out staining the clear grain filler I'm using (Aqua Coat), with some dark red stain, and tried stained and unstained filler on the headstock offcuts, just to see how it compared, and whether I could then use my heritage cherry stain over the top once it had been sanded back. Both fillers worked OK, with the stained one having a bit more interest in the finish because of the darker colour of the filled pores. So stained grain filler it will be. So tomorrow, it will be on with the rubber gloves!

  8. #8
    Member kunsel's Avatar
    Join Date
    Feb 2019
    Location
    Montreal, Quebec, Canada
    Posts
    20
    Great head stock cut!
    Guitars
    -------
    Norman SB20

    Bass
    ------
    Squier 4 Strings
    Ibanez SGR 5 strings

    ---Personal build---
    SV-7 (current)
    Headless 4 strings
    IB-6S 6-STRING BASS
    Telecaster Thineline

  9. #9
    GAStronomist Simon Barden's Avatar
    Join Date
    Oct 2016
    Location
    Reading, UK
    Posts
    10,547
    So today is grain fill day.

    Mixed up some stained AquaClear grain filler and sloped it on. I did have pictures of the grain filled necks but managed to delete them.


    The GSJ-1:


    The GSM-1:


    Still got the back to do in about an hour's time when they should be dry enough to turn over. Don't need to be too careful as most of this will be sanded off again. Just don't want the bodies sticking to the cardboard!

  10. Liked by: Reverand

  11. #10
    Overlord of Music McCreed's Avatar
    Join Date
    Oct 2018
    Location
    AUS
    Posts
    3,552
    Looking good Simon. Nice tidy work.

    re: AquaClear, how much do reckon you use on one body?

    It's available here in AUS now from one supplier but it's $55 for a US pint. (473ml for us guys)

    It would be worth it if I could get 4 guitars out of it, but then there's probably shelf-life to consider as well. Would hate to have to throw it out after 1 build.

    Cheers
    Making the world a better place; one guitar at a time...

Page 1 of 19 1 2 3 11 ... LastLast

Posting Permissions

  • You may not post new threads
  • You may not post replies
  • You may not post attachments
  • You may not edit your posts
  •