Page 3 of 19 FirstFirst 1 2 3 4 5 13 ... LastLast
Results 21 to 30 of 183

Thread: Dual Build: GSJ-1 and GSM-1

  1. #21
    GAStronomist Simon Barden's Avatar
    Join Date
    Oct 2016
    Location
    Reading, UK
    Posts
    10,547
    The kit P-90 plate is the standard P-90 size, as is the rout. But I know it's not the same dog-ear P-90 that comes with the ES-5V kit.

    I will need to work on the cover, as it doesn't quite sit fully on the pickup properly. You can push the plastic ears down a bit and the middle comes off the body slightly. A slight widening of the slug screw holes and a light sand inside should do it. Otherwise a re-bend of the pickup plate ears.

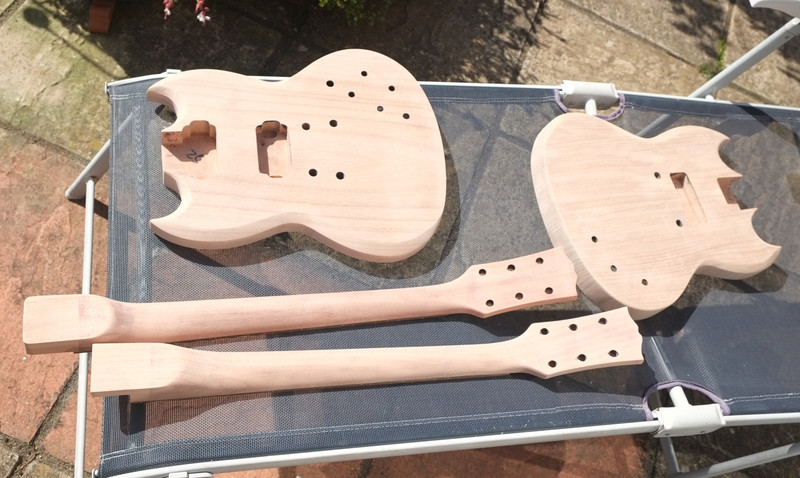
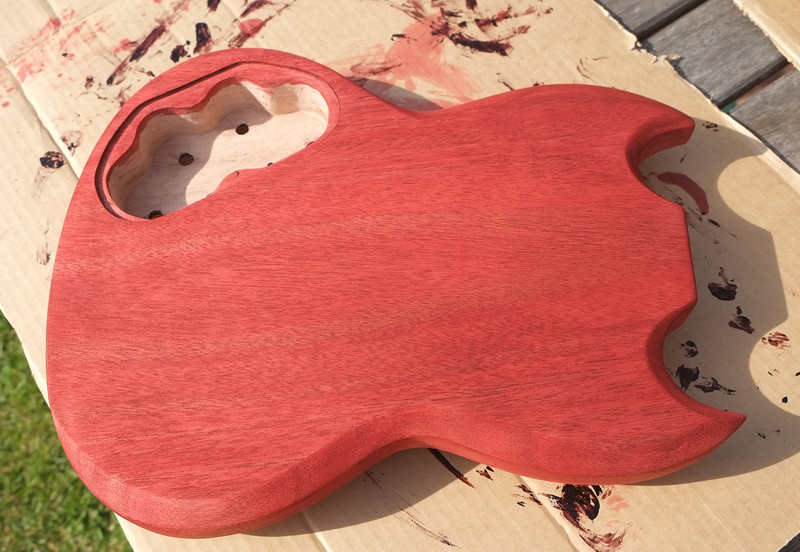
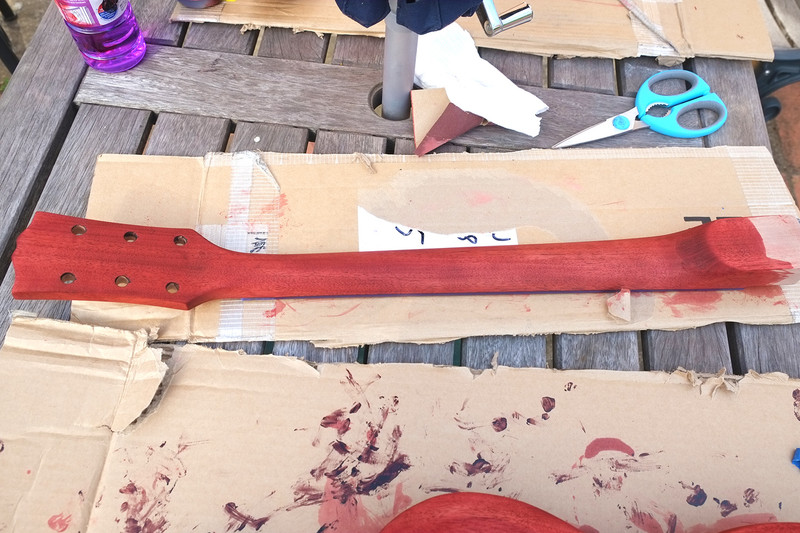
    I miscalculated and it was only 8 hours, but that was still a lot for me. Still, I should have produced a lot of vitamin D sitting in the sun!

  2. #22
    GAStronomist Simon Barden's Avatar
    Join Date
    Oct 2016
    Location
    Reading, UK
    Posts
    10,547
    Here are the two necks covered in grain filler:


    The SG Jr body just started to be sanded back. If nothing else, the stained grain filler clearly shows up any unevenness in the body:


    The SG Jr body with the top sanded:


    The fully sanded bodies and necks resting and getting some rays before being stained. Grain filling always seems such hard work, doing a lot to superficially get back to where you started from. But you know that the surface is now nice and smooth, and the pores have now been darkened for some visual contrast.


    The SG Jr body top stained:


    The SG rear body stained:


    The stained SG Jr neck:


    The stain used was Rothco & Frost's/Dartford's Heritage Cherry Red Spirit Stain, diluted with some methylated spirit.

    I rubbed the bodies down before staining with methylated spirit to clear off any remaining sanding dust, and that is one good way to find out whether you've got any small unnoticed cuts or scratches on your fingers from the sanding process. I found out that I had quite a few!

    As I think I said before, the wet stain is a lot redder/brighter and the dark grain filler shows up a lot more, so I'm expecting all that to return once I get the clear coats on. I'm thinking of giving the kits a thin initial heritage Cherry red lacquer coat as well, partly for good measure, partly to help hide some small blemishes and cracks in the wood, and partly because I have a couple of bottles that have so far been unused, and I want to use them.

  3. #23
    Overlord of Music McCreed's Avatar
    Join Date
    Oct 2018
    Location
    AUS
    Posts
    3,552
    Nice even colouring there Simon. Good rate of progress too.
    Making the world a better place; one guitar at a time...

  4. #24
    Overlord of Music McCreed's Avatar
    Join Date
    Oct 2018
    Location
    AUS
    Posts
    3,552
    Quote Originally Posted by jugglindan View Post
    I am lucky to find one solid hour. Might be why my tele is taking so long.

    Sent from my moto g(7) using Tapatalk
    Less posting, more building!
    Making the world a better place; one guitar at a time...

  5. #25
    Mentor jugglindan's Avatar
    Join Date
    Sep 2019
    Location
    Canberra
    Posts
    1,181
    Quote Originally Posted by McCreed View Post
    Less posting, more building!
    In my defense Your Honor, I am stalled while waiting for micromesh pads to arrive in the post. Can't finish the fretboard without them. Although I could sand and clear coat the neck before finishing the fretboard, now that the Blueycaster decal has arrived (on Friday).

    And no, I most definitely did not spend hours last night bread-boarding a fuzz, only to get an extremely gated effect because I didn't have the right transistors.
    Mantra: No more pedals, must finish BlueyCaster...
    Disclaimer: I haven't done woodwork since high school, and wasn't really paying attention at the time ...

  6. #26
    GAStronomist Simon Barden's Avatar
    Join Date
    Oct 2016
    Location
    Reading, UK
    Posts
    10,547
    I did nothing yesterday, feeling very under the weather, and it was quite cold, grey and windy.

    So today I did yesterdays task of cutting up some lack fibreboard to provide a headstock facing so I could inlay some abalone sheet as part of my headstock logo design. Gibson used cherry veneer as a headstock facing until the early 60s, and then switched to fibreboard. It's a composite material made of wood fibres and a flexible plastic. This stuff (from Rothco and Frost) is nominally 0.8mm thick, so a bit thicker than your standard veneer It allows you to inset inlay without having to rout or cut into the headstock itself.

    I first had a go at using the Dremel router table as a drum sanding table, and it worked very well. It came in very handy.


    I took ages initially trying to cut the fibreboard to shape with a scalpel, but it was very hard work for very little result. And then I tried cutting it with a small pair of sharp scissors, and it took moments. Finding the right tool for the job is half the battle.

    So this is one of the necks with the fibreboard glued on:


    The fibreboard has a comparatively rough surface, so I sanded both sides with some 180 grit to get it a bit smoother, and also a bit thinner as I need my abalone to sit slightly proud of the surface.

    One benefit of the fibreboard is that being synthetic, there won't be any significant paint shrinkage into it.

    The drum sander came in useful in tidying up the holes and smoothing the edges of the abalone disks so that they fitted in to the cut-outs.

    Weather permitting, tomorrow will be spent trimming the edges flat with the headstock, cutting out the tuner holes i the fibreboard and a small bit of stain touch-up.

    I may well get round to gluing the necks on (I'm assembling before any spraying, so I can fill and hide any small neck join cracks).

  7. #27
    Member
    Join Date
    Jun 2017
    Location
    North East UK
    Posts
    356
    which grain filler did you use Simon?.... and I take it you used a black dye in it?

  8. #28
    GAStronomist Simon Barden's Avatar
    Join Date
    Oct 2016
    Location
    Reading, UK
    Posts
    10,547
    I used Aqua Coat clear grain filler (and tinted it). Expensive in the UK,at £30 for approx 1/2 litre, but it's done five guitars with certainly enough left to do a sixth. At approx. £5 a guitar, it's not the most expensive consumable I'll be using.

    https://tonetechluthiersupplies.co.u...in-filler.html

    It's nice and easy to work with, plus it's water-based, so relatively eco-friendly. Although it may shrink a bit, I haven't noticed any shrinkage so far. And you can stain afterwards or before.

  9. #29
    GAStronomist Simon Barden's Avatar
    Join Date
    Oct 2016
    Location
    Reading, UK
    Posts
    10,547
    Today I tidied up the two headstocks, trimming the fibreboard back to the wood and finishing opening up the truss rod cutaway. But it was a hot sunny day and I didn't feel like doing too much. I even forgot that I needed to open up the tuner holes. I'll need to do that and then re-stain some bits and pieces tomorrow.

  10. #30
    GAStronomist Simon Barden's Avatar
    Join Date
    Oct 2016
    Location
    Reading, UK
    Posts
    10,547
    After being frustrated at having to keep reaching under the worktable to get at the on/off/speed control for the Dremel, I bought one of these foot-operated mains switches.


    Does just what I want it to do, saves more bending over and it's a lot quicker to turn the Dremel off if I need to quickly.

    As it's fully rated at 13A (max. current allowable for a standard UK mains plug), it will also come in useful for a few tools like my random orbital sander, that has an awkward to get to on/off switch.

    Sometimes it's the little things in life that can give so much pleasure.

Page 3 of 19 FirstFirst 1 2 3 4 5 13 ... LastLast

Posting Permissions

  • You may not post new threads
  • You may not post replies
  • You may not post attachments
  • You may not edit your posts
  •