


That title will make some sense shortly.
Decided it was time to play with using veneers on a build. Ordered the FB-1M kit without electronics and hardware, but with the pickguard and knobs.
A small gap opened up at the end of the body, easily fixed with some titebond and clamping.
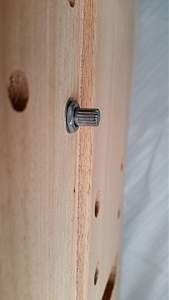
Fitted a couple of pots and noticed the two volume knobs were too close to the raised centre section and will need to be moved. Actually not a problem as I have a plan (cue sinister laugh). Also the pots can't reach through far enough, just barely get a half turn of the nut on them, so will need to do some routing in the cavity to make them fit better.


 Reply With Quote