
Thanks John, The clear should do wonders!
Yes, that's my project car lurking.


Thanks John, The clear should do wonders!
Yes, that's my project car lurking.

actually it is possible to sand the front and do it more the way you want it, but the caps are super thin... perhaps something like 0000 steel wool would soften the transition without too much risk.
i think it looks pretty nice and youve made the smart decision of knowing when to stop.
that sierra looks awesome
my car is a mk4golf i put an audi a3 turbo in to, a home built golf gti, with a few audi a3 and tt upgrades, looks a bit tired, but goes hard
Stan's LP Build for my Sister: http://www.buildyourownguitar.com.au...ead.php?t=3146
Benson Pickup Strat mod: http://www.buildyourownguitar.com.au...ead.php?t=5229
Epiphone LP headstock fix: http://www.buildyourownguitar.com.au...ead.php?t=3410
Martin Backpacker Repair: http://www.buildyourownguitar.com.au...?t=5038&page=3
'57 Harmony Jazz guitar project: http://www.buildyourownguitar.com.au...ead.php?t=2972
Thanks Stan, I'll hunt down some steel wool and try some tentative caressing of the front.
Sounds like a fun Golf! Mine is an XR4ti, with a Cosworth body kit, larger turbo, upgraded suspension, Microsquirt engine management, and it's got less than 50k on the odometer! I found it after it had been parked in a backyard shed for about 12 years, hiding from a divorce settlement.
Anyway, before I threadjack my own thread and get into strife, I've been hunting around for bits and pieces online. So far it's alternate knobs to the supplied gold - I'm going to try black with gold lettering; ordered some braided cabling, and decal label paper for the headstock.
I'm trying to find a pre-cut bone nut, I found one in the UK and I'm waiting on a postage quote. It'll be cheaper than buying a blank and then a set of files. Another stock item that needs replacing is the output jack, which is silver and doesn't fit in with the gold hardware.
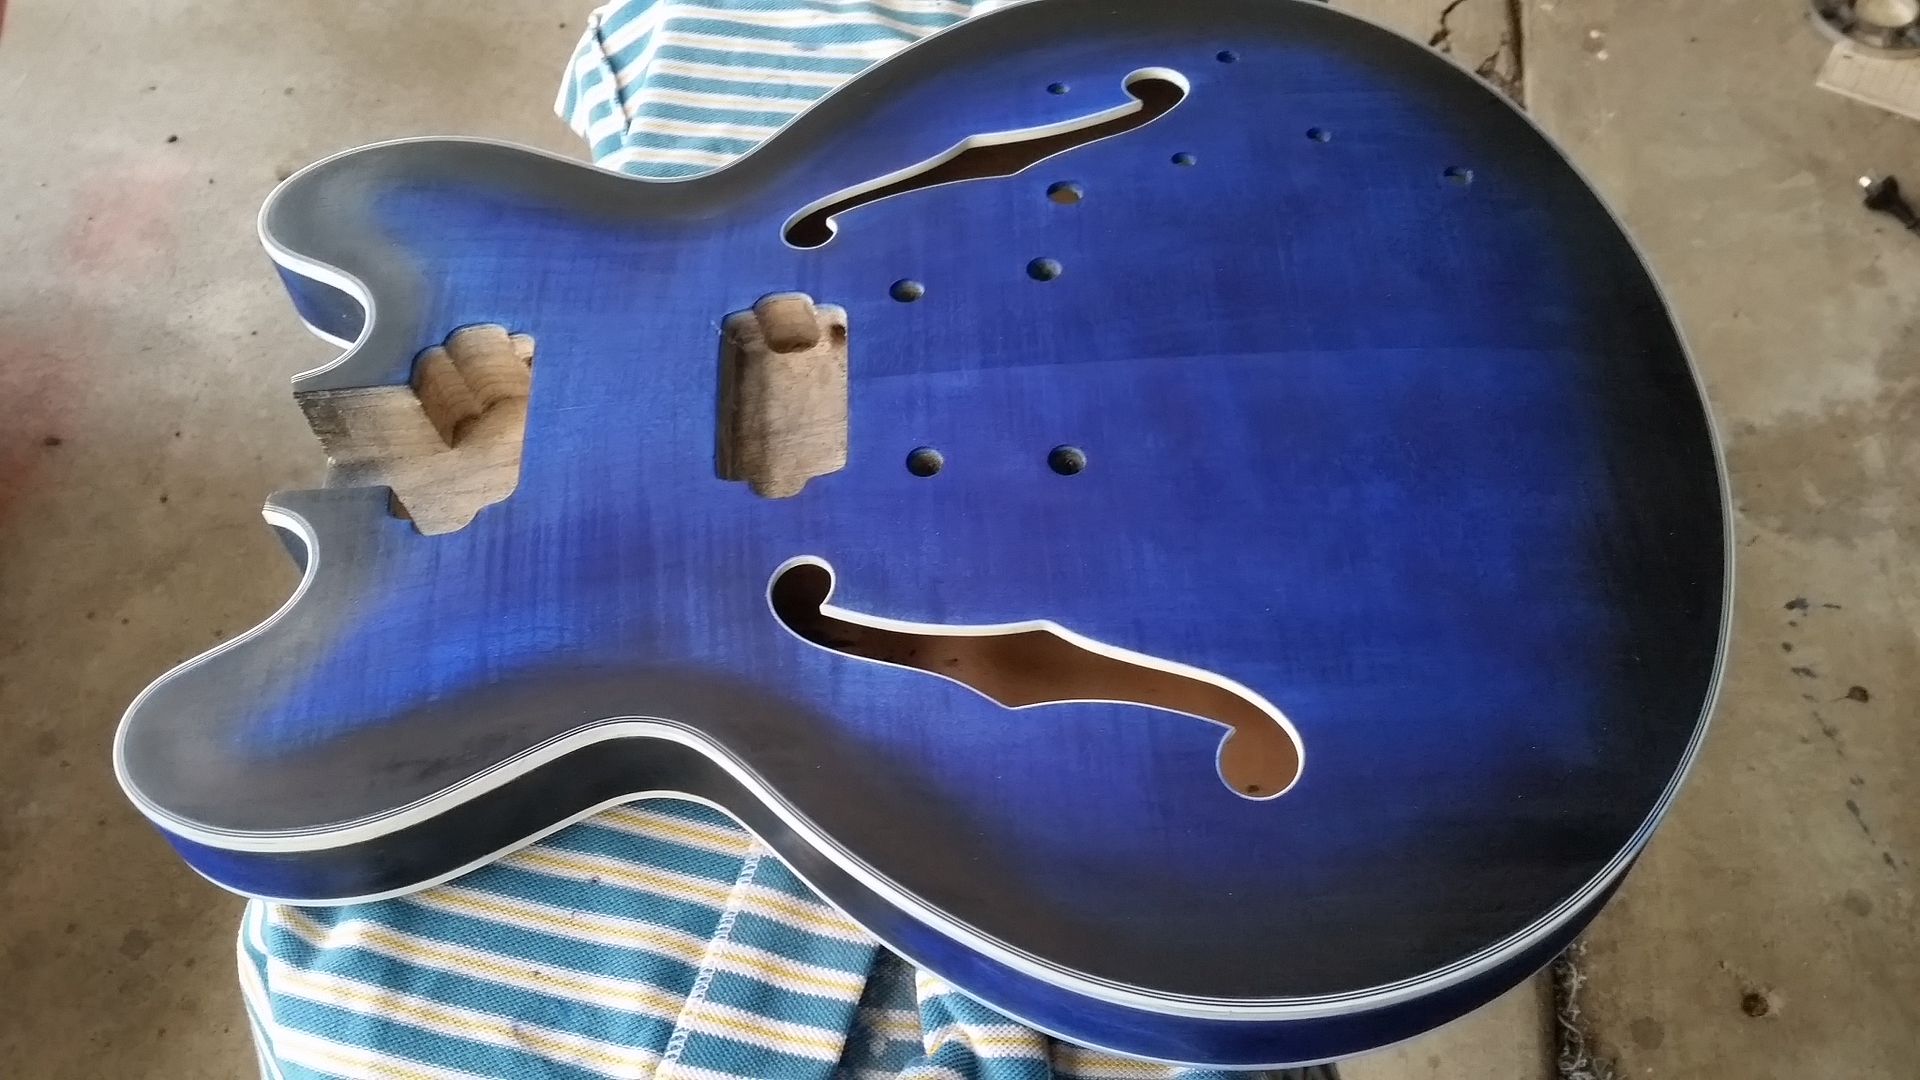
Had a bit of a go at the body and neck this afternoon - Tried a bit of 0000 steel wool as Stan suggested, and I'm a lot happier with it now. Now to finish cleaning up the binding, and get some clear coat onto it later this week!
glad it worked for you swanny, looks good
DB here makes bones nuts at a reasonable price, and Perth is way closer than the UK, just a thought
Stan's LP Build for my Sister: http://www.buildyourownguitar.com.au...ead.php?t=3146
Benson Pickup Strat mod: http://www.buildyourownguitar.com.au...ead.php?t=5229
Epiphone LP headstock fix: http://www.buildyourownguitar.com.au...ead.php?t=3410
Martin Backpacker Repair: http://www.buildyourownguitar.com.au...?t=5038&page=3
'57 Harmony Jazz guitar project: http://www.buildyourownguitar.com.au...ead.php?t=2972

That's done the job. Looks great. Reminds me of this axe which I intend to emulate one day..
http://www.macaris.co.uk/Guitars/Ele...jr_casino.aspx
Sent from my SM-T700 using Tapatalk
Current Projects
#Planning 5 String Bass
wow ponch, looks nice, love the chrome dog eared p90s!
Stan's LP Build for my Sister: http://www.buildyourownguitar.com.au...ead.php?t=3146
Benson Pickup Strat mod: http://www.buildyourownguitar.com.au...ead.php?t=5229
Epiphone LP headstock fix: http://www.buildyourownguitar.com.au...ead.php?t=3410
Martin Backpacker Repair: http://www.buildyourownguitar.com.au...?t=5038&page=3
'57 Harmony Jazz guitar project: http://www.buildyourownguitar.com.au...ead.php?t=2972
I should have thought of DB.... I went on an online buying frenzy yesterday morning and got caught up! I got an email saying my nut has been posted this afternoon, so it's maybe 2 weeks away.Originally Posted by stan

That is a great looking axe (though that sounds like a brutal term for a piece of art).
If I could get mine looking close to that, with gold instead of silver, I'll be very happy! That's the colour scheme that I imagined I wanted it to look like.
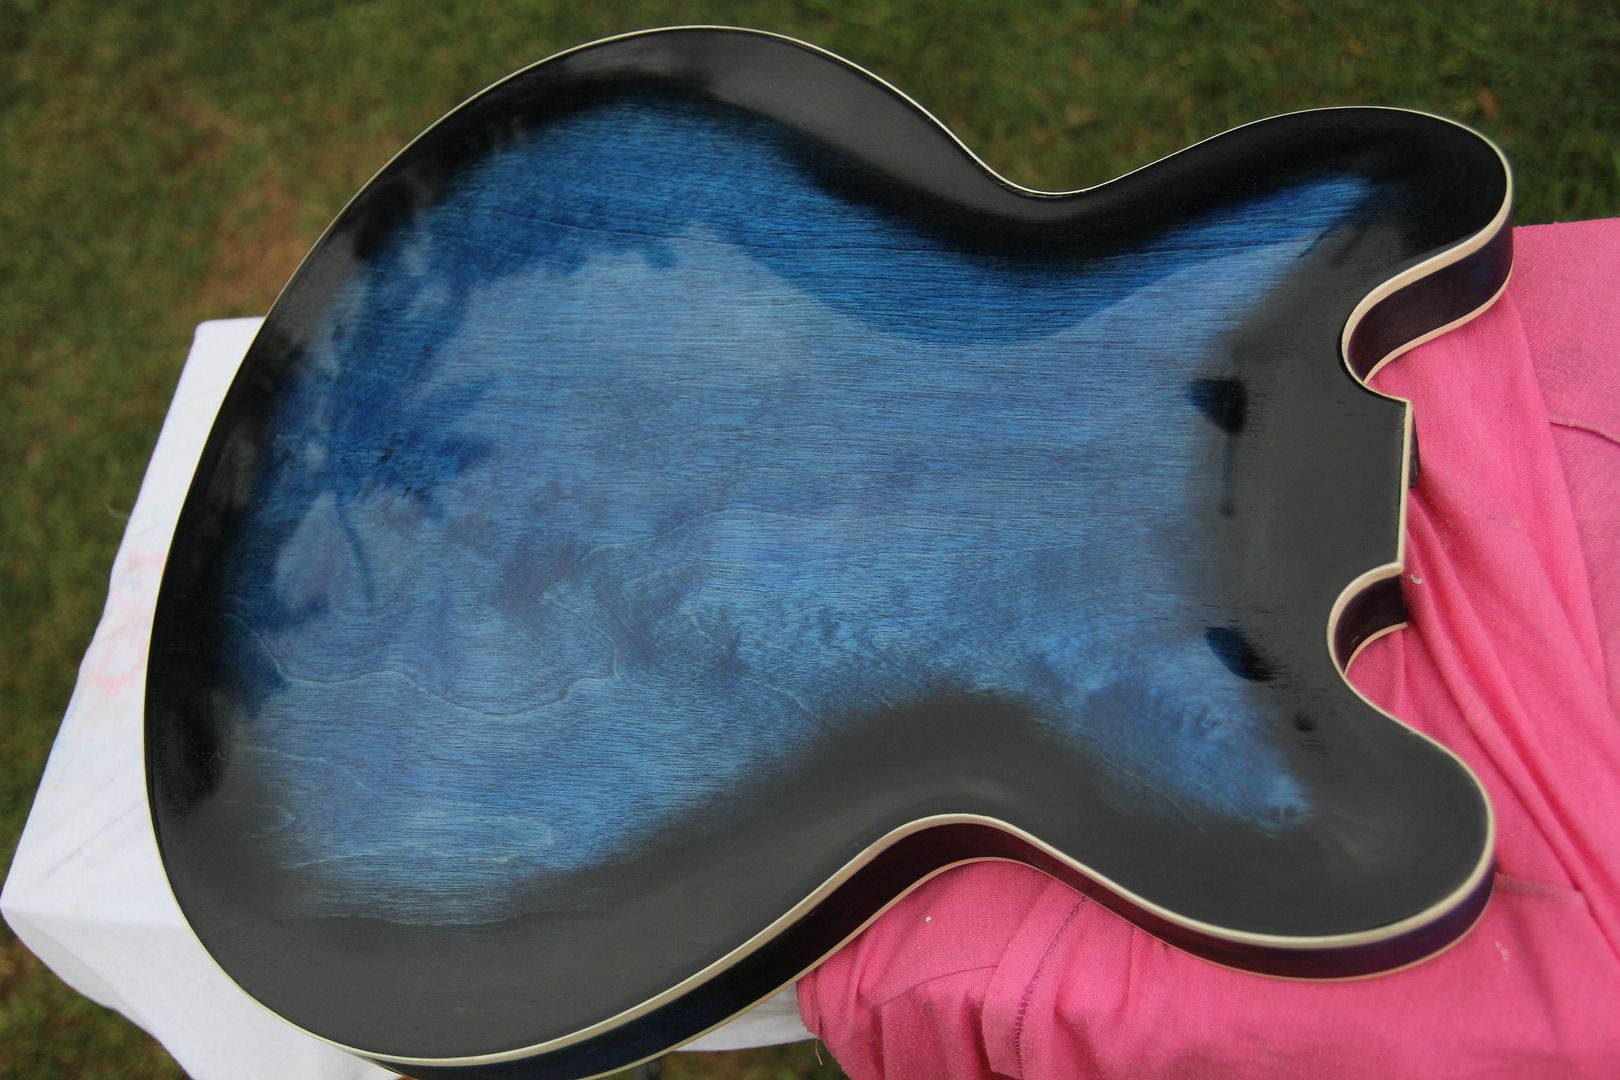
After a couple of days playing with clear coat, I started polishing this morning. I've only done the back so far, and I know that it's the right time to step back and start again... and use a grain filler on the back!
I have grooves in the clear coat visible. Now, do I keep wet and dry/polishing to remove them?
If you stand back and squint it looks better though!

looking great Swanny, hope you gave the clear coats at least 2 weeks curing time before polishing ?
How many clear coats did you apply ?
If you have enough clear coats I'd wet sand with a high grit paper then hit the cut and polish
Current Builds and status
scratch end grain pine tele - first clear coat on !
JBA-4 - assembled - final tweaks
Telemonster double scale tele - finish tobacco burst on body and sand neck
Completed builds
scratch oak.rose gum Jazzmaster - assembled needs setup
MK-2 Mosrite - assembled - play in
Ash tele with Baritone neck - neck pup wiring tweaks and play in
 Posting Permissions

 Reply With Quote


