Page 3 of 4 FirstFirst 1 2 3 4 LastLast
Results 21 to 30 of 31

Thread: BS and TSs twin Natural 40th ST-1s

  1. #21
    /<\\/p>[]<\\/p>/Quote from DanMade on August 1, 2013, 18:58
    One more thing. I'm using a similar jig for finishing, but Mine is the other way around like you say you wish u had of. Here's some pics of how I've done it With the block in the back. You could just rebate the neck support and screw the body support on the back.
    Nice work! Could you post a couple more pics of the block that's at the bridge? I'm gonna try to alter my set up to be more like yours, but can't quite work out what you've done at the bridge.

  2. #22
    It's just a off cut of a timber stud. I just screwed it through the one hole that is in the pickup cavity's for the ground wire. If there isn't a hole there just drill one through to the tremolo spring cavity. Make sure the block doesn't hang past the slot that the trem block sits in, in case you need to sit the bridge in position for some reason.

  3. #23
    Well, for someone who spends as much time online as I do I'm not entirely sure why it's taken me so long to update our build diary ... maybe because with only a session a week (or sometimes less) together it has taken us quite a while to finish our um, finishes.

    So, here's what they look like now:


  4. #24
    I lost count of how many coats we did, but I'd say 5 or 6 of the golden road/saffron mix, a few saffron (a couple extra on mine as you can tell from it's darker tones) and then 3 or 4 of clear top coat - some of which were aged and others not! oh, and a coat of gold highlights!!

  5. #25
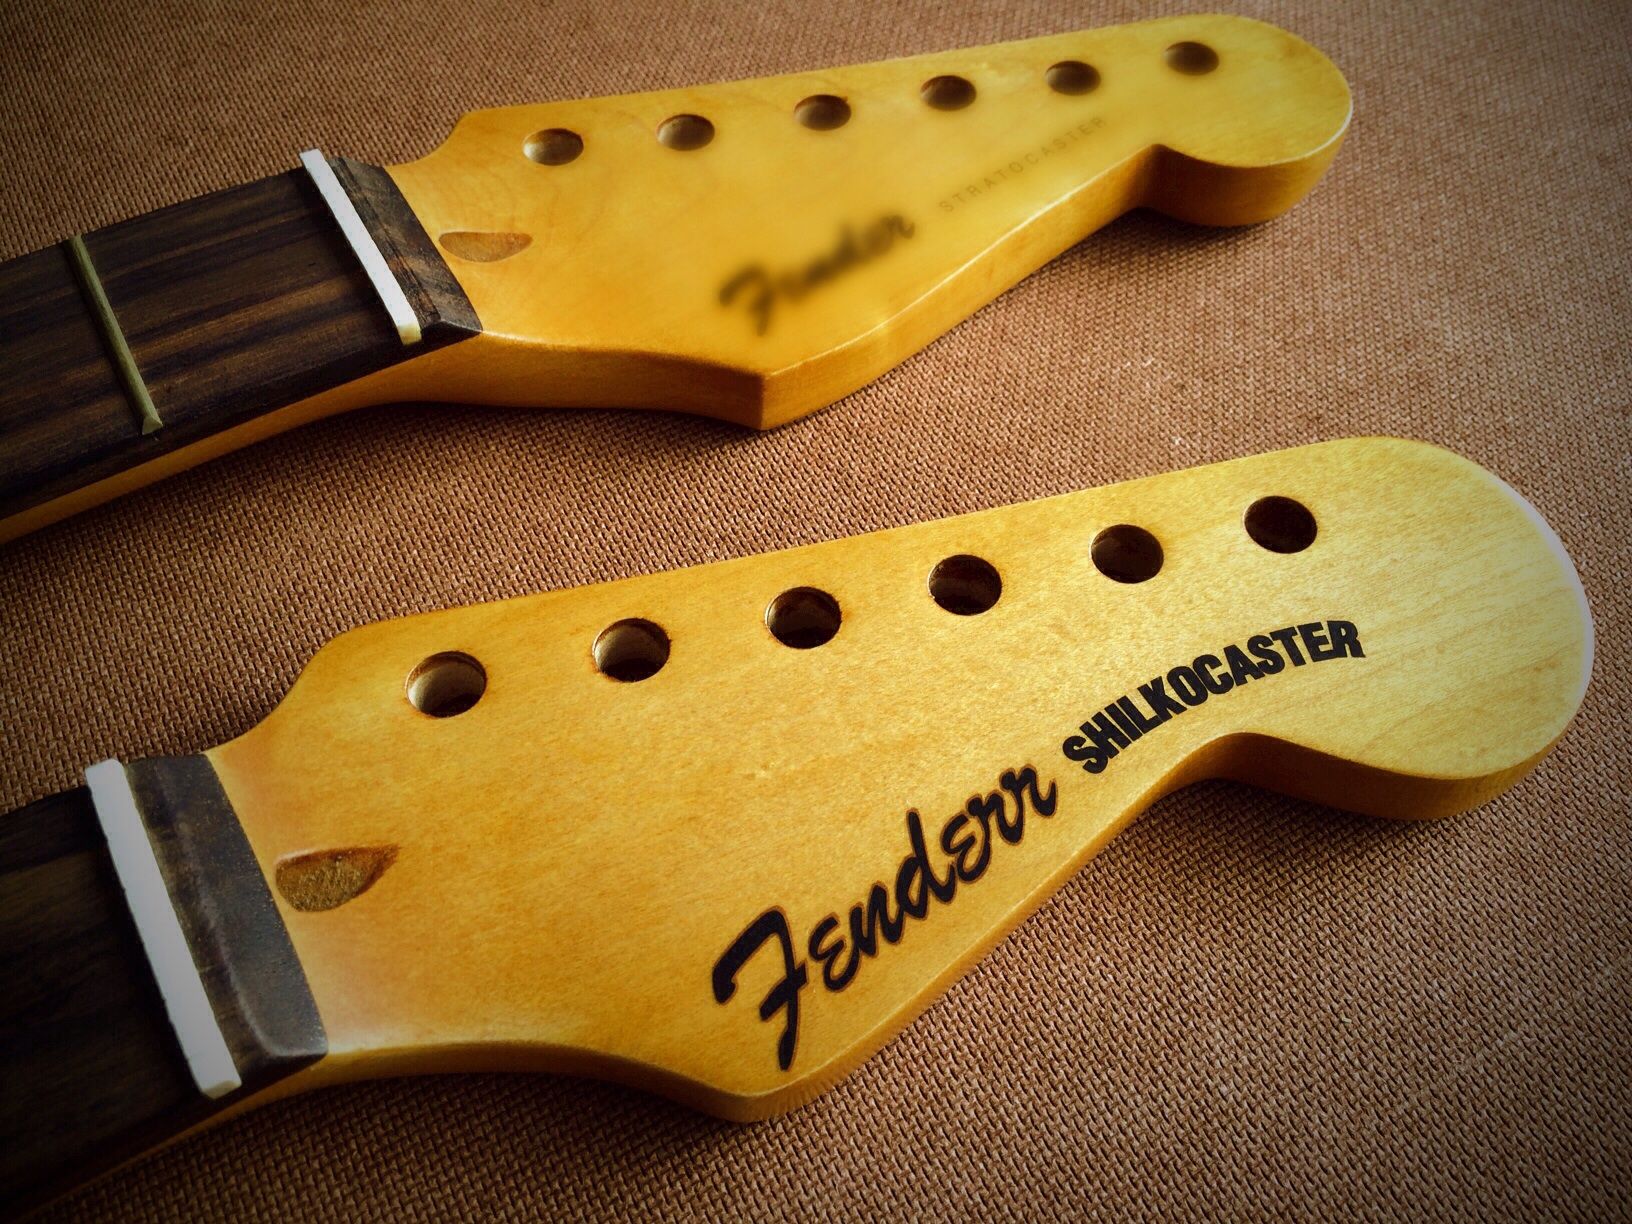
    I also replaced the nut on mine, and after much trouble with printing and papers (gotta make sure laser printers are set to 'transparency' or similar settings to make sure they're not too hot, or they put dirty looking burn marks on the decal) we managed our decals.

    I couldn't talk Brett out of the knock-off logo, and using my surname and a mis-spelling of Fender (with 'err' in it as I feel we made quite a few mistakes!) I went with a bit of a pun:

  6. #26
    What I've discovered too is that popping the scratchplate back on gives you a much better idea of the colour:

  7. #27
    As you can see, we used the copper tape to shield the cavities and back of the pick guard

  8. #28
    GAStronomist stan's Avatar
    Join Date
    Aug 2013
    Location
    Geelong, Vic
    Posts
    5,290
    great work guys.

    be proud of your work, Brett, Fender didn't build it - you did!

  9. #29
    Mentor jarrod's Avatar
    Join Date
    Nov 2013
    Location
    Perth
    Posts
    921
    They would great on stage together . Good job !

  10. #30
    /<\\/p>[]<\\/p>/Quote from todd_sh on January 9, 2014, 15:27
    I also replaced the nut on mine, and after much trouble with printing and papers (gotta make sure laser printers are set to 'transparency' or similar settings to make sure they're not too hot, or they put dirty looking burn marks on the decal) we managed our decals.

    I couldn't talk Brett out of the knock-off logo, and using my surname and a mis-spelling of Fender (with 'err' in it as I feel we made quite a few mistakes!) I went with a bit of a pun:

Page 3 of 4 FirstFirst 1 2 3 4 LastLast

Posting Permissions

  • You may not post new threads
  • You may not post replies
  • You may not post attachments
  • You may not edit your posts
  •