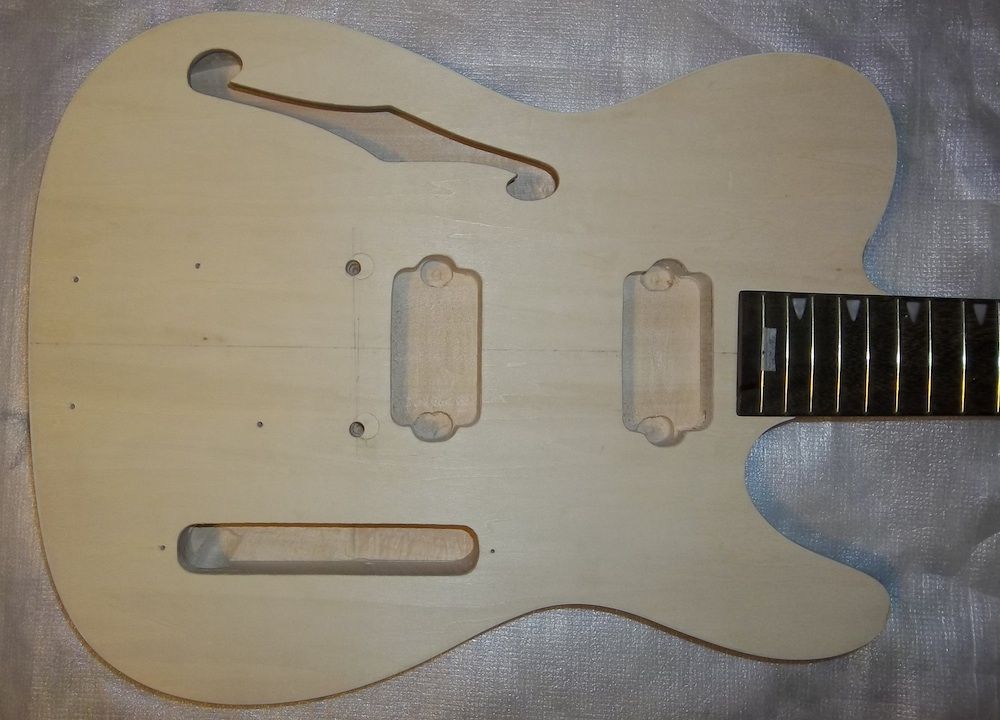
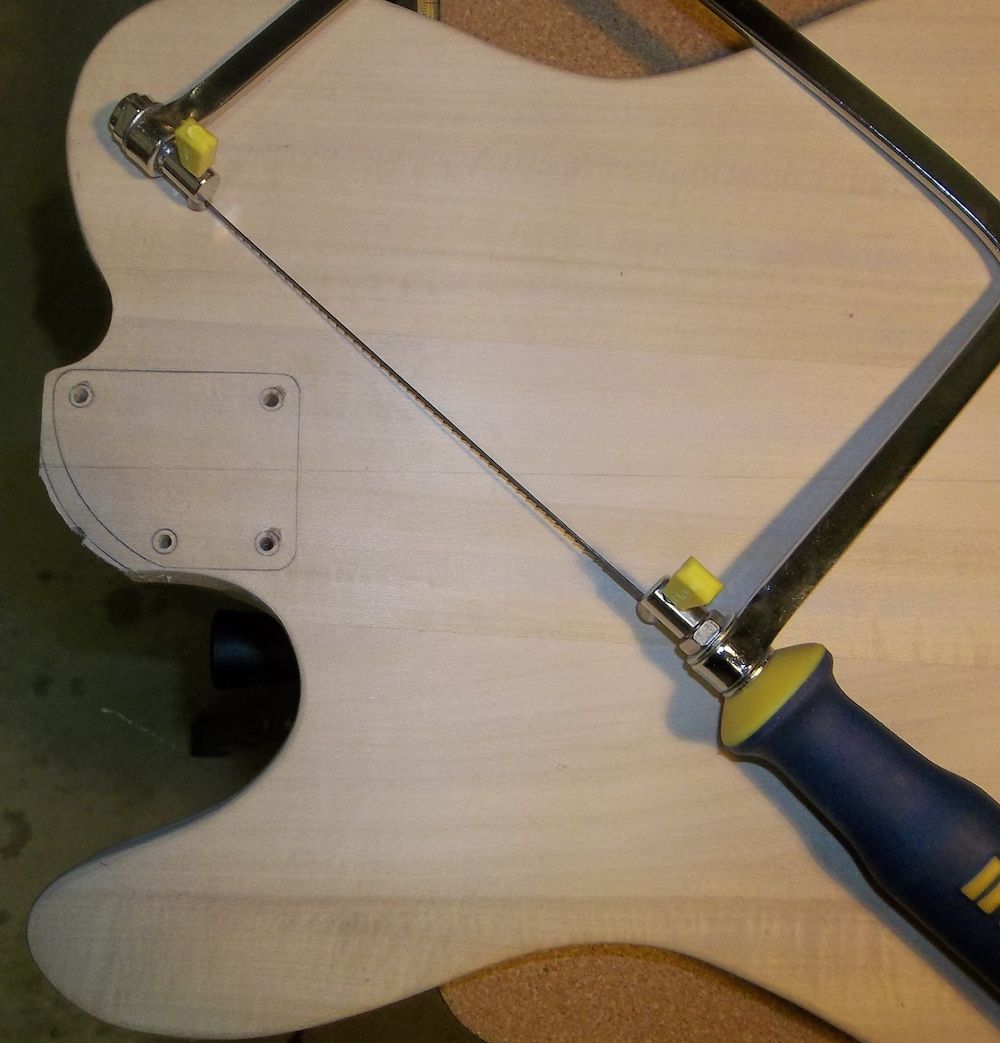
Cut the new shape.
Sand and smooth.
The inside of the neck pocket is a bit rough, but I'm not going do much to that until I can check the neck angle etc.


Cut the new shape.
Sand and smooth.
The inside of the neck pocket is a bit rough, but I'm not going do much to that until I can check the neck angle etc.
Scott.
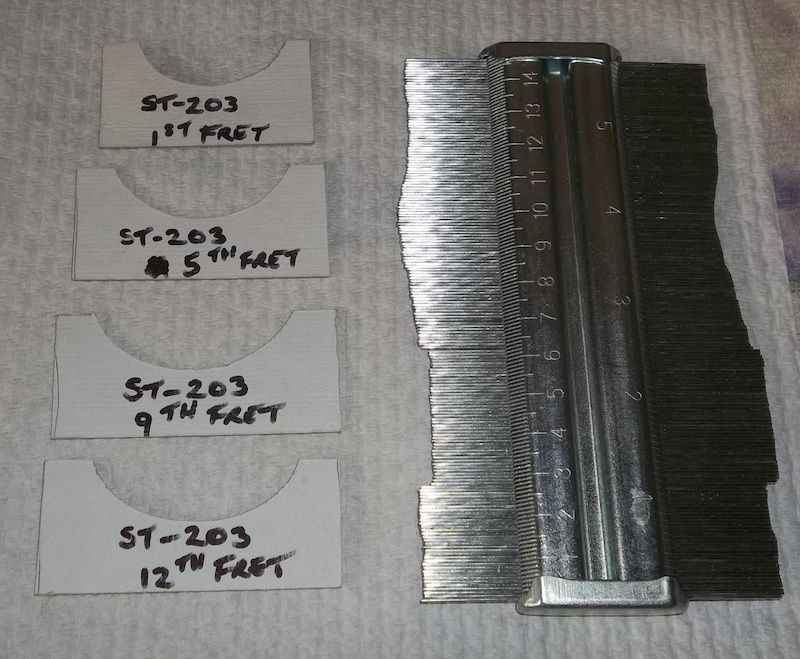
I prefer shallower C profile necks and the F-style PBG necks are more D, so I wanted to see if I could thin the neck down to match the profile of one of my other guitars probably unwise, but what the hell. I did some calliper comparisons between the necks to get an idea of how much I'd need to thin it, and used a contour gauge to make some rough profile templates (up to the start of the fretboard) as a guide for my reshaping.
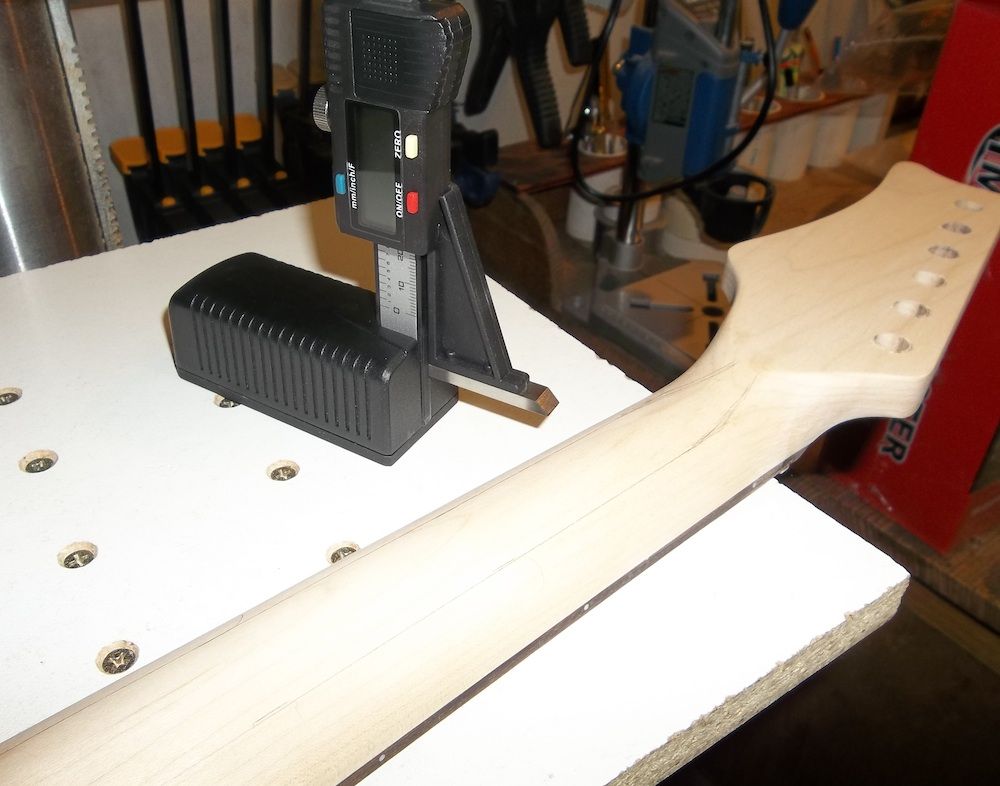
First, I adjusted the truss rod to straighten the neck as much as possible. Next, I used a height gauge to measure the peak of the neck at a specific point then marked points 1.5mm and 2.5mm down from that peak on each side, then repeated the process at half a dozen points along the neck. Then I joint up the points to create two lines down each side of the neck. This was to ensure I maintained the general taper of the neck.
Scott.
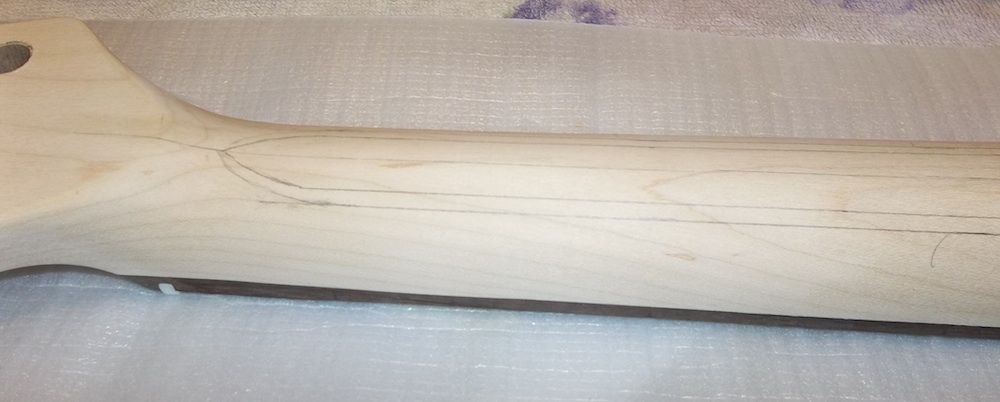
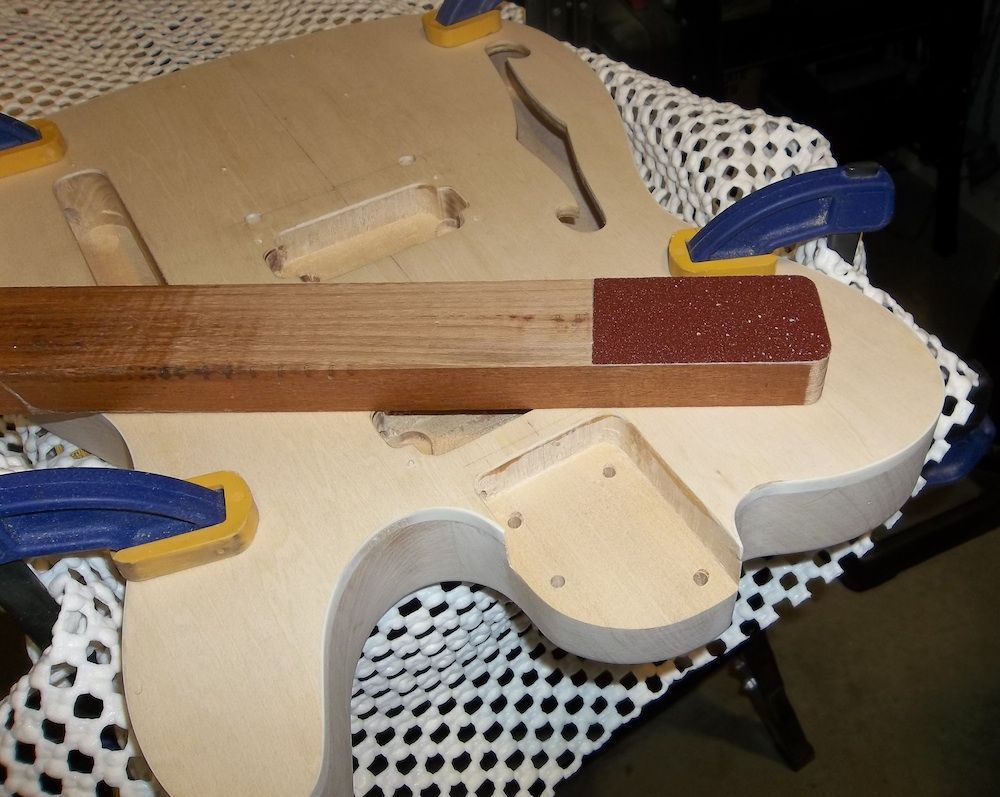
I used a sanding drum to sand a flat strip along the back of the neck down to the inner 1.5mm lines, then re-drew my centreline and rounded the strip out to the 2.5mm lines. From there I used my cardboard profile guides to tweak the shape along the length of the neck. It turned out pretty good and feels great, although it is probably a lot thinner than is wise.
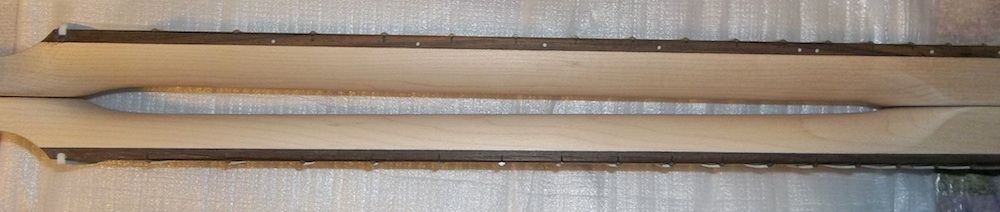
Here's the result with an untouched PBG ST neck (top and right) for comparison:
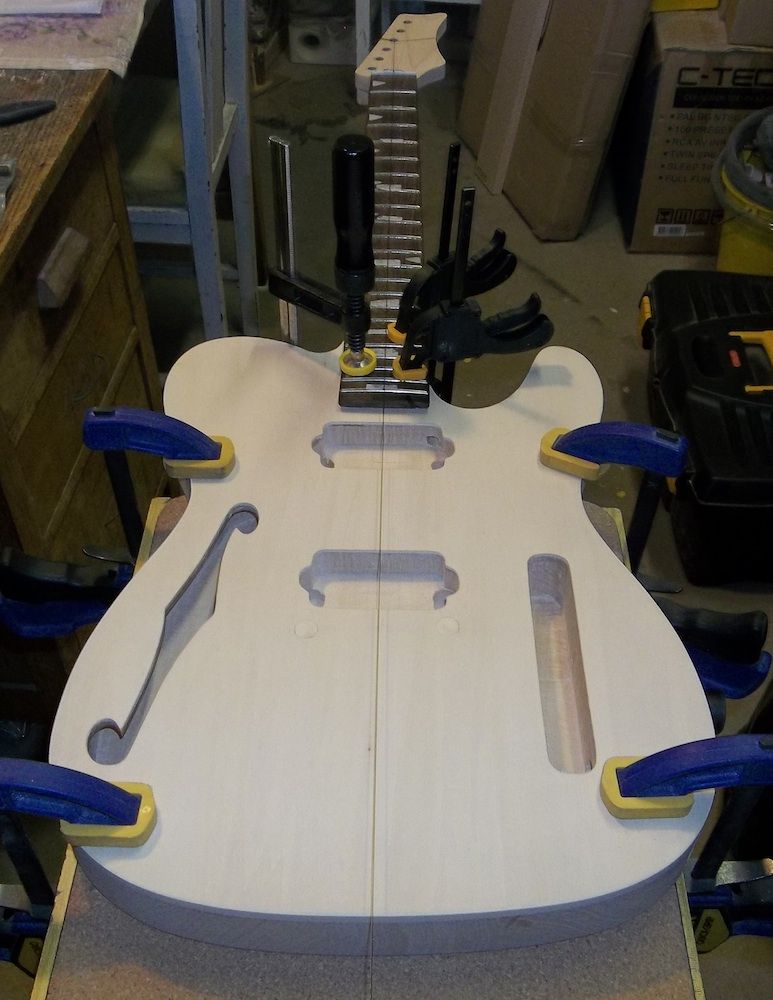
Time to line up and attach the neck so that I can drill the new bridge holes in the body. I measured and marked the centre of the neck, then clamped it in place and ran a fishing-line centreline.
Scott.
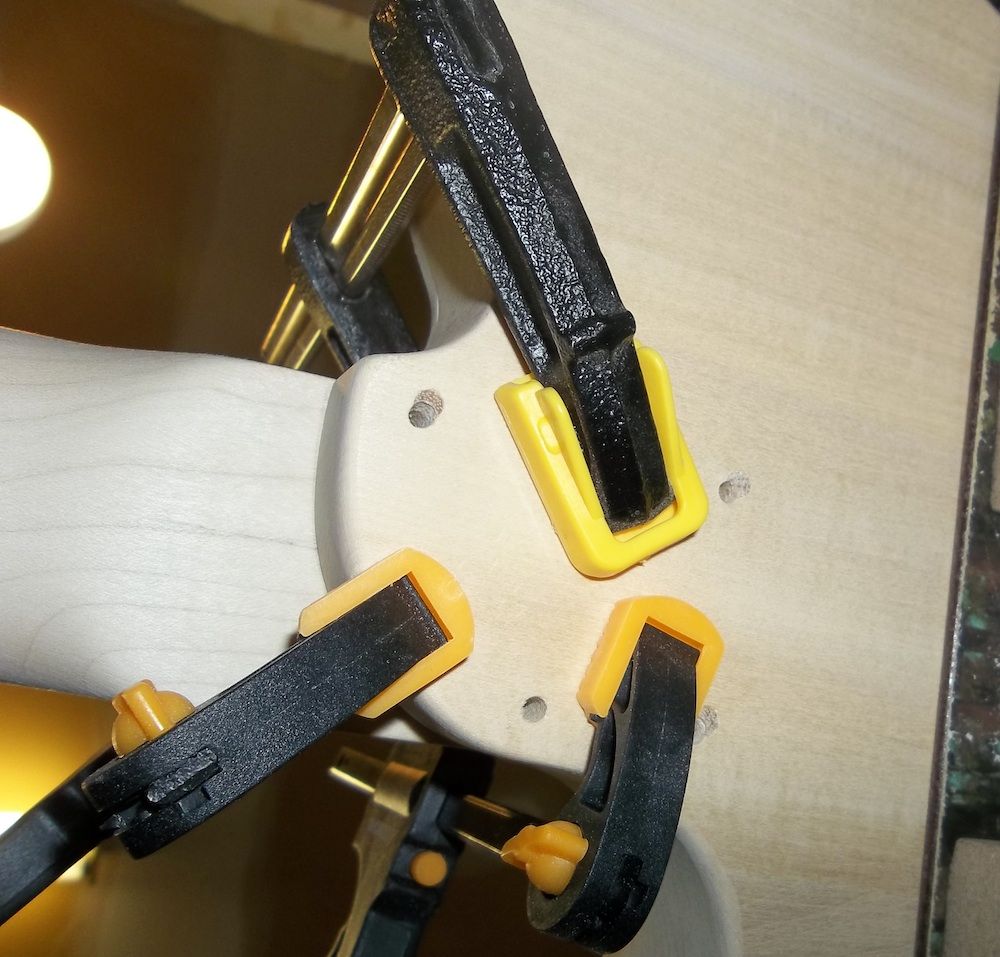
Strategically placed clamps to keep the neck in place and allow me clear access to all the neck holes.
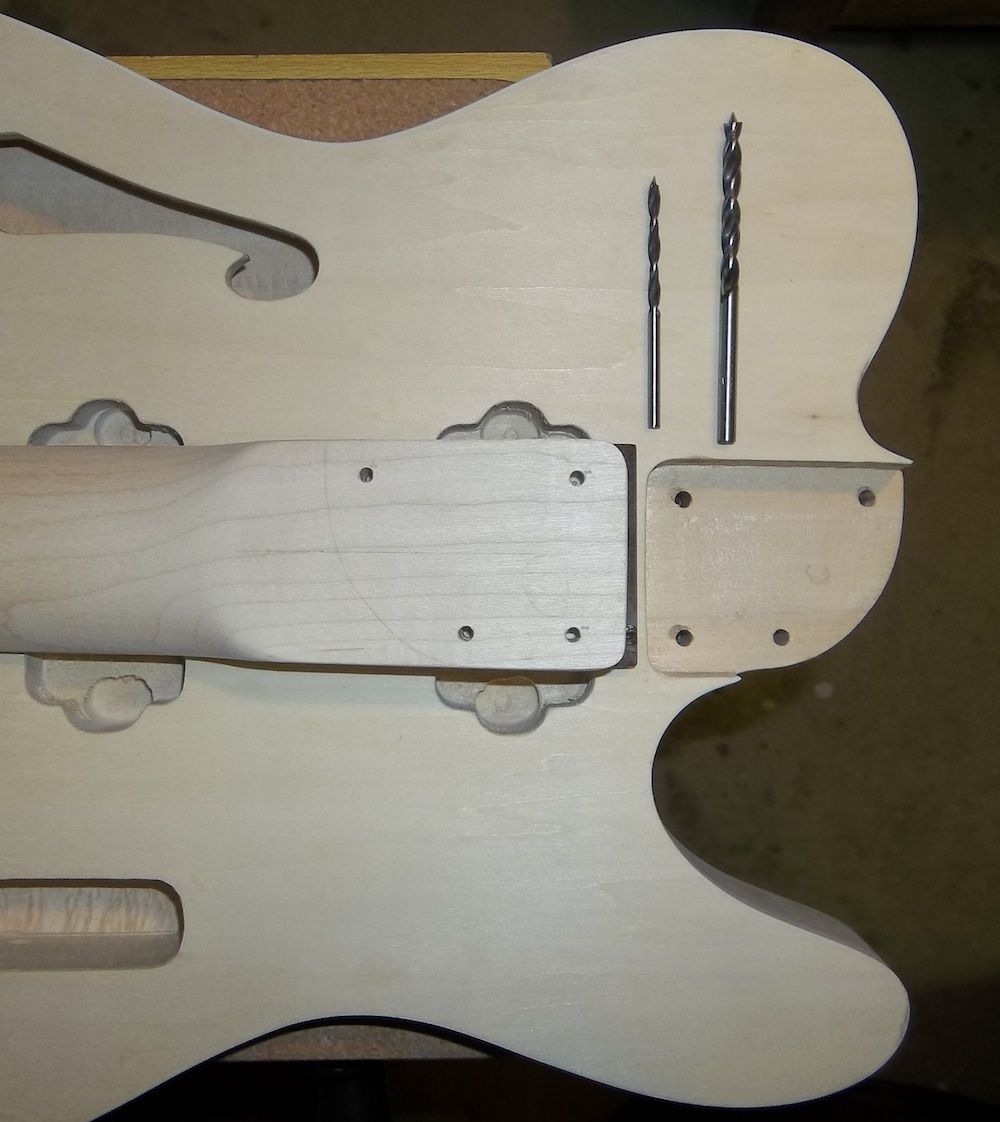
Match your pilot drill bit to your neck screws (ideally test the pilot hole in some scrap maple) then carefully drill with a depth stop to ensure you only drill as far as needed and can't accidentally go through to the fretboard. Then, I unclamped the neck and used a slightly larger bit to open up the body holes so the neck screws can't bind in the body and risk snapping.
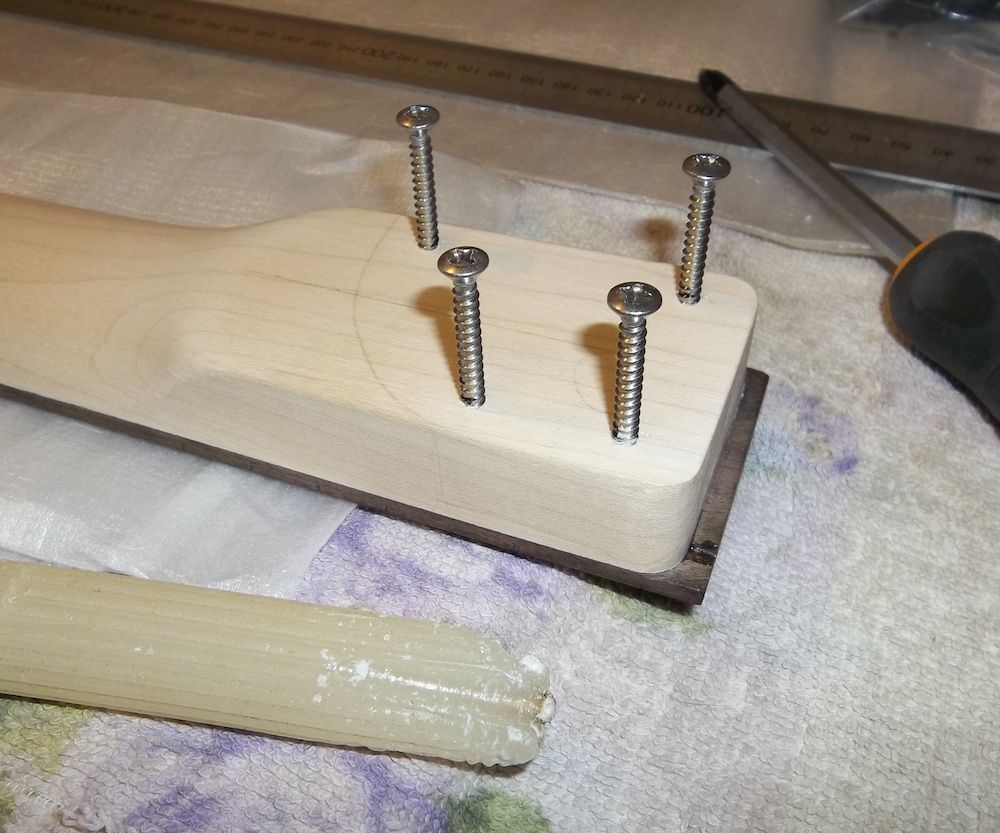
As an added precaution, waxing and screwing in the screws to cut the thread before attaching the neck to the body. That way if a screw does snap, for whatever reason, it's much easier to remove and doesn't risk damaging the body.
Scott.
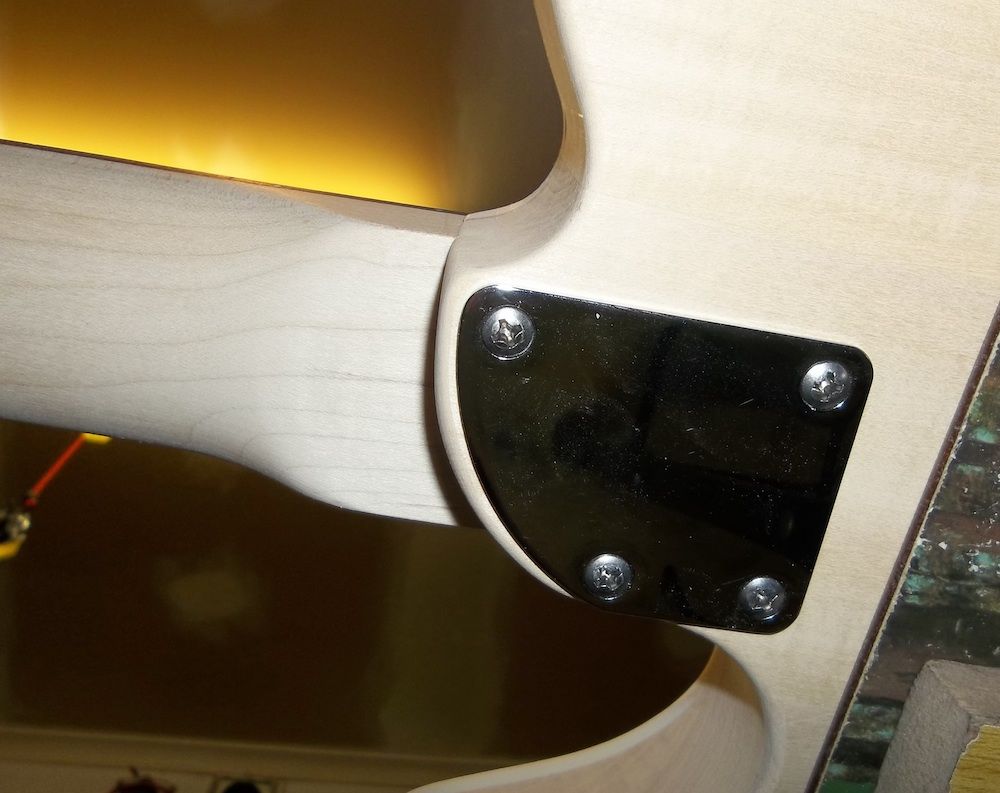
Lined up once again with my centre line, neck screwed in place. I don't have a plastic seat for a curved neck plate, so I modified one from a normal rectangular plate to suit. But, even though the basswood is very soft I don't think I'll end up using the modded seat, as it still close to the edge and I don't think it'll make a huge difference.
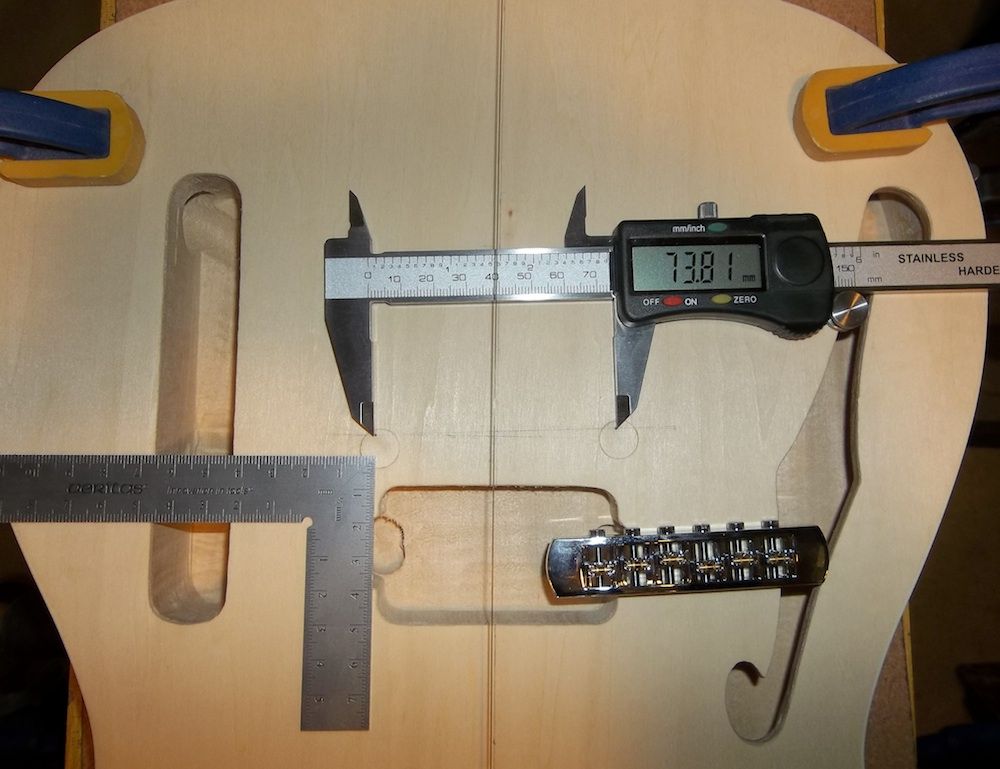
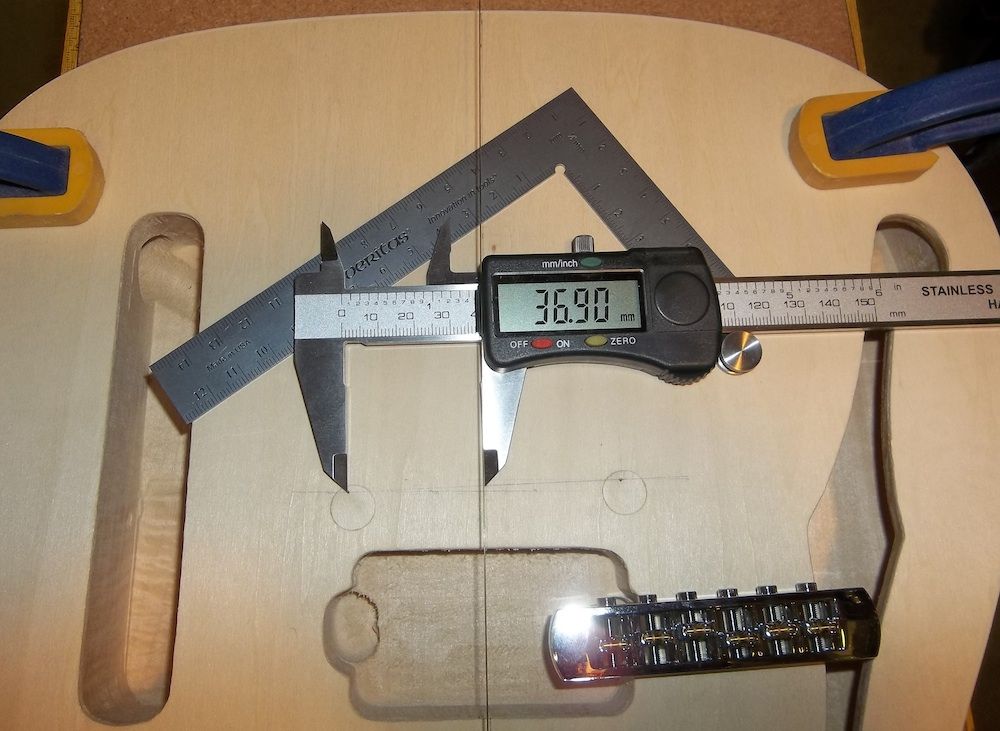
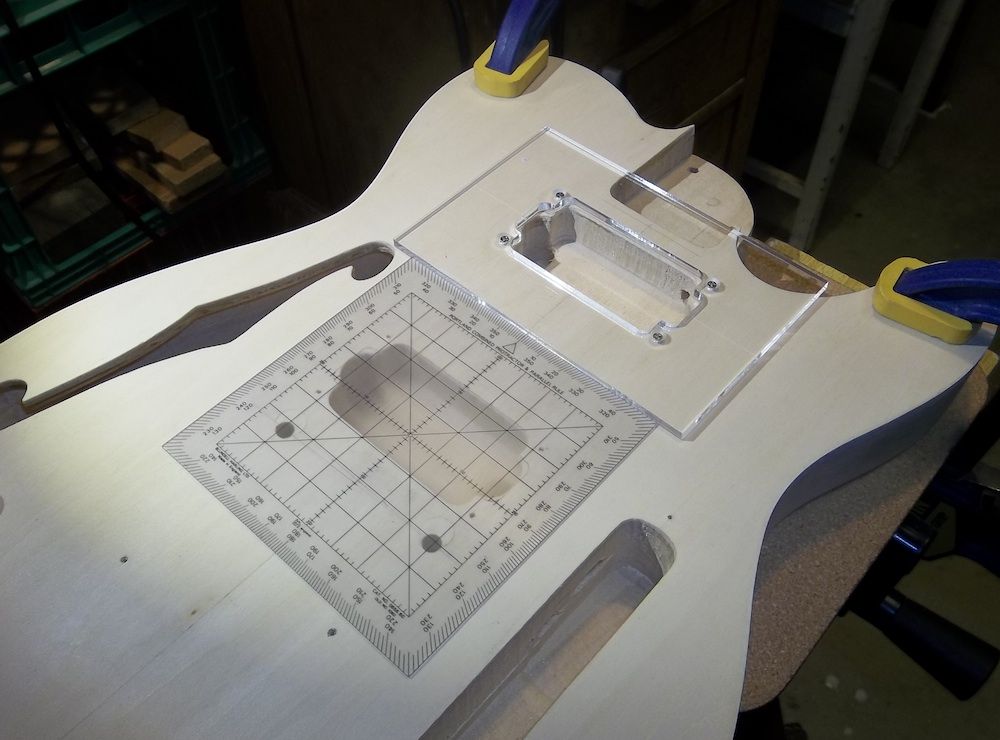
Time for the bridge holes. With the neck on I could measure the scale length and, as I suspected, the holes needed to go back about 4mm (the original holes were also slightly towards the bass side compared to my centreline). The roller bridge has a lot of adjustment in the saddle positions, so I went for around 2.5mm bass offset. The exact bridge specs and callipers allowed me to refine the position for the new holes.
Scott.
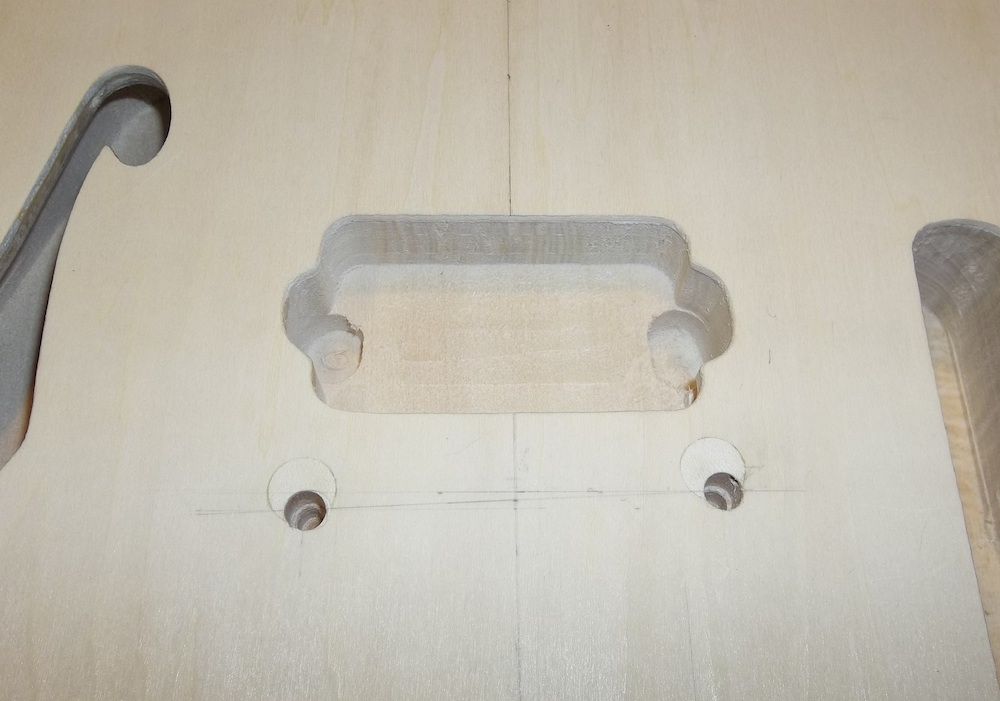
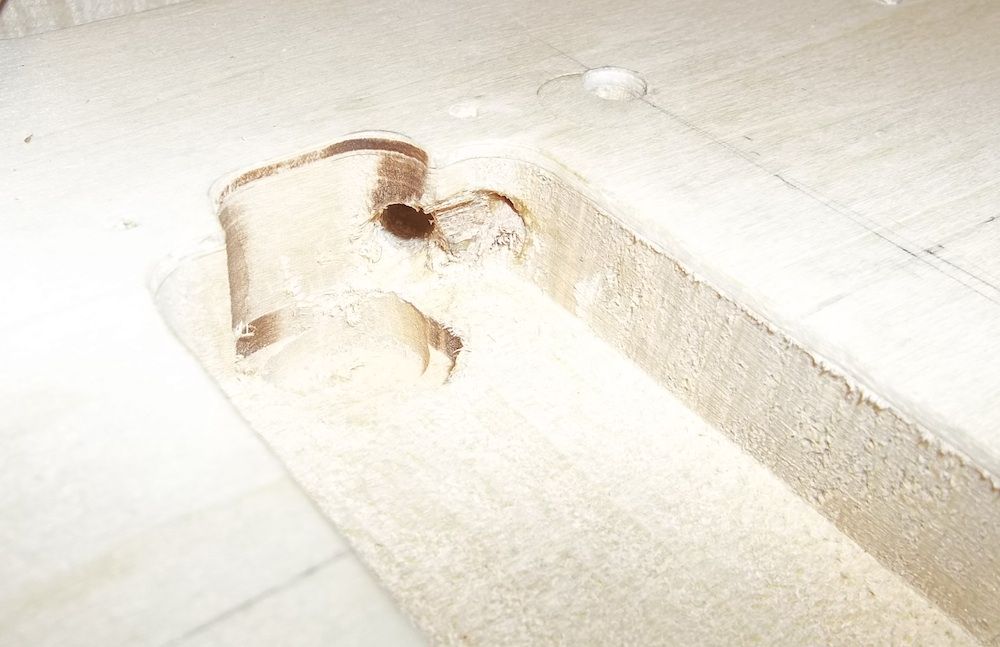
The thin bridge posts are actually much longer than the bushes, so I drilled the bushing holes to depth and then a smaller hole deeper to accommodate the full length of the posts.
Before I plugged the old bridge holes I made a note of where the original ground wire hole was so now I could *very carefully* use a small hand drill to bore a link through to connect to it. A quick test with some wire to double-check, and success!
With the bridge in place I used fishing-line to initially position the Bigsby, then double-checked with E strings. Marked and drilled the holes.
Scott.
Body holes drilled, next step is to tidy up the pickup routs around the centreline as they were too tight for the pups I would be using.
The pickup ring mount screw would go through into the ragged wire hole for the bridge pup, so just as a precaution I plugged the end and re-drilled to avoid it.
Scott.
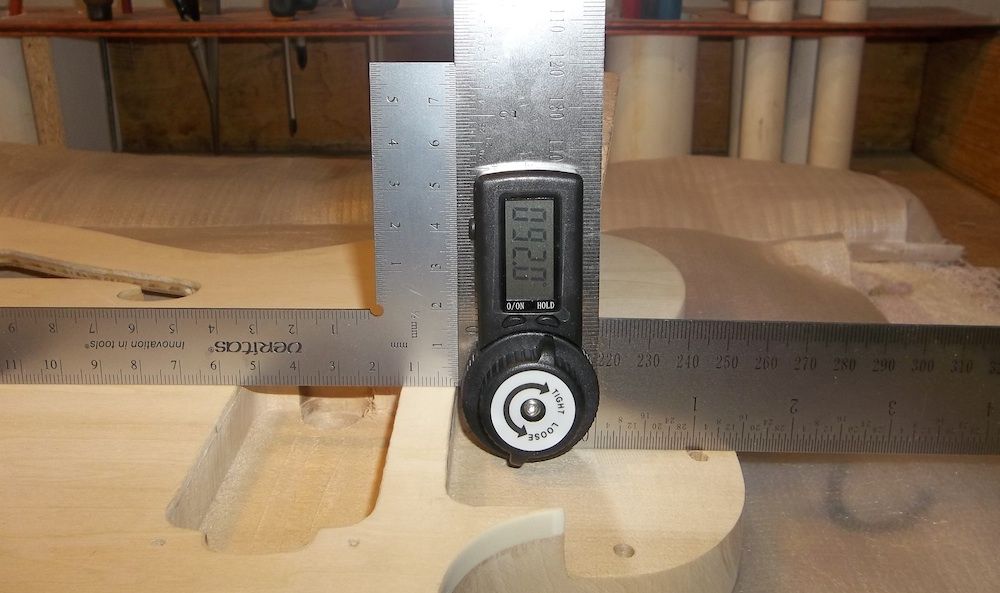
Because the roller bridge is a little different to the stock bridge I needed to check the neck angle and make sure it was in the ballpark I hate it when a TOM style bridge has to be wound up high.
Allow me to introduce my neck pocket angle adjuster:
After a few tweaks, it was looking ok and about what I was aiming for prior to string tension.
Scott.

You've got some really precise tools Scotty - what's your day job?
Loving this build mate. A lot of tasteful mods going on and executed with a fine eye.
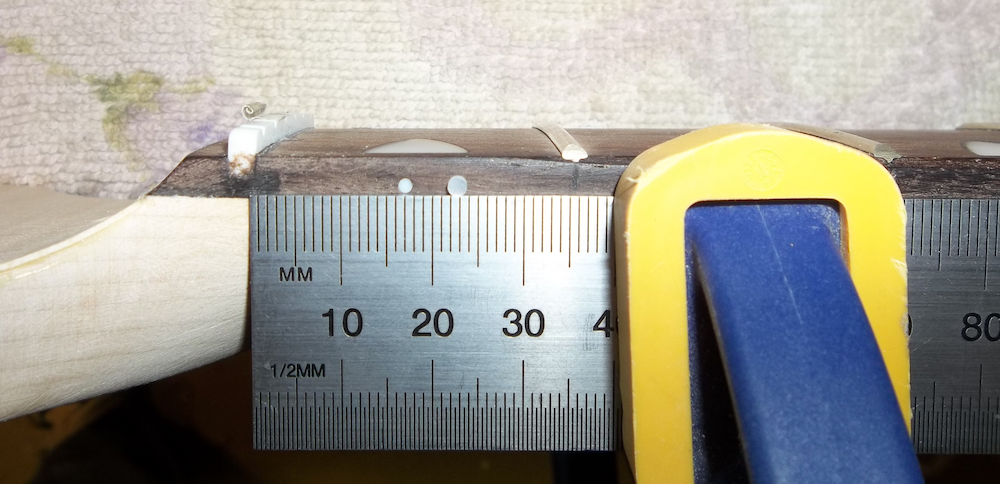
The side dots on the fretboard were a little uneven, so I decided to replace them with 2mm white MOP dots (don't worry, replacing the fretboard inlay would be a step too far with this kit).
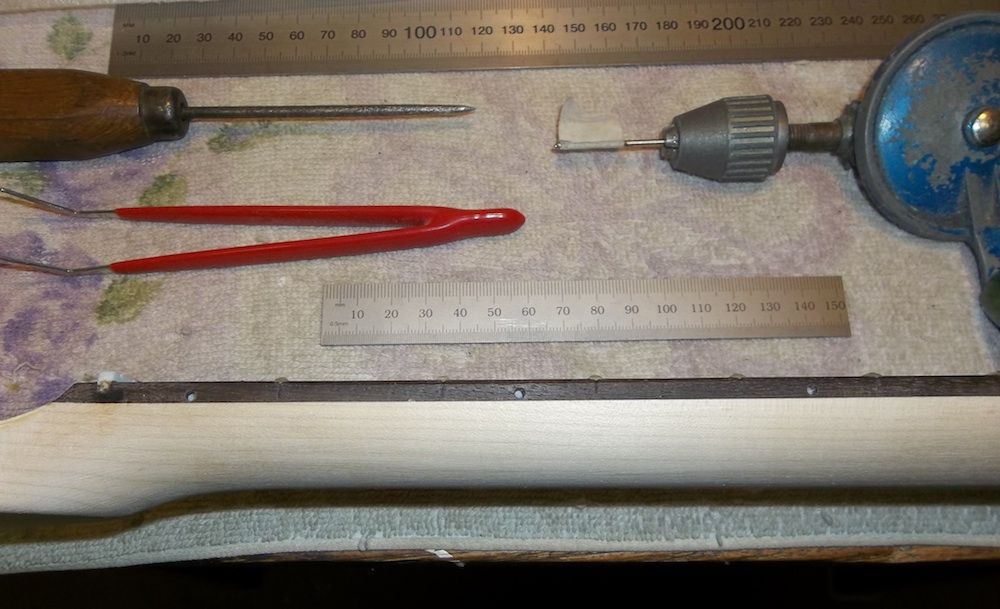
I did a couple of test fits on a scrap of wood to get the drill depth right, and then used a straight edge to mark the adjusted position of the new holes and carefully drilled them out. I used an old hand drill as that was by far the easiest to control for the shallow depth required. As you can see in the pic, the existing plastic dots run even deeper.
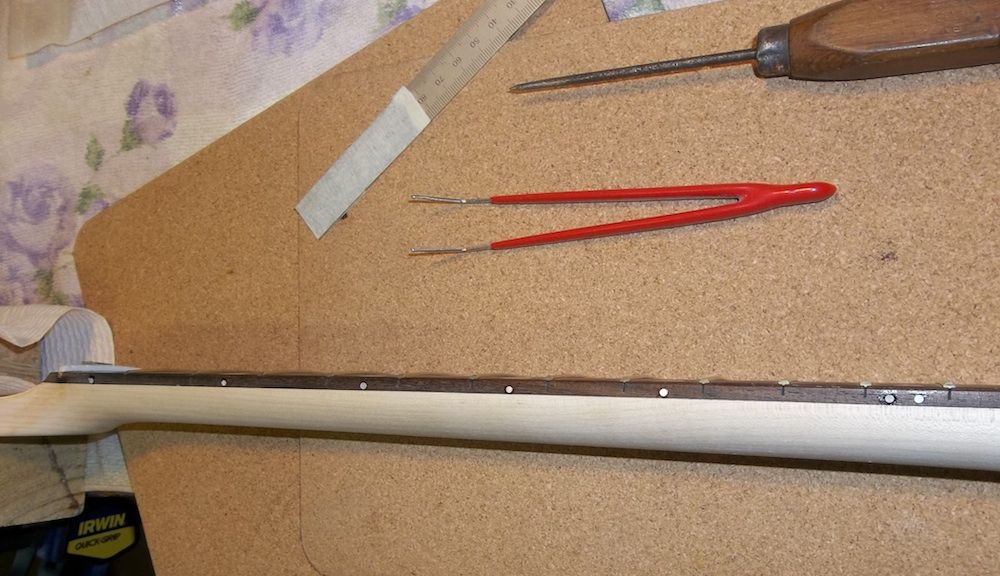
New dots set in with SM super glue. The taped up steel rule is what I used to press the dots in with so they would be at the right angle and couldn't go beyond flush in case I drilled too far. If you do this, make sure you have a good pair of tweezers and something under the neck to catch the dots you drop otherwise you'll spend more time crawling around on the floor looking for dropped dots than it takes to actually do the work.
Scott.
 Posting Permissions


 Reply With Quote