Page 2 of 8 FirstFirst 1 2 3 4 ... LastLast
Results 11 to 20 of 79

Thread: Micks SG

  1. #11
    Member zeromick's Avatar
    Join Date
    Jan 2014
    Location
    South Coast NSW
    Posts
    421
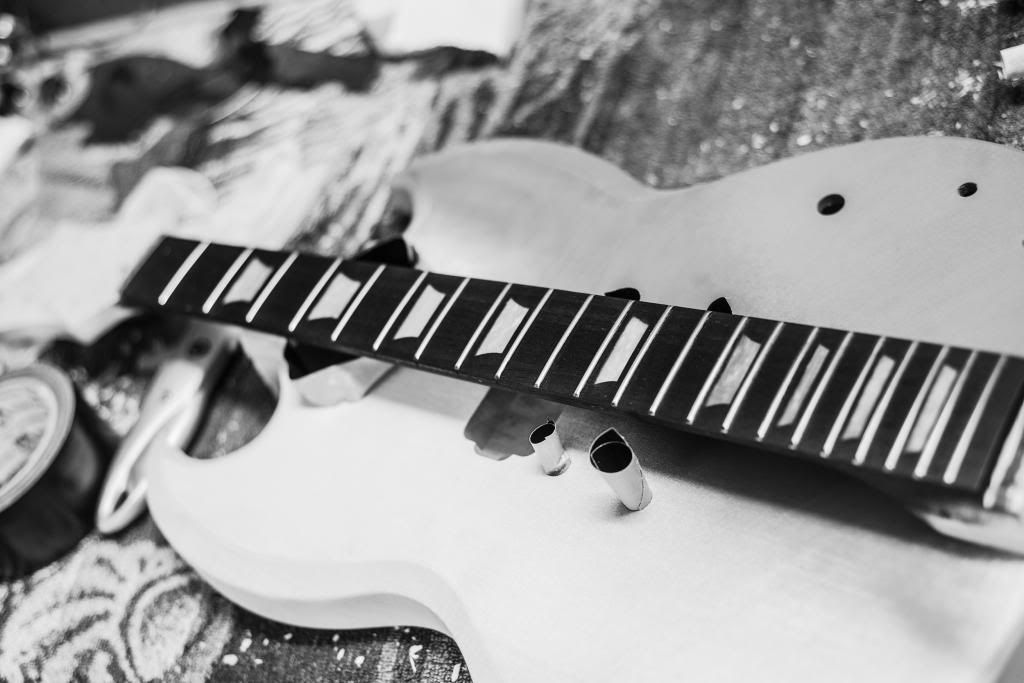
    Cheers guys, the dye is just a water based one used for dyeing leather i think, the rosewood soaks it up like a sponge and being water based it doesn't really take to the frets or inlays. All that's required to clean of any residual dye on teh inlays is a whipe over with water and a bit of a polish.

  2. #12
    Member zeromick's Avatar
    Join Date
    Jan 2014
    Location
    South Coast NSW
    Posts
    421
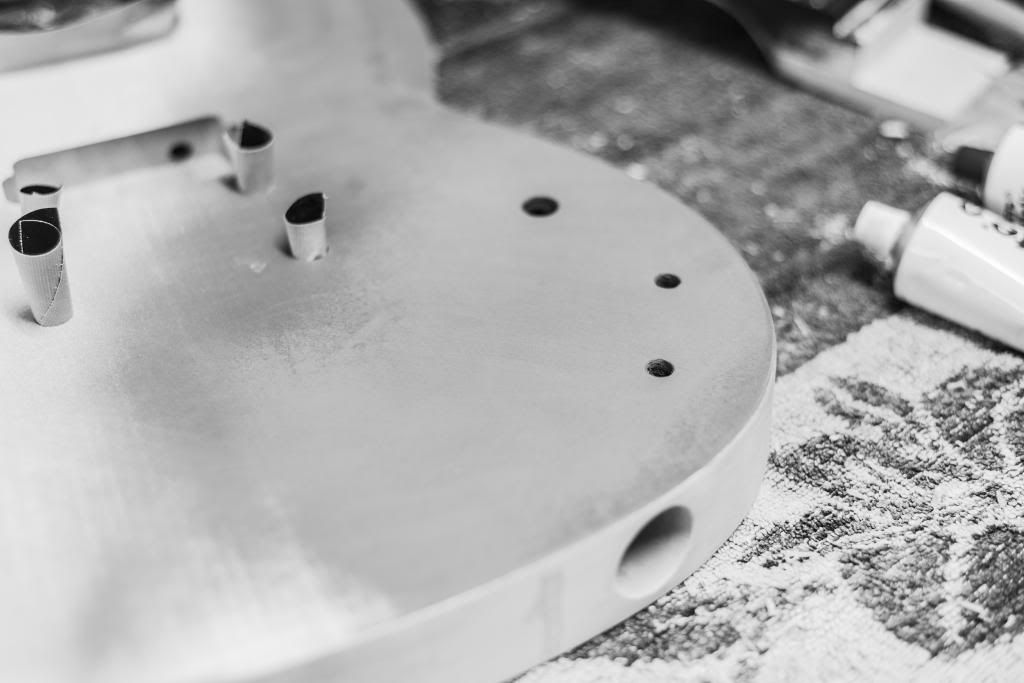
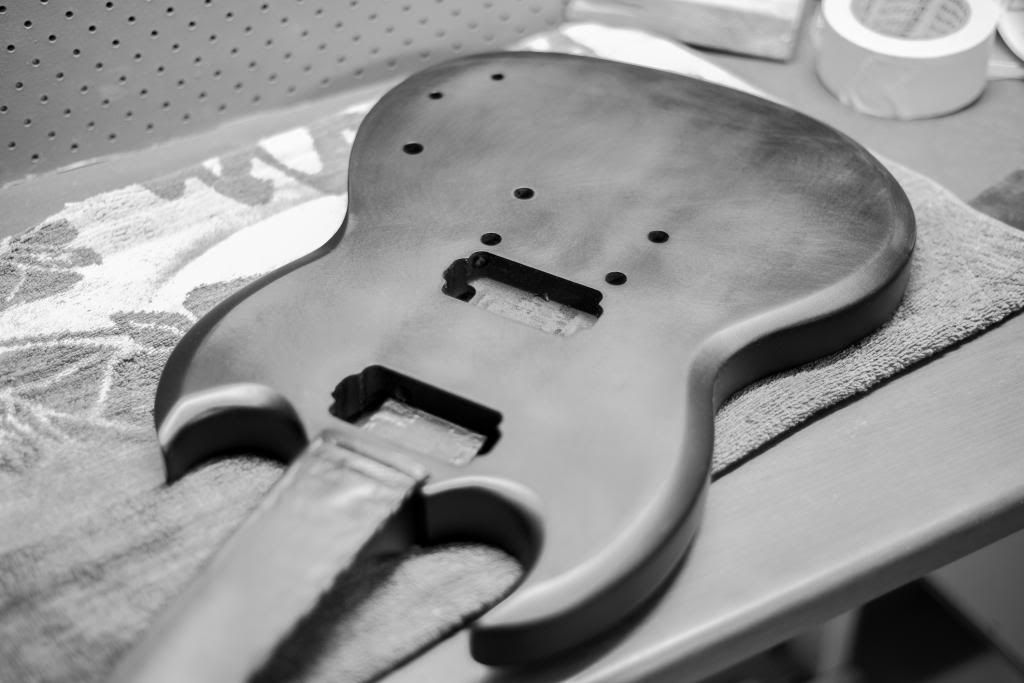
    I finished filling and smoothing out where I plugged up the additional holes this afternoon and I'm loving the results... you wouldn't even know there were any there originally! You can also see where I relocated the jack to on the side... kind of tele style but no metal plate will be fisible, it'll just be all smoothed over and painted.


    also finished dyeing the fretboard, really happy with this result as well.

  3. #13
    Loving the B&W imagery. Did I miss something, why are you plugging the holes?
    Cheers,

    Adam


    adamboyle(at)pitbullguitars.com

  4. #14
    Member zeromick's Avatar
    Join Date
    Jan 2014
    Location
    South Coast NSW
    Posts
    421
    Thanks Adam... the holes are plugged up because I'm stripping this thing right back to basics. I'm going for a really clean, classy (but still badass) look

  5. #15
    Member zeromick's Avatar
    Join Date
    Jan 2014
    Location
    South Coast NSW
    Posts
    421
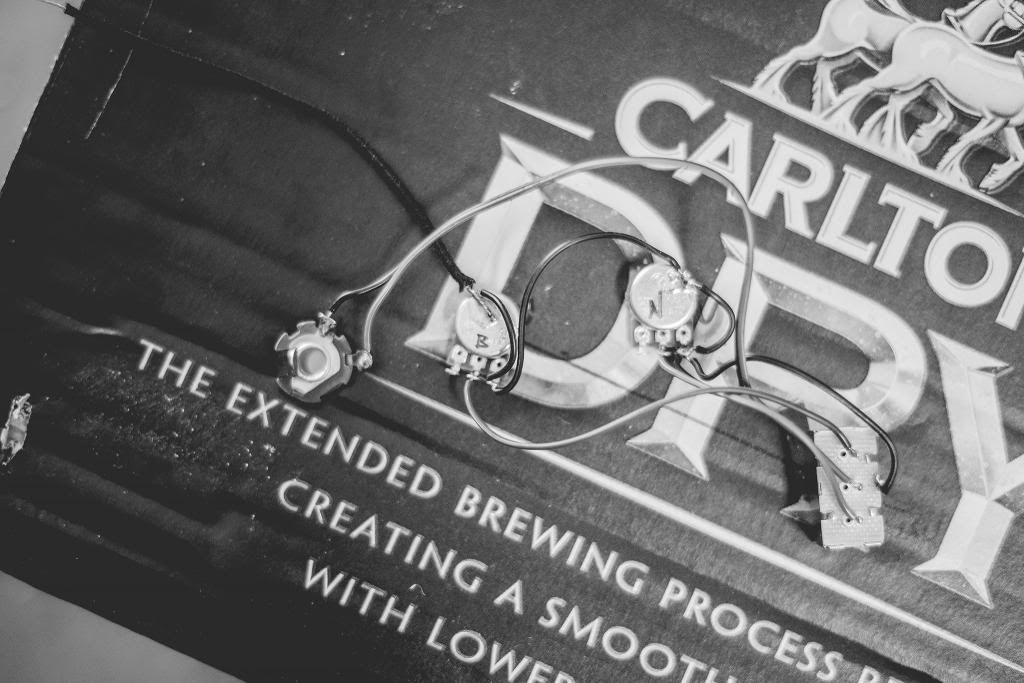
    I set the neck in this morning and figured I should start on the electrics while the glue was curing.


    Here's the the simplified controls still in the "jig"

    I also glued a veneer on the headstock... photos to come after I tidy it up a bit

  6. #16
    Member zeromick's Avatar
    Join Date
    Jan 2014
    Location
    South Coast NSW
    Posts
    421
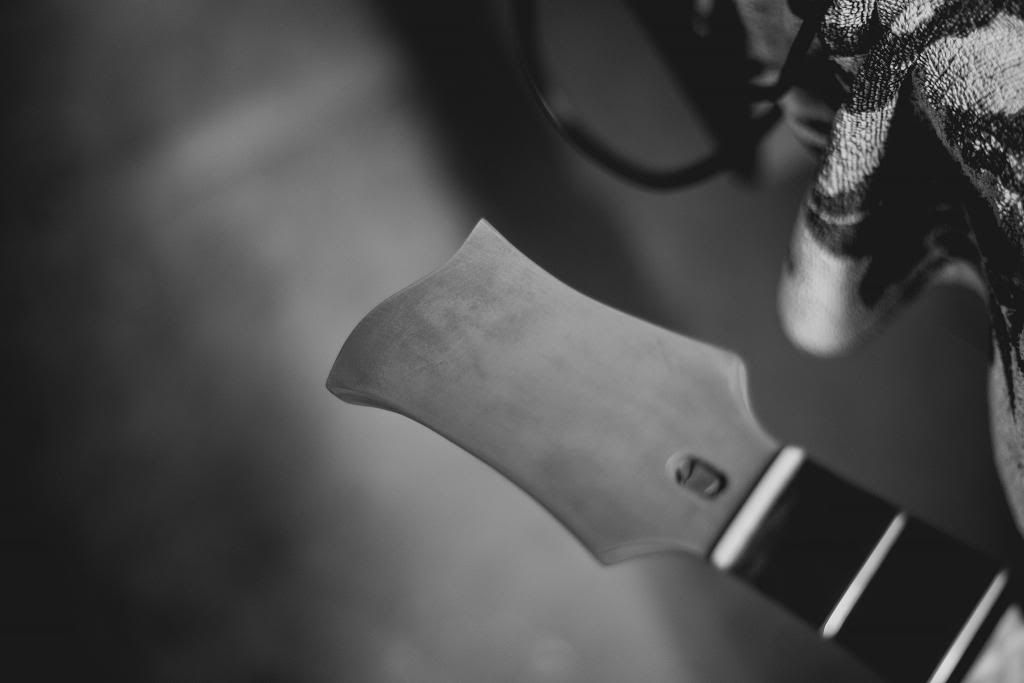
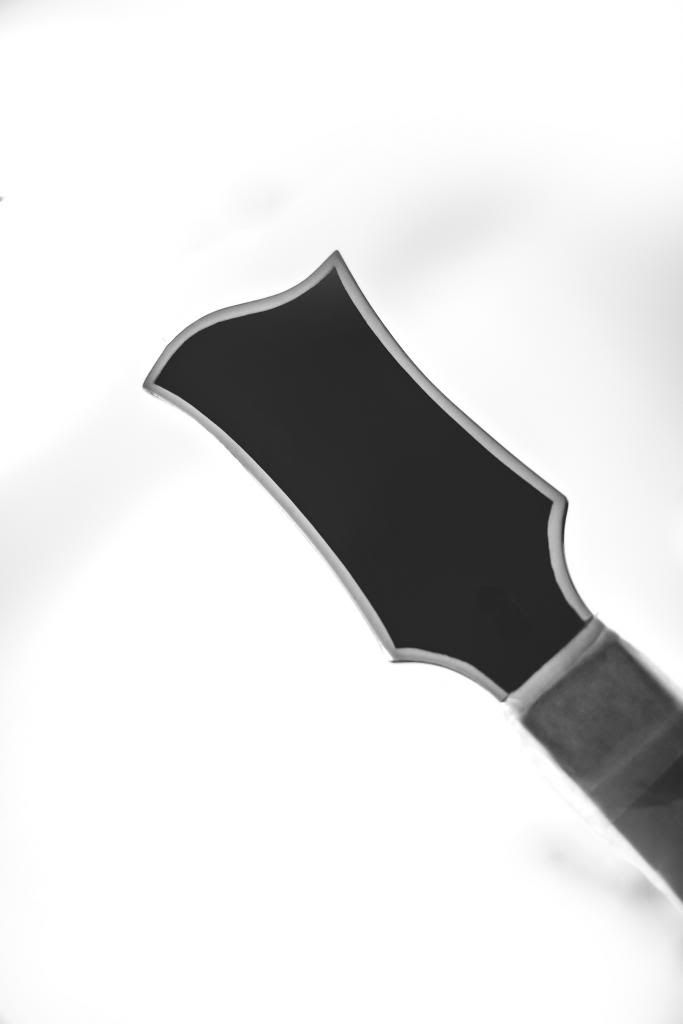
    I set the neck in over the weekend and shot the whole guitar with primer. Getting close to shooting the top coats now, I'm just making sure the body is flawless before these coats go on.... so still lots of sanding and grain filling.

    Here's a shot of the final headstock shape.


  7. #17
    Member zeromick's Avatar
    Join Date
    Jan 2014
    Location
    South Coast NSW
    Posts
    421
    I shot the first top coat the other day... then the bloody thing fell off the hanger and onto the ground. Back to square one then and a few days later I've shot the 'first' top coat again...
    I'll shoot another tomorrow and then it's onto a few coats of flat clear and then onto the details....


  8. #18
    Member zeromick's Avatar
    Join Date
    Jan 2014
    Location
    South Coast NSW
    Posts
    421
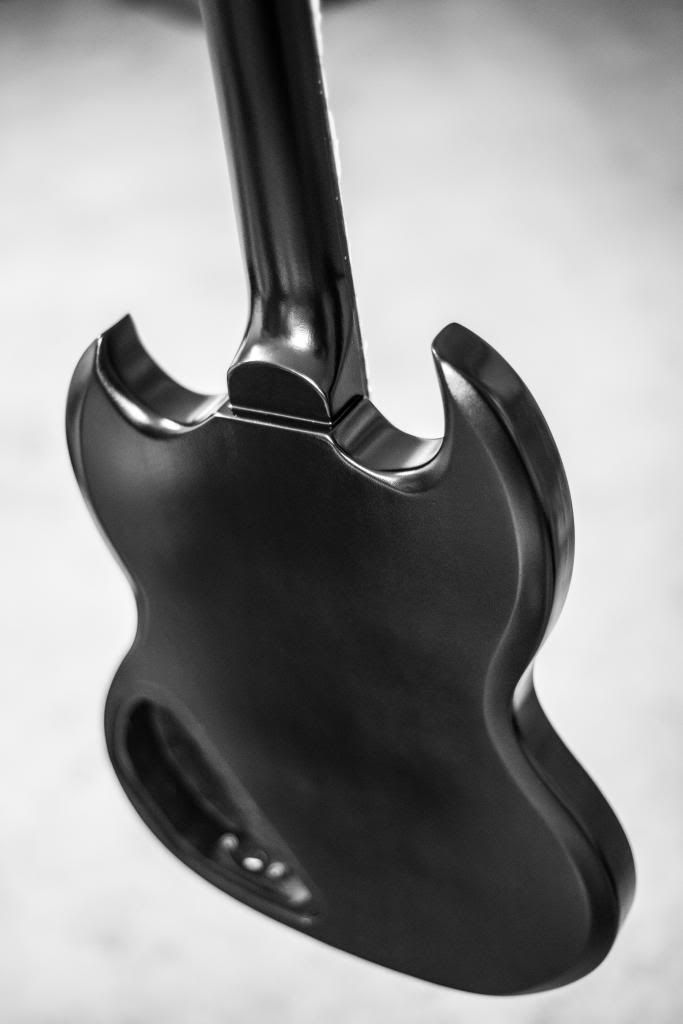
    I shot 2 coats of flat black yesterday and 2 coats of flat clear today... wet sanding smooth in between coats of course!


    I also sprayed a little detail before the clear coats as well...


    i'm planning to shoot at least 4 clear coats... so fingers crossed I'll be assembling mid week and playing that first blues lick by the weekend haha

  9. #19
    Zeromick, please keep this photography style going, I'm really loving it. Great build diary!
    Cheers,

    Adam


    adamboyle(at)pitbullguitars.com

  10. #20
    Member zeromick's Avatar
    Join Date
    Jan 2014
    Location
    South Coast NSW
    Posts
    421
    Cheers mate. It'll be all B/W until it's strung up, I've got a really cool shoot planned then... did I mention my 'weekend job' is a photographer? haha

Page 2 of 8 FirstFirst 1 2 3 4 ... LastLast

Posting Permissions

  • You may not post new threads
  • You may not post replies
  • You may not post attachments
  • You may not edit your posts
  •