Wow Simon, not even finished and it looks a stunner.
Take a bow mate.
rob


Wow Simon, not even finished and it looks a stunner.
Take a bow mate.
rob

Thanks for the comments everyone.
Previously I left off with the electronics cavity. Now I'll show you the steps I took before gluing on the body wings.
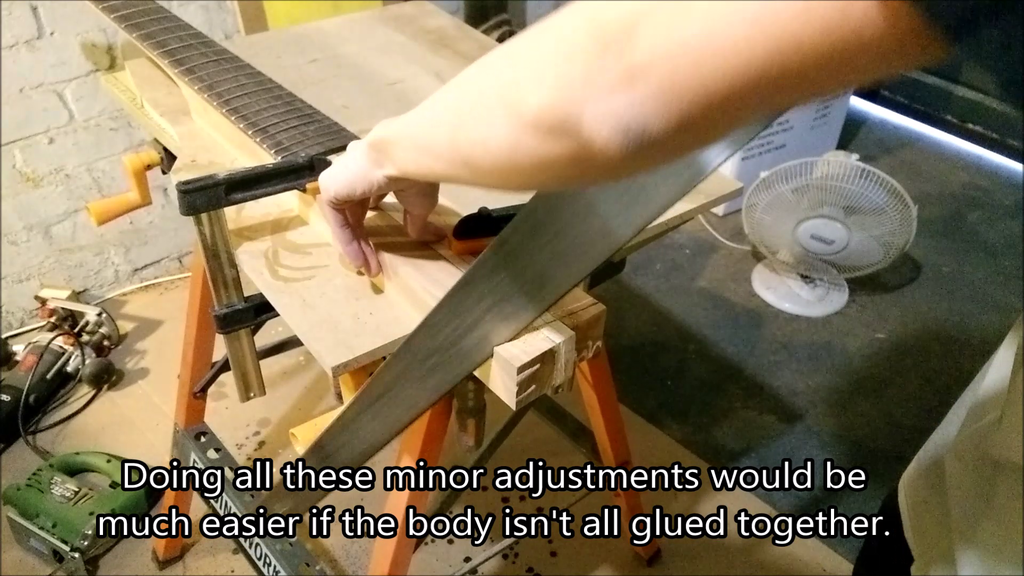
First, I had to cut off the excess on the neck. I positioned the body wings and drew the outline.
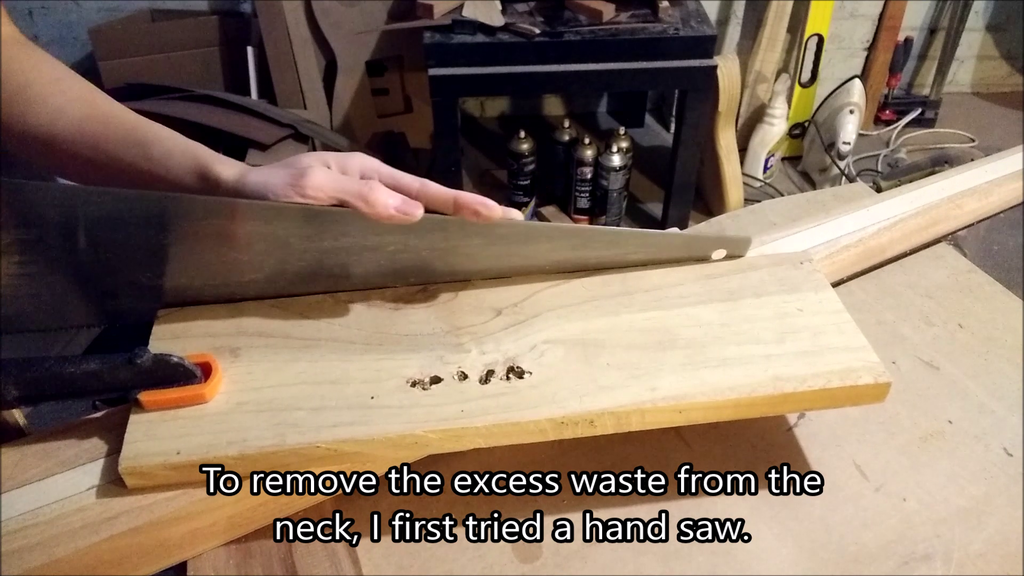
Then cut it out with my hand saw. I reckon it would be much easier getting as much done on the neck before gluing. Don't want to be manoeuvring a 34" scale bass around too much!
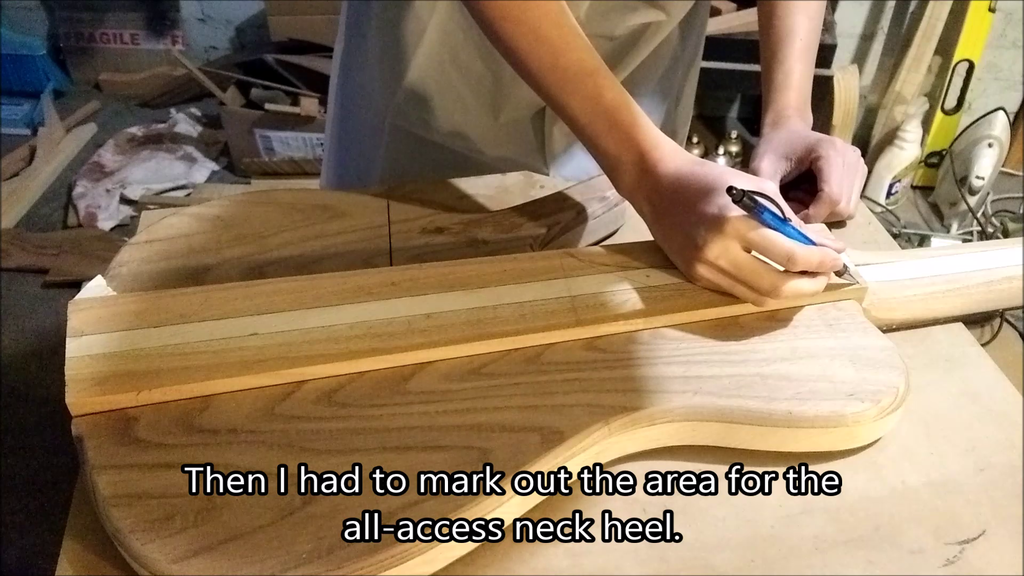
Then I also had to get rid of excess wood on the neck heel. I'm going for an all-access neck heel which would allow me to easily get up to the 24th fret despite it being a single cut. You may have seen the pictures from my previous posts and this is how I did it.
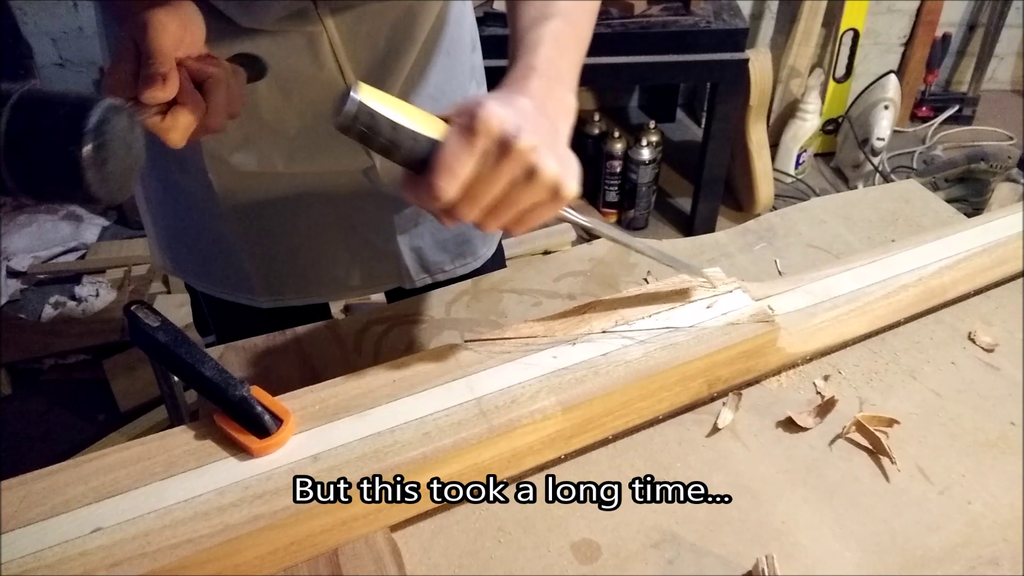
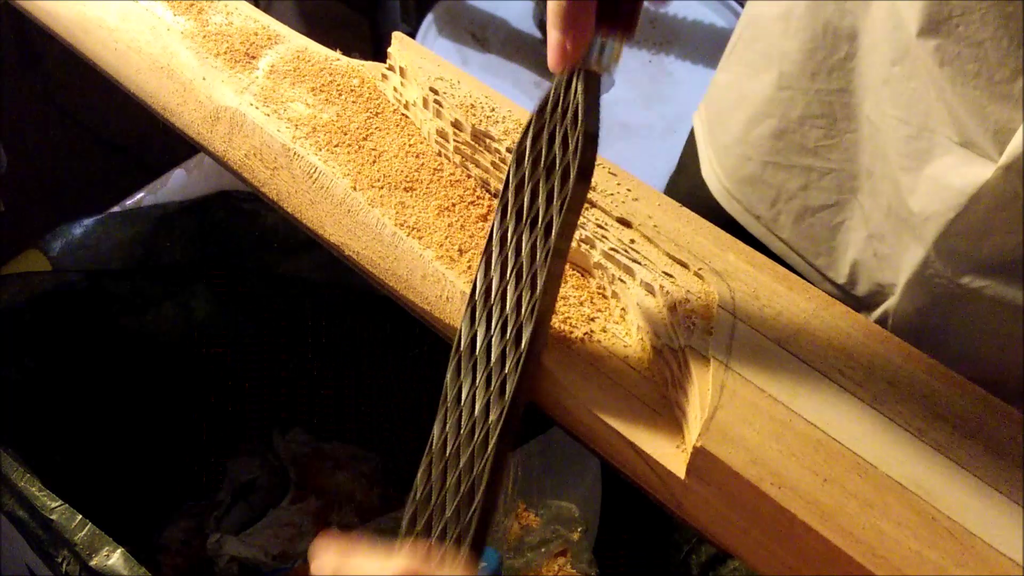
I tried a few ways of removing the excess wood from the neck.
1. Hand saw - wasn't good because the saw was large and hard to control. I could've risked cutting more than I should. Maybe with a Japanese ryoba saw (have been eyeing on these for a long time) I would have more control.
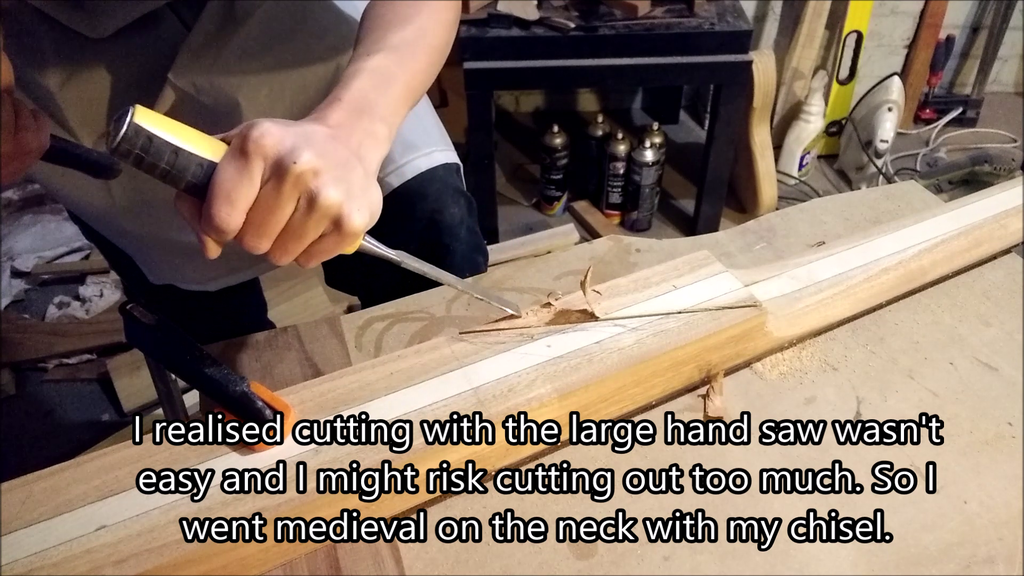
2. Chisel and hammer - effective but very time consuming.
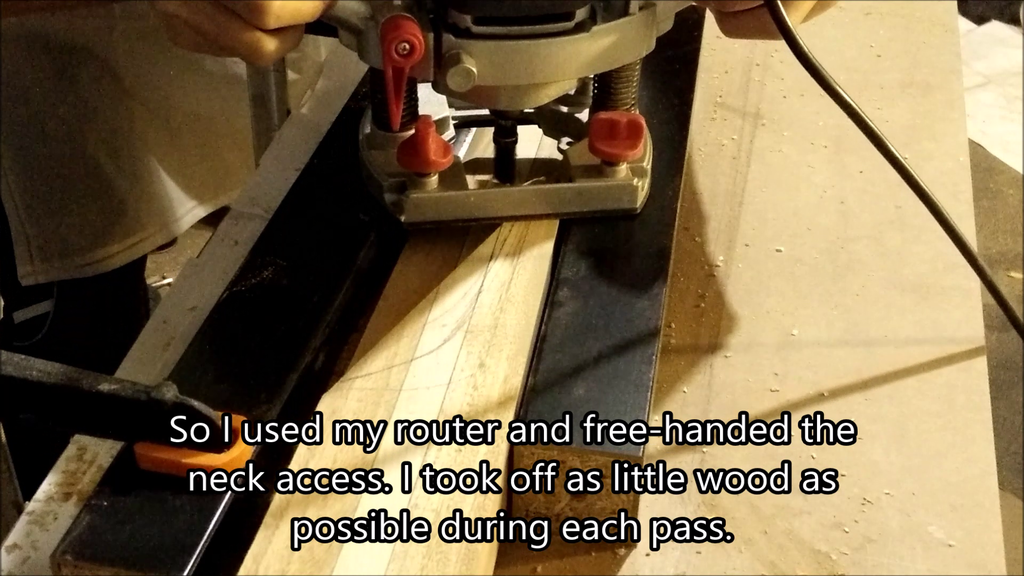
3. Router - the easiest, fastest and most accurate way.
After the heel was roughly shaped, I also had to go back and carve out the neck. I also took this opportunity to round the neck over a bit more, but still maintaining a D-shape profile.
I also did a fret level and dressed the frets because it would be easier without the body. I'll polish it up after I finish it.
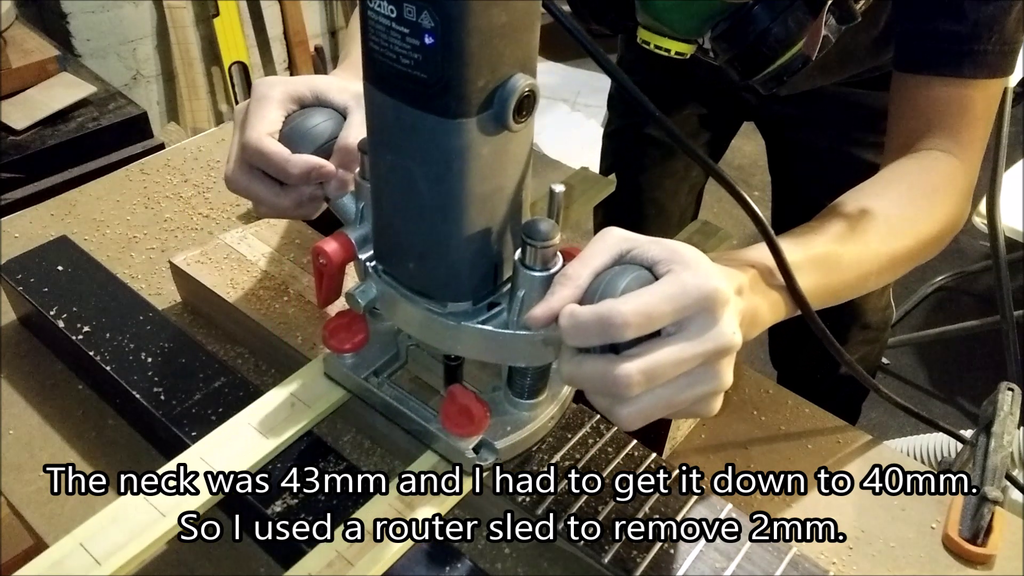
So the last thing I had to do before gluing would be to thin the neck to match the body thickness. The neck was 43mm and the body was at 40, so I had to remove 3mm of wood with my router. Ignore my poor math in the picture. Definitely was a typo!
And of course I had to make sure the edges were trued before gluing.
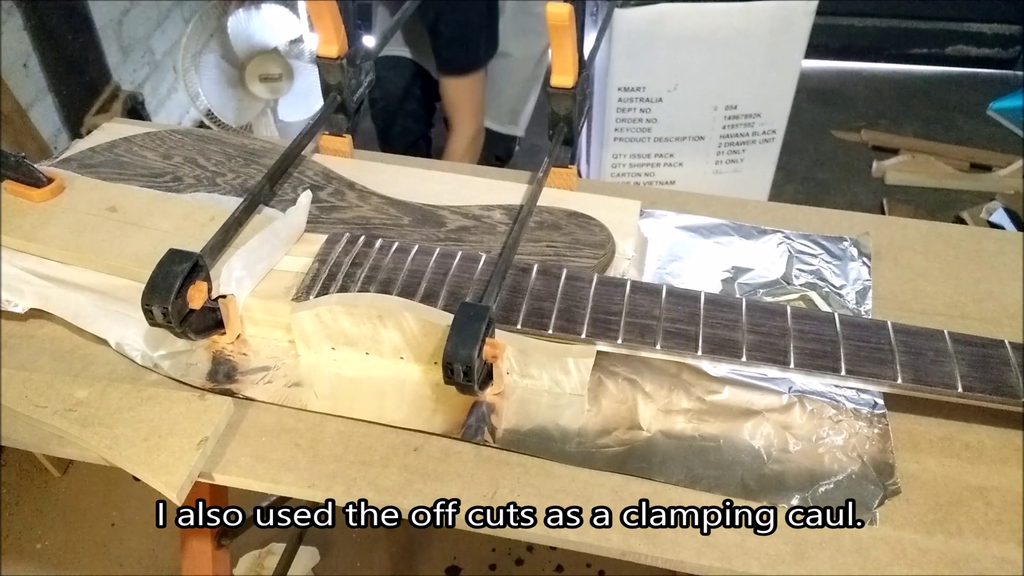
I used some of the off-cuts as clamping cauls to glue the body wings. I did one at a time because it's my first time. I also used toothpicks as locating pins to prevent the pieces from sliding around.
Once both wings were glued and sanded flat to the neck, I started to carve the contours. I did the belly, forearm contours and also carved the neck heel transition. Here's a video with a timelapse of what I did. Enjoy!

cool videos Simon, looks unreal being all glued together, love the carvings looks great. Don't let DB see the mineral turps, it's not safe to use the fumes are pretty toxic. DB saw a bottle at my man cave and said get rid of it and use Diggers gum turps is much safer and natural to use
Current Builds and status
scratch end grain pine tele - first clear coat on !
JBA-4 - assembled - final tweaks
Telemonster double scale tele - finish tobacco burst on body and sand neck
Completed builds
scratch oak.rose gum Jazzmaster - assembled needs setup
MK-2 Mosrite - assembled - play in
Ash tele with Baritone neck - neck pup wiring tweaks and play in

Amazing Simon, just amazing.
cheers,
Gav.
--
Build #01: BC-1
Build #02: ST-1
Build #03: JR-1DC
Build #04: ES-2V
Build #05: ESB-4 (GOTM July 2014)
Build #06: RC-1
Build #07: MK-2
Build #08: TLA-1
Build #09: JR-1DC
Build #0A: LPA-1
Build #0B: STA-1 (GOTM April 2015)
Build #0C: MKA-2
Build #0D: LP-1M
Build #0E: JB-1
Build #0F: FS-1
Find me:
https://www.facebook.com/firescreek.guitars/
http://www.guitarkitbuilder.blogspot.com.au/
Uh oh really? I didn't know! I hardly use them though. They smell bad.Originally Posted by wokkaboy

Thanks Gavin!
 Posting Permissions

 Reply With Quote