No rest for the wicked here! Tonight I enlarged strategic parts of the control cavity to accommodate the new components, and then applied the copper shielding.
Here's the finished "gouging" process. The blue tape around the cavity both indicates the perimeter of the actual panel, and allows me to mark centre points for the pots, by which to guide my gouging. In the process of fitting this up I also discovered that the cavity wasn't quite deep enough for the new switch gear, so I had to very carefully gouge it out about 4-5mm deeper, with many stops for measuring!
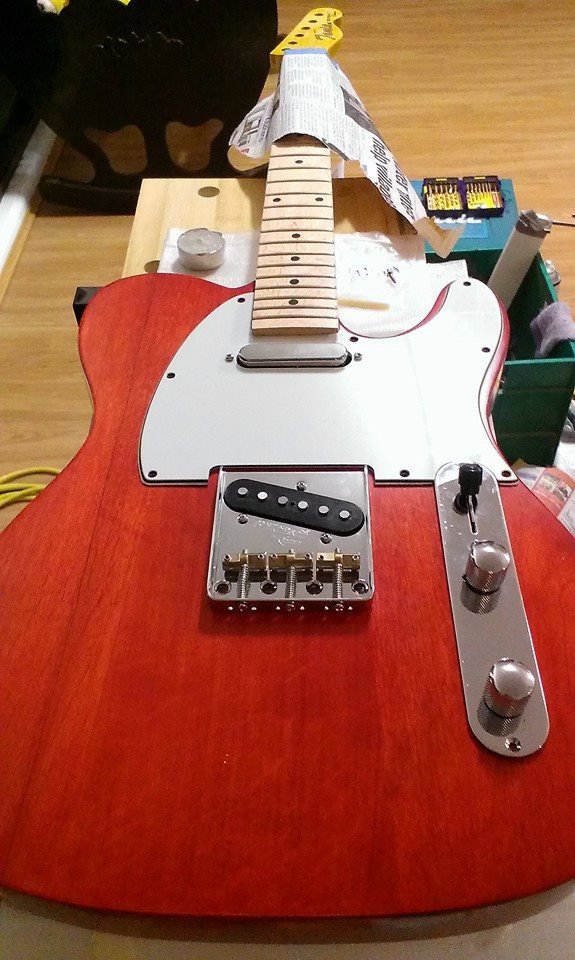
Here's the finished shielding job. I had the bridge and control panel close at hand to guide how far over the edge the shielding could go. Around the bridge it's not more than a mm or two on the top and sides.
And this is a close up of the control cavity. With the shielding in you can really see the extra depression in the bottom, to fit the switch!


 Reply With Quote