Thats one good looking kit!! Zero fret?? Dang, thats nice!!


Thats one good looking kit!! Zero fret?? Dang, thats nice!!

I'm the lucky owner of the other kit. You beauty !
looks like 2 white mostrites coming up, we better not enter GOTM the same month Gav !
Current Builds and status
scratch end grain pine tele - first clear coat on !
JBA-4 - assembled - final tweaks
Telemonster double scale tele - finish tobacco burst on body and sand neck
Completed builds
scratch oak.rose gum Jazzmaster - assembled needs setup
MK-2 Mosrite - assembled - play in
Ash tele with Baritone neck - neck pup wiring tweaks and play in

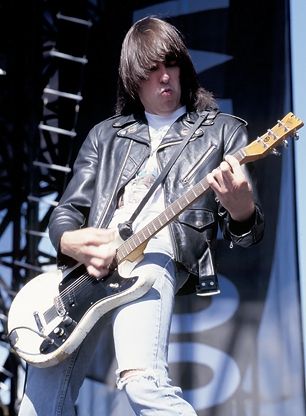
Gavin is a punk! Massive Ramones fan here. Keen to see this made man. Now (cretin) hop to it! :P
Yes. Good work Wokka. Looking forward to seeing these come together.
'As long as there's, you know, sex and drugs, I can do without the rock and roll.'
Nice looking kit. Can someone explain why we have a nut instead of just having a zero fret on everything? Seems more logical to me.
Zero frets give a more balanced tone for open strings and chords. However, they wear out as fast as the other frets. On the other hand, nuts are designed to take less wear and are easier to replace. Also, some people dont want a perfectly balanced tone on open chords.
And most importantly, they look cool.

hi guys,
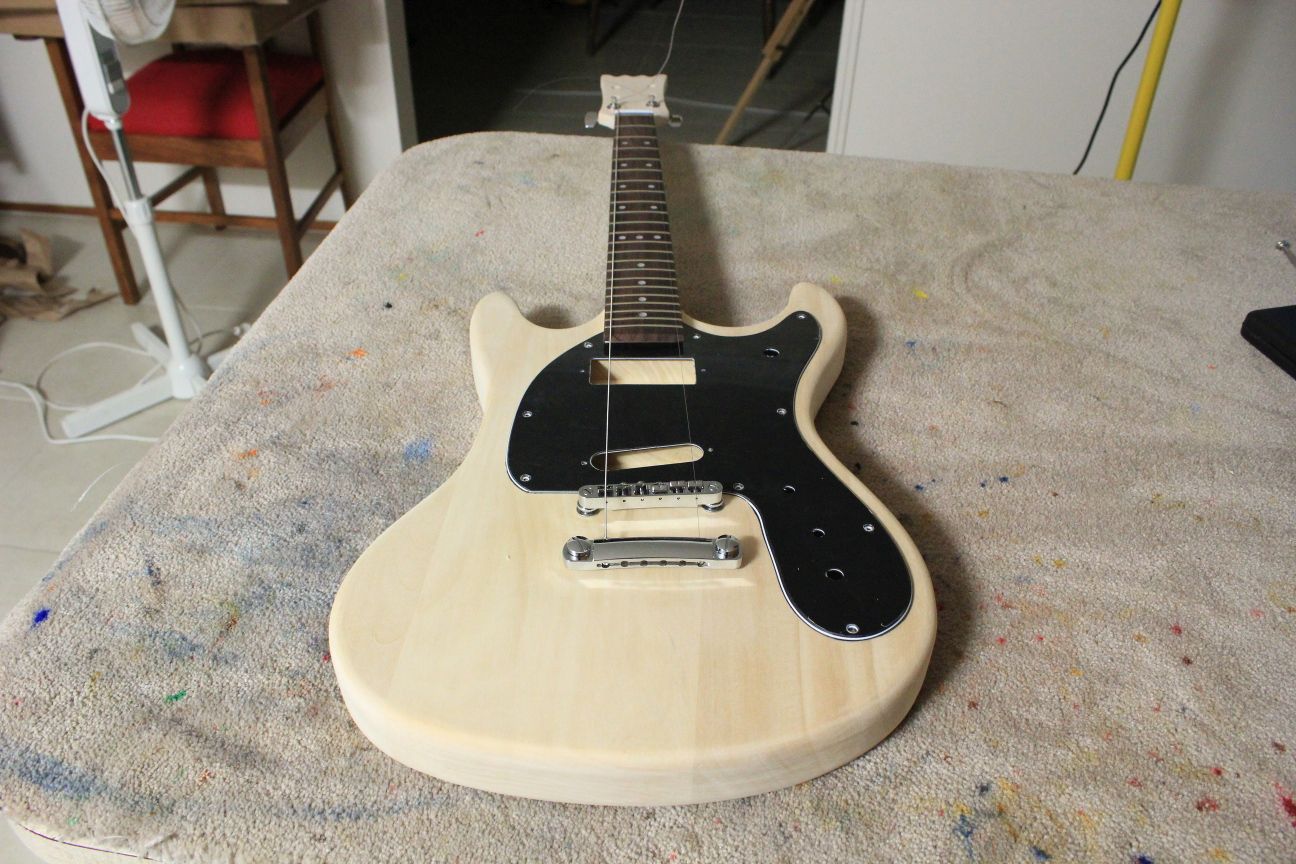
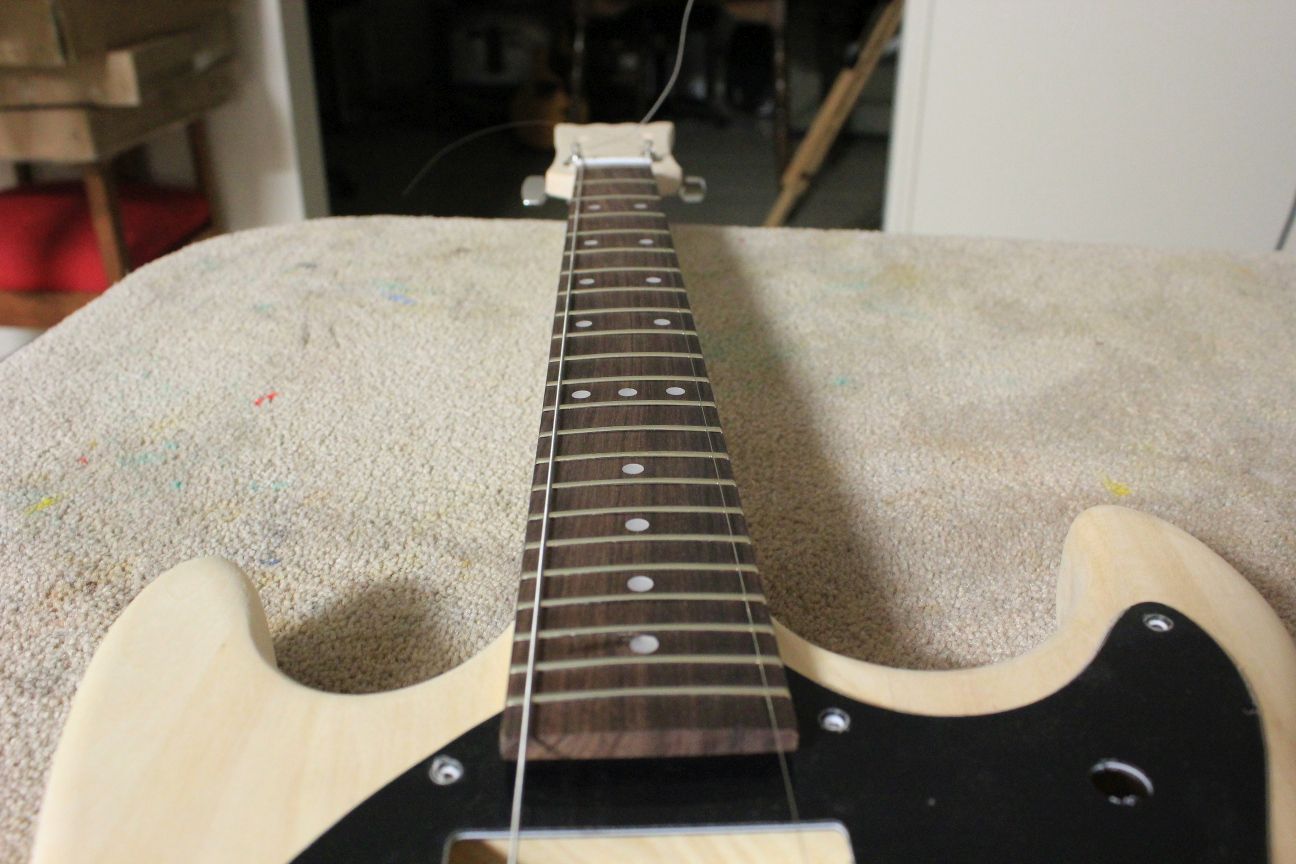
Well the mock build is done. Everything fits together like a dream - the neck is a perfect fit in the cavity and is very tight. No wiggle room at all!
With the neck bolted in this position the E strings sit perfectly up the neck. No adjustment necessary.
Without further ado, it is on to the sanding. 8-)
Gabba Gabba Hey!
cheers,
Gav.
--
Build #01: BC-1
Build #02: ST-1
Build #03: JR-1DC
Build #04: ES-2V
Build #05: ESB-4 (GOTM July 2014)
Build #06: RC-1
Build #07: MK-2
Build #08: TLA-1
Build #09: JR-1DC
Build #0A: LPA-1
Build #0B: STA-1 (GOTM April 2015)
Build #0C: MKA-2
Build #0D: LP-1M
Build #0E: JB-1
Build #0F: FS-1
Find me:
https://www.facebook.com/firescreek.guitars/
http://www.guitarkitbuilder.blogspot.com.au/
hi guys,
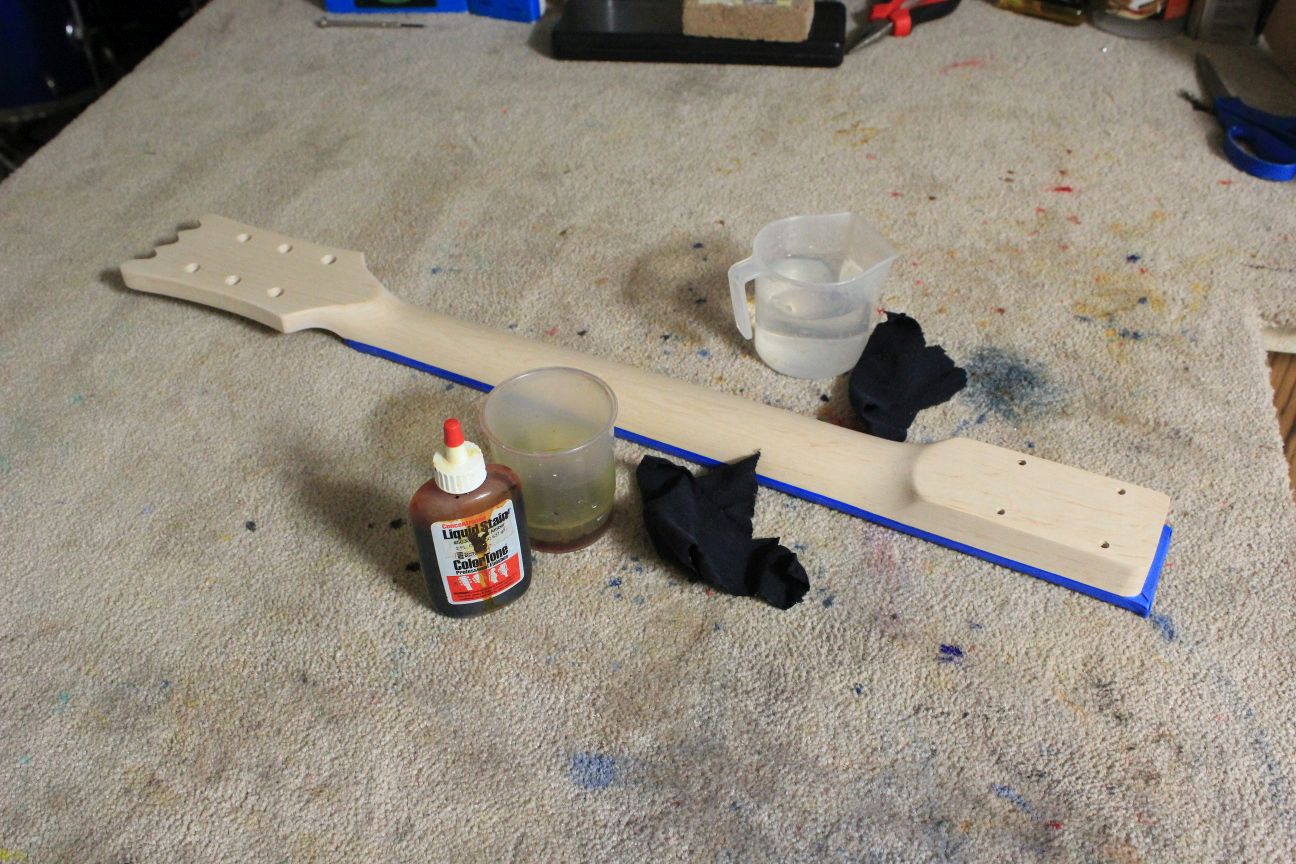
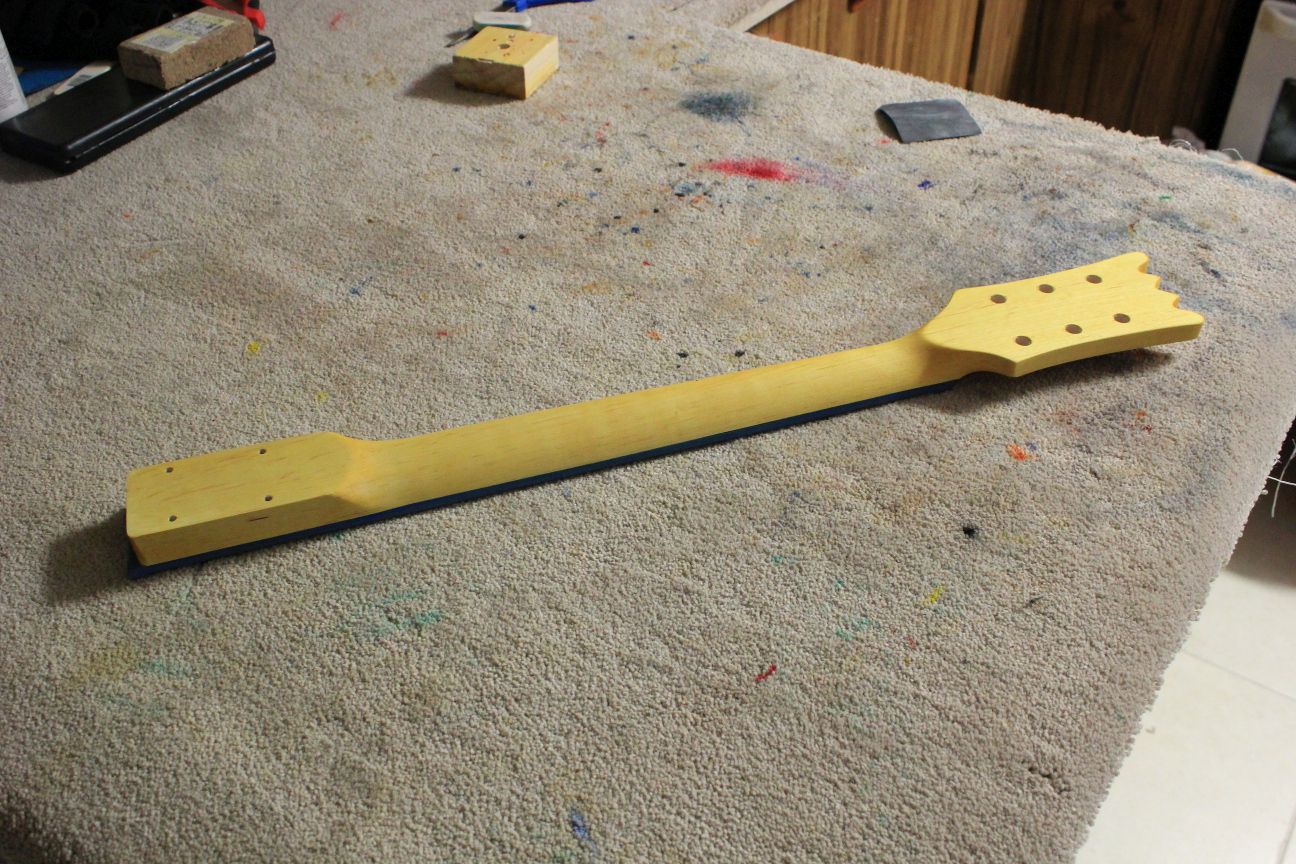
Time to get the neck looking right.
I sanded the neck to 600 grit and raised the grain. I then applied successive coats of Colortone Vintage Amber until I got a light yellow colour.
It's now ready for a decal and some clear coats. I may use Tru-Oil on the neck as clear, so this will darken the colour up substantially before I'm done. Alternately I may use Wudtone clear neck finish over the top. I'm still completely undecided on this one.
cheers,
Gav.
--
Build #01: BC-1
Build #02: ST-1
Build #03: JR-1DC
Build #04: ES-2V
Build #05: ESB-4 (GOTM July 2014)
Build #06: RC-1
Build #07: MK-2
Build #08: TLA-1
Build #09: JR-1DC
Build #0A: LPA-1
Build #0B: STA-1 (GOTM April 2015)
Build #0C: MKA-2
Build #0D: LP-1M
Build #0E: JB-1
Build #0F: FS-1
Find me:
https://www.facebook.com/firescreek.guitars/
http://www.guitarkitbuilder.blogspot.com.au/
Looking pretty damn good already, Gav. And you've only just started. Ya know, when you're finished you need to go to the $2 shop, buy a mullet wig and take a B&W photo in the same pose!
 Posting Permissions

 Reply With Quote