Page 18 of 19 FirstFirst ... 8 16 17 18 19 LastLast
Results 171 to 180 of 185

Thread: Teleburster TL-1A aka G-special

  1. #171
    @Tim - there is usually a bit of wiggle room in the neck pocket, even with the bolt-on's, and there was a bit with this kit. I originally drilled the holes and bolted on the neck when I positioned the bridge and drilled the string-thru holes well before I painted. Now with the finish on the little bit of Wudtone around the edge of the neck pocket has made the fit much tighter, so doing the alignment again ensured that the finish wasn't skewing the neck slightly in the pocket. Also, the centreline and strings helped to make sure the bridge was not only aligned with the neck's centre but also that it was square, and that the strings were well positioned along the edge of the fretboard. The more times you check the less chance of an error going unnoticed.

    @Woks - you're giving me too much credit mate, this is still my first build (I've got a few other in progress though). I started this build diary March 1st, 2013... so, bit of a rush job.

    Scott.

  2. #172
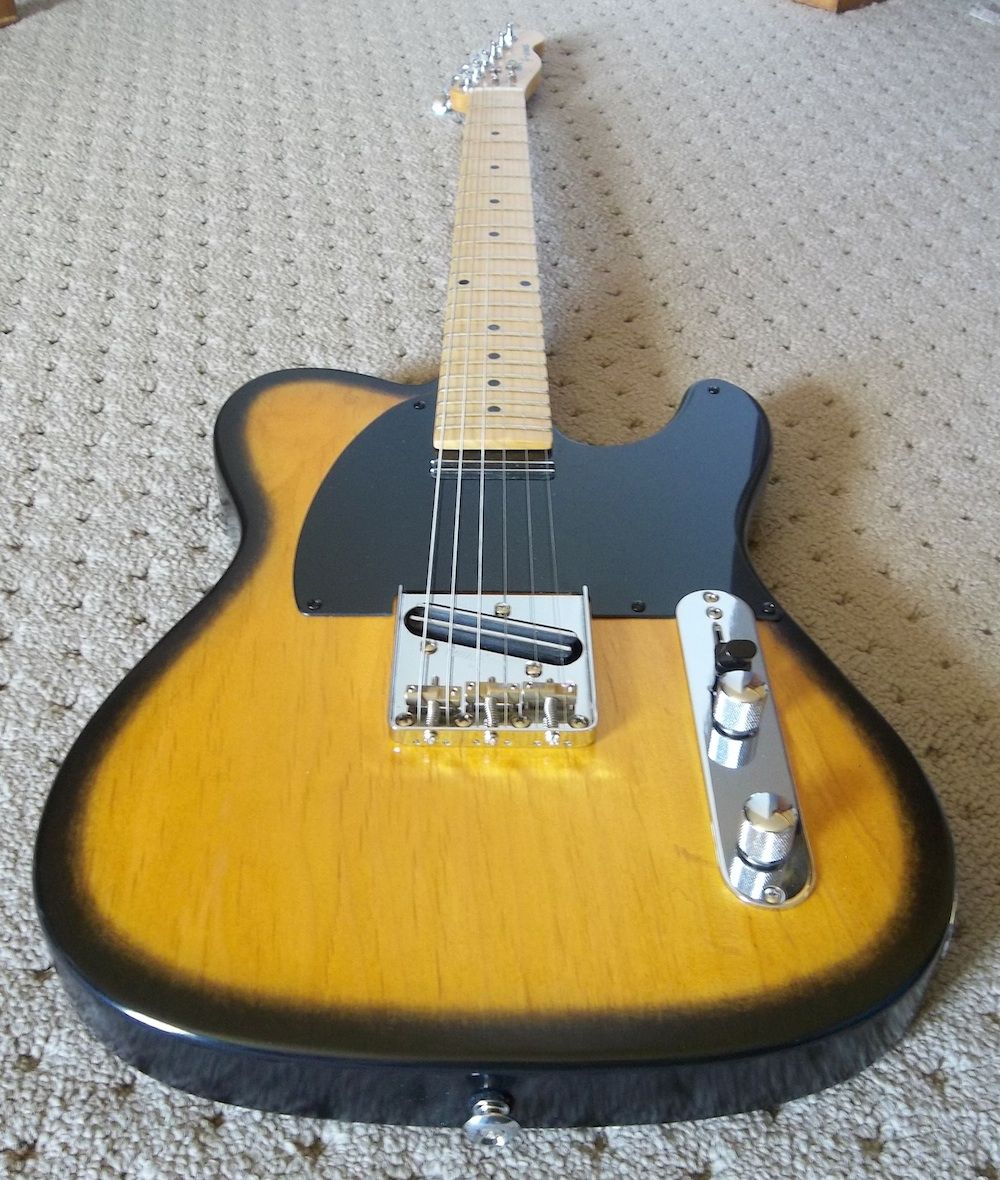
    I bit the bullet today and replaced the linear tone pot with a log (audio) taper… a much better, more gradual progression of the tone now, so it was worth the, not insignificant, effort. I may eventually switch the tone cap to a 0.022 as the current 0.047uF PIO is maybe a touch darker than I wanted. But, I'll see how is goes for a while before deciding. I still need to trim and finish the nut in the next few days, but the neck seems to be settling in nicely.

    I still haven't got any daylight pics that I'm really happy with, but here's a couple of attempts I grabbed today.


    Scott.

  3. #173
    Moderator Brendan's Avatar
    Join Date
    Apr 2013
    Location
    Perth, WA
    Posts
    3,444
    Another great Tele - beautiful work Scott.

  4. #174
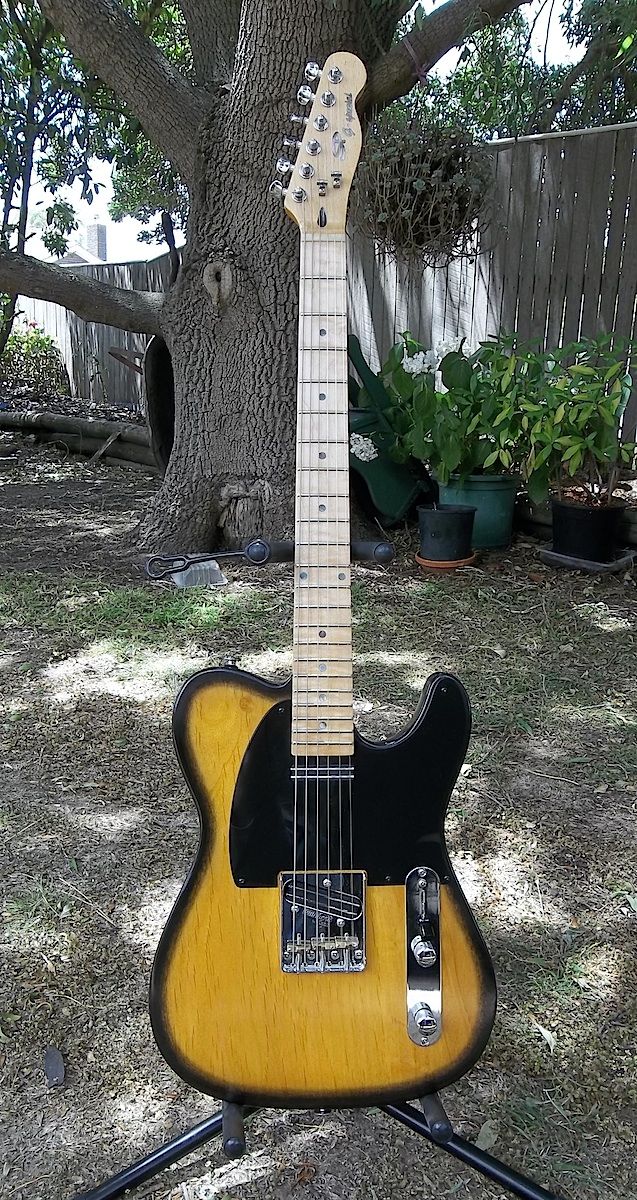
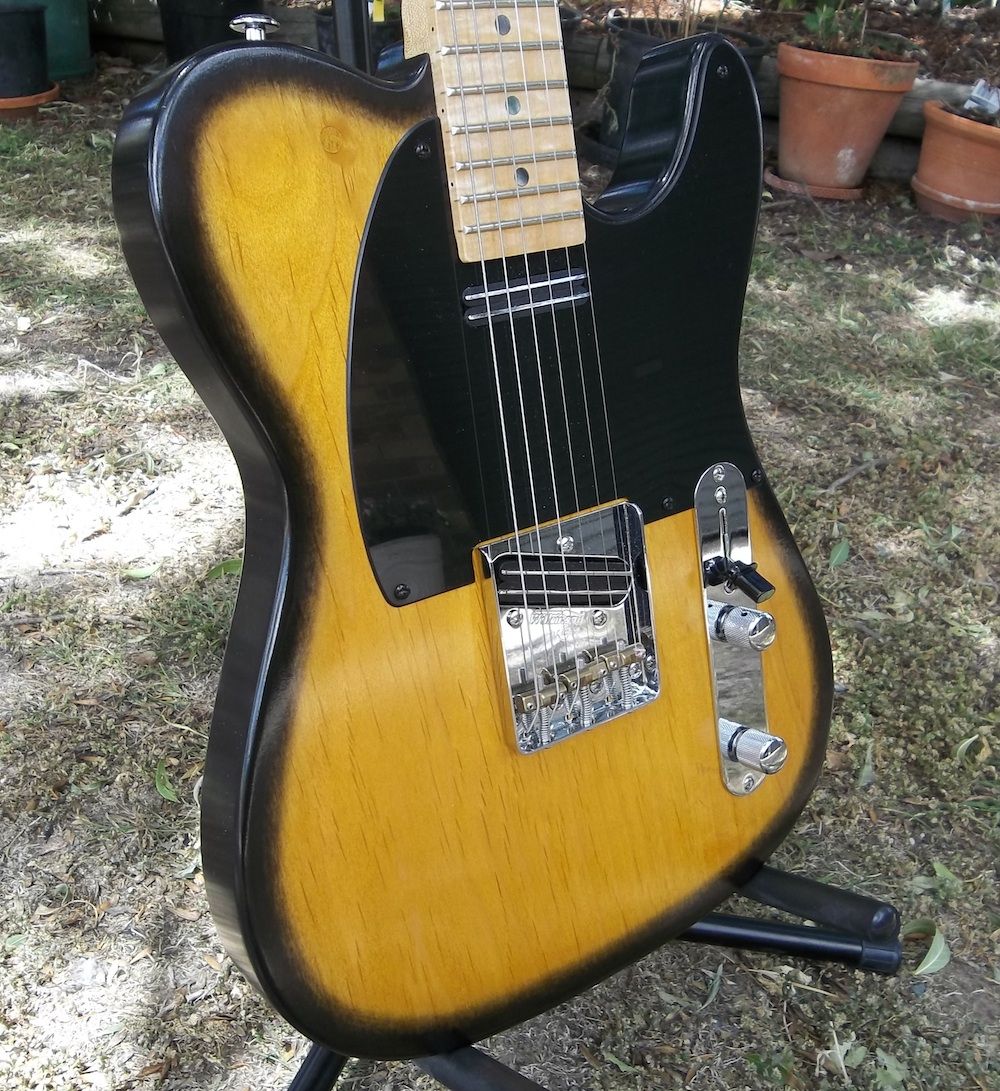
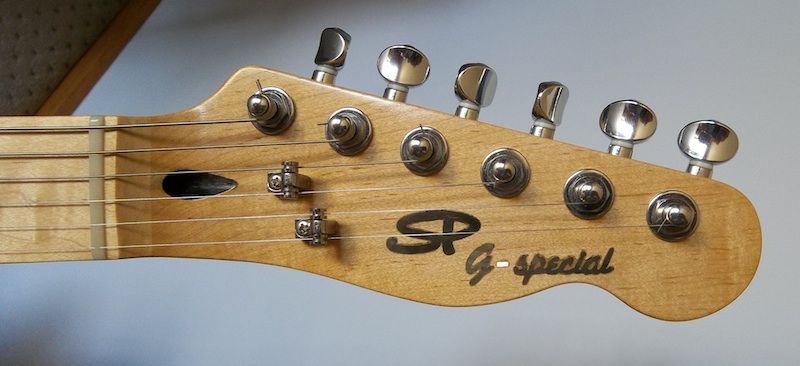
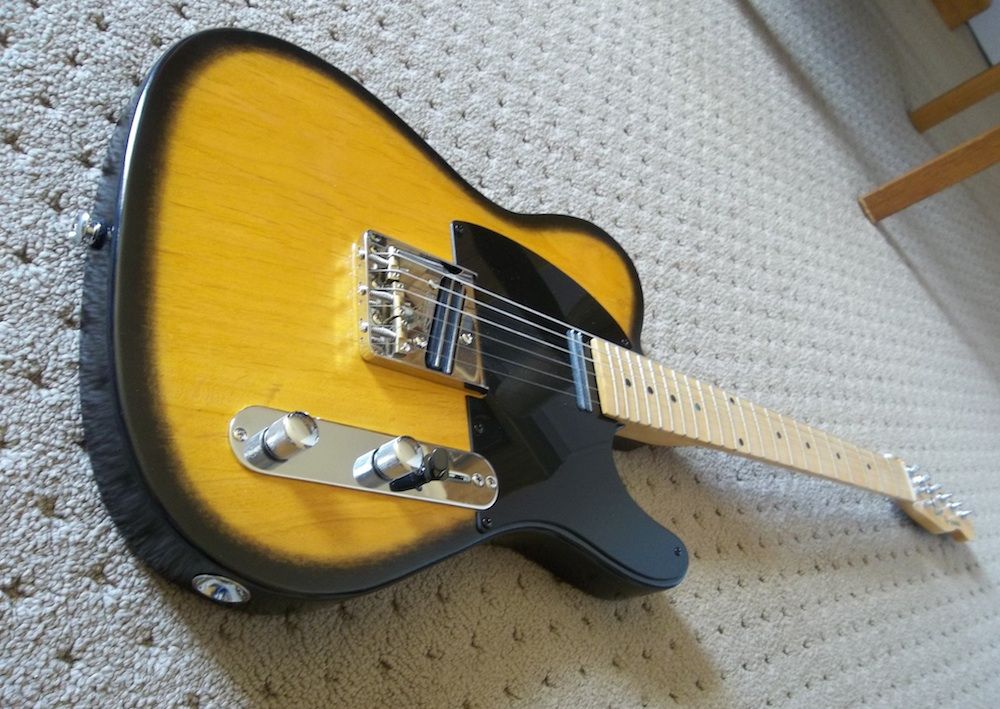
    I think it is actually… finished.

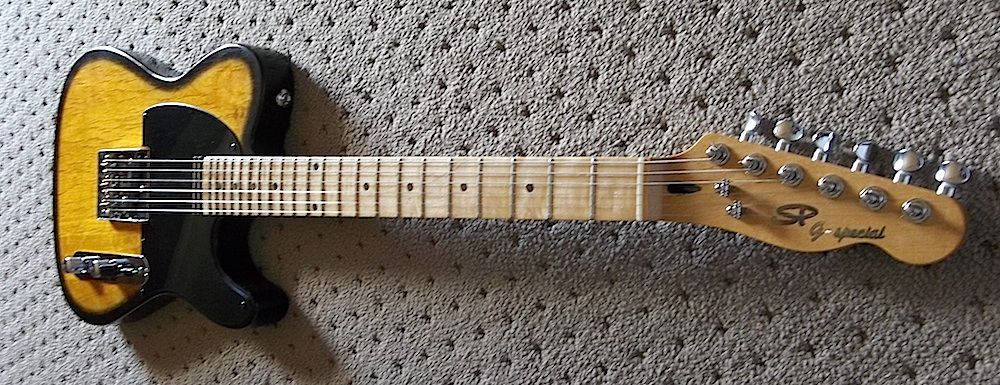
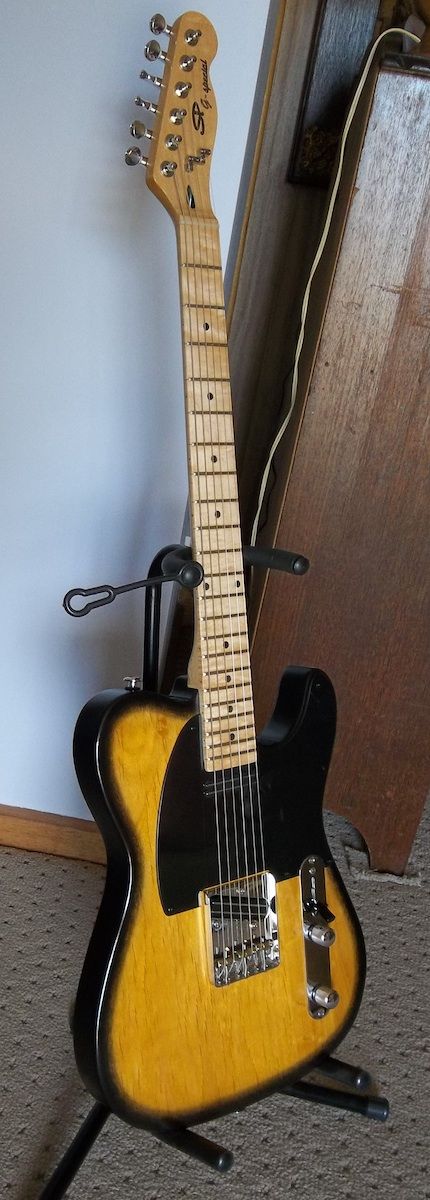
    Yesterday I finalised the nut height, trimmed it to width and gave it a clean up and polish, and I think it's turned out ok for a first attempt at nut making. Then, last night I did an initial setup on it and it feels pretty good and is playing quite nicely. The neck finish is still a bit grippy, but it'll wear in soon enough. Need to give it a good work out over the next few days.

    It's been a long and, at times, difficult journey (for previously mentioned reasons), but now that it is complete… it feels a little strange. It started out as the Teleburster, which was to be my practice and experimental build, but later it became the G-special as a memorial to my father and his own unique way of doing things… I guess some of that rubbed off on me.

    I'm still frustrated trying to get good pictures of it, but I figured if I take enough I'm bound to find some I like. The finished(?) product:


    Scott.

  5. #175


    Scott.

  6. #176


    Scott.

  7. #177
    Super cool axe mate. I feel a bit weird knowing this build diary is finished now, knowing how long it's been active for.

    Looking forward to seeing your Les sPaulted come to life now. Still madly in love with the cap on that one

  8. #178
    Banned bargeloobs's Avatar
    Join Date
    Mar 2014
    Posts
    1,700
    Quote Originally Posted by WeirdBits View Post
    24hrs later, glue/sawdust and whiteout layer carefully sanded back to reveal… filled inlay!


    The fill match isn't perfect, but it's pretty close. The real test will be once I put some Wudtone on it. As you can see in the pics, that super glue welling up that I was worried about has prevented the filler from going into a couple of small areas which makes it look like there are some gaps around the inlay, but actually all solid… it's just a little bit of clear super glue in a couple of spots. Oh well, not terrible for a first attempt.
    This thread has proved to be a 2 for 1 learning deal, I think, after seeing your results with the inlay I'll try this technique too. Just wondering, where do you get the fine jewelers saw blades (what gauge), and the fine bit for the router? I want to use this logo and can imagine some of the finer details being a bit tricky without the right size bit.
    Attached Thumbnails Attached Thumbnails Click image for larger version. 

Name:	Front.png 
Views:	131 
Size:	22.9 KB 
ID:	4665  

  9. #179
    The process is a little more refined and detailed in my Telebilly thread, with cleaner results too.

    Most of the specialist tools are from StewMac, but you may find something equivalent locally:

    Jeweller's Saw (usually use 'fine' blade, wax it with a candle to reduce friction and inevitable breakage... you'll break a lot of blades)
    Carbide Down-cut router bits (1/32 & 3/64 mainly for outline, very fragile, don't drop them on concrete!)
    Dremel router base (I have an cheap aquarium pump attached to help blow away the dust)

    Plus, you need good eyes (or a magnifying visor) and a nice bright light so you can actually see what you're doing. I advise doing several practice routs to get used to working on such a small and precise scale. The other alternative is hand cut it with fine knives and chisels, but depth and accuracy can be an issue either way.
    Last edited by WeirdBits; 17-08-2015 at 04:36 PM.
    Scott.

  10. #180
    Overlord of Music dave.king1's Avatar
    Join Date
    Aug 2014
    Location
    Woonona by the sea
    Posts
    2,795
    Very taste T

Page 18 of 19 FirstFirst ... 8 16 17 18 19 LastLast

Posting Permissions

  • You may not post new threads
  • You may not post replies
  • You may not post attachments
  • You may not edit your posts
  •