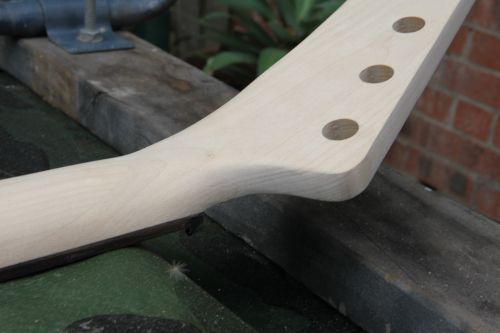
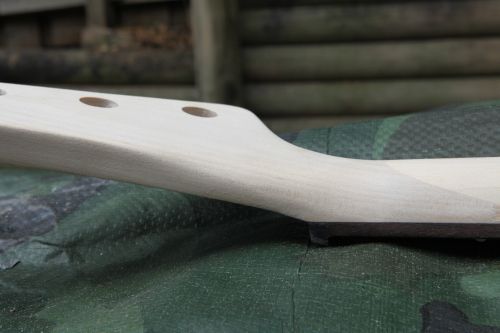
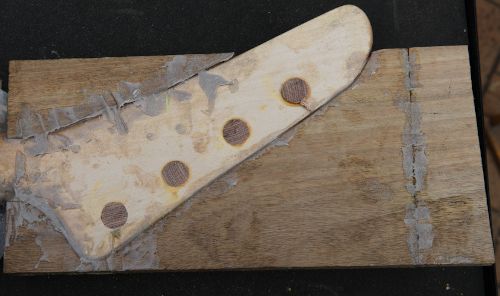
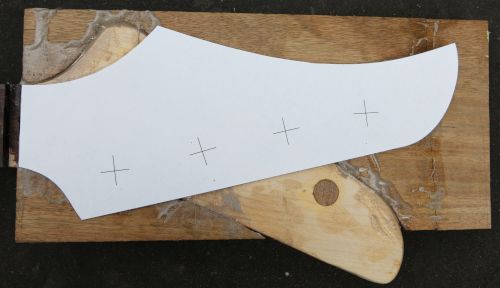
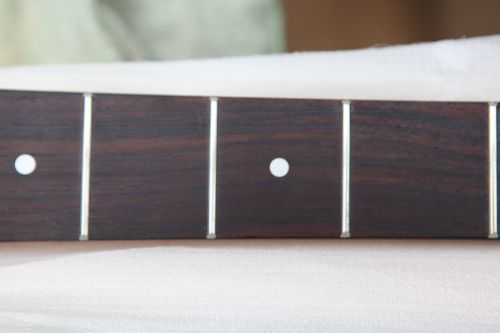
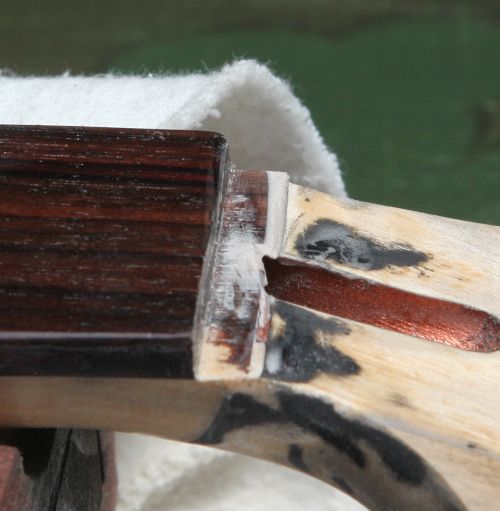
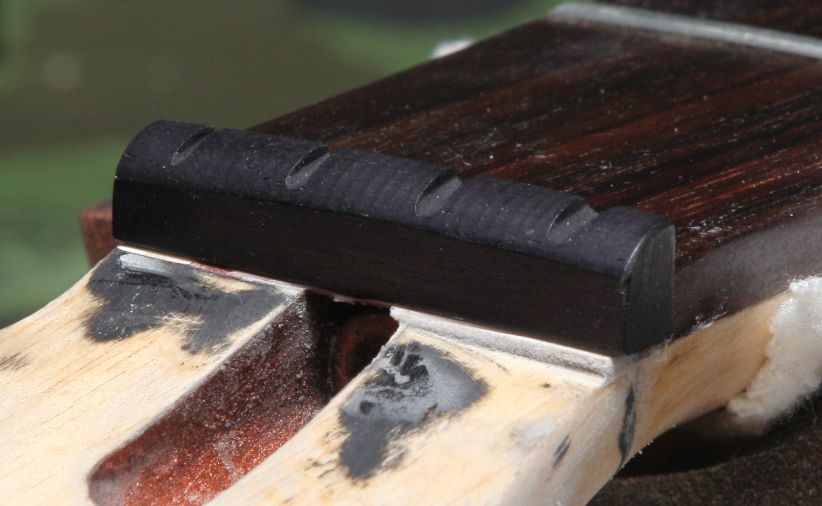
Clearly I need to learn maybe a bit more patience, because the neck is proving to be causing me a lot more work than it should. I sanded the headstock back while I waited for the sealer to arrive. While I was waiting, I decided to level, crown and polish the frets. After straitening the neck, since no one answered my question about the nut, I went ahead and used a small half round file to give the head of the truss rod bold enough clearance so that it wasn't preventing the nut to sit flush with the nut bed. After levelling the frets, re-crowning them and polishing them up to a bright shiny finish, I re-checked the frets, only to find that they weren't level!!!!! . This time I got a 600mm level, this double sided taped some 240grit to the bottom, and re-levelled. There was still enough meat left on them to re-crown and polish. They seem ok this time.
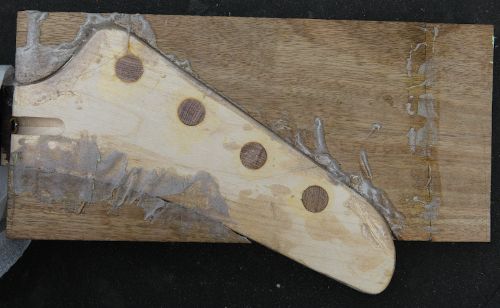
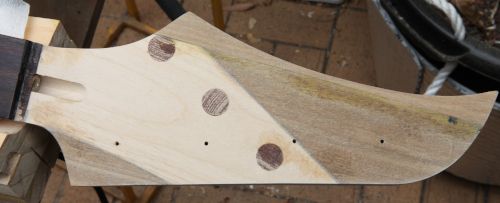
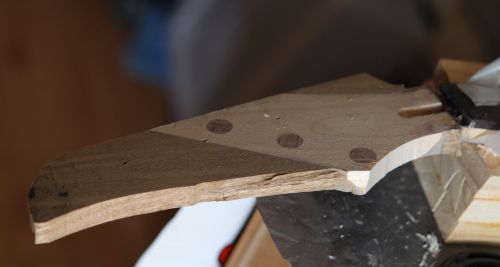
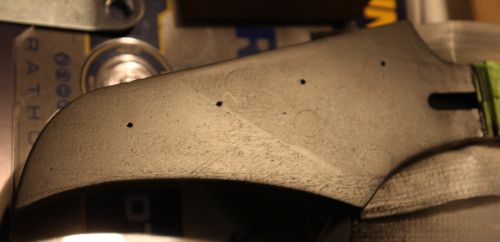
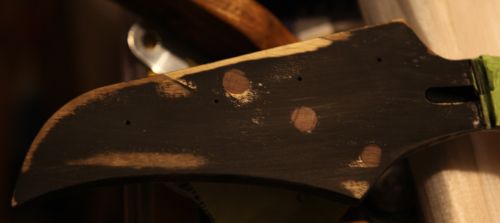
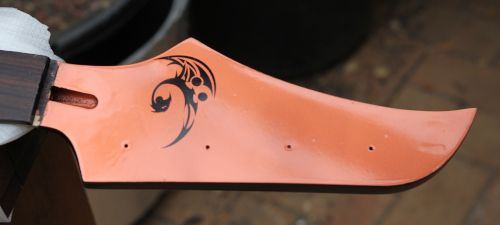
My grainfiller/sealer arrived, so I put a couple of coats on the front of the headstock and sanded smooth, but I think I sanded through the sealer at the end groin of the dowels. After re-priming, the dowels were showing again <sigh> I discovered that I had some black pearl base coat, so I sprayed the back of the headstock with that and copper on the front. Things seemed to be going well. the black peal layed down realy nicely, and the copper went on fine. The dowels were hardly noticeable. I decided to put the logo on, and that's when things went pear shaped. I have been using a small sample pot brush to smooth out the decal and remove bubbles. Unfortunately I wasn't as careful as I should have been when bringing the brush back to position, and caught the edge of the decal a few times. Trying to unfold the delicate membrane while the glue on it is drying was hard.I ended up removing some of the toner, since it's printed on the top of the decal.
To try and fix things I sanded it back to the primer, re-shot the copper, and tried again. This time, I put a coat of clear on the front, and while still wet, placed a reversed printed decal face down on the headstock. I figured with the stiff backing still on it, it should be easier to remove all the bubbles and face down it woul be protected. I forgot to add the cross linker to the clear, and I didn't wait long enough. When I went to wet the backing and remove it, some of the clear came with it in strips. Worse, there was s bunch of bubbles. I tried to sand back the clear, and puncture the bubbles. My thinking was that the clear would seep into the punctured bubbles and they would disappear .... I thought wrong .
This time I sanded the front of the headstock back to bare timber, and i noticed the dowel sanded at a different rate, so you could feel them even when you thought it was smooth. I decided to put sealer on again, sadning it level and not sanding though the sealer. Primed again, and again, you could still see the down faintly when the primer dried (while wet you couldn't see them, so I got excited prematurely.). I sanded the primer smooth and shot the base. It looked ok, in the bright light, but in the shade you could see a dark and light sections. I started sanding the back and sides with 800 grit, then 1200, 1500, 200 and 2500. Sadly in the process I managed to get sanding marks on the copper base coat.
I lightly sanded to the basecoat to remove any deeper marks, printed out another decal, and coated it with a single coat of cross linked clear. Next morning I sprayed another coat of copper base, and it looked nice and smooth, no crap on it, and even colour, even in the shade. WIN!!!! After giving it time to properly dry, I applied the decal. The coat of clear did the trick, and allowed me to position it, and remove any bubbles with a small foam brush. The clear protected the toner from getting rubbed off in the process.
Then came more potential headaches. I decided rather than having to deal with breaking out the gun and having to clean it again after every coat, I would use a foam brush to brush it on. I made two mistkes, both of which, a video by the manufacturer says not to do . First, they say to apply with a good quality high density foam brush, not one of those cheapo hardware store brushes.....mine came as part of a set for less than $4 from Bunnings. The reason being that the cheap foam brushes will give you bubbles. Well yeh, I had bubbles. Next they say once it on and had a chance to level, don't mess with it! You will end up with lumps from dried clear. Well I took the sample pot brush and tried to remove the bubbles...and yeh, that didn't end well .
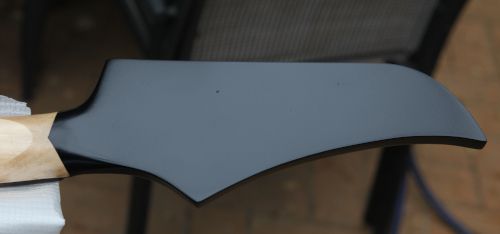
Luckily all was not lost. I gave it an hour (another mistake I had made earlier when spraying was not leaving enough time between coats, probably why it peeled off the primer.). After an hour, with the foam brush I put on a second coat. Immediately after I used the tip of the foam, barely touching to skim across the surface and the bubbles from the first pass went away. I put on another couple of coats this way so now there is enough thickness for me to level sand so I can polish. I'm going to give it a week before I do that. Might post some pics tomorrow after I take them.